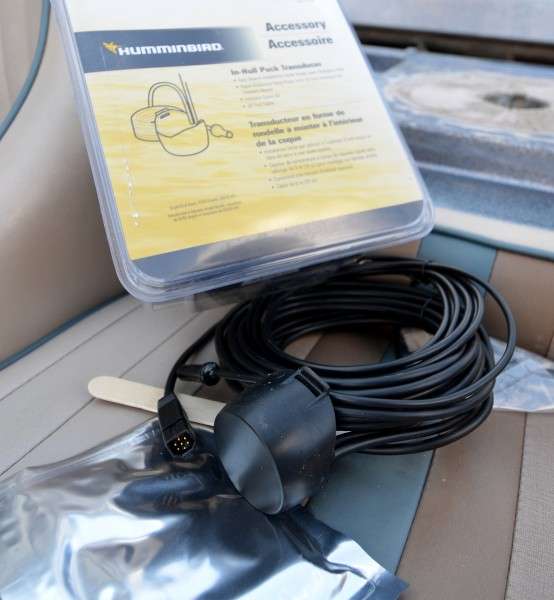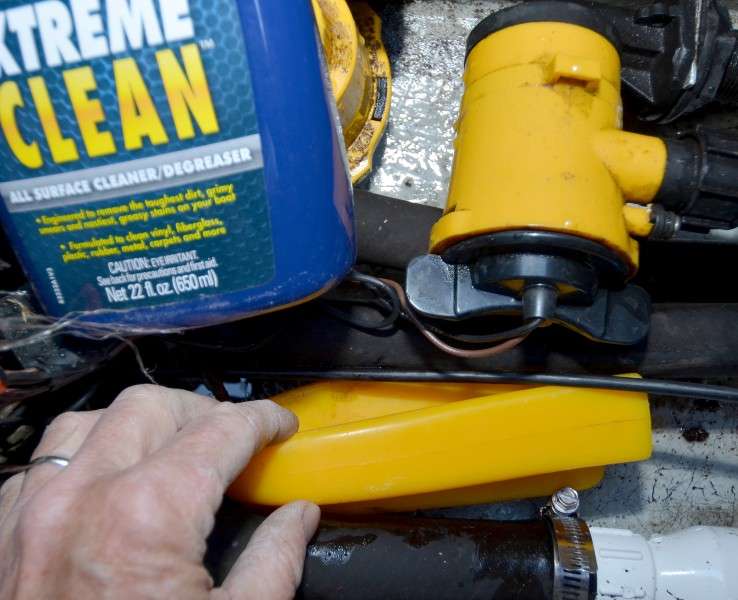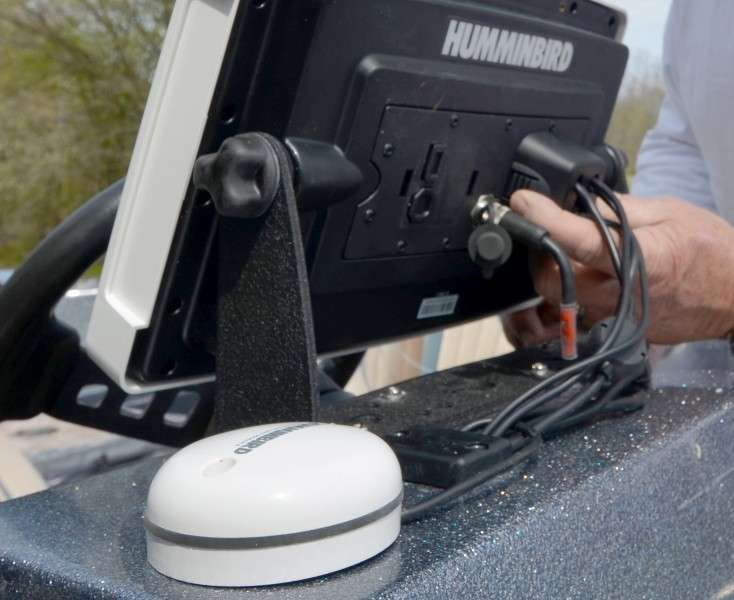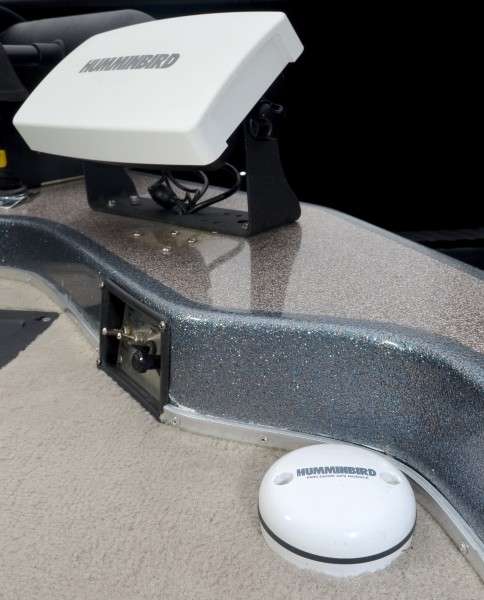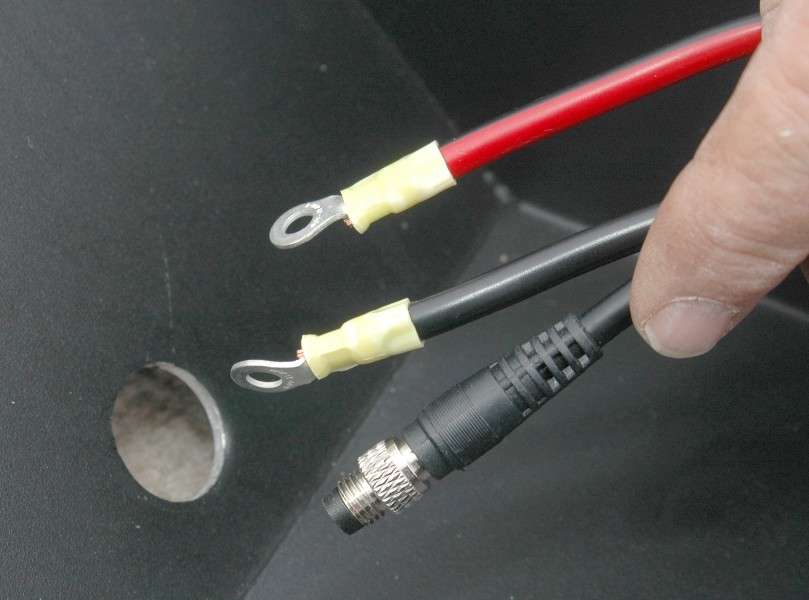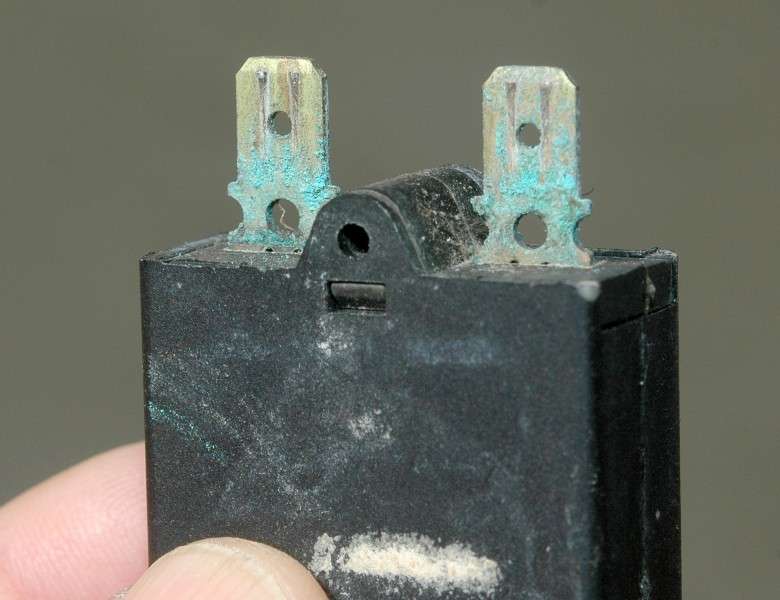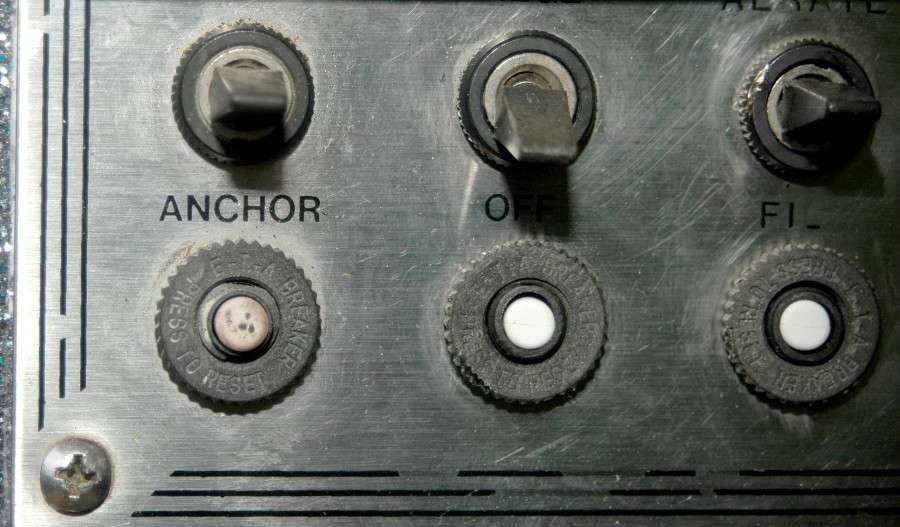
For this installment, I mounted a Humminbird 1198c on the console and a 998c on the bow of my old bass boat. This required drilling holes for the wiring and cables, securing the mounts for the units and installing transducers. While I was at it, I cleaned up the connections for the switches on the console and replaced all the breakers with new ones.
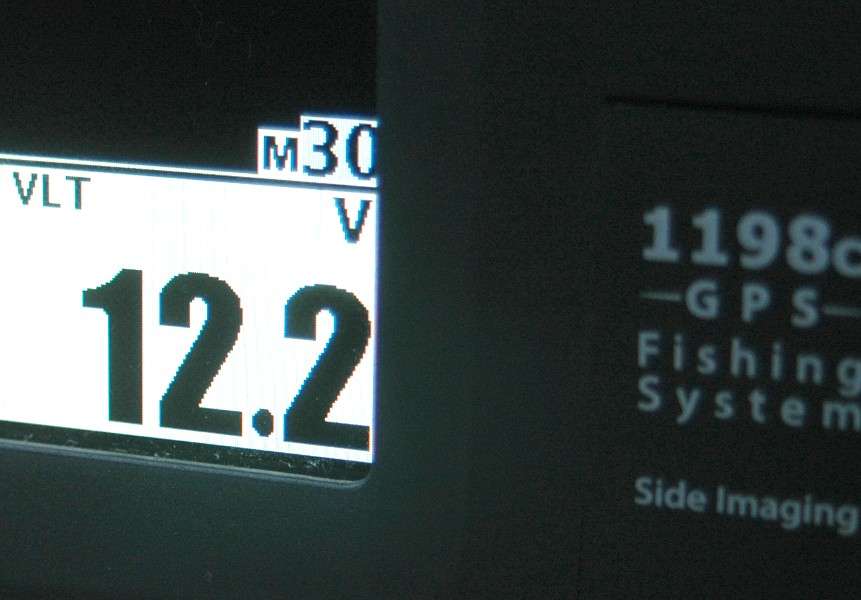
Then I discovered that I was getting insufficient voltage for my electronic units, despite my best efforts. Here are the steps I took for the installation and how I overcame the voltage problem.
INSTALLING ELECTRONICS
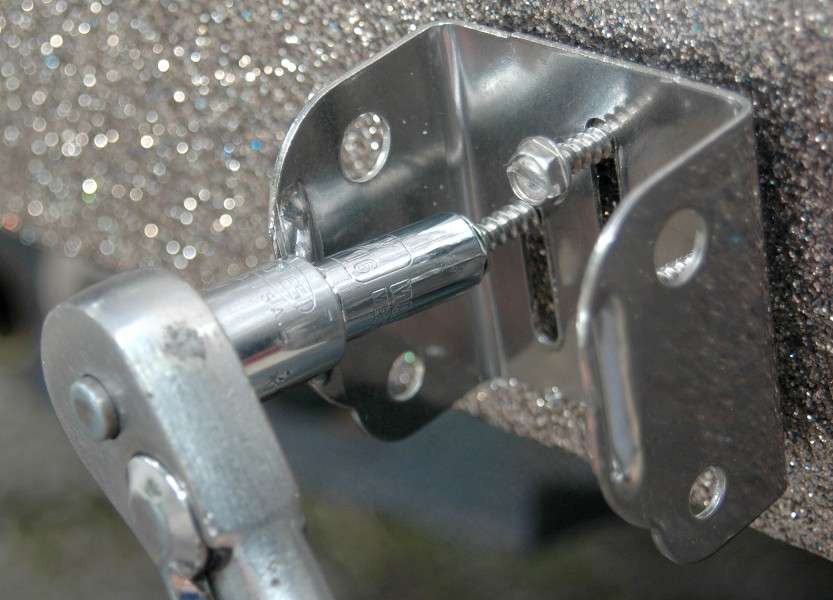
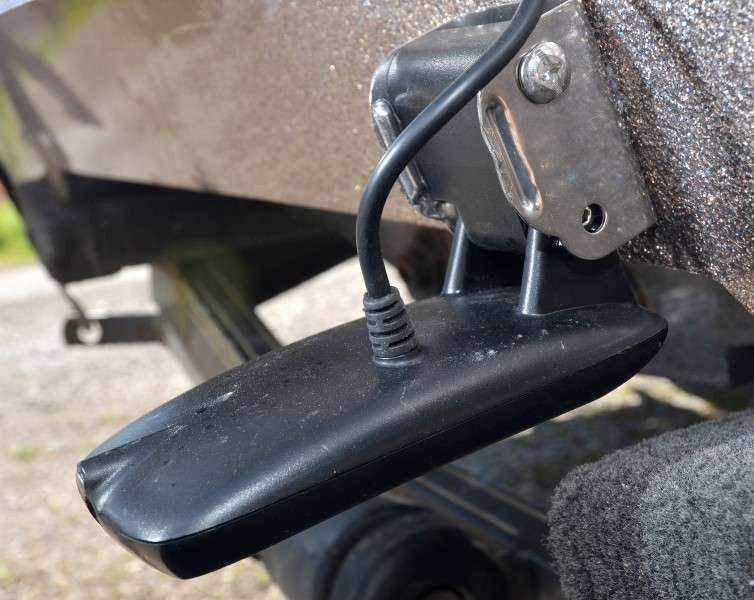
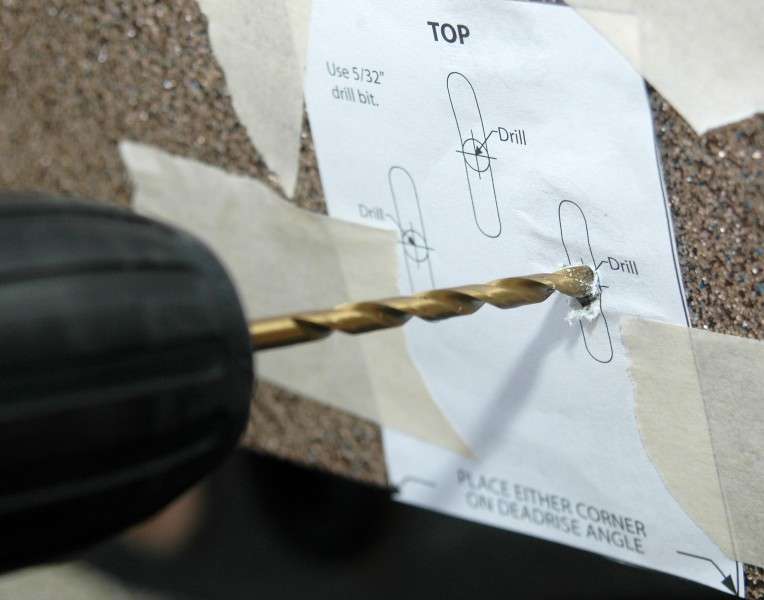
The Humminbird 1198 c came with a template for drilling holes to secure the Side and Down Imaging transducer mount.