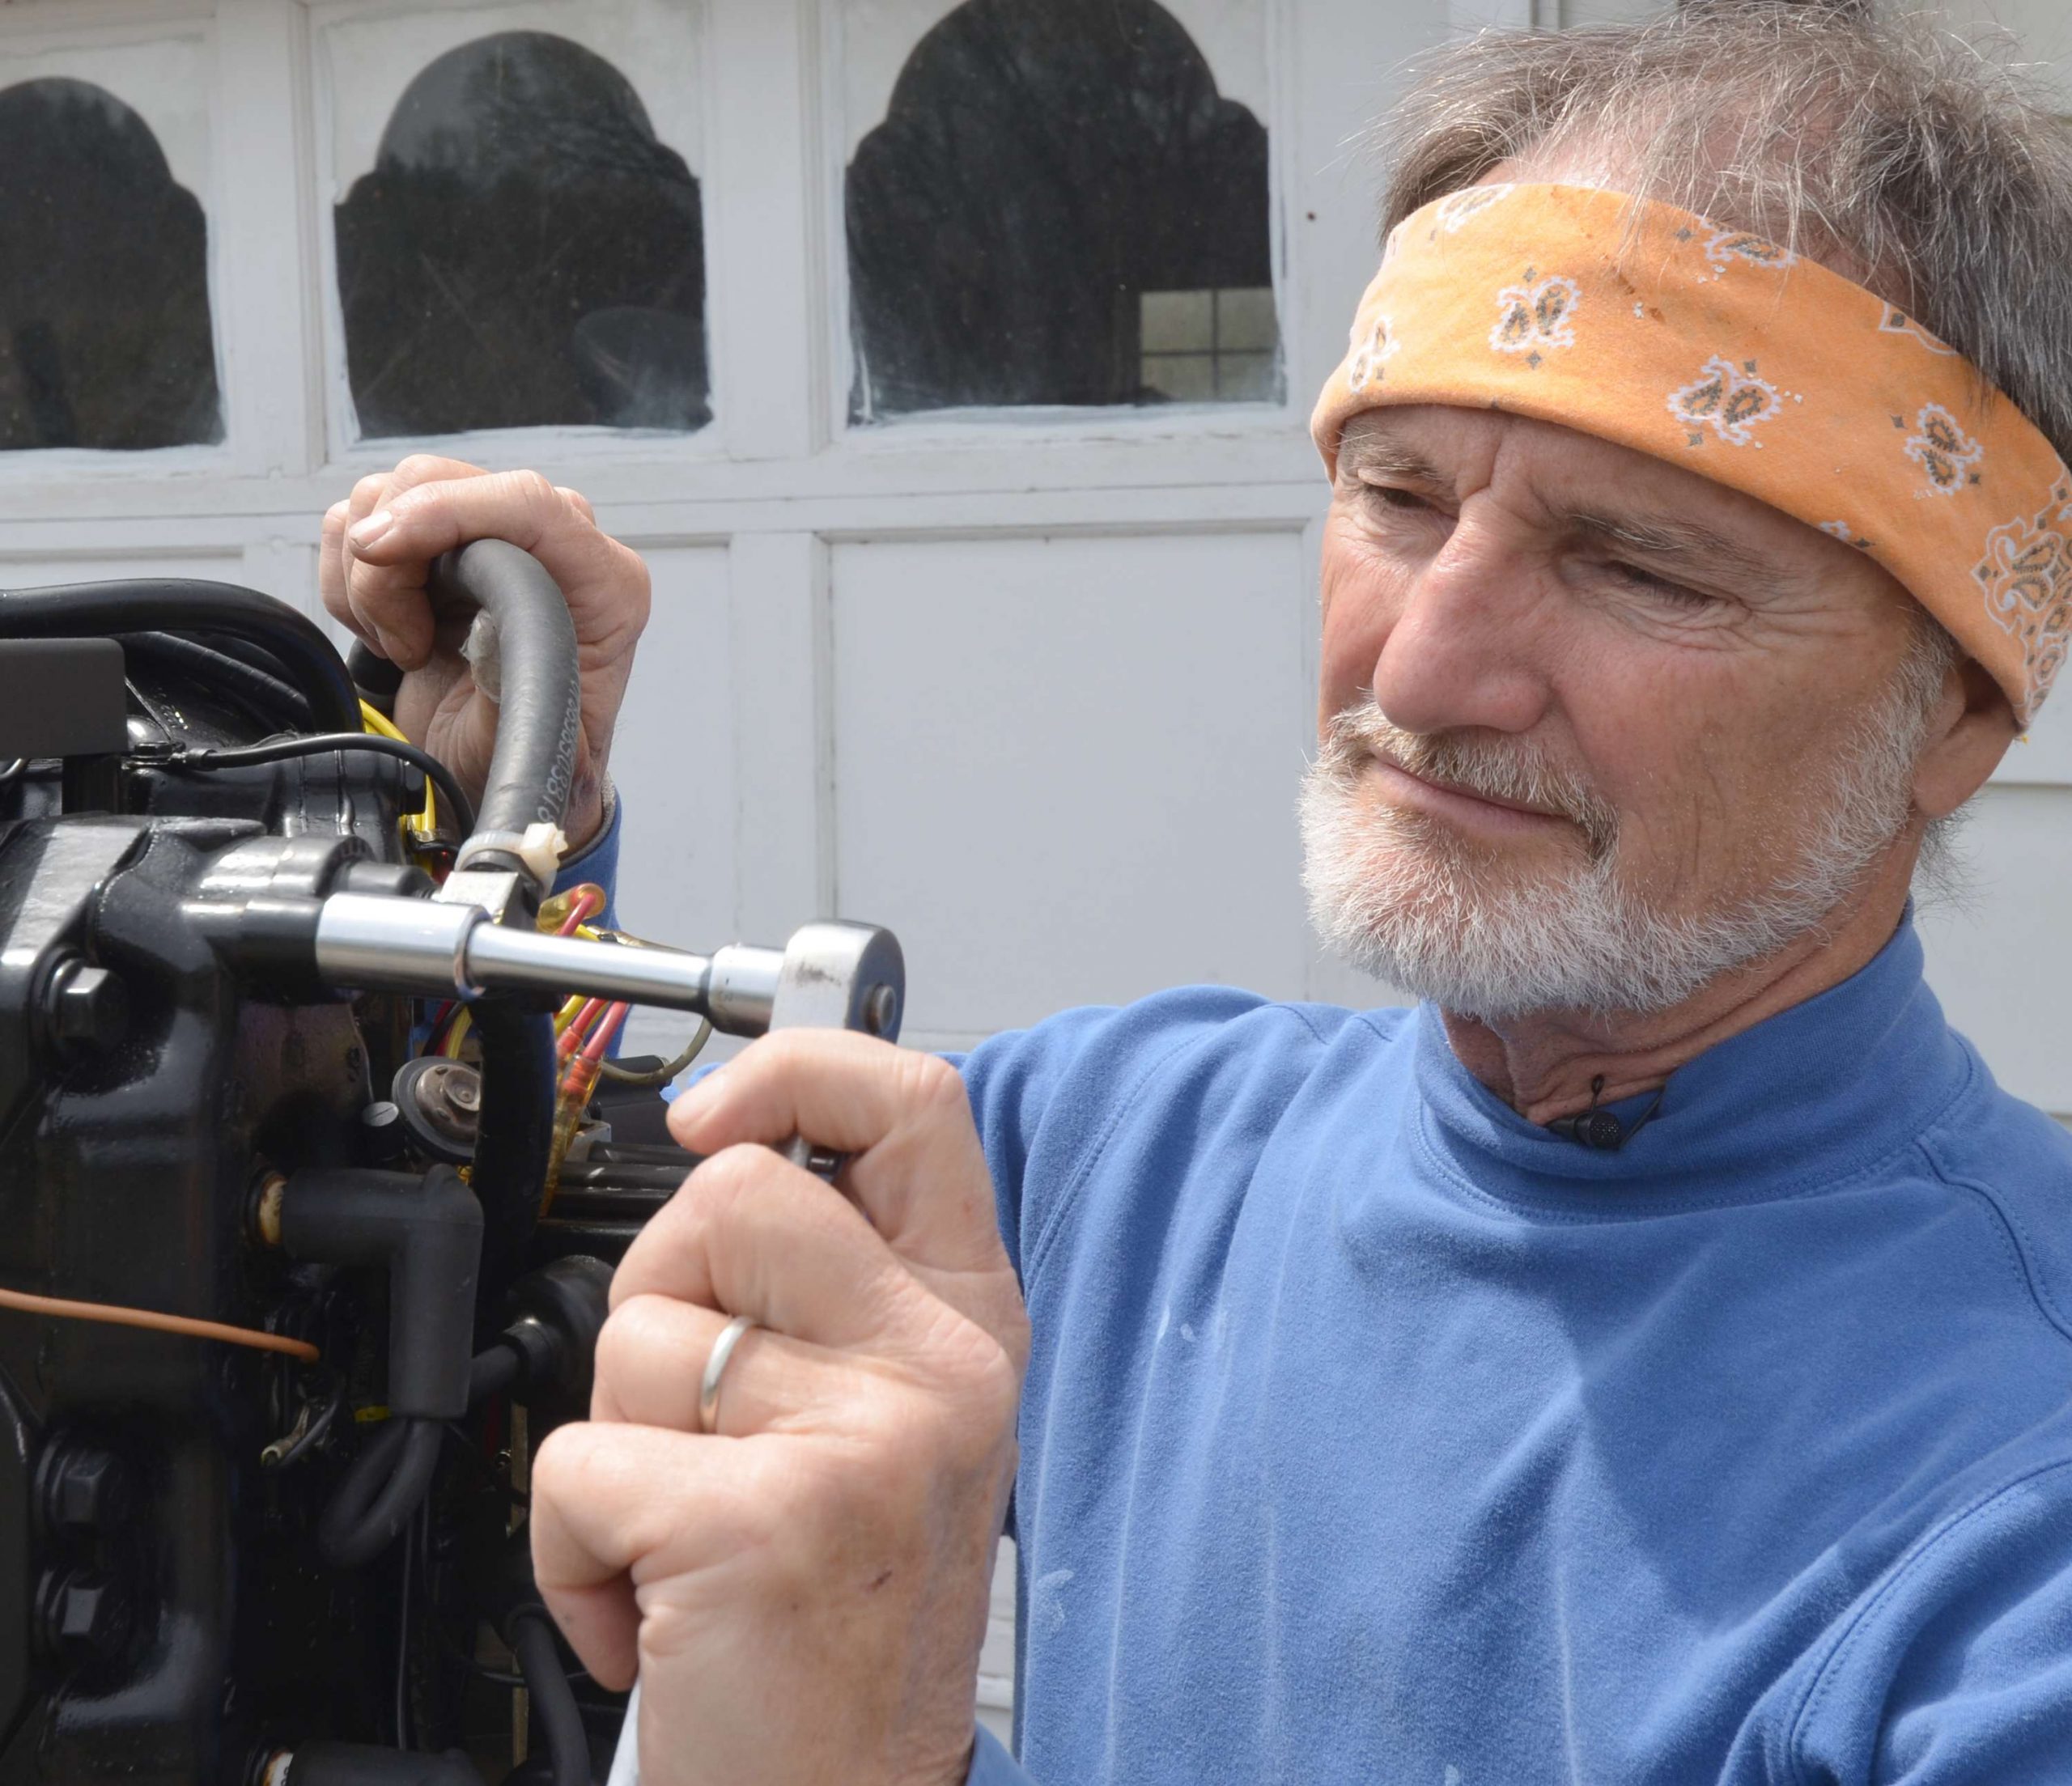
No matter the age of your outboard motor, regular maintenance is essential for peak performance and to prevent an untimely demise. The most basic chores are installing spark new plugs and changing the gear lube in the lower unit. You should also check thermostats.
CHANGING SPARK PLUGS
Change spark plugs every season on carbureted outboards. On fuel-injection outboards, change plugs according to the manufacturerâs recommendations. Get the exact spark plugs designated for your outboard, and always start them in by hand to avoid stripping threads in the engine.
Thermostats should be checked when you replace your water impeller. My Mercury XR6 has two of them on the top of the engine block.
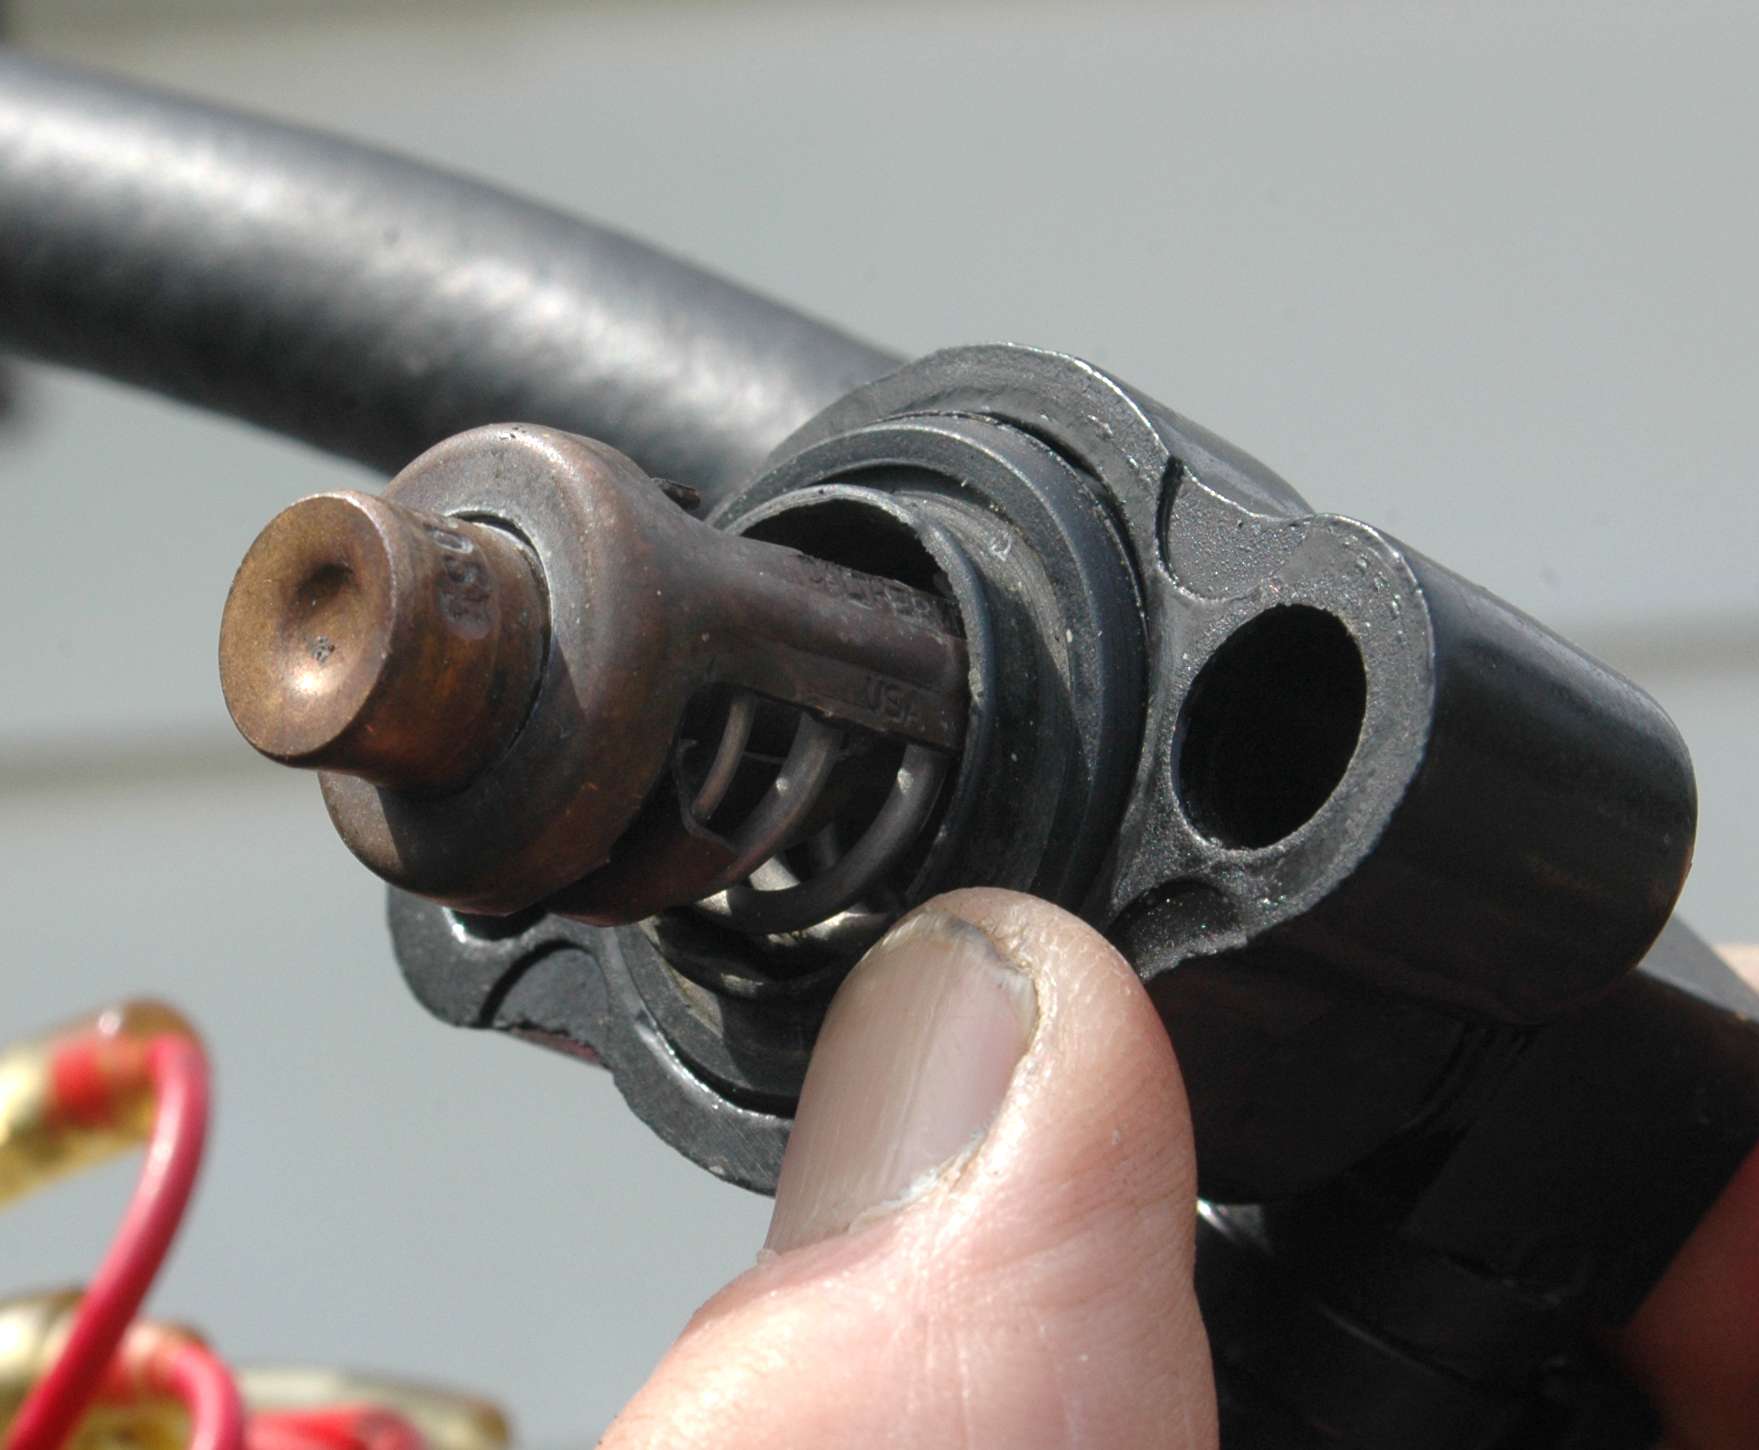
If a thermostat wonât open when placed in boiling water, replace it. Mine worked, but I replaced them anyway.
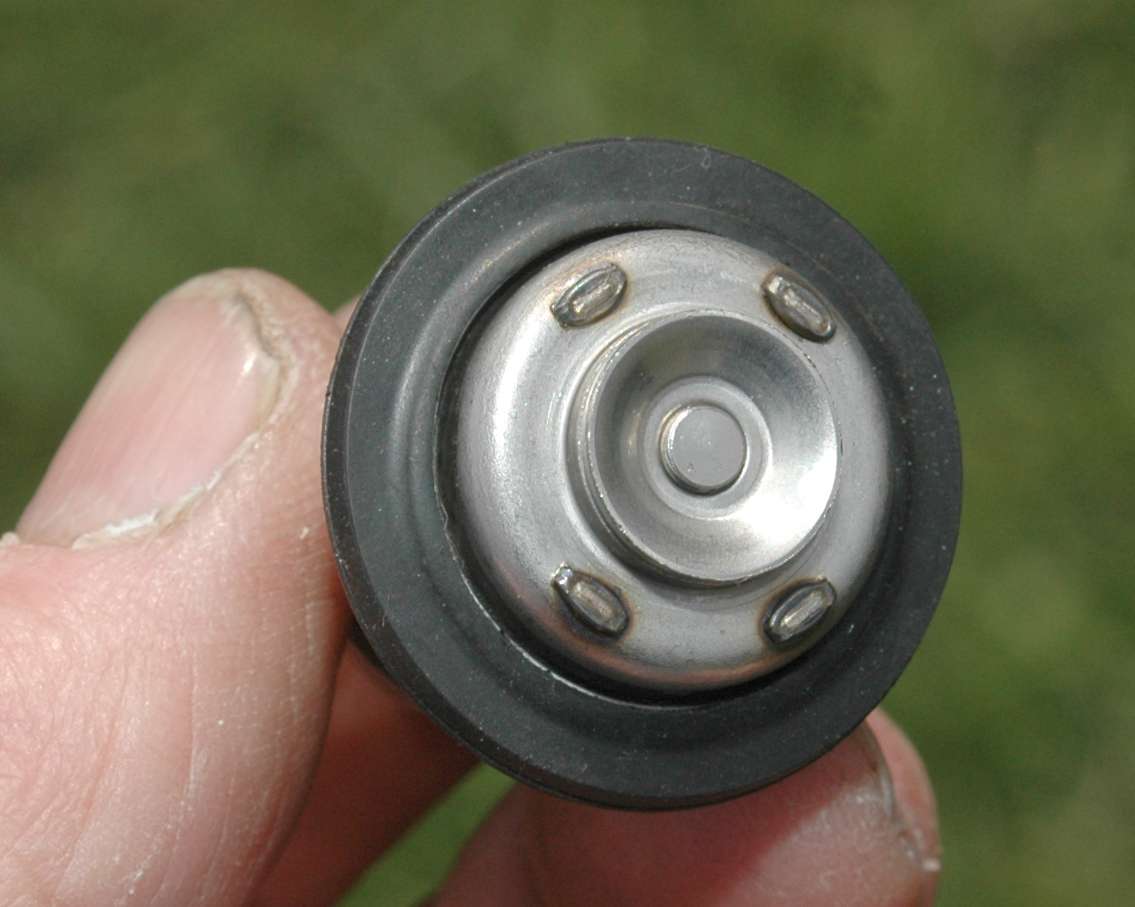
I had to remove the rubber gasket from the old thermostats and put them on the new thermostats before installing them.
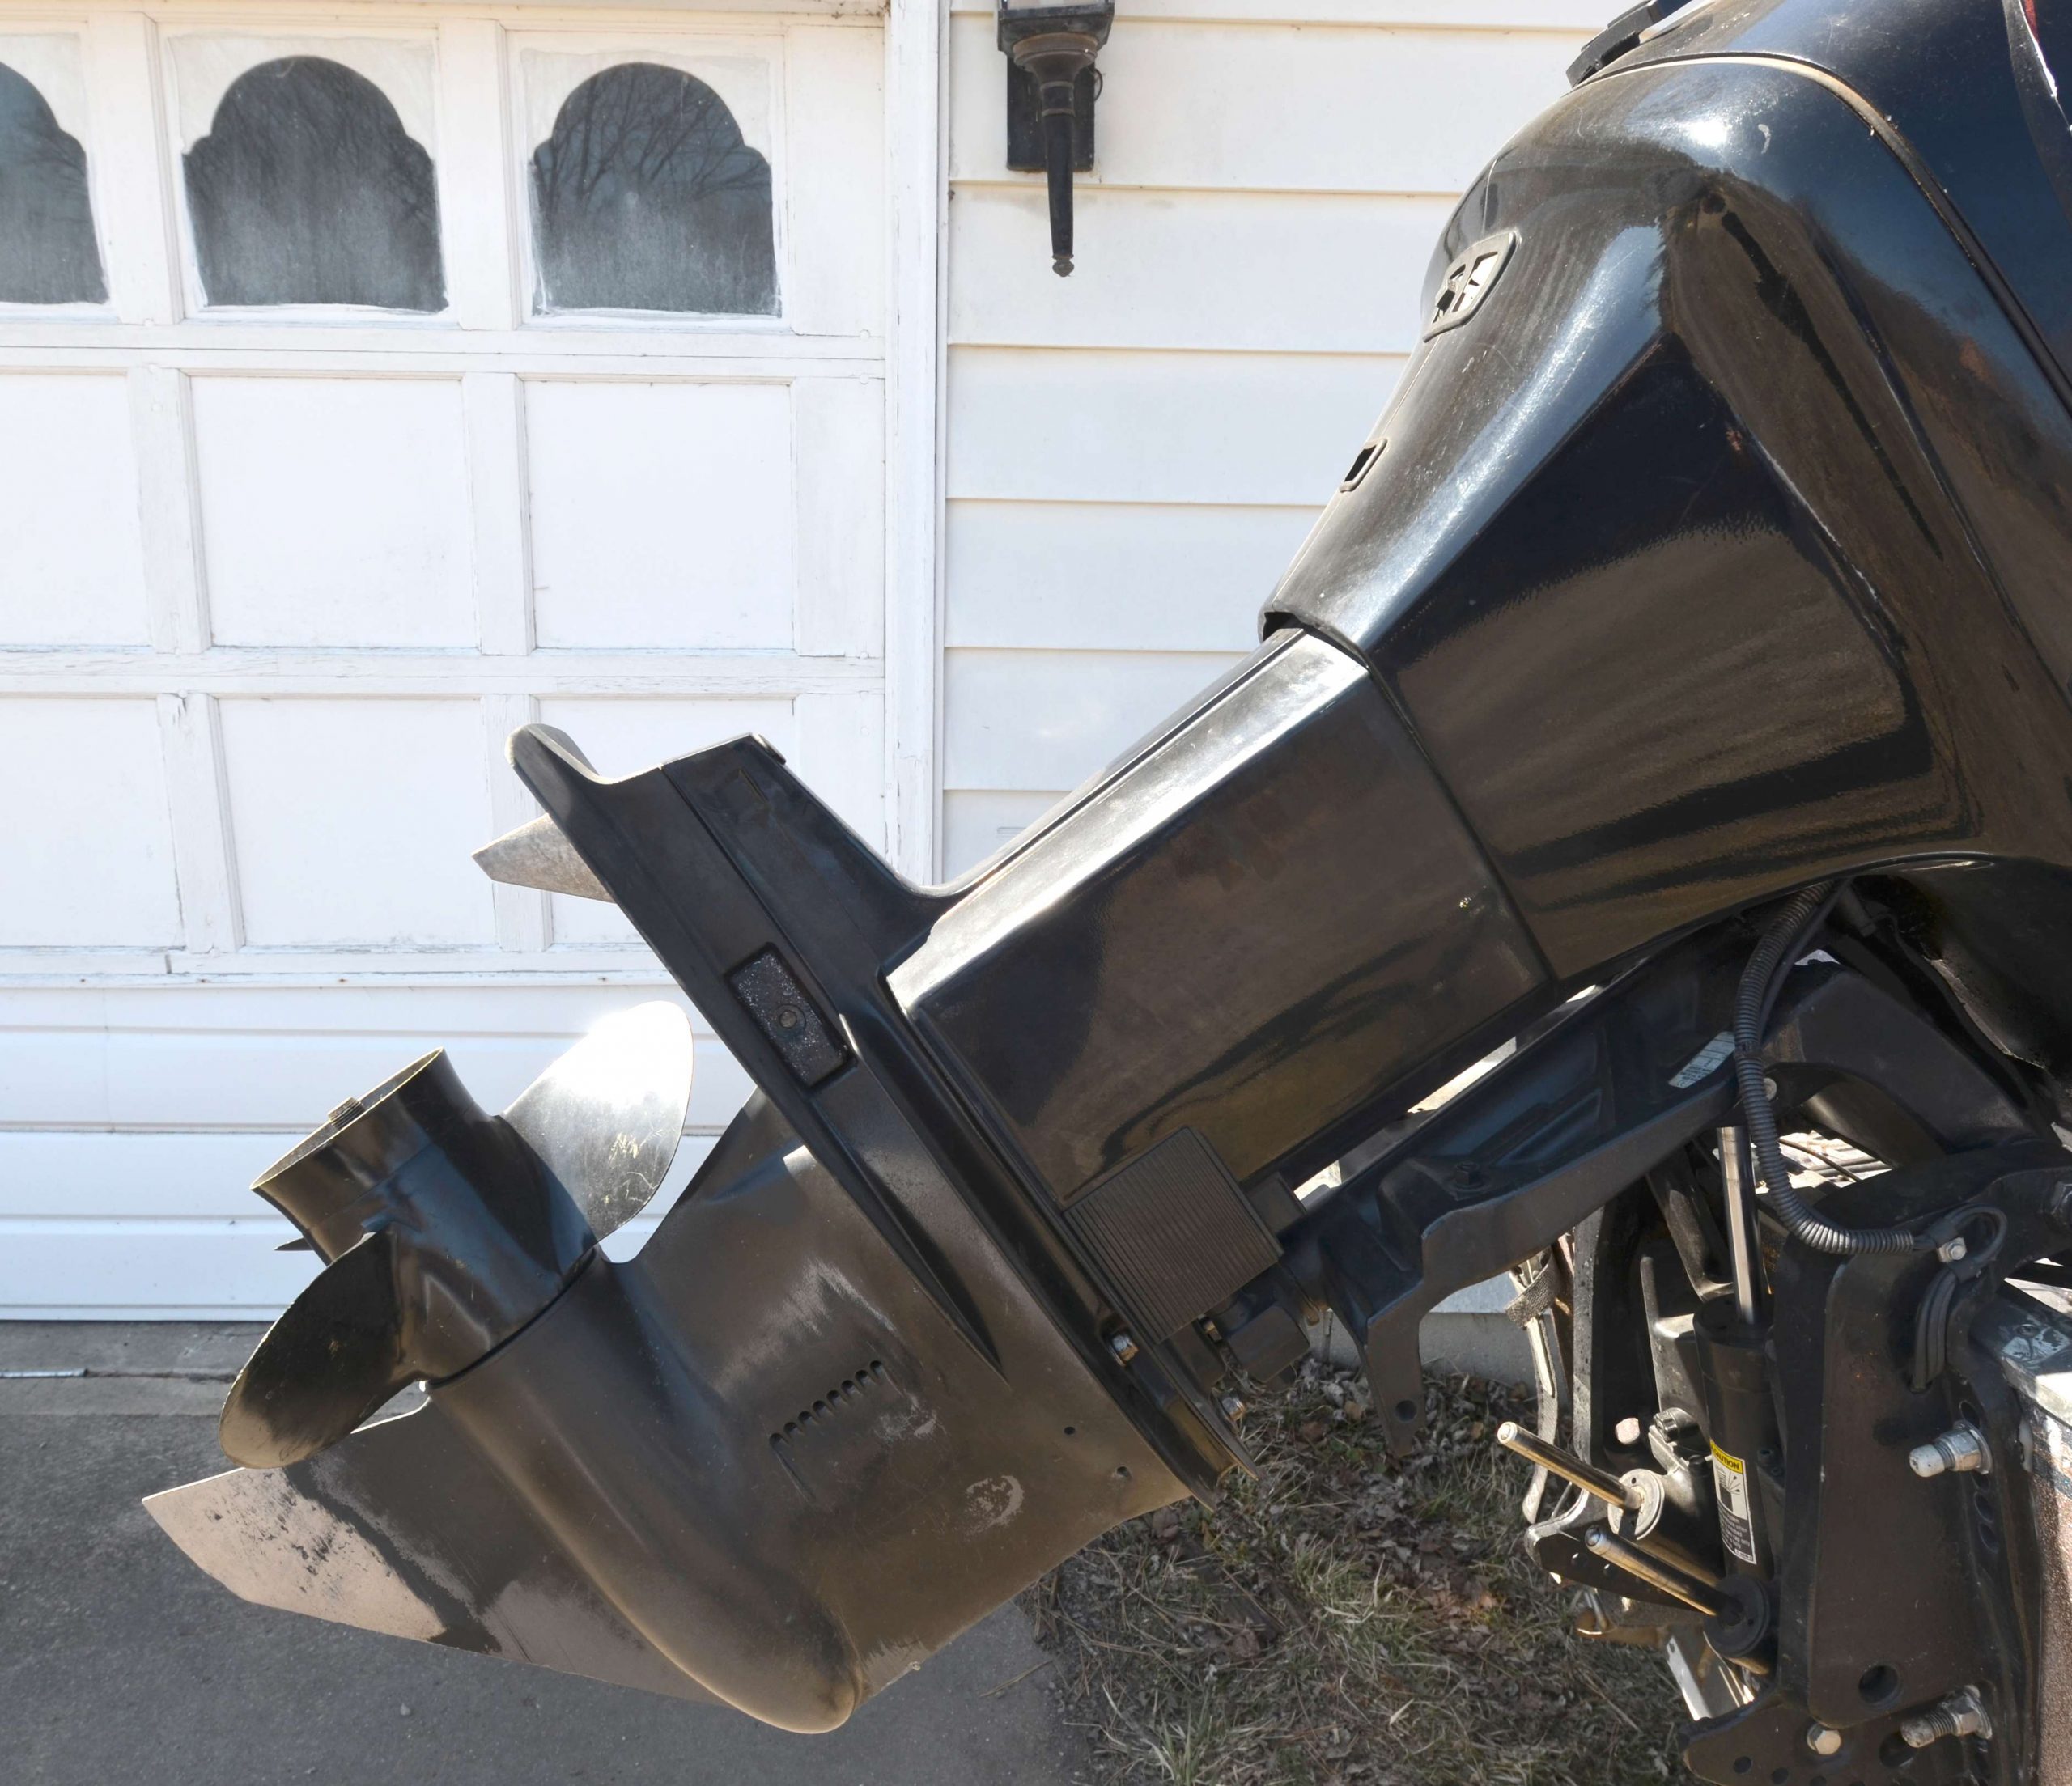
Tilt the outboard down. Place an oil pan under the lower unit and remove two screws. One screw is on top of the lower unitâ¦

â¦and another screw is on the bottom. Let the oil drain for 30 minutes.
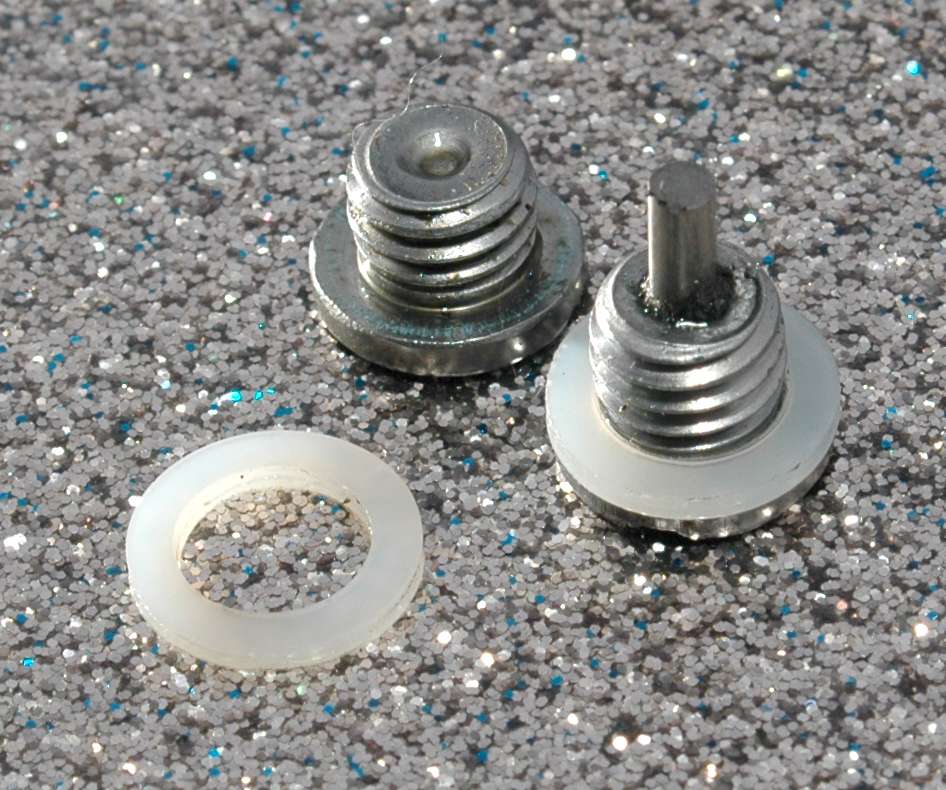
As the gear oil drains, replace the washers on the screws with new ones to avoid leaks.
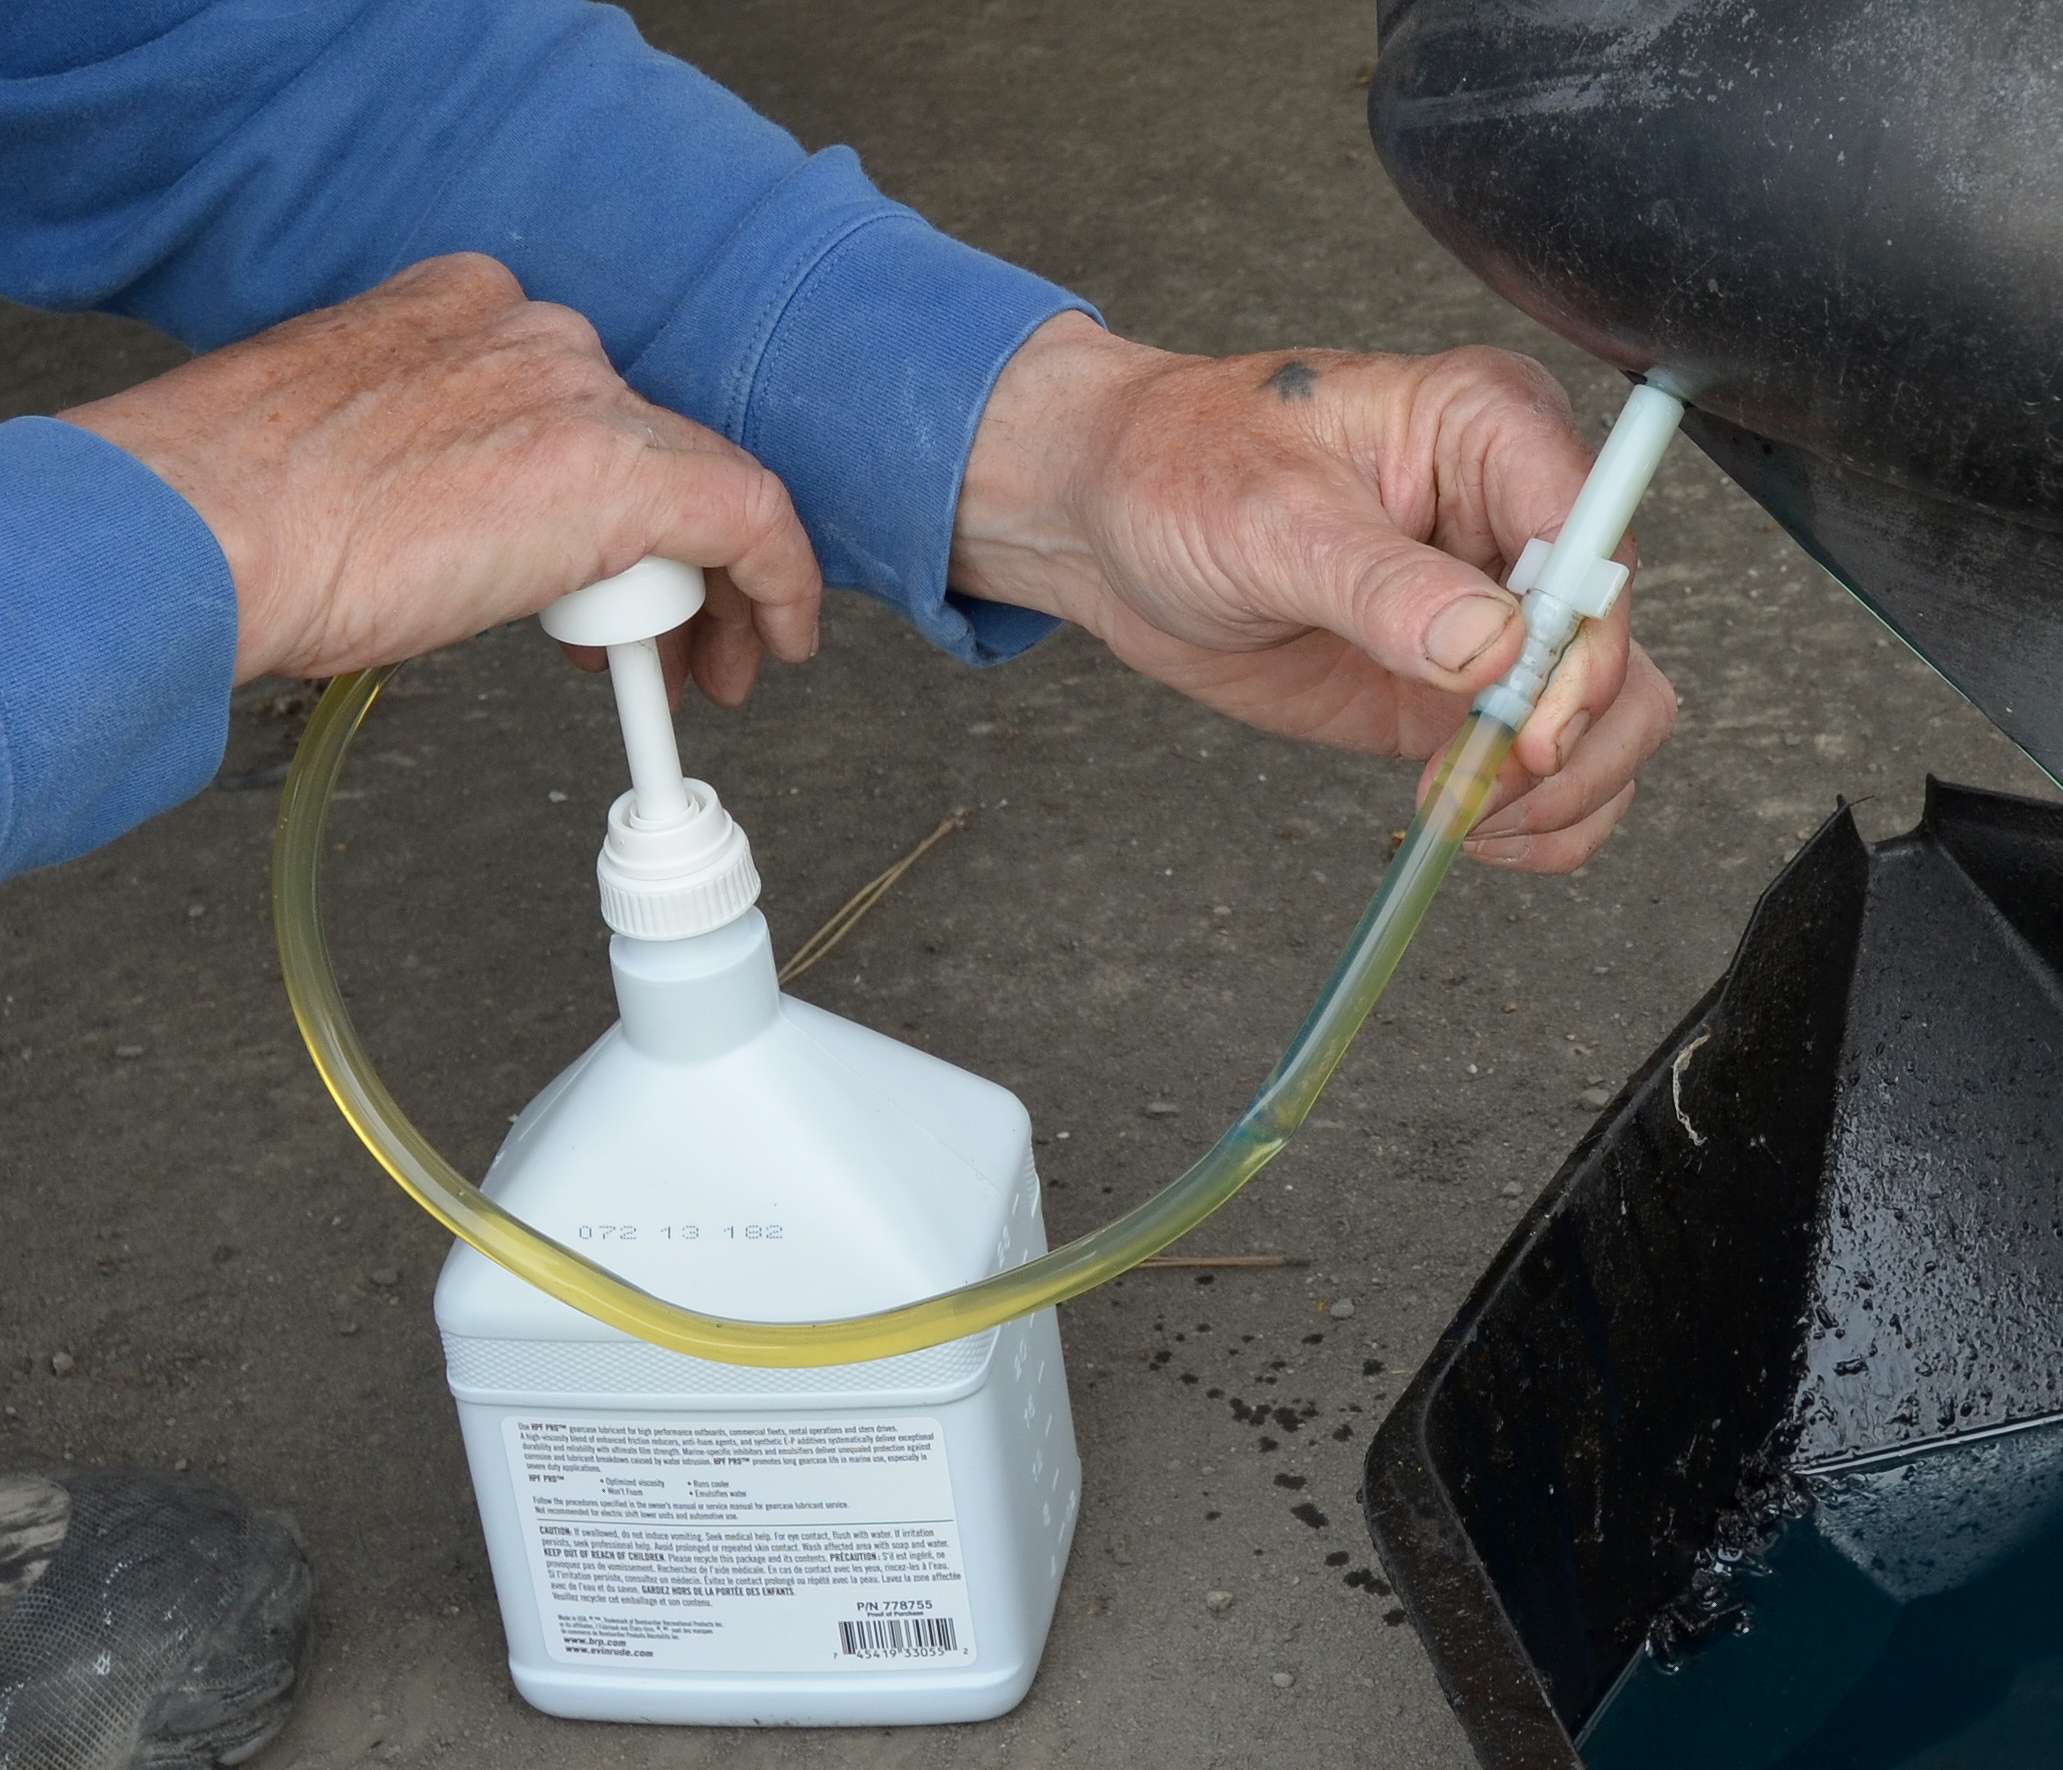
Buy outboard gear lube that comes with a pump. Insert the line from the container into the bottom hole. Pump the lubricant slowly into the lower unit to avoid creating air pockets.
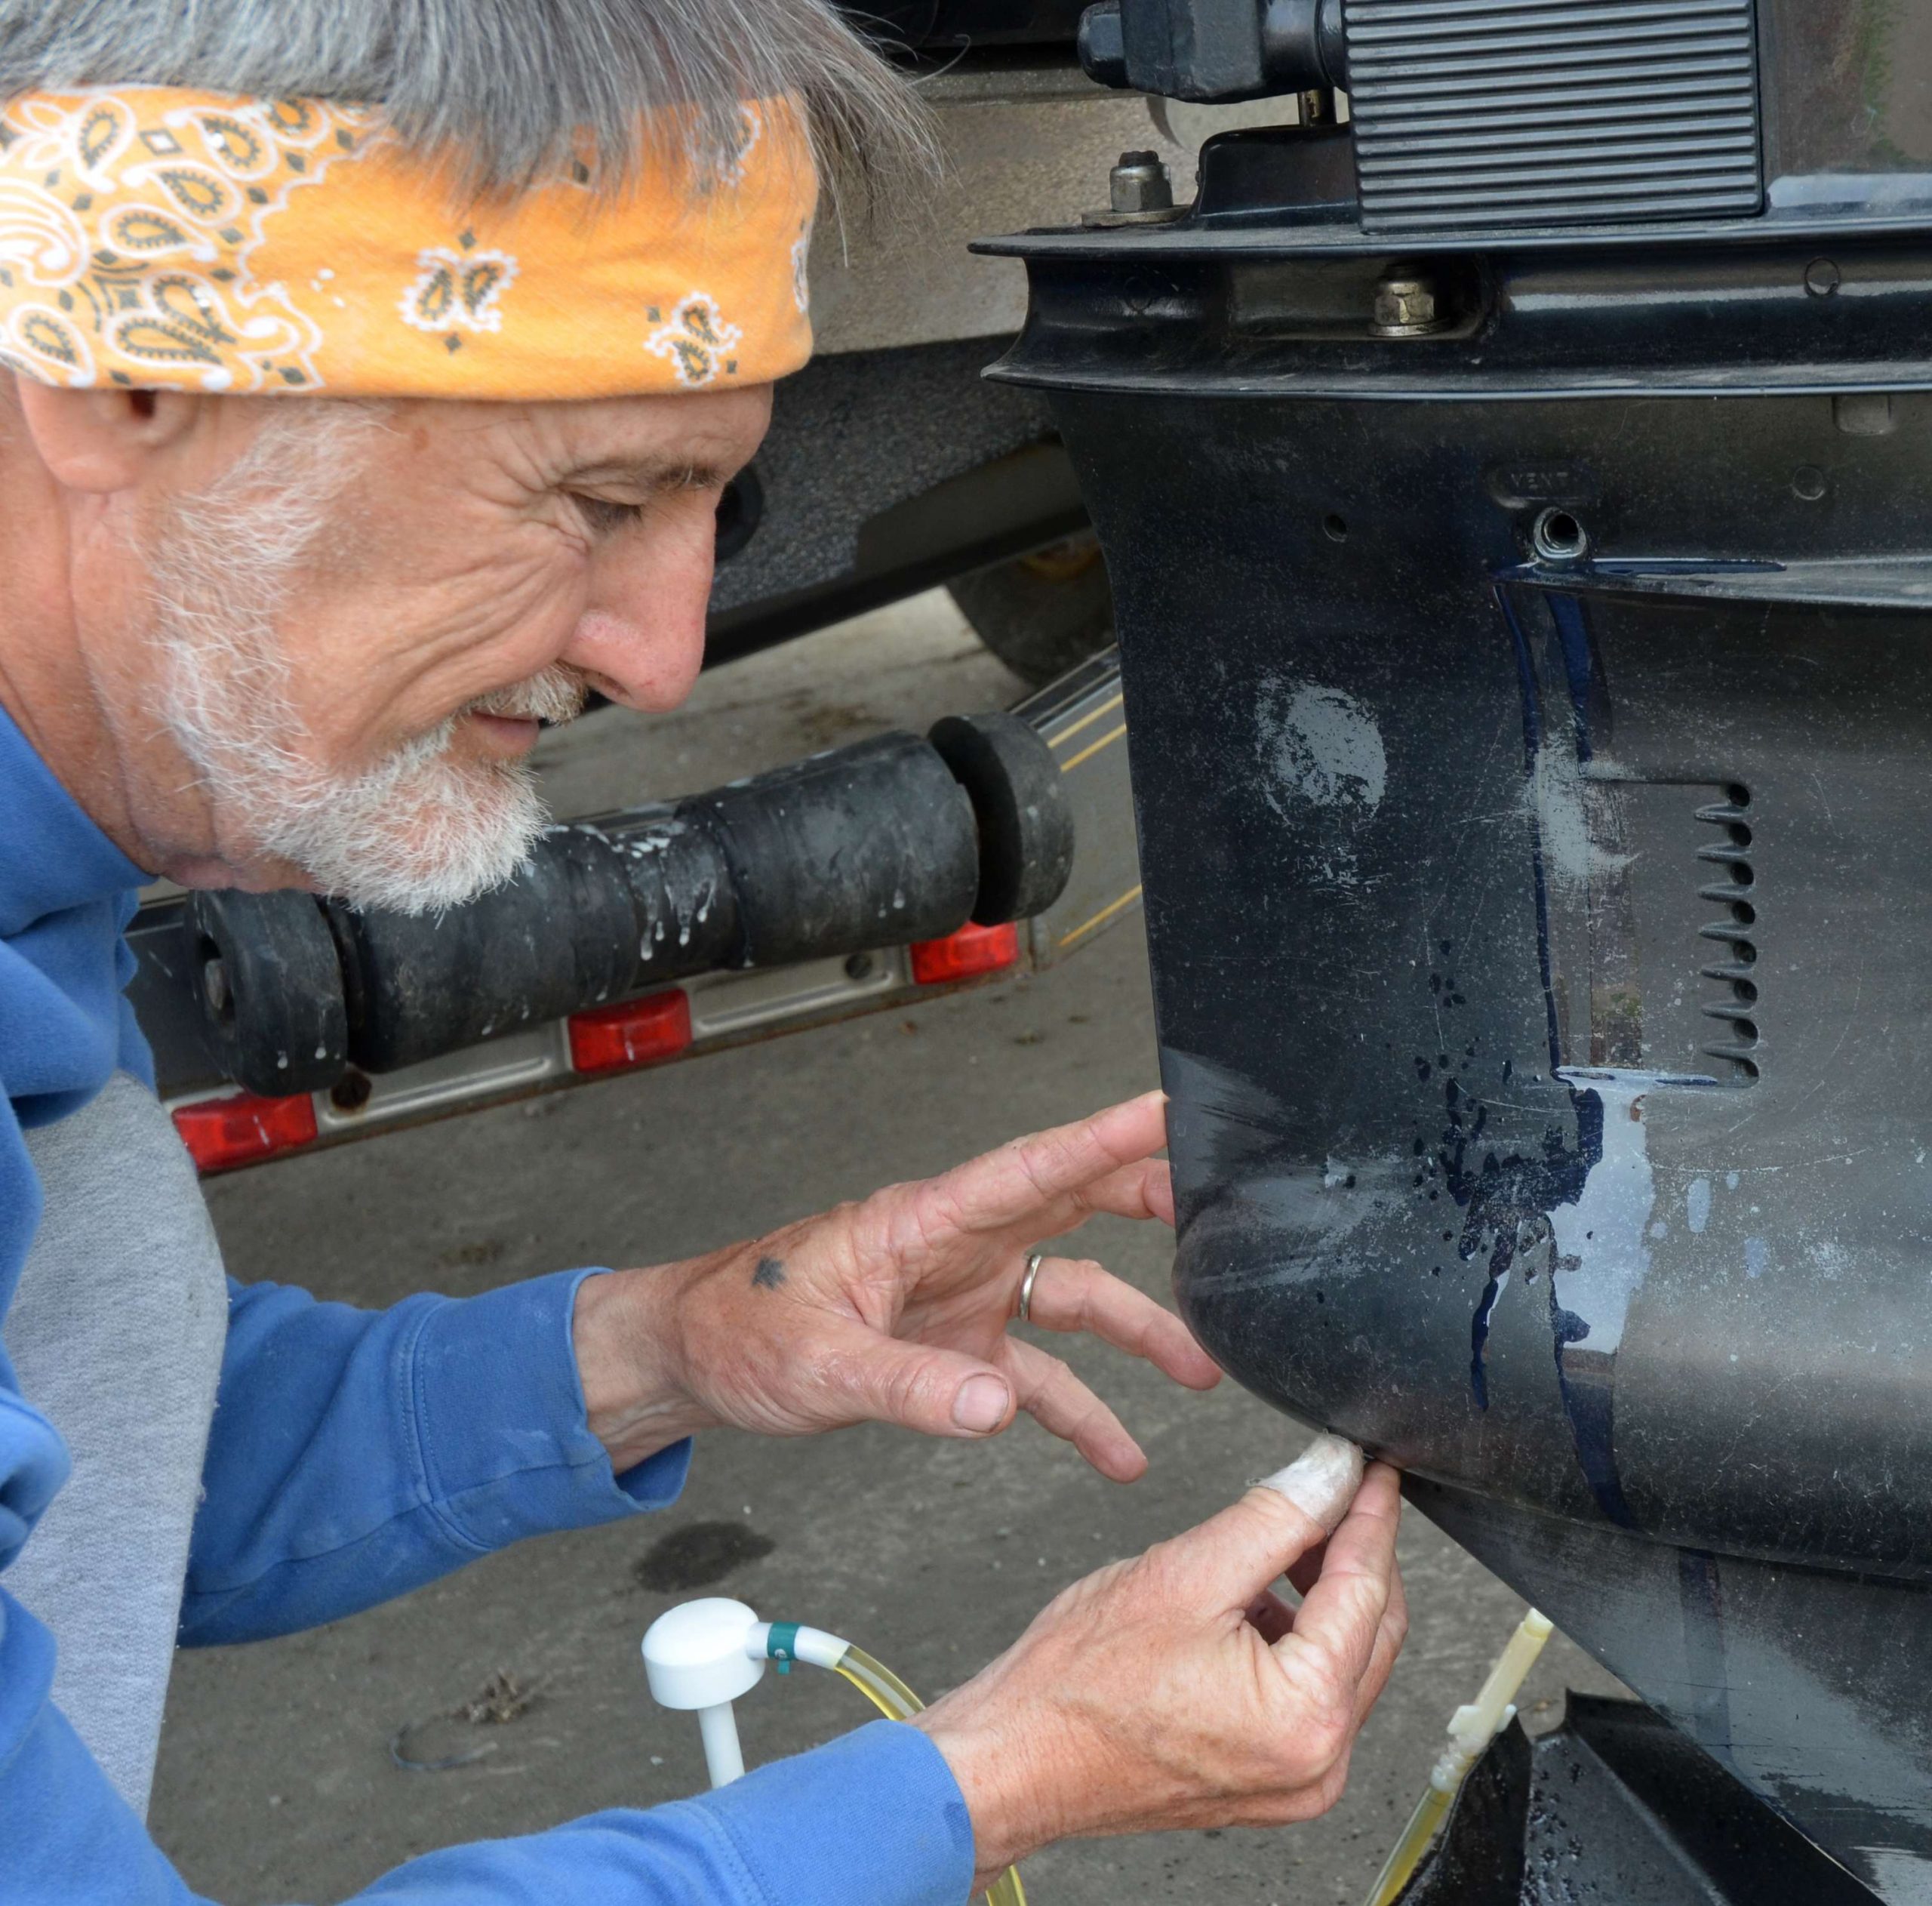
Stop pumping when oil seeps out of the upper hole. Quickly insert the screw into the bottom of the lower unit to prevent too much oil from draining out.
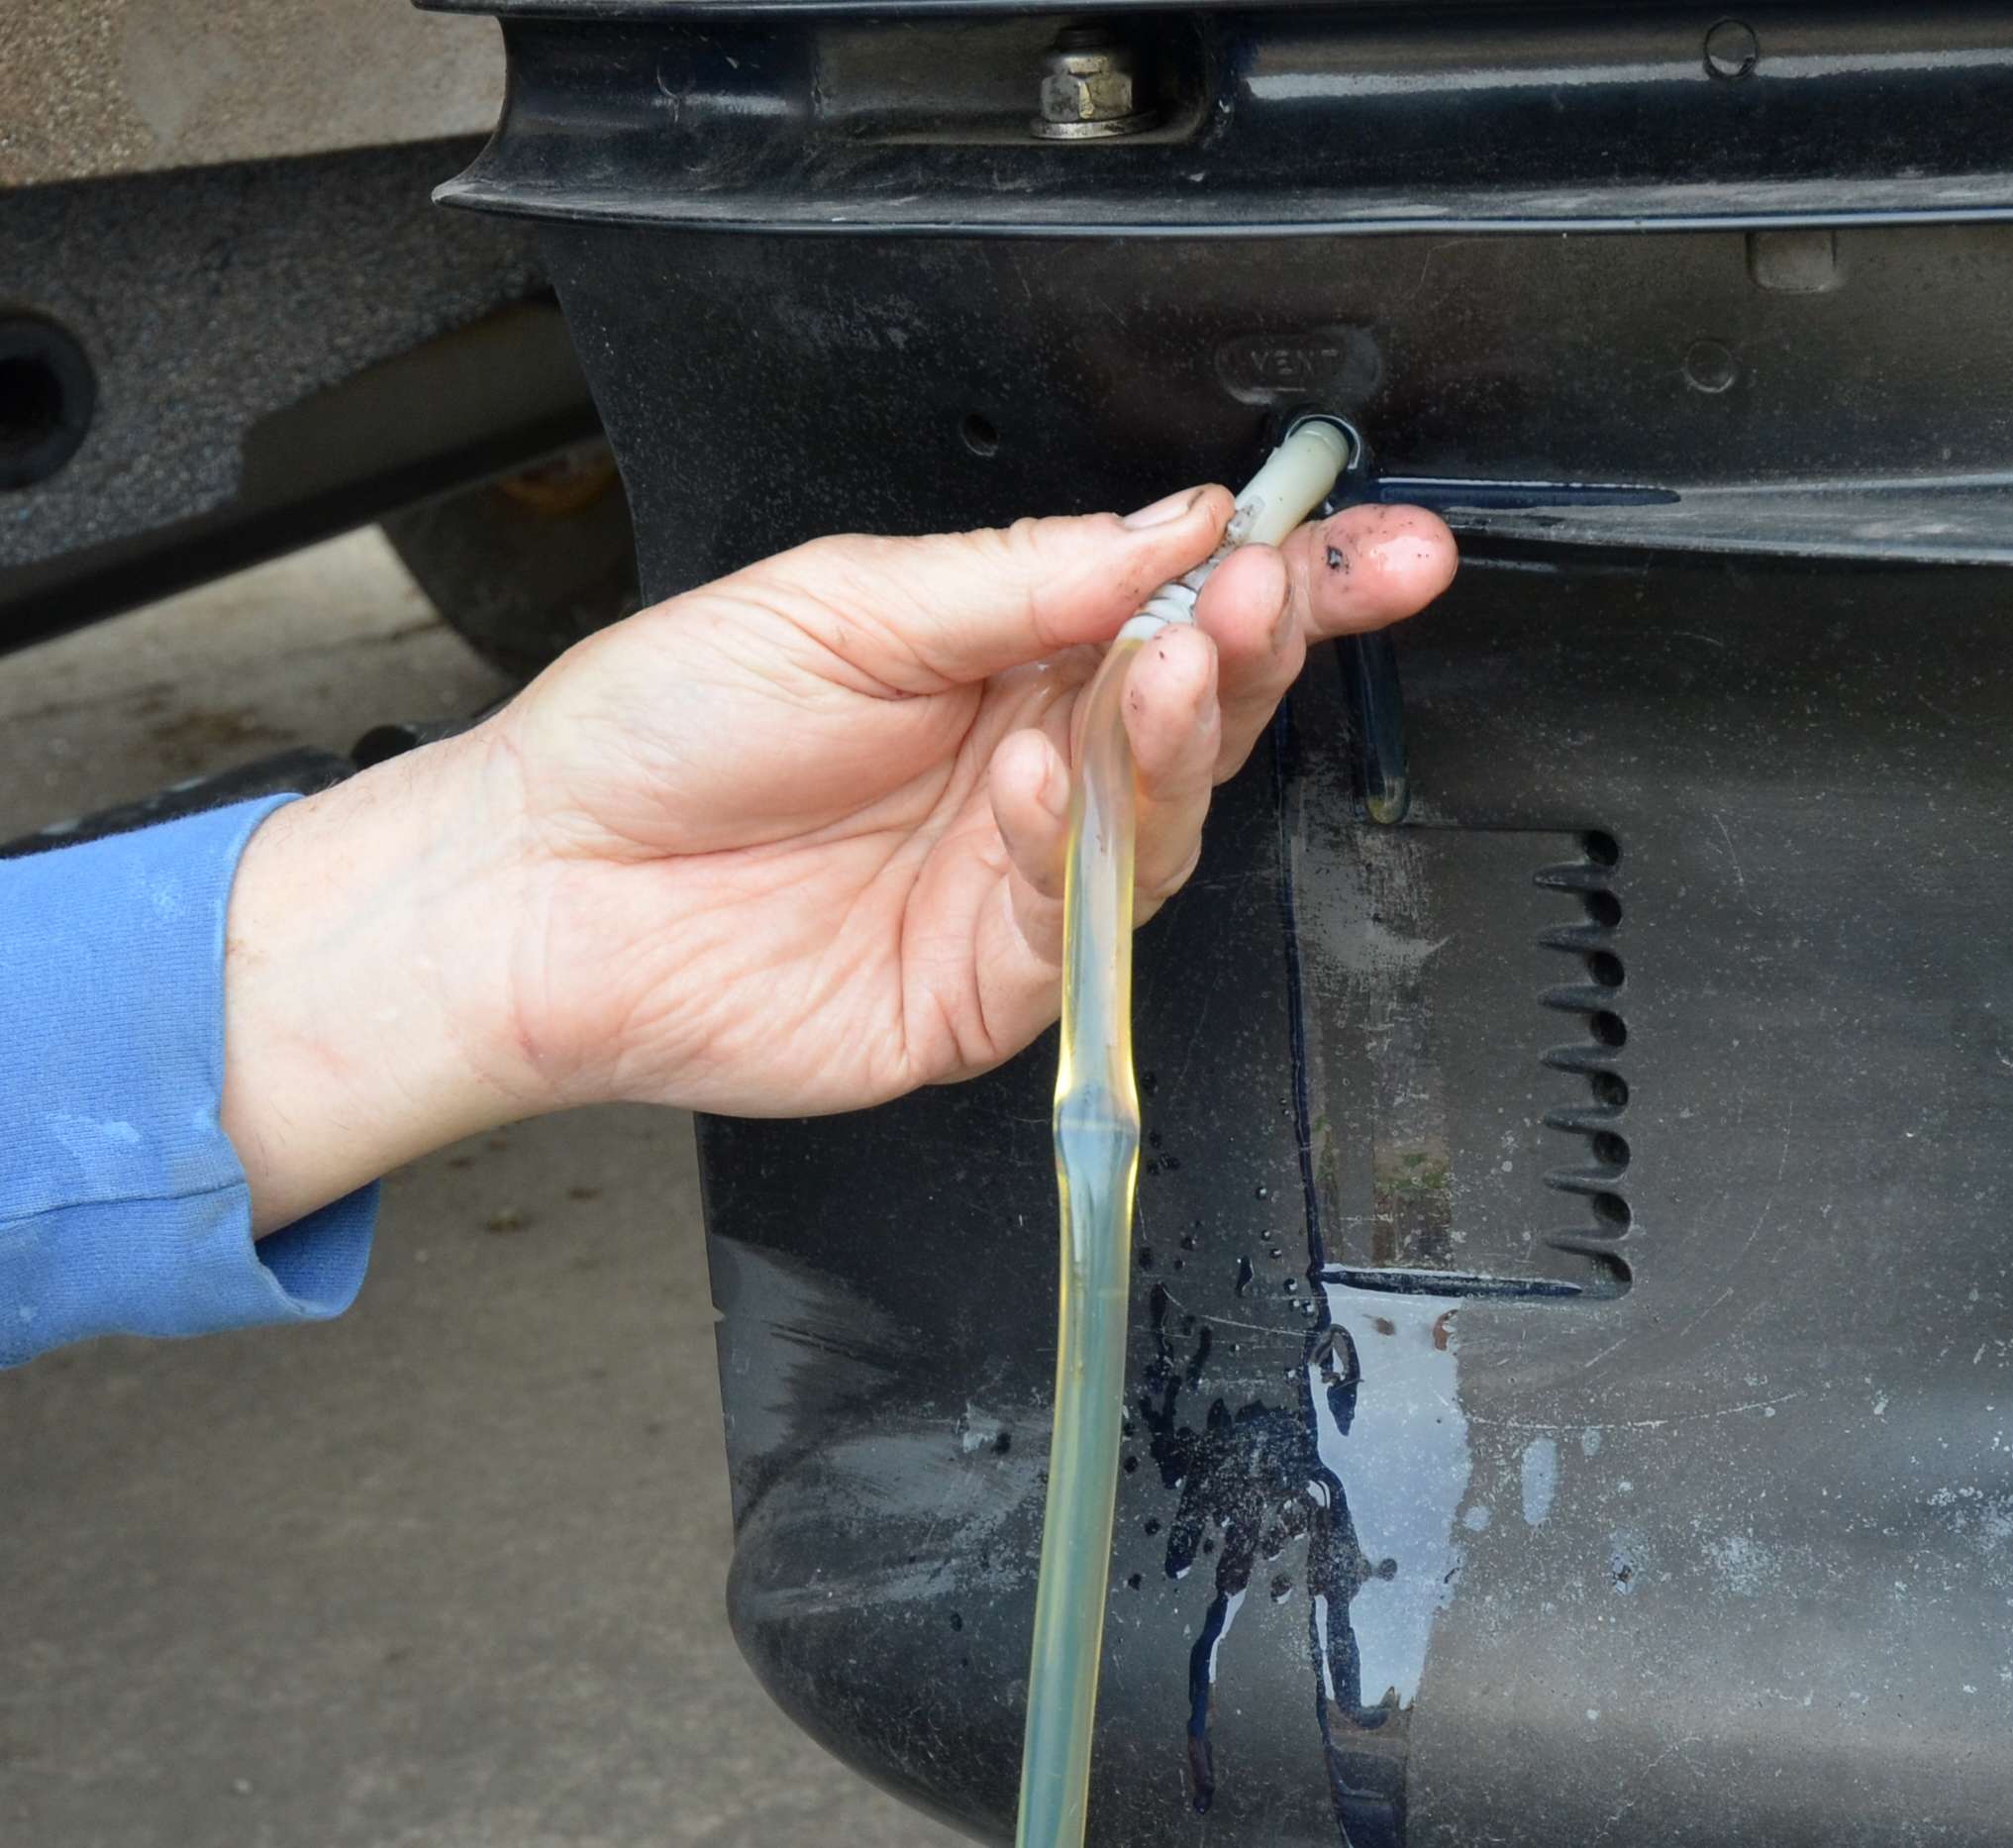
You will invariably lose some oil while starting the lower screw. Pump oil into the top hole until it overflows. Replace the upper screw, and youâre finished.
REBUILDING THE WATER PUMP
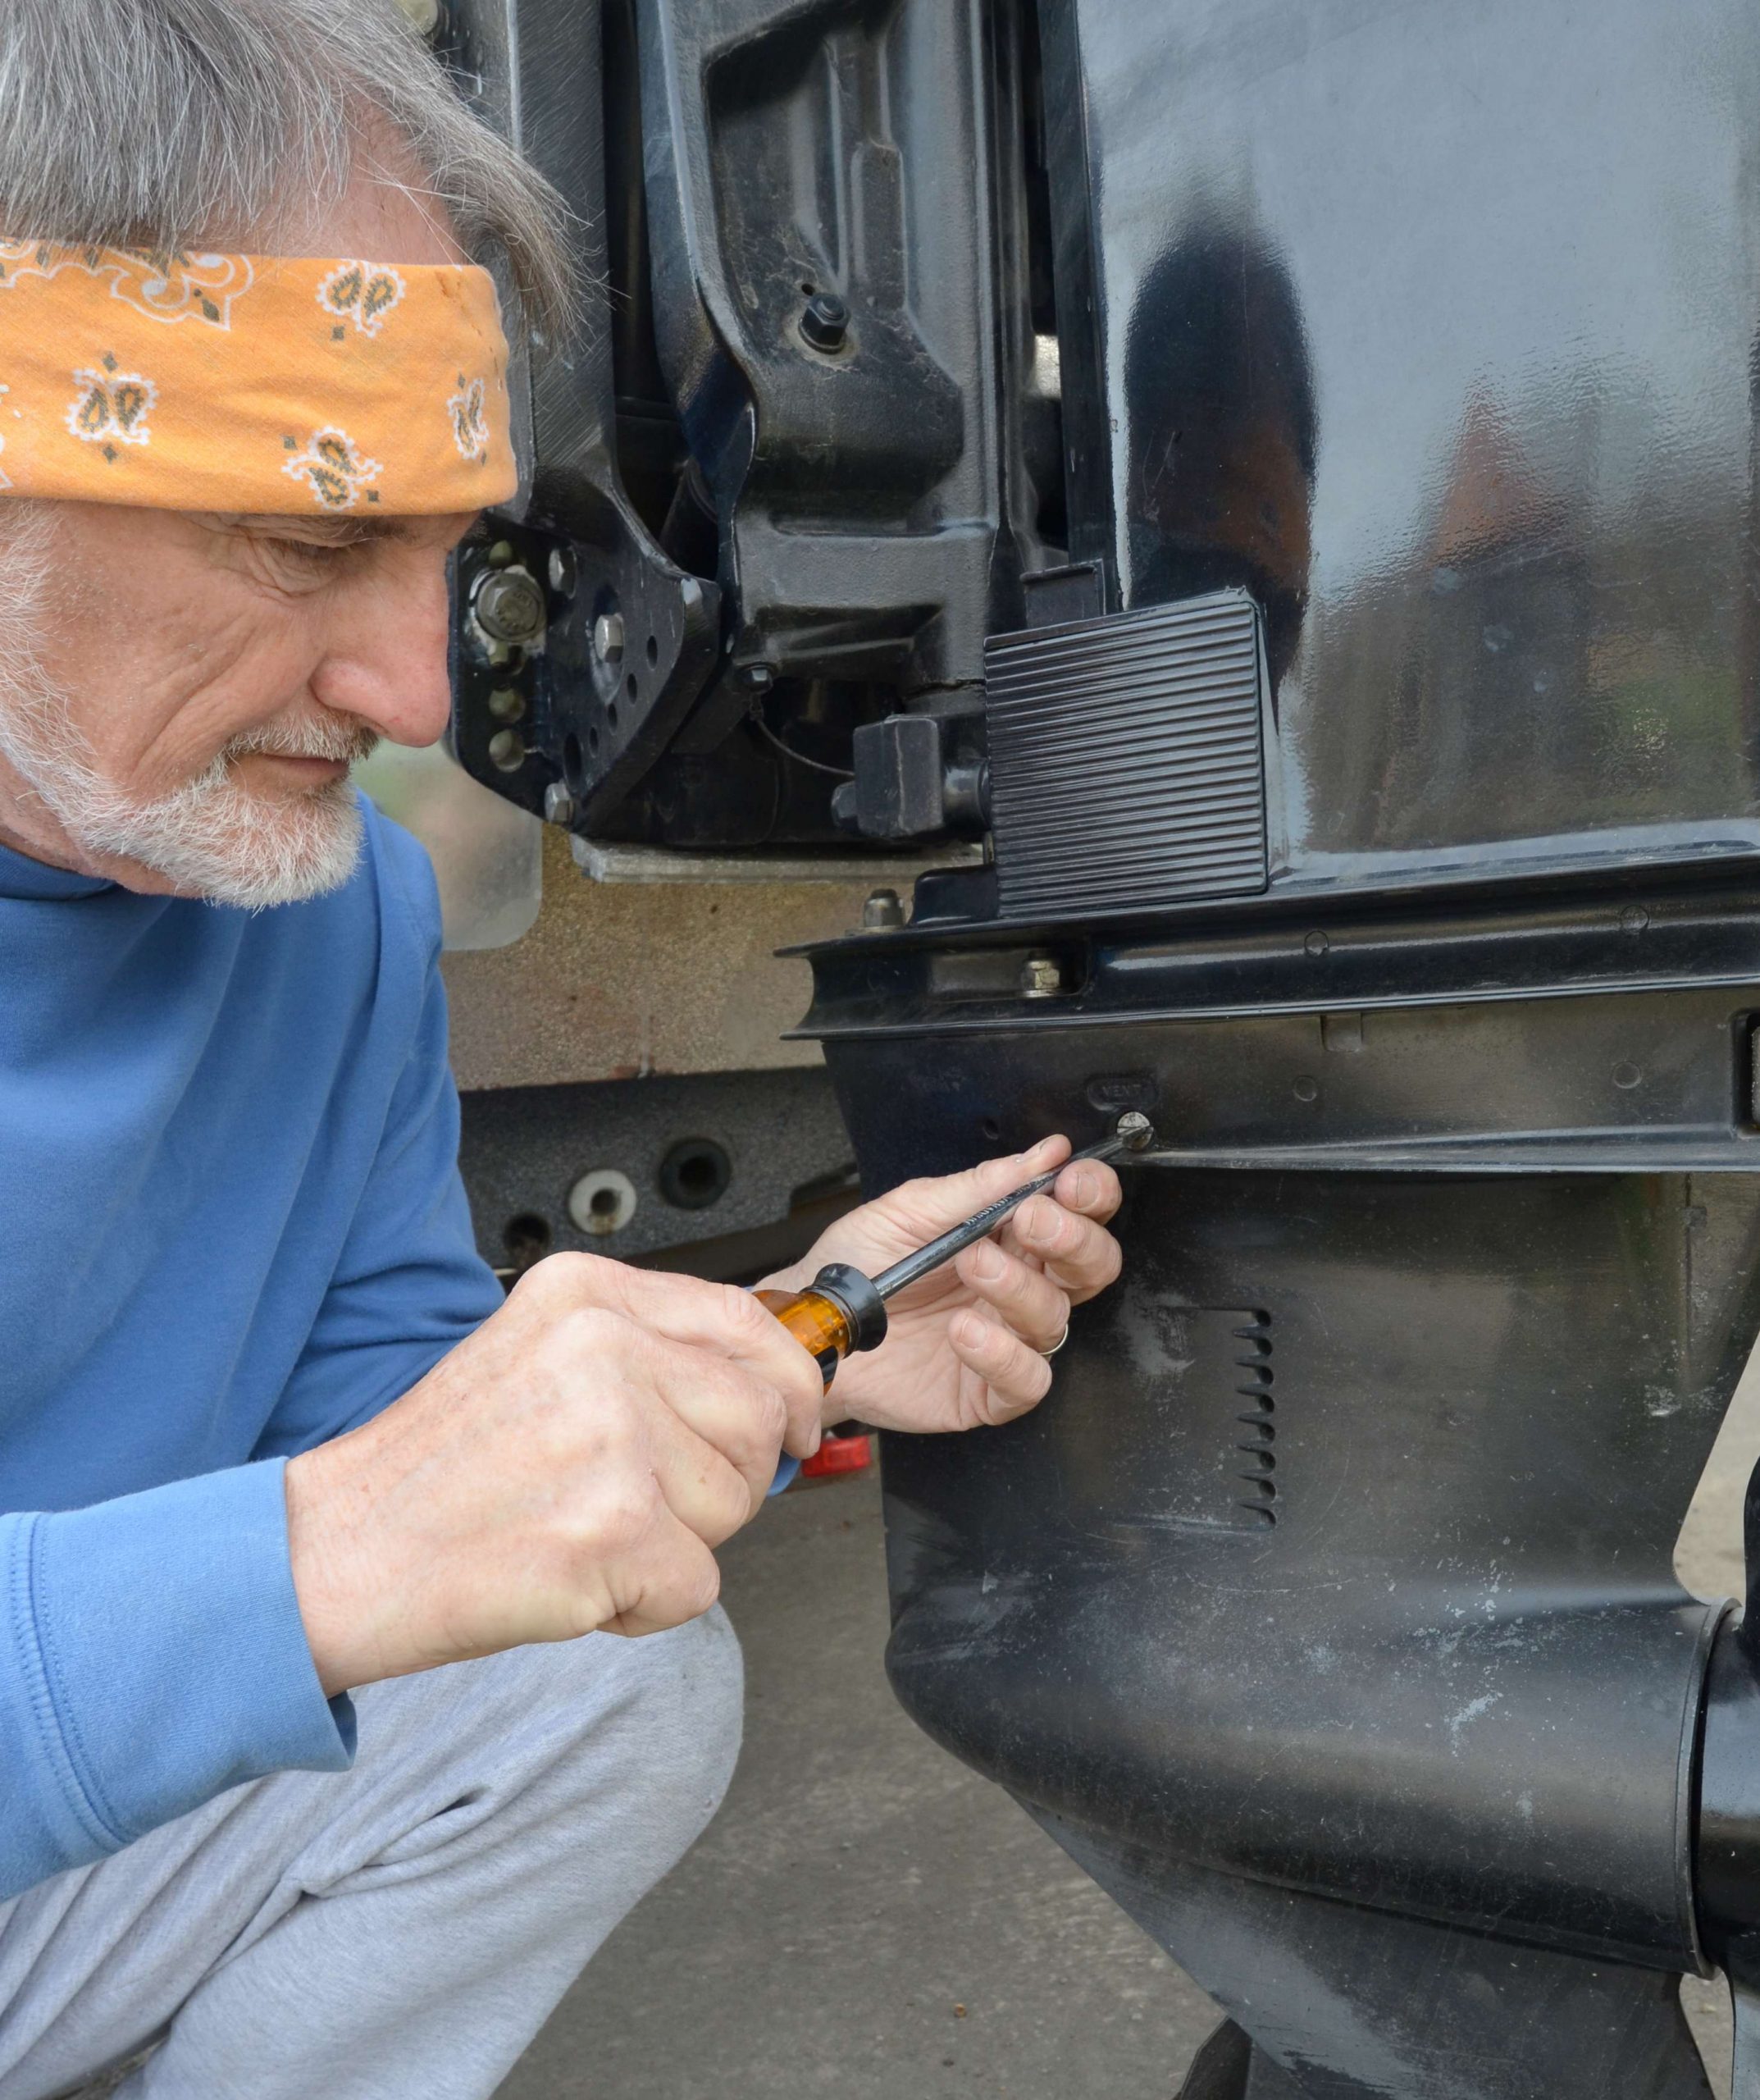
Tilt the lower unit up so you can access the nuts and bolts that secure it, and pull the long drive shaft out of the engine.
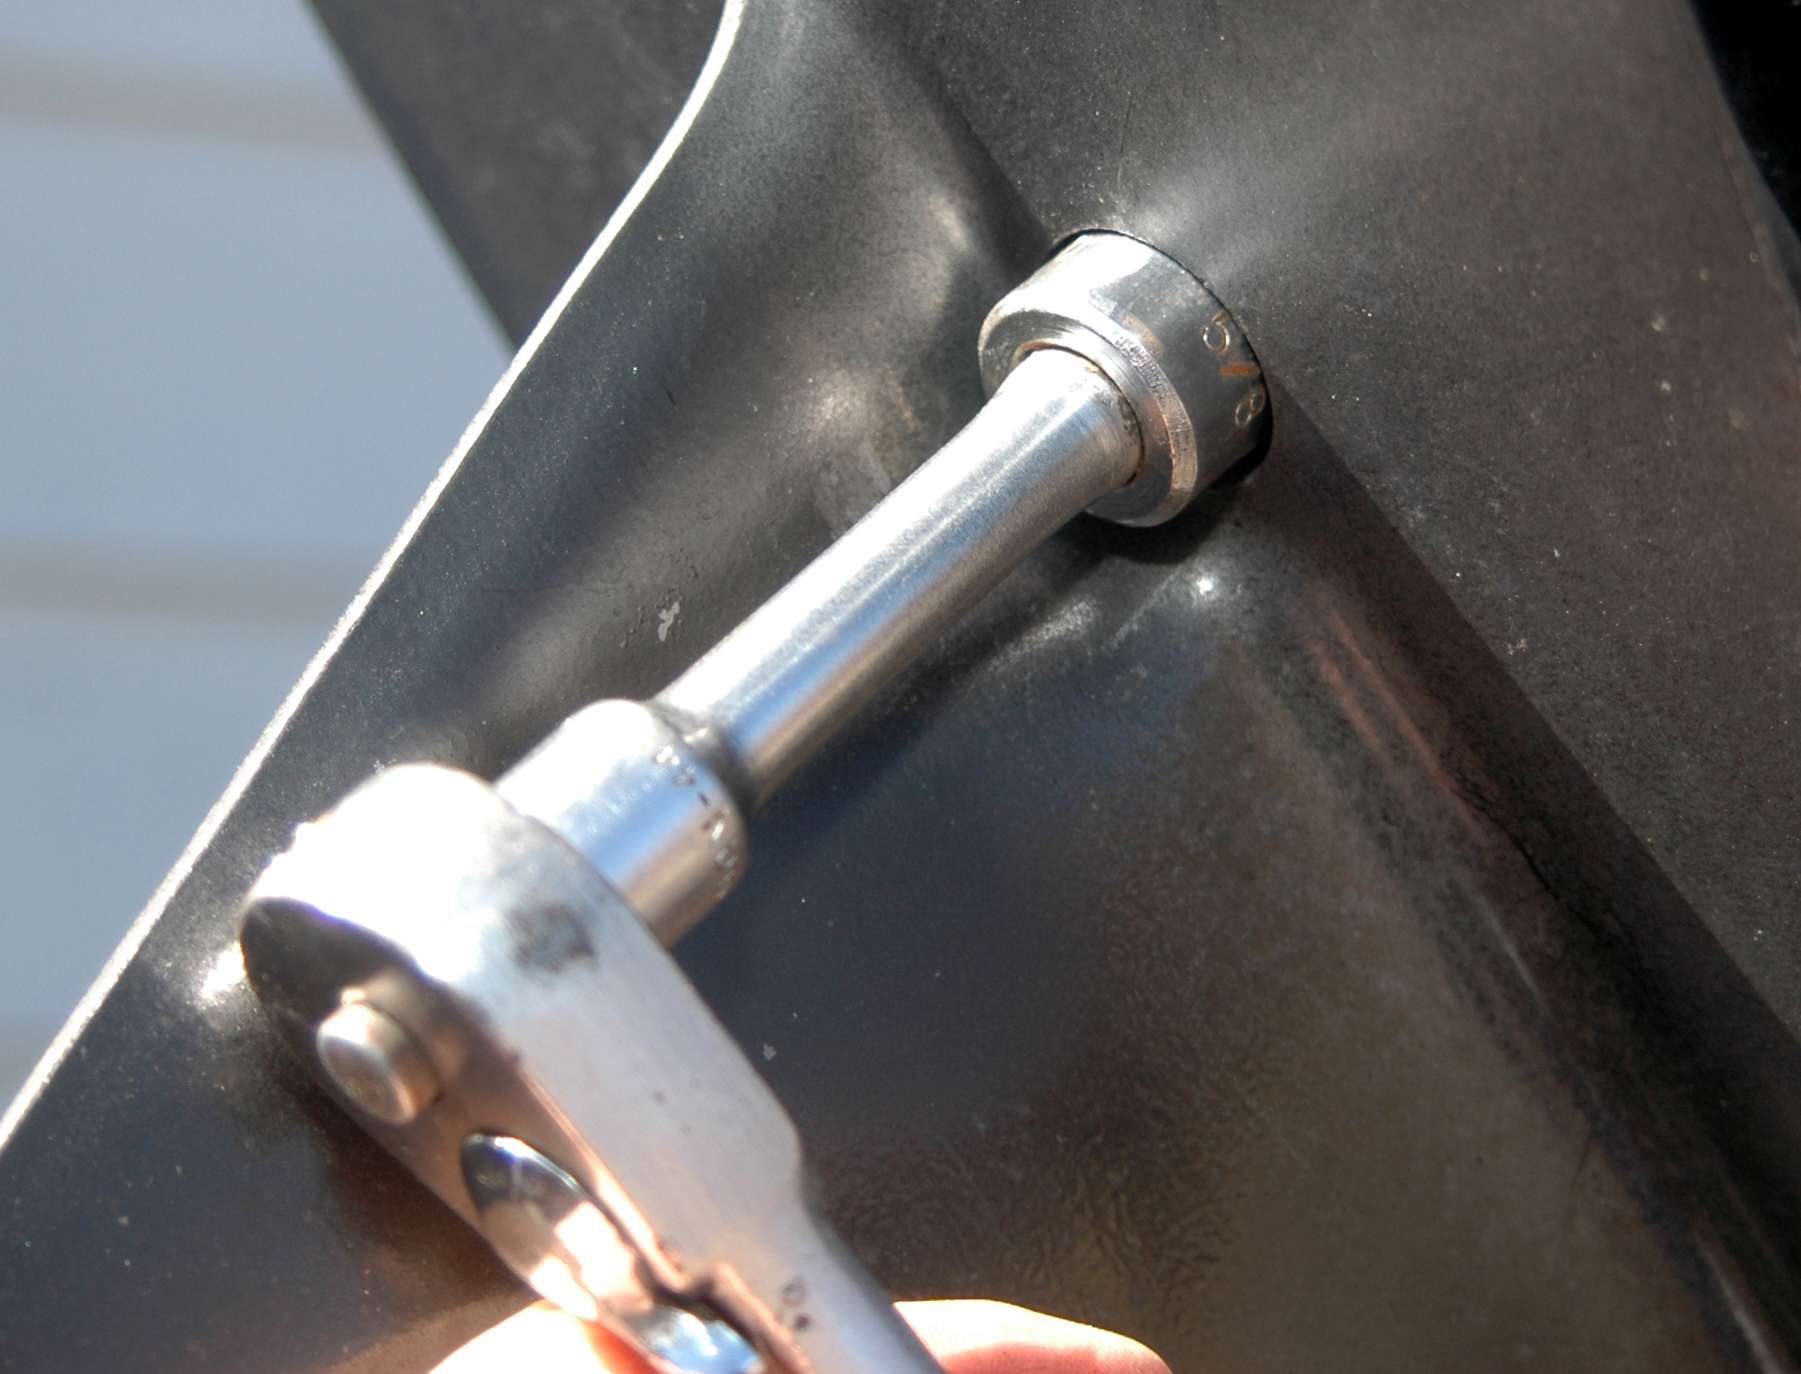
Remove the nuts and bolts that secure the lower unit.
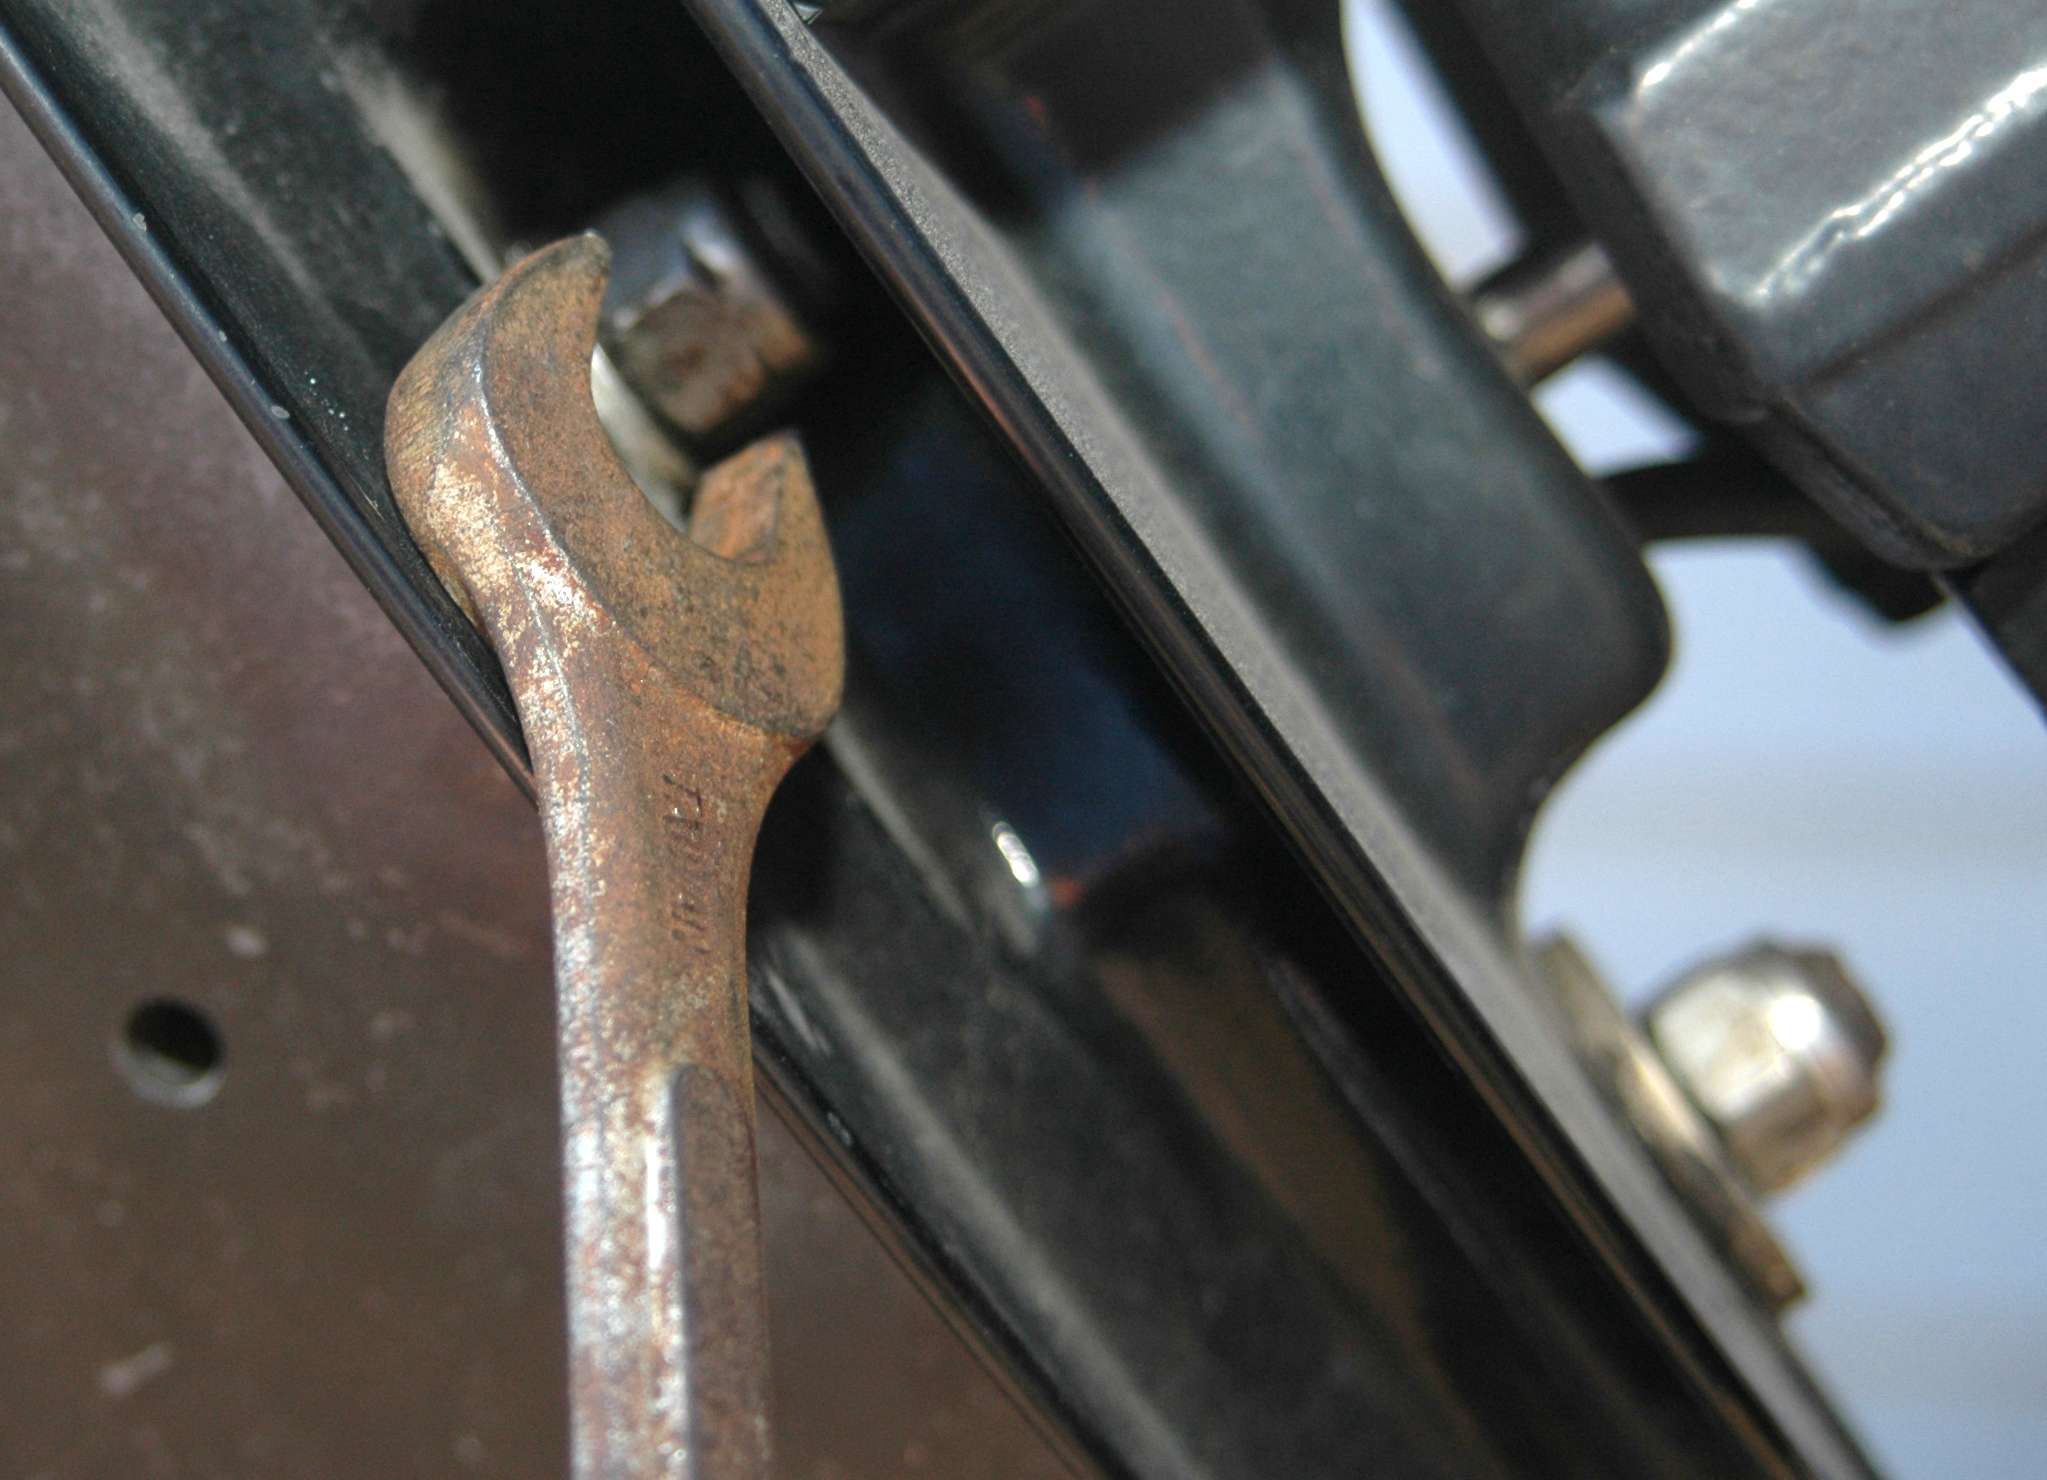
Some of the nuts may be in tight spots that require an open-end wrench.
After youâve broken the lower unit loose, detach the tube that connects to a speedometer. In my engine, it is the black tube below the shift gear. The tube had been cut off, so this wasnât an issue in my case.
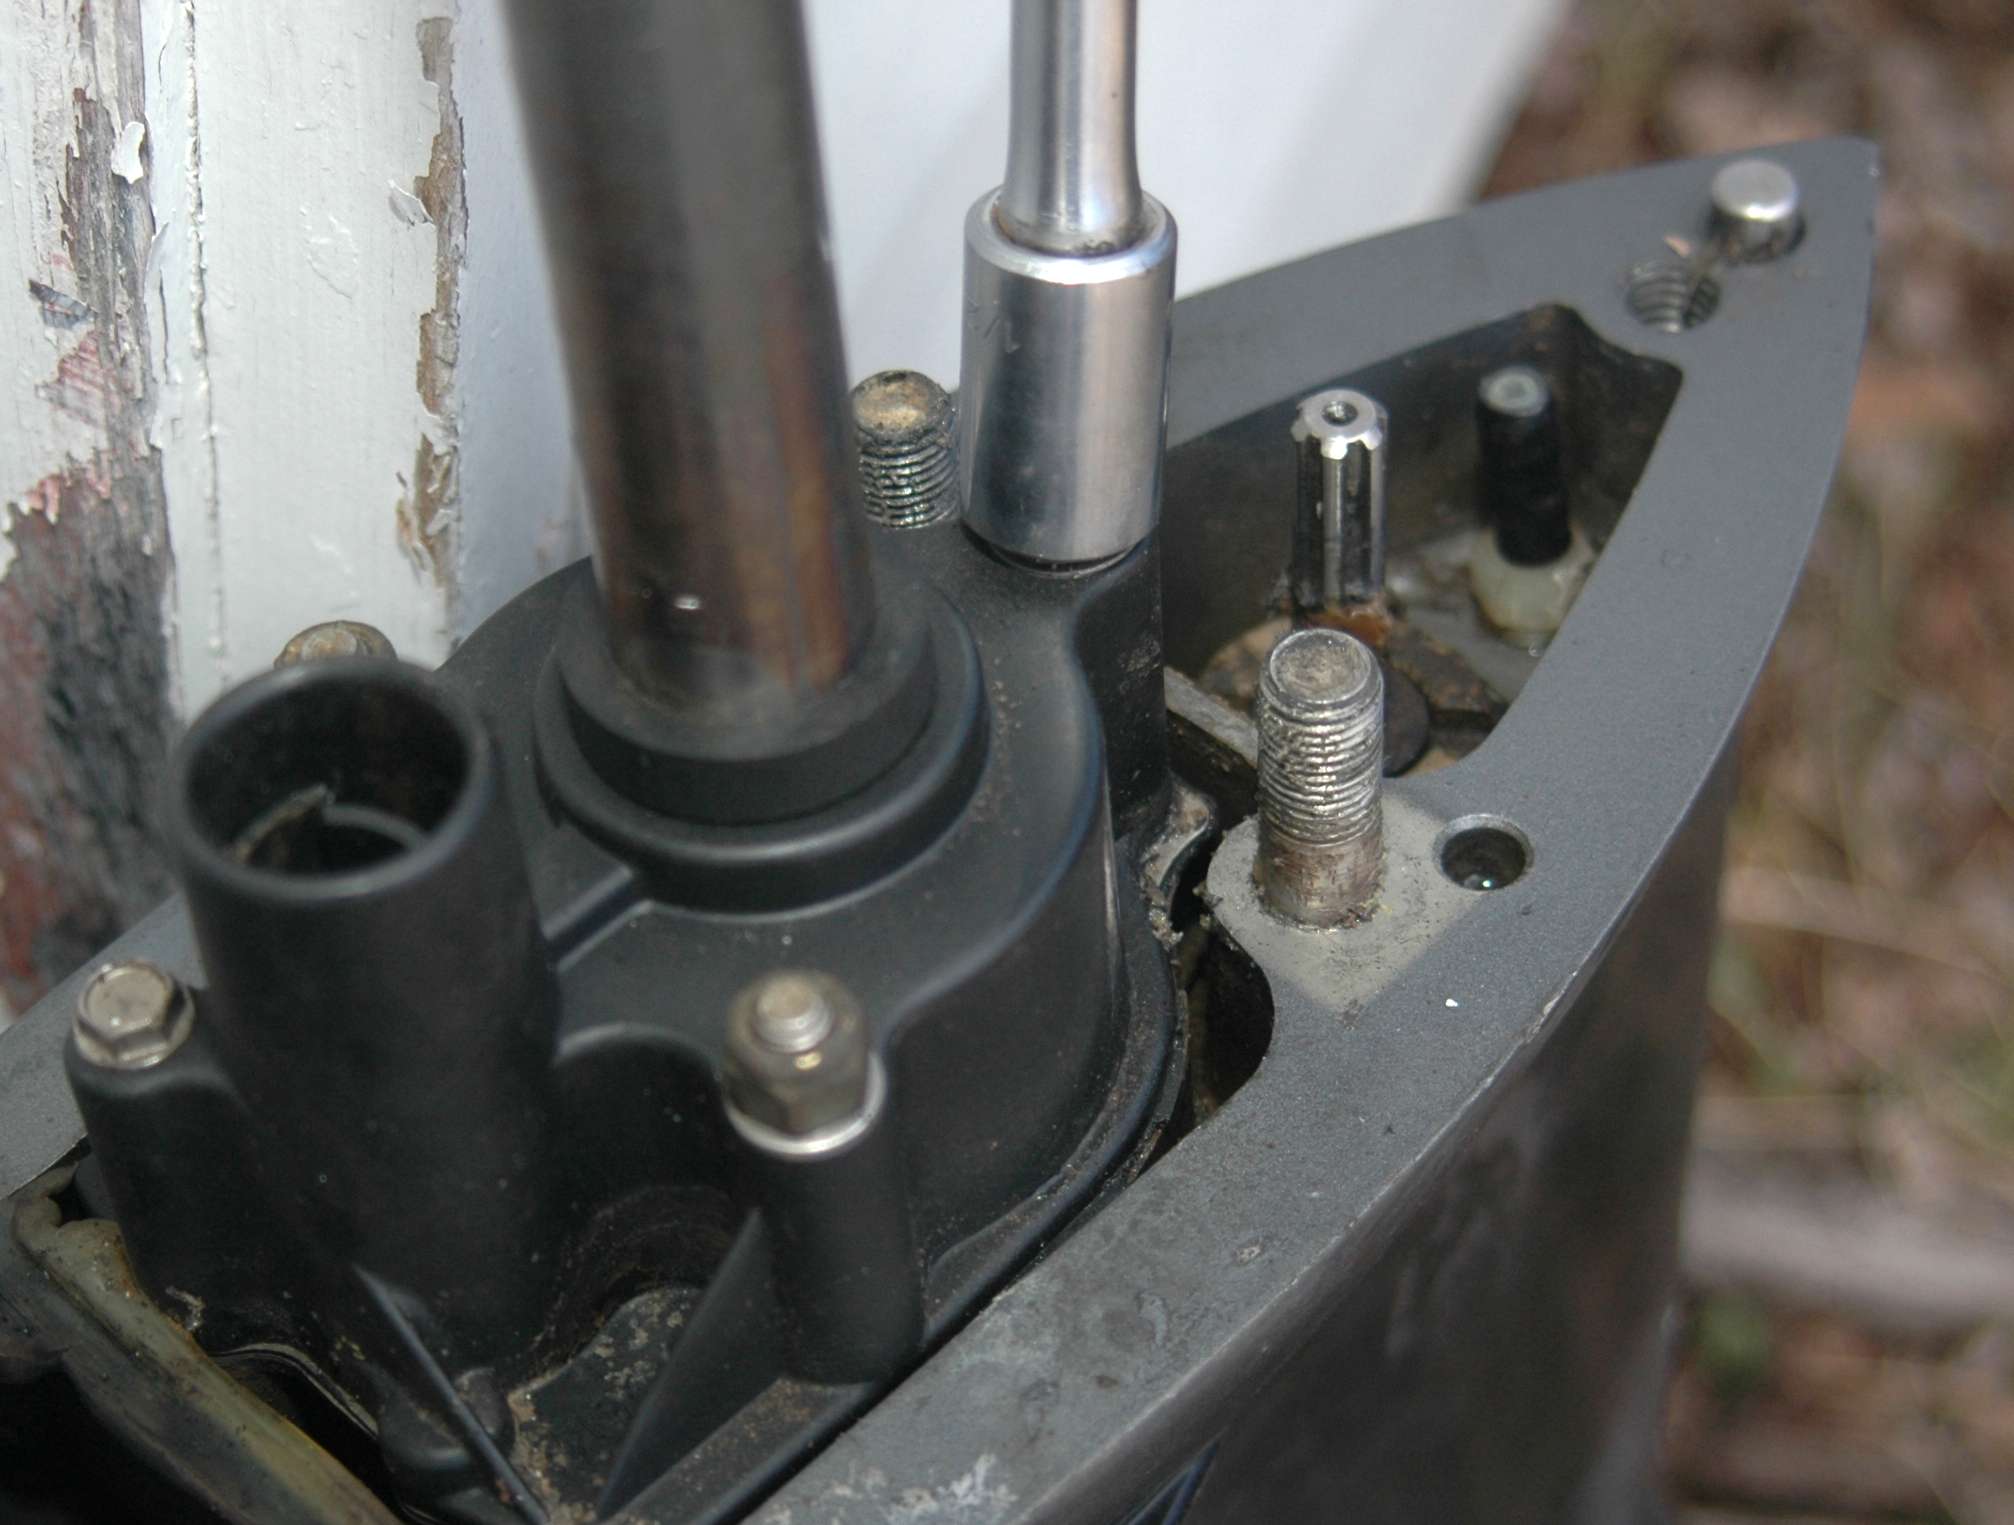
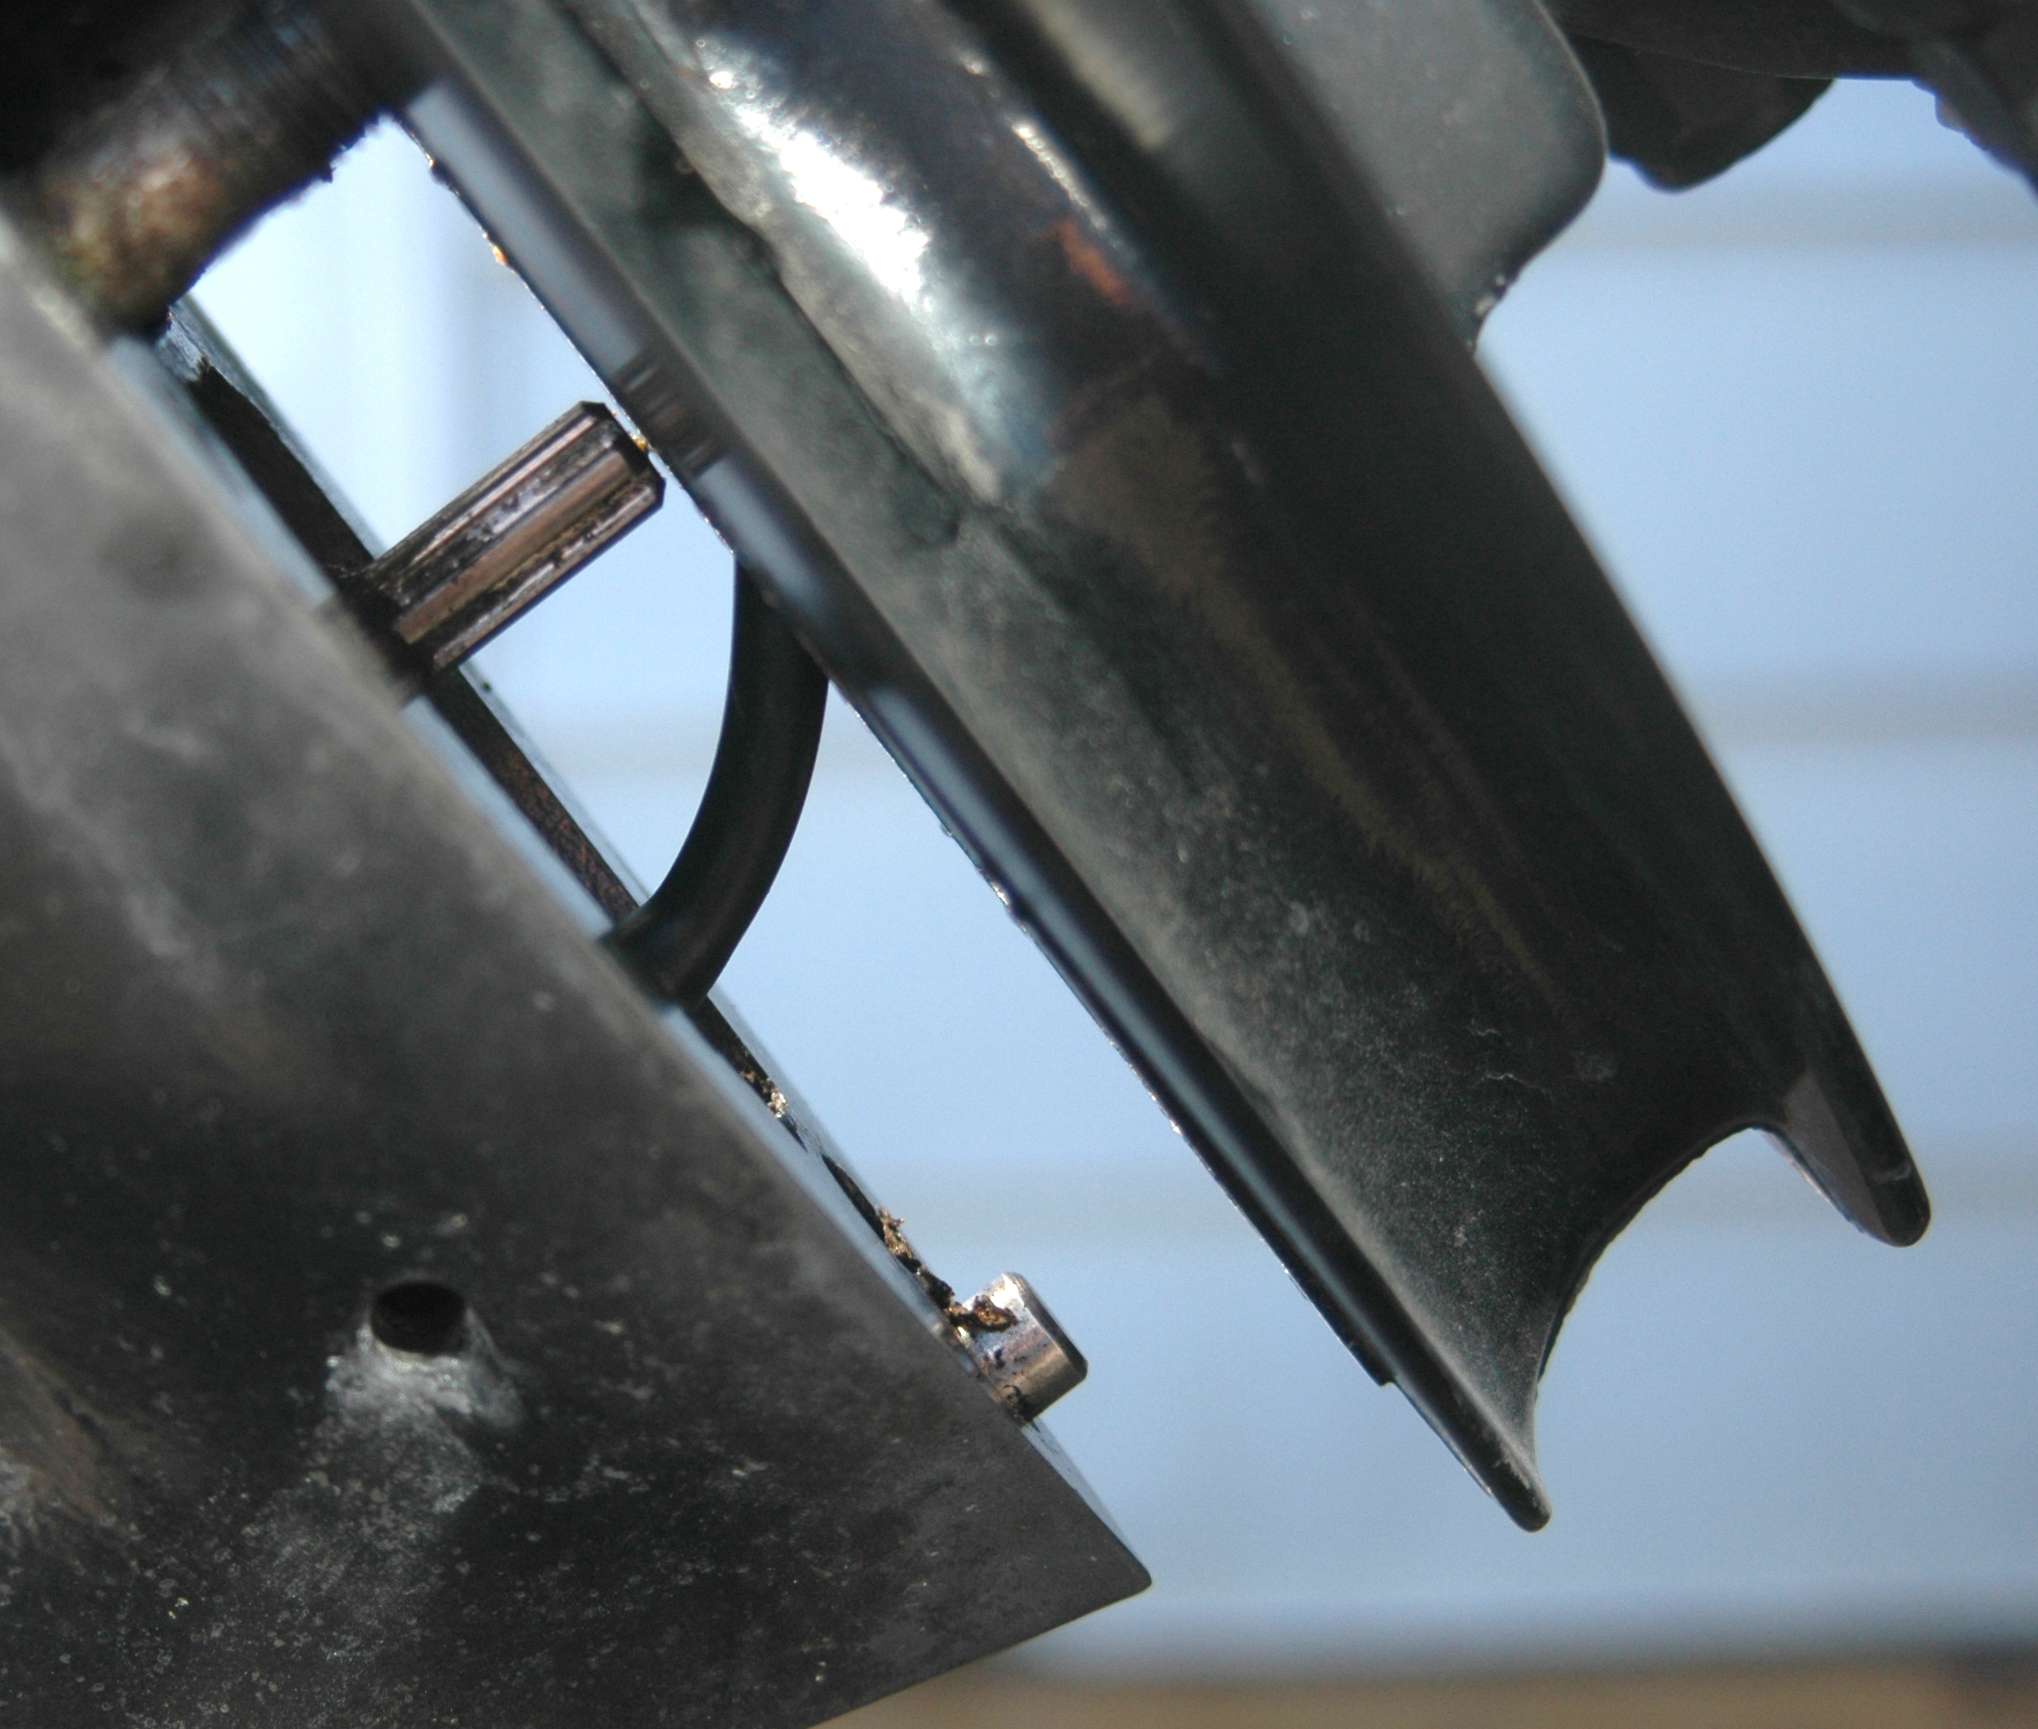
Pull the lower unit straight out of the engine until the long drive shaft clears the engine. Then remove the nuts that hold the water pump housing in place.
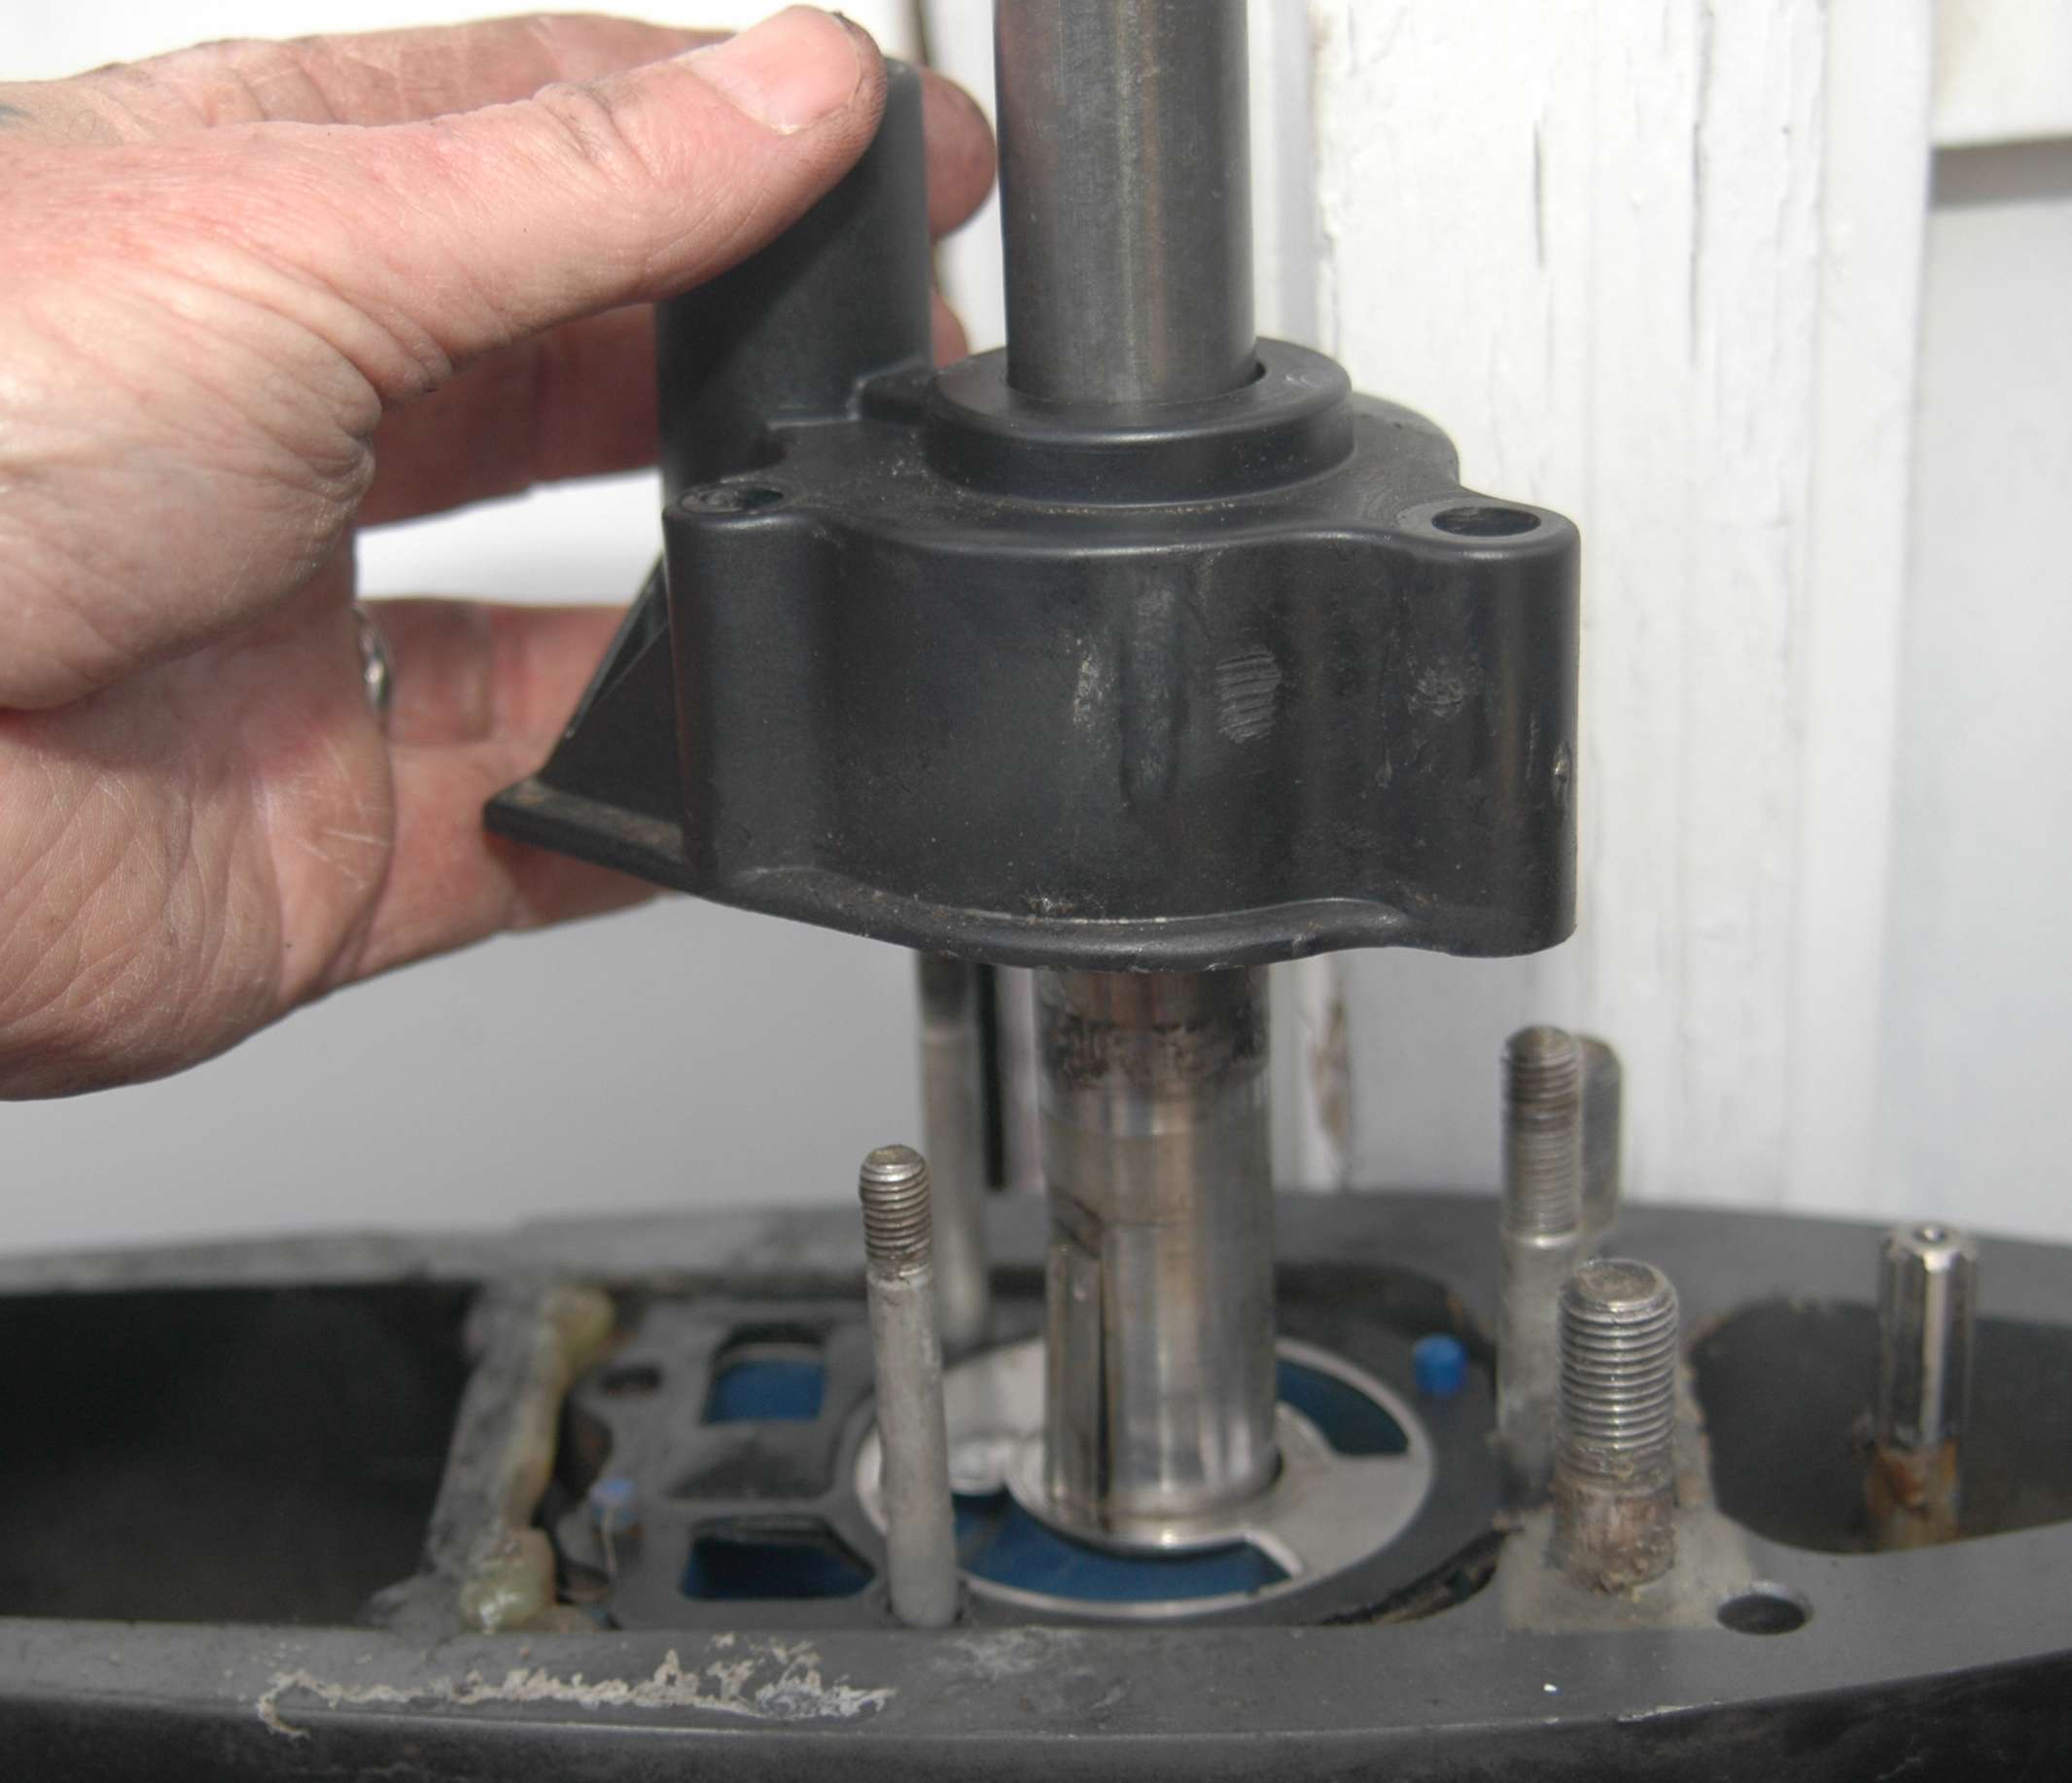
After removing the nuts, slide the water pump housing straight up and off the drive shaft. The impeller typically stays inside the housing.
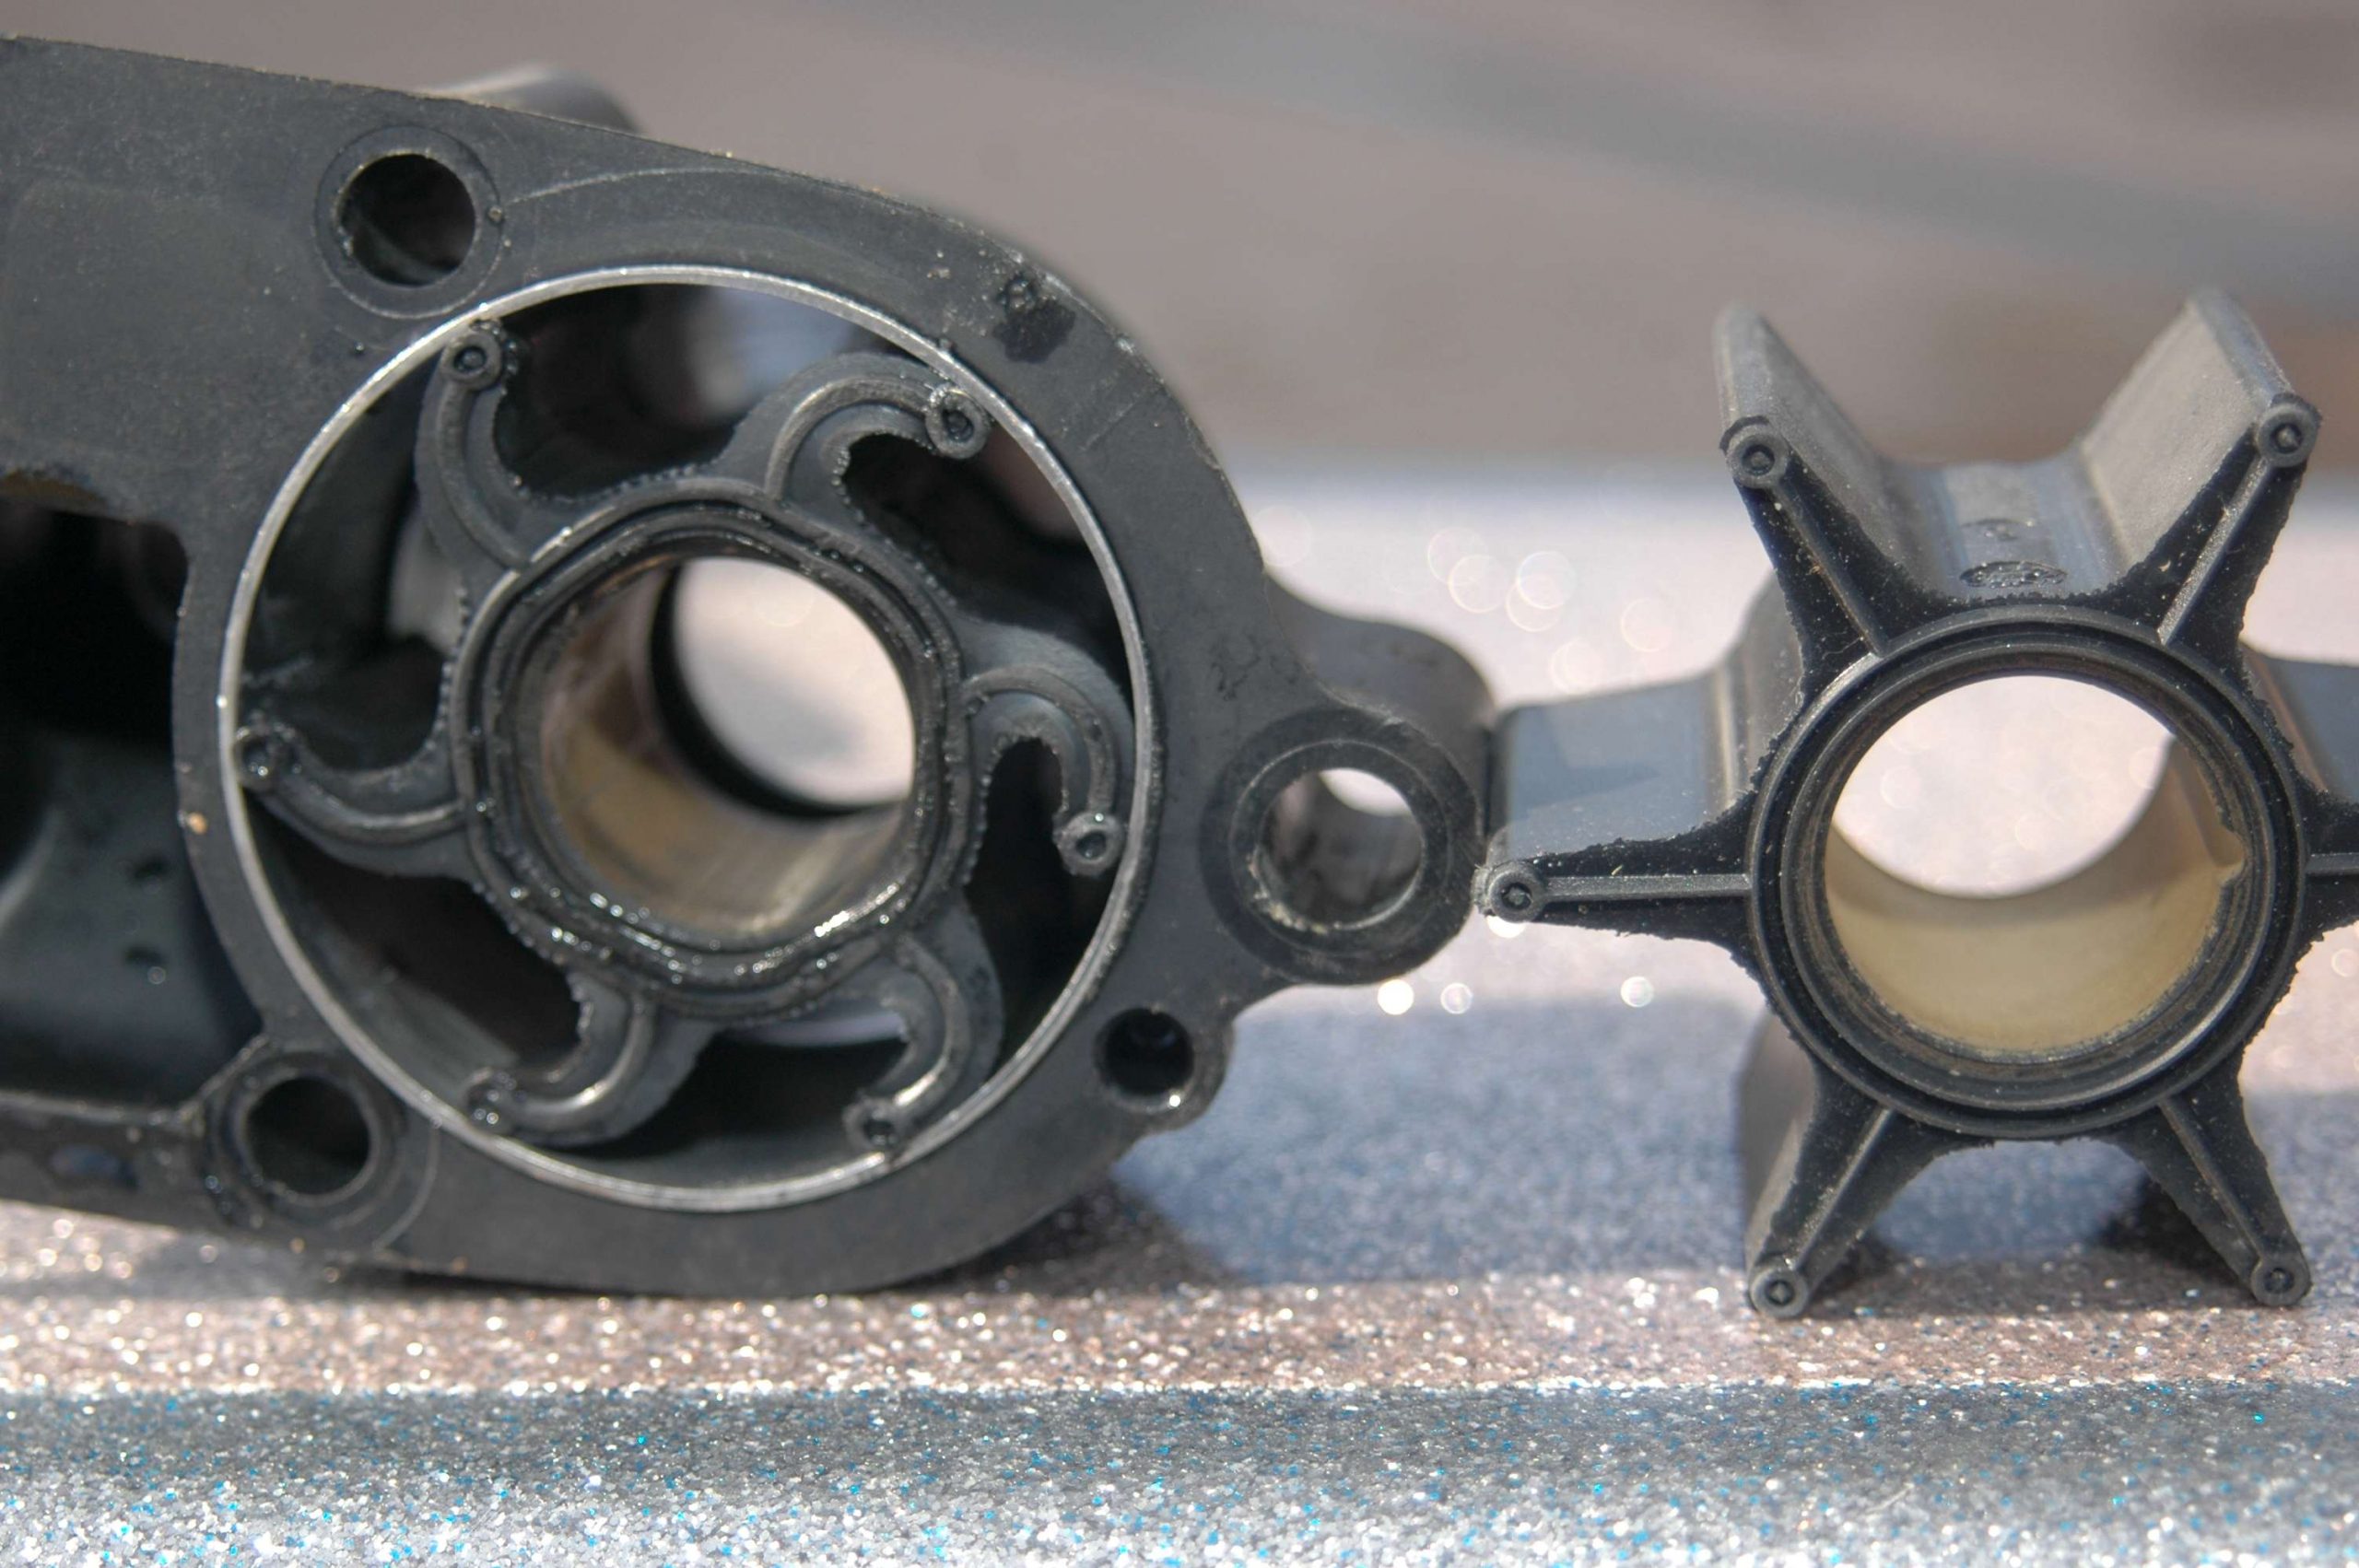
The old impeller is on the left in its housing next to a new impeller. The rubber arms eventually wear out and lose their ability to drive water through the outboardâs cooling system.
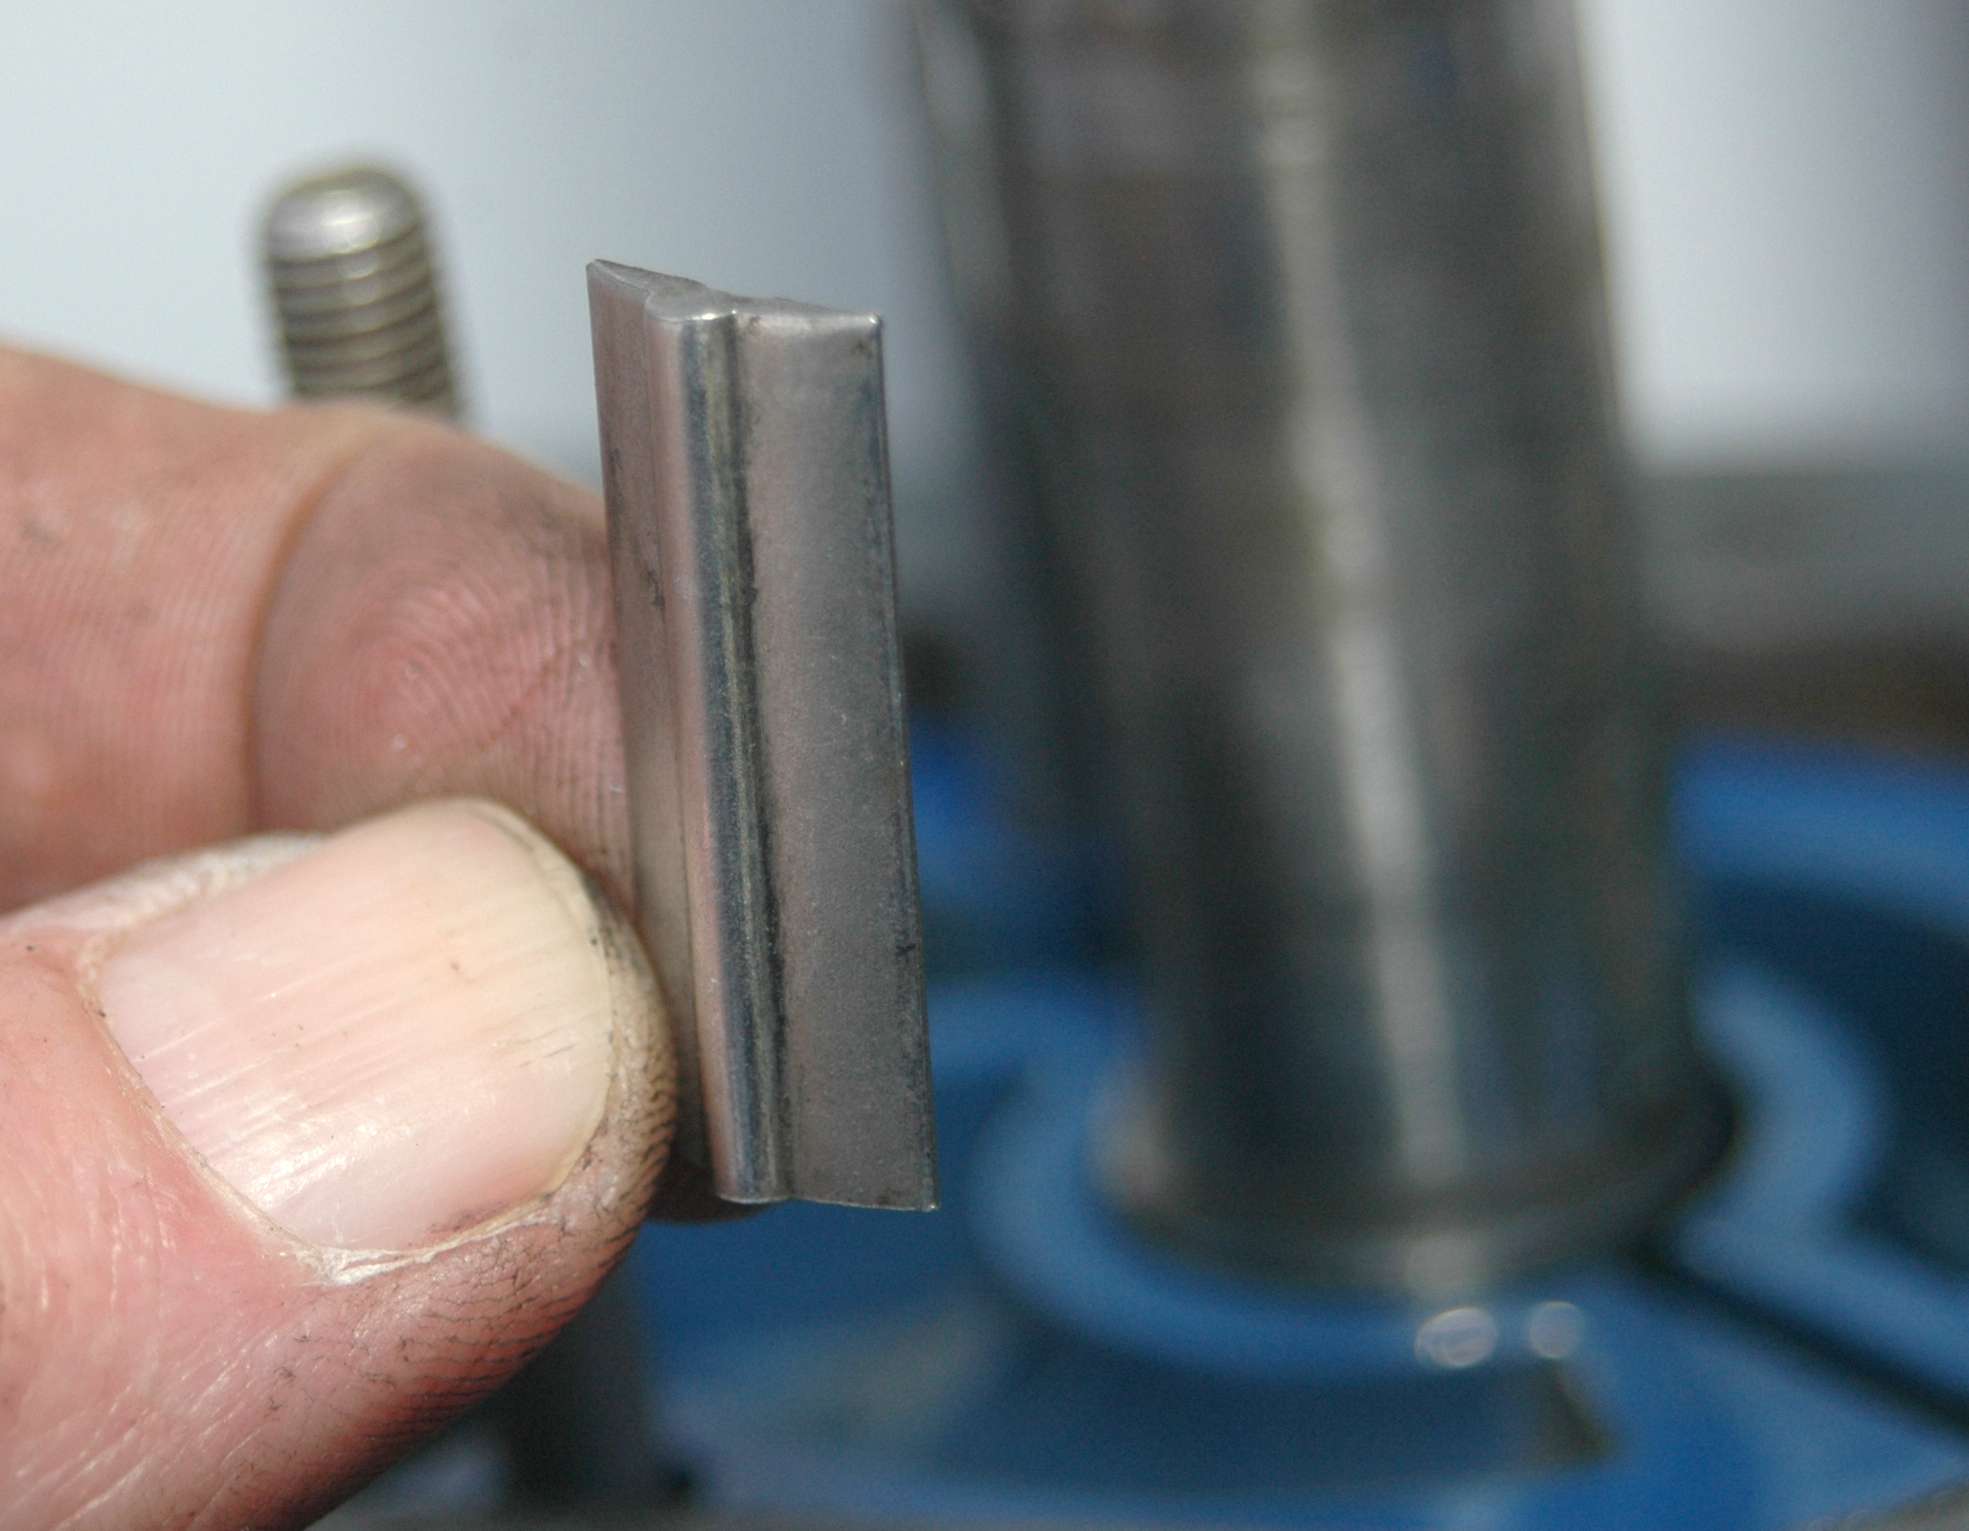
Be careful not to lose this innocuous-looking key at the base of the drive shaft.

The key rests against a flat spot on the drive shaft and forces the impeller to spin.
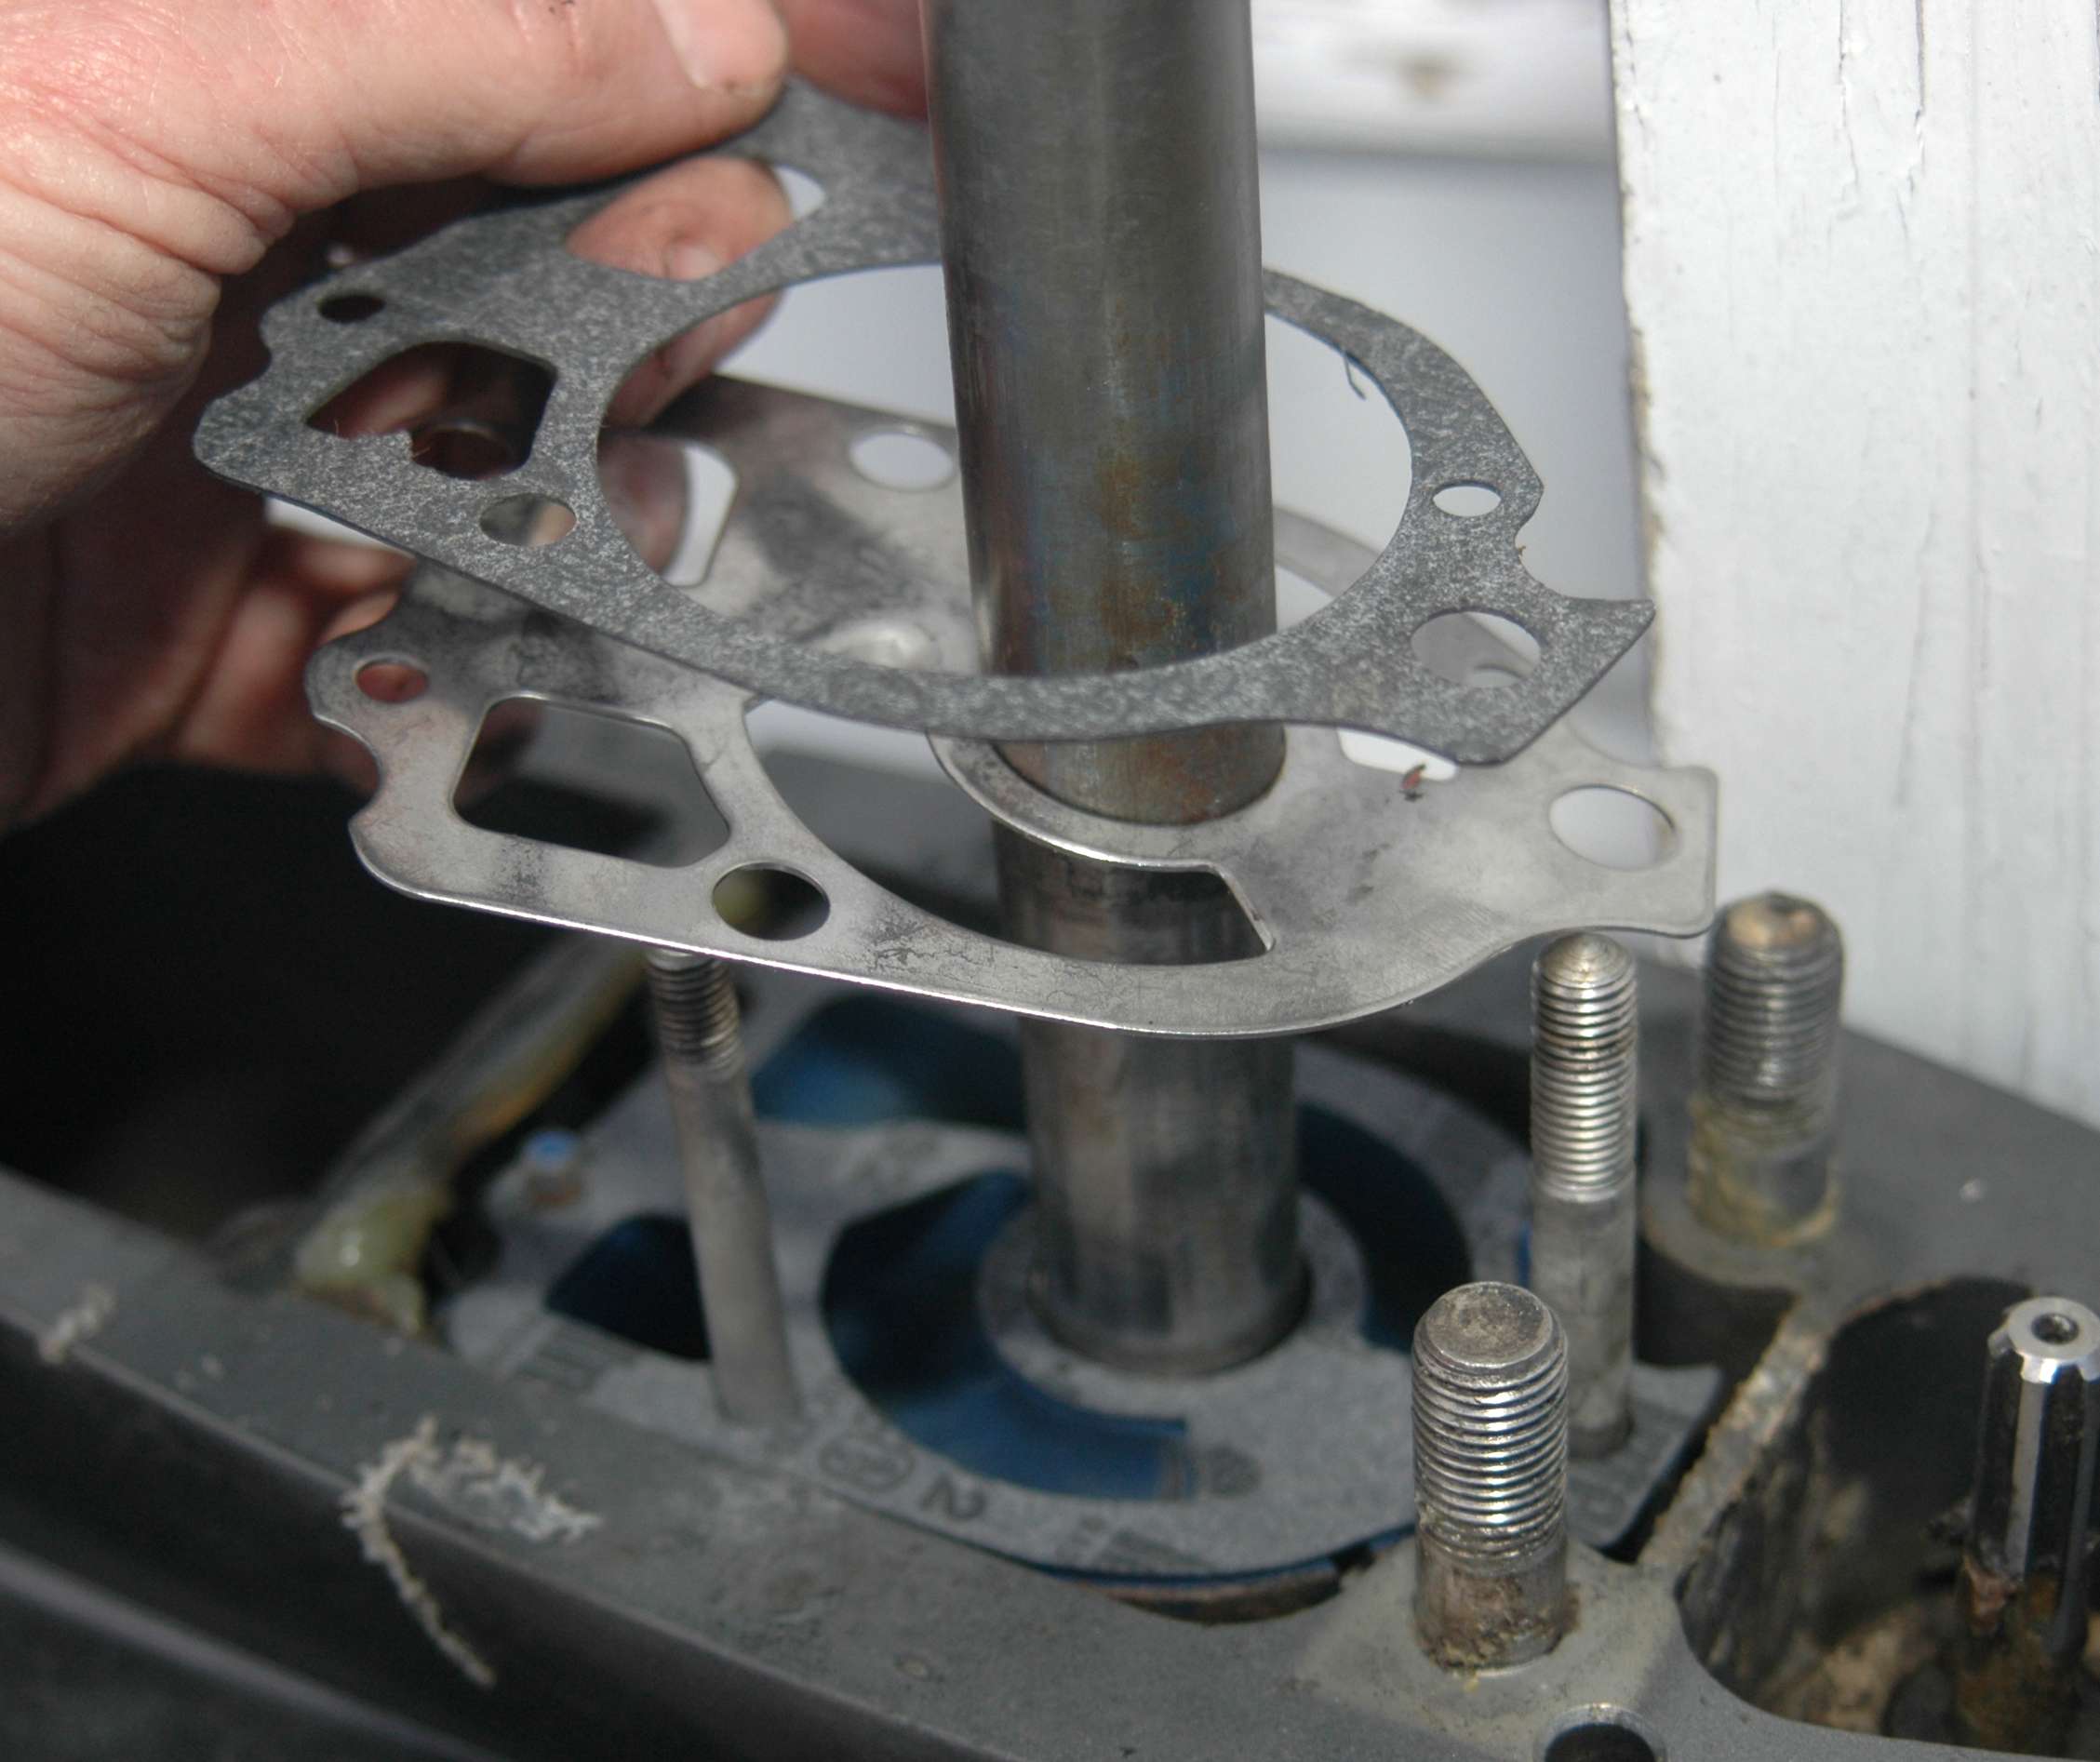
Remove and replace any gaskets between the water pump housing and its base. I bought a kit at my local marine dealer that had everything I needed. The kit cost only $5 more than the impeller alone.
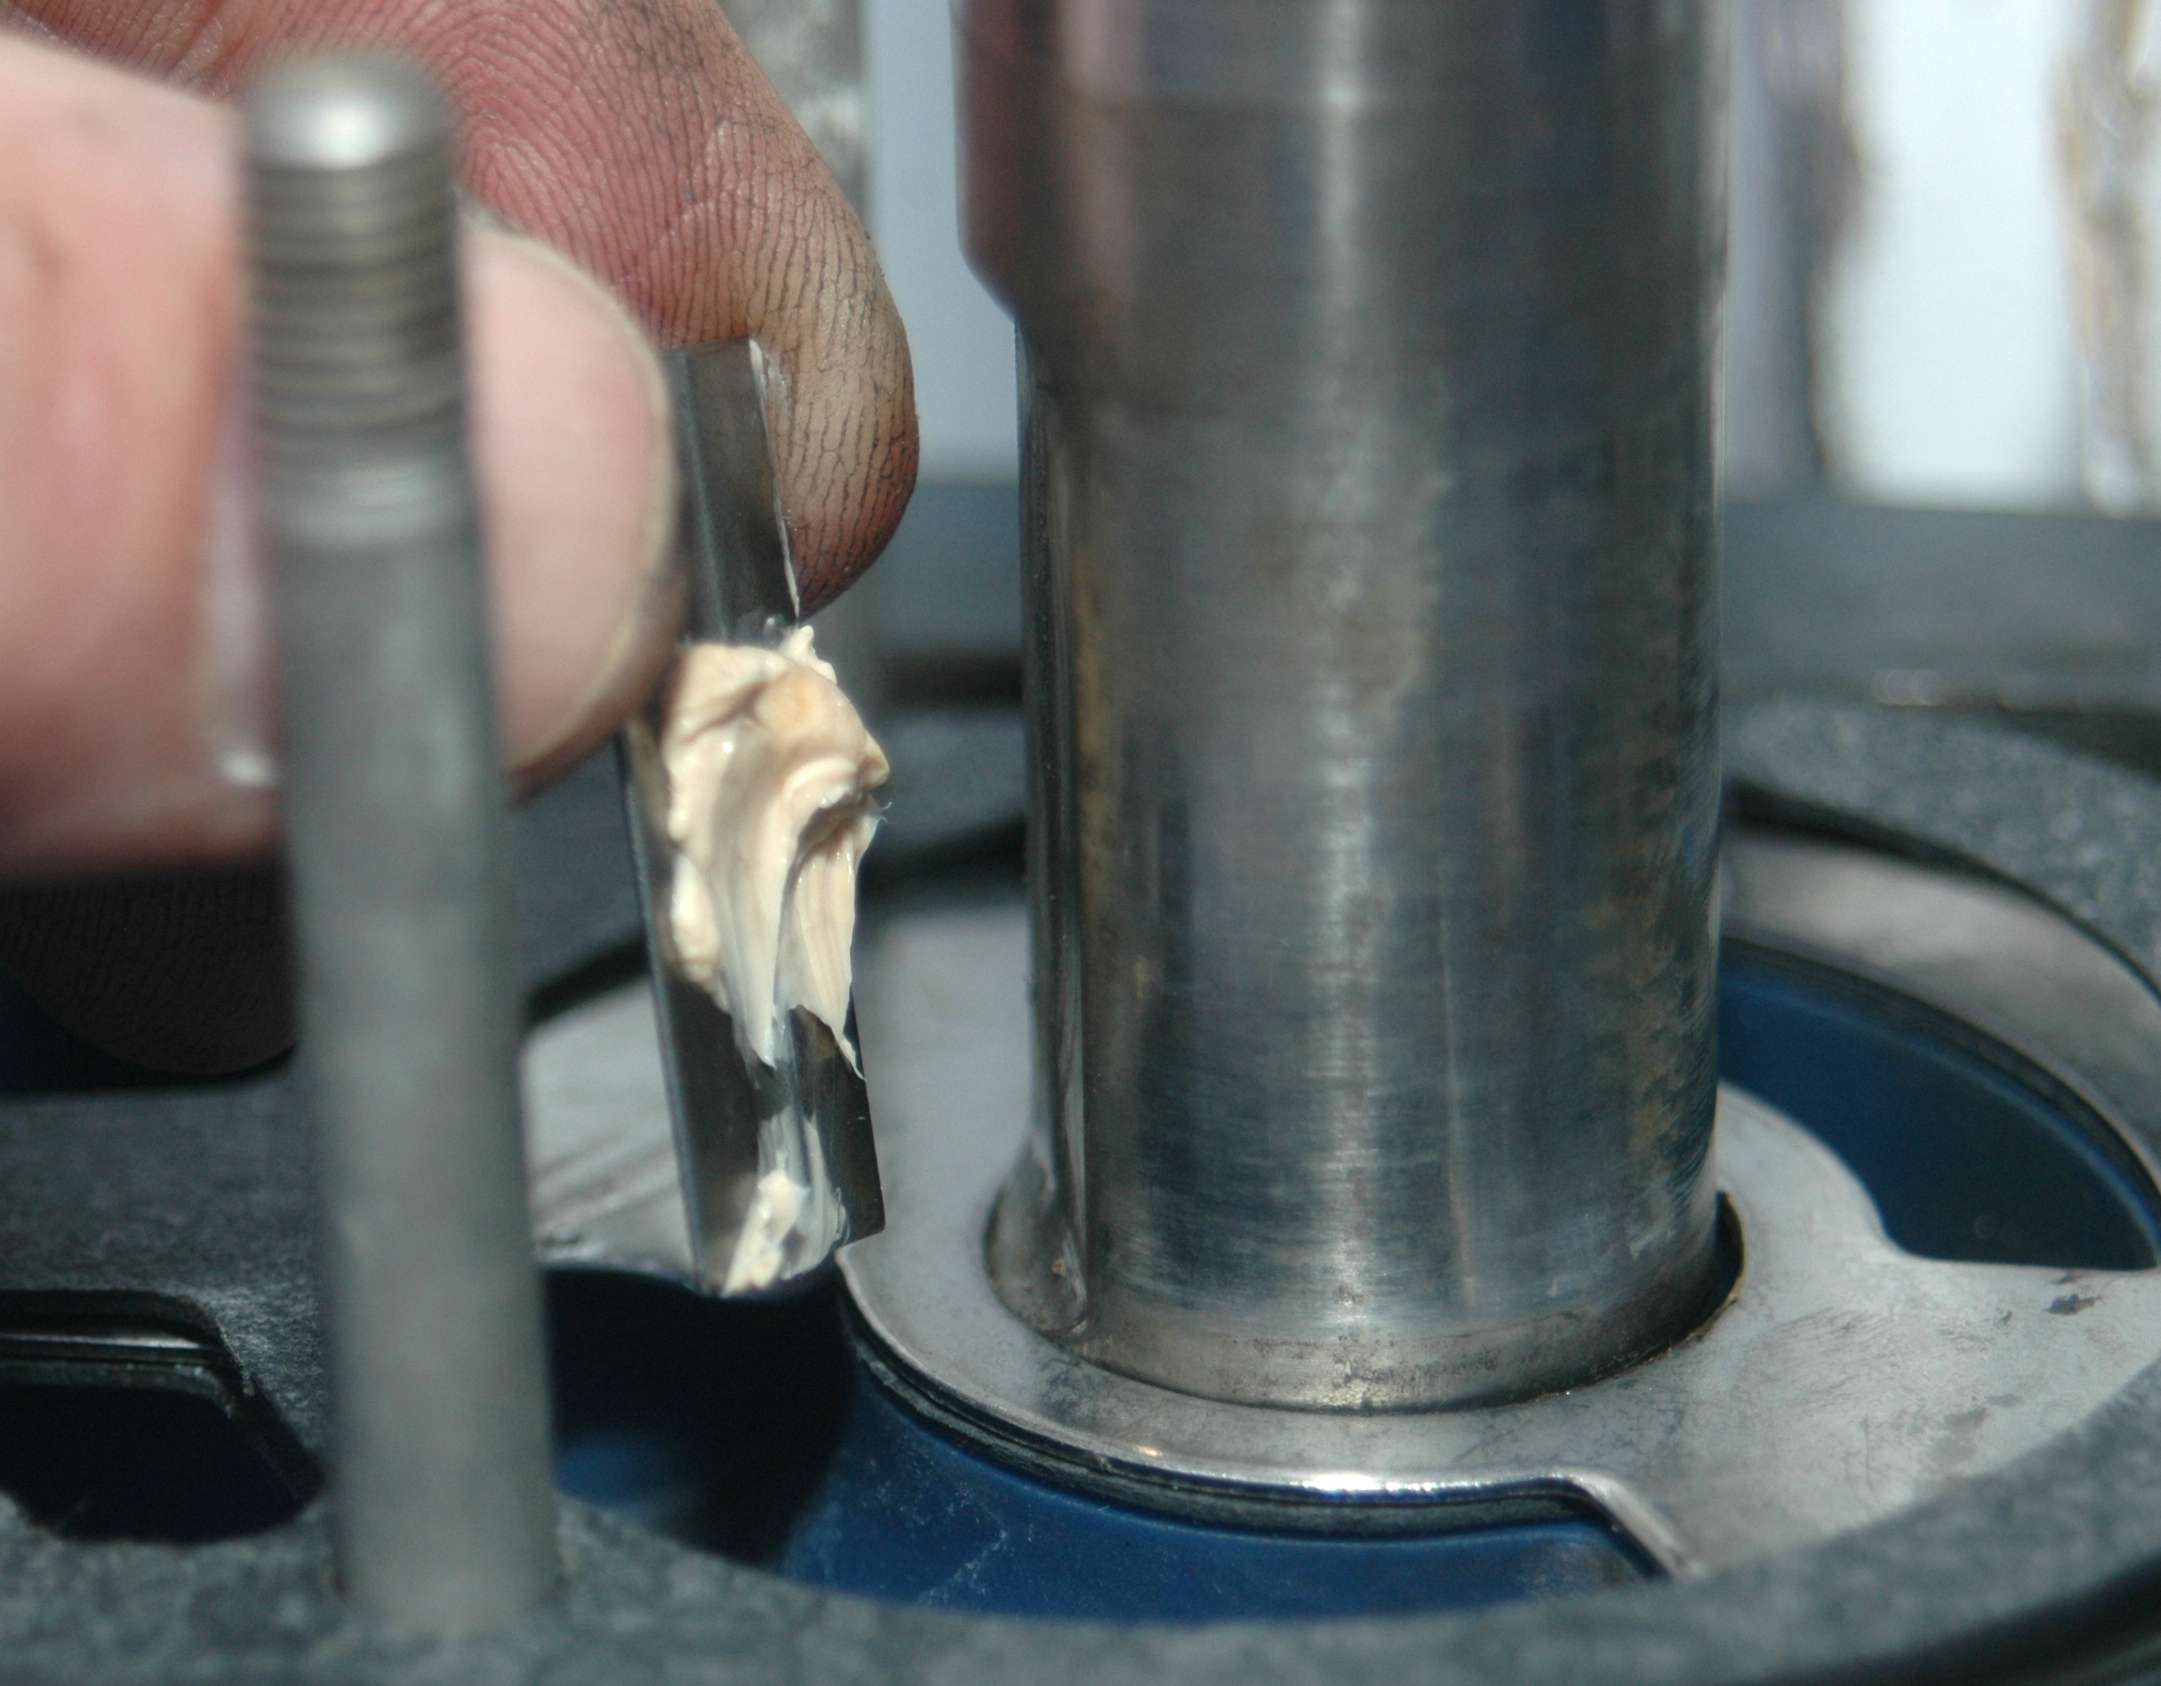
Apply a fine, marine-grade grease to the back of the impeller key to hold it in place on the drive shaft.
Apply marine grease sparingly to the outside of the impeller and the inside of the water housing. Slide the impeller down the drive shaft and over its key. Then slide the water pressure housing down the shaft. Turn the shaft clockwise by hand while pressing down on the housing to bend the impellerâs arms into the housing.
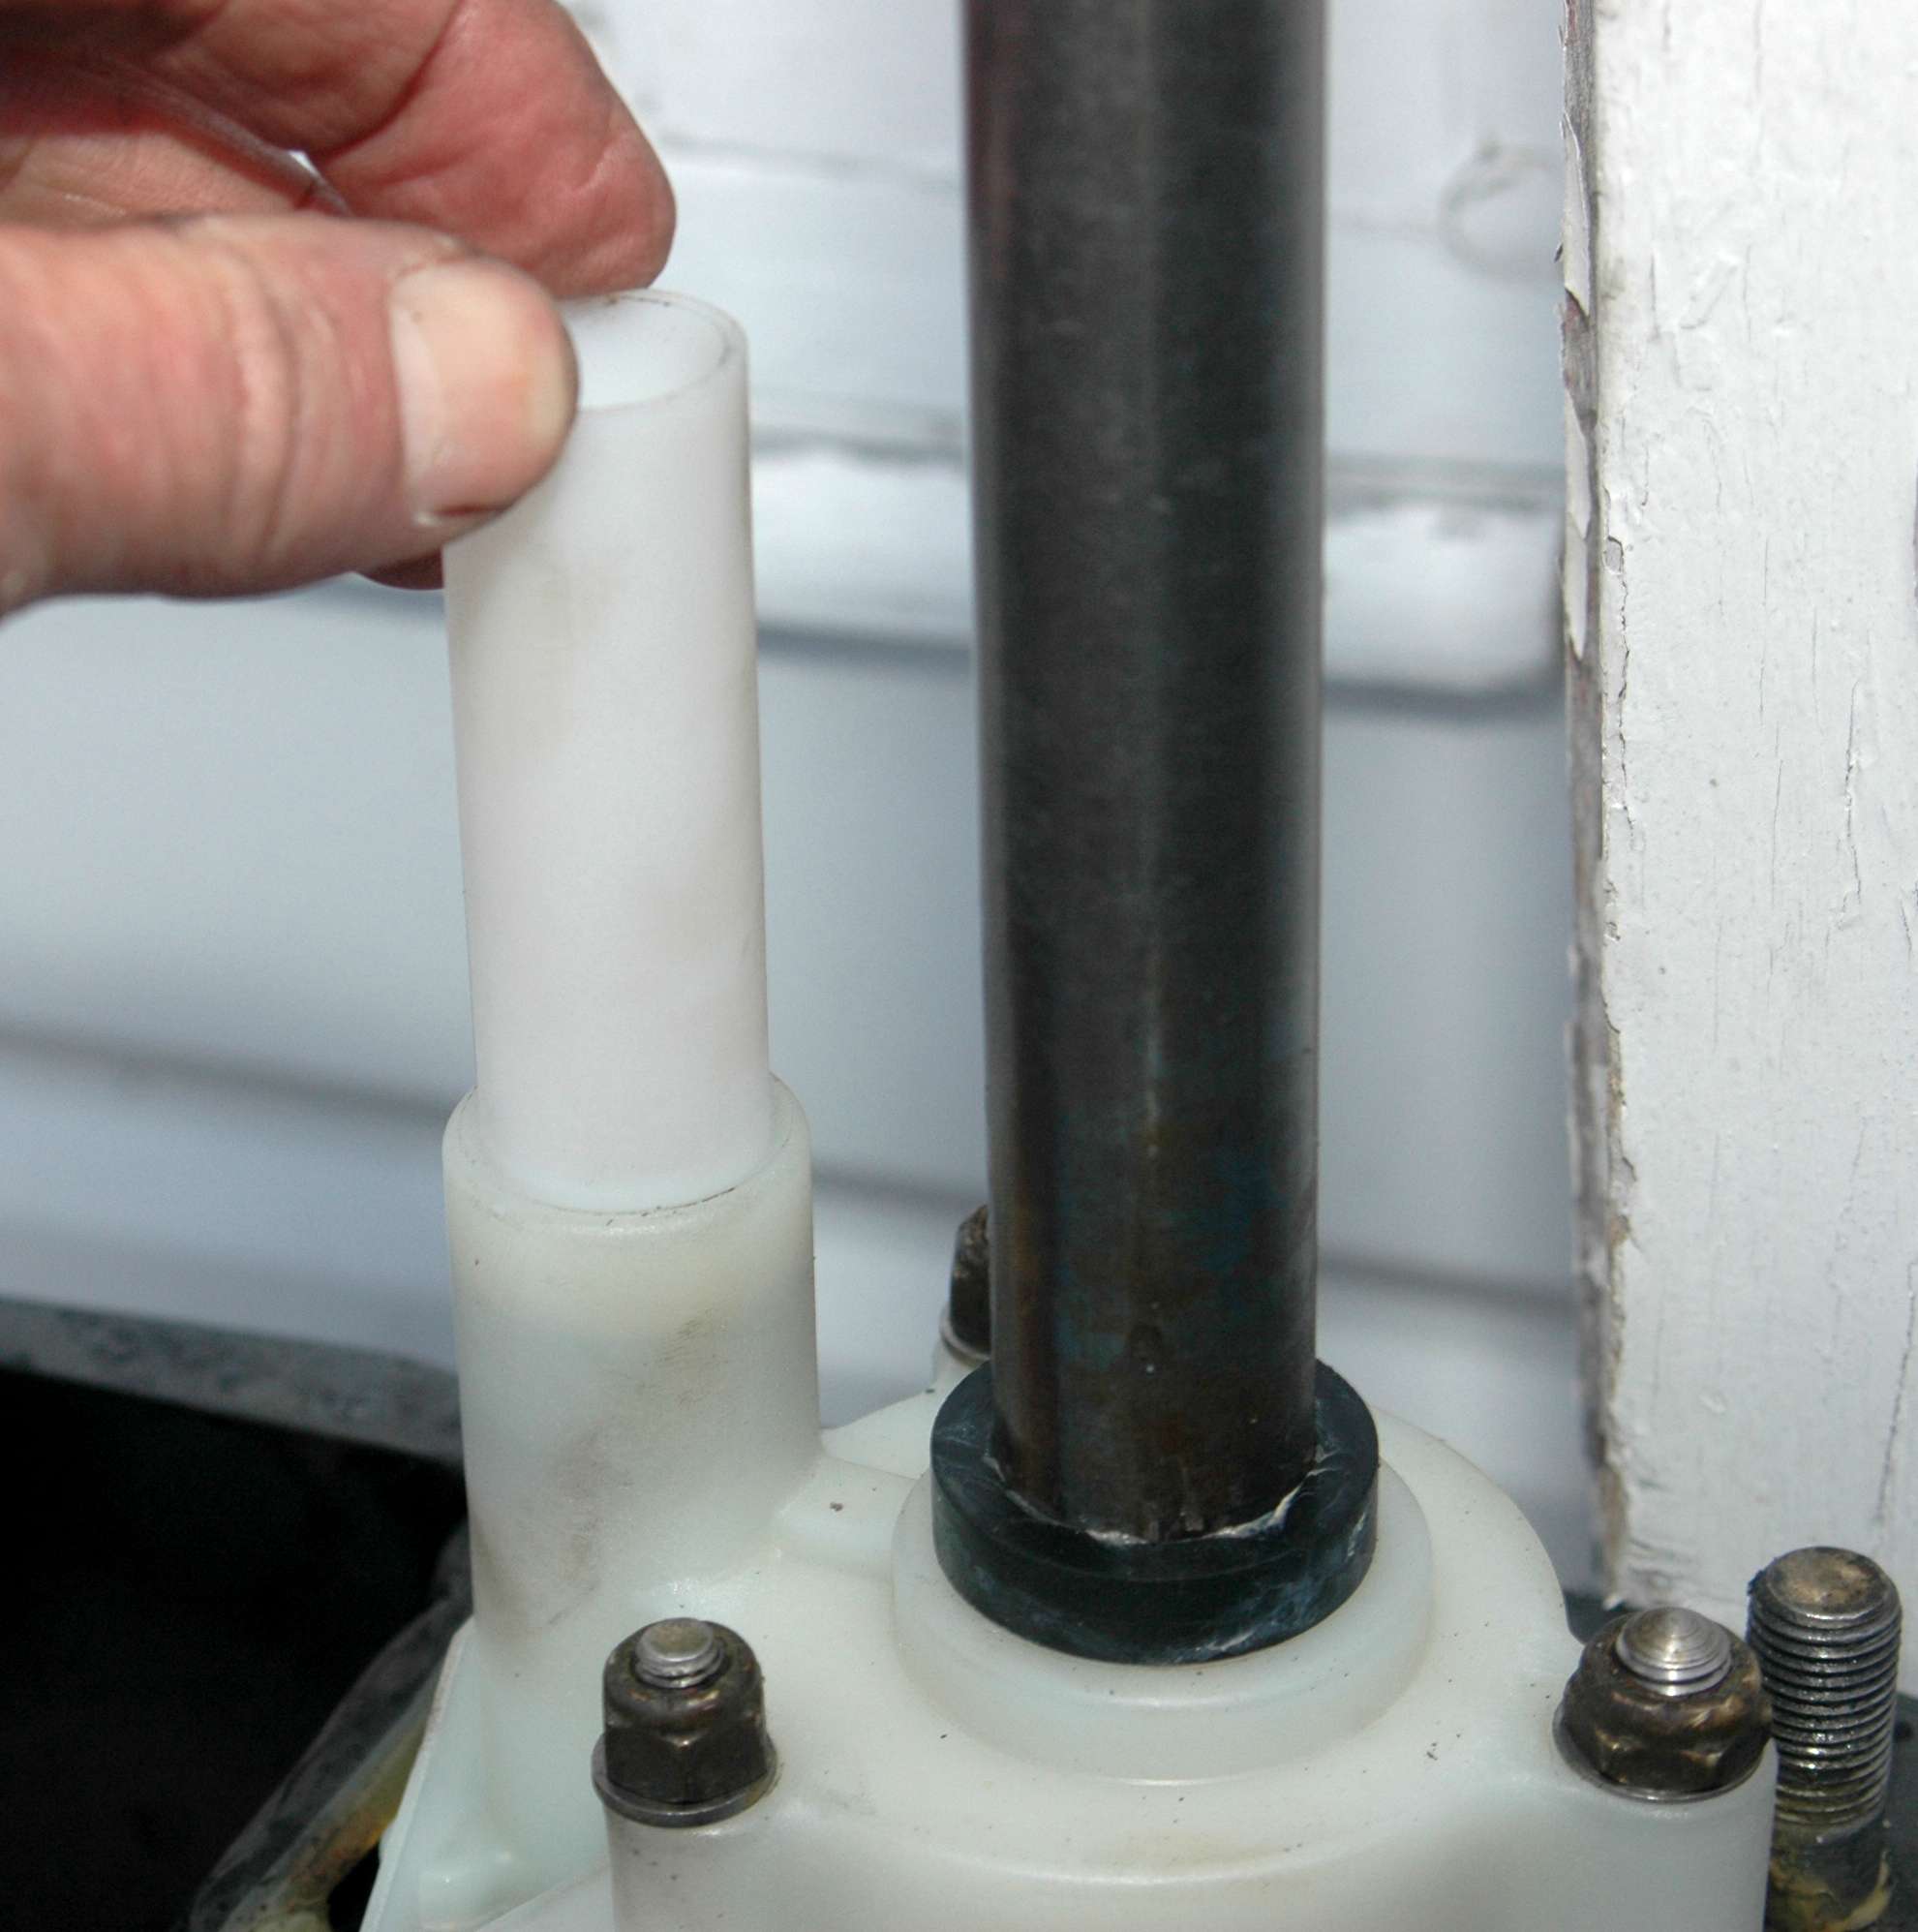
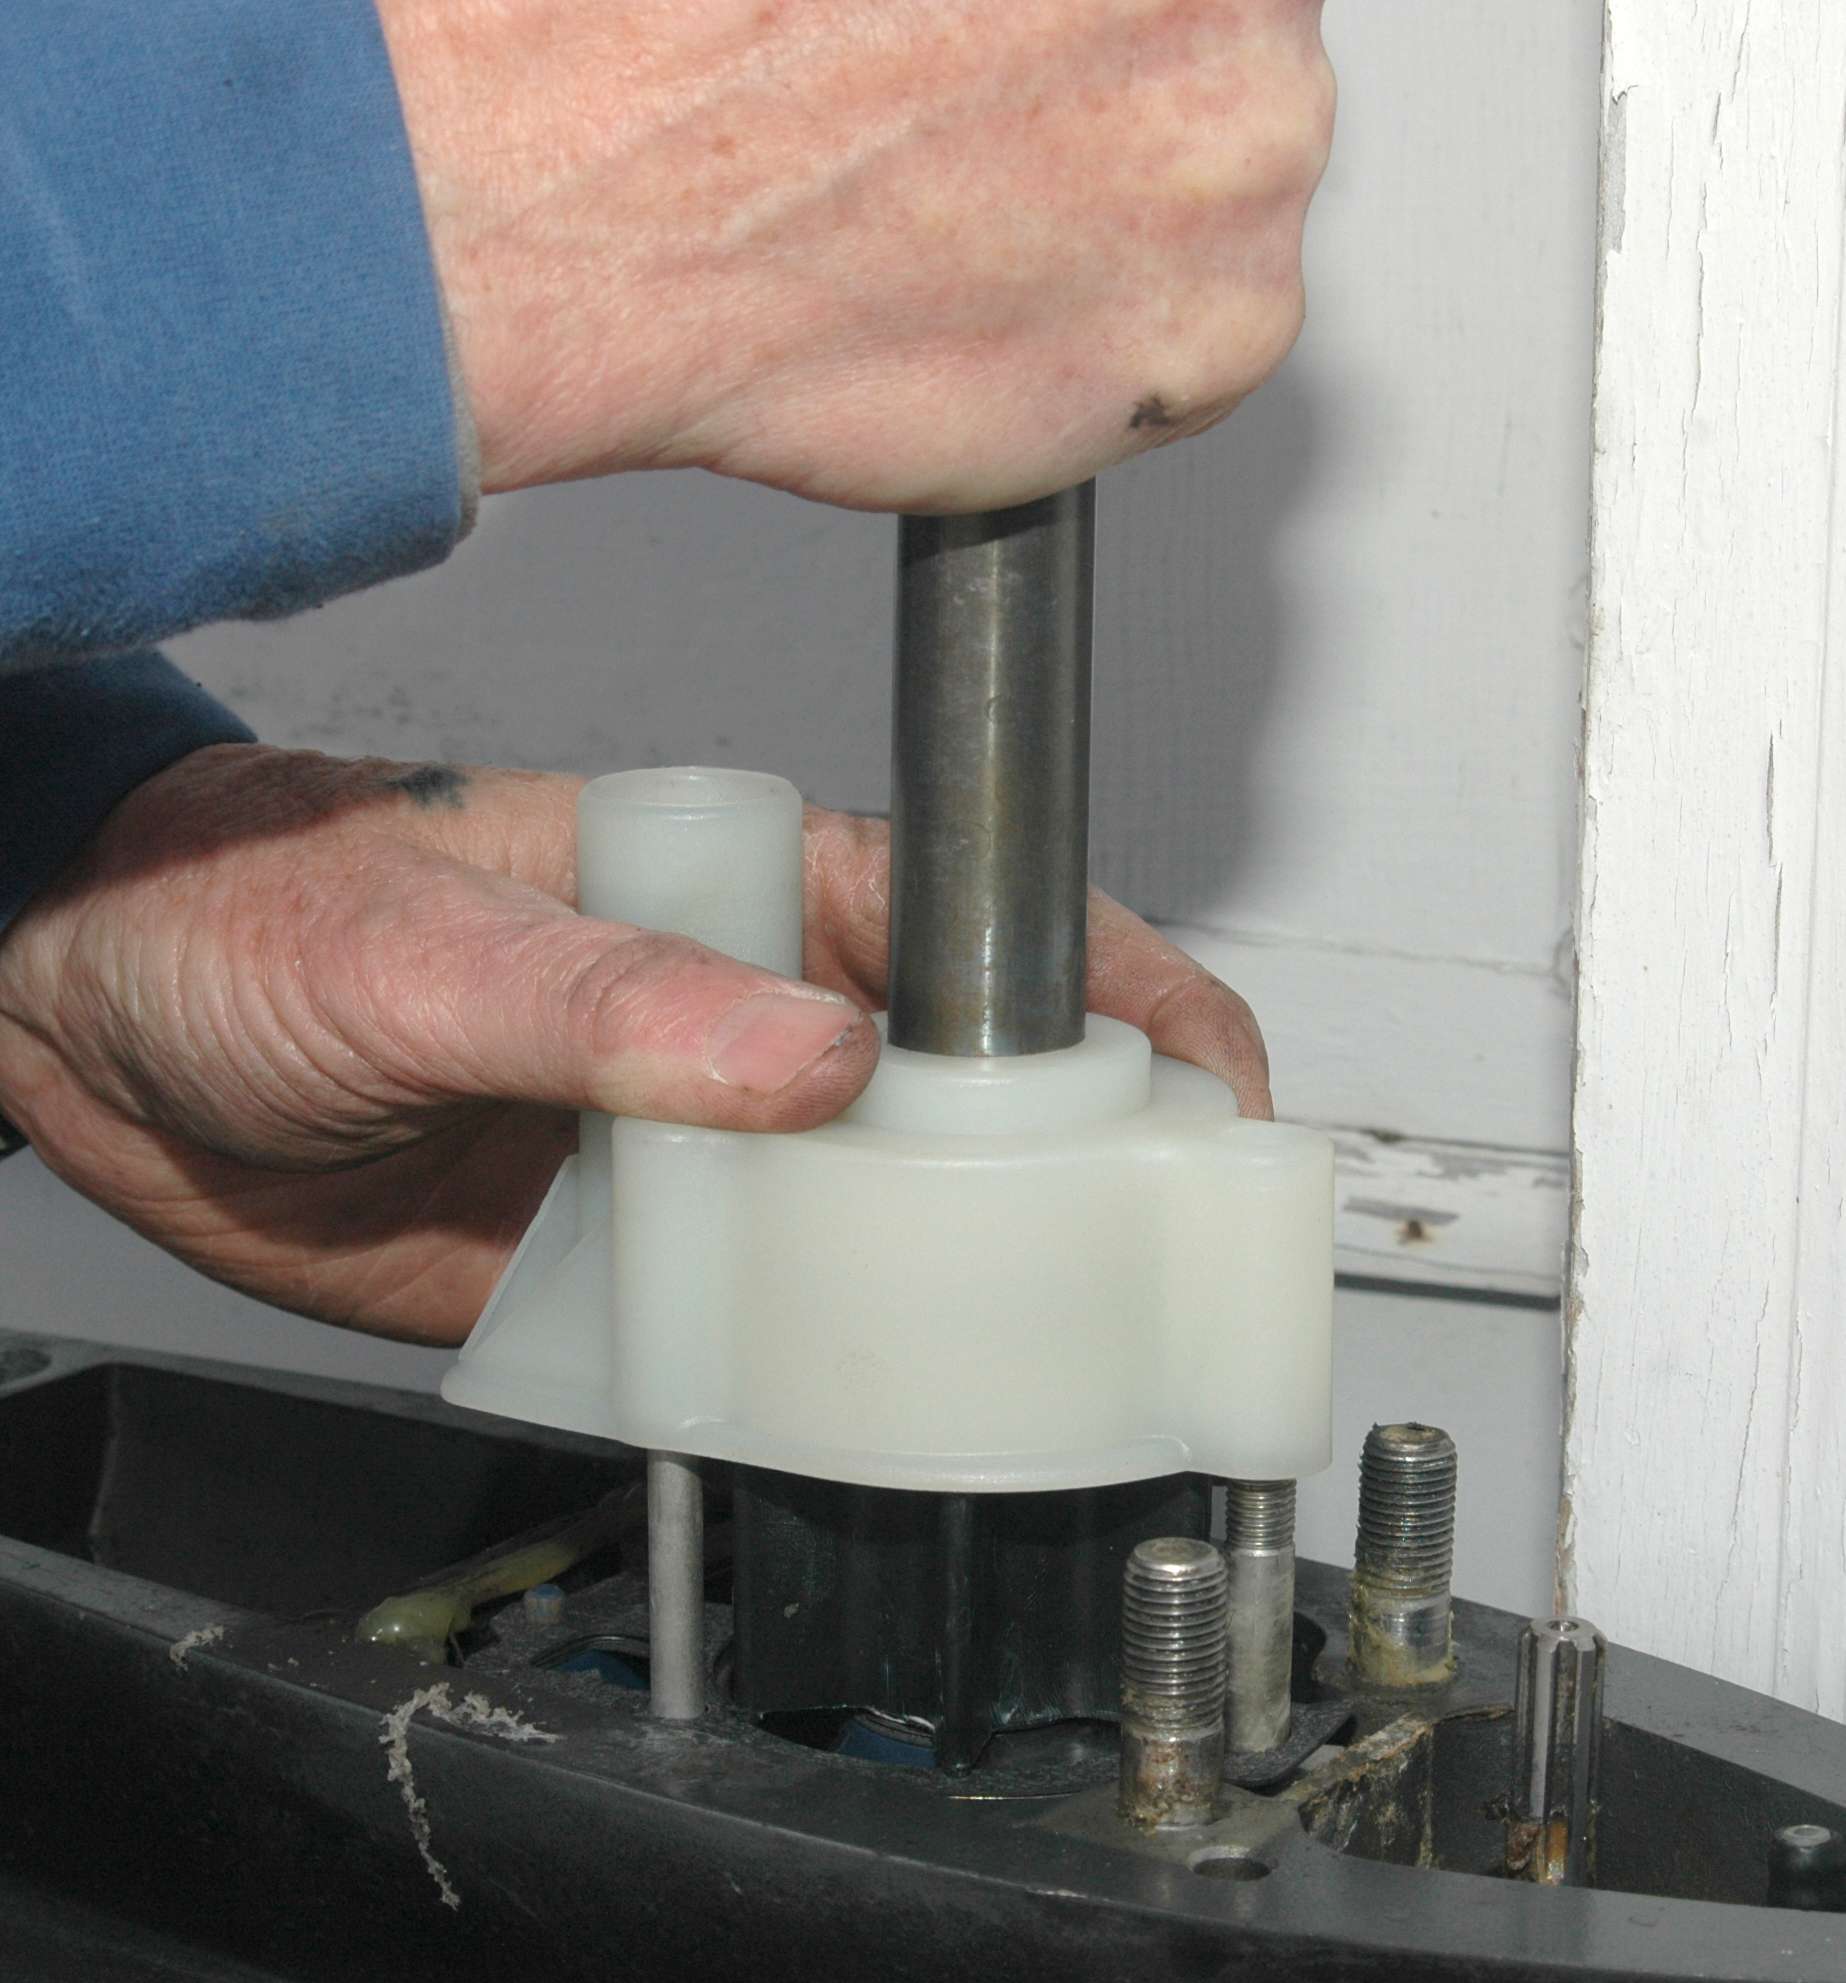
Secure the washers and nuts. Gradually snug them down crossways to properly seat the gaskets. The white plastic tube is a guide for the water intake in the upper portion of the Mercury XR6. Many other outboards also have a similar guide.

After you reassemble the lower unit, trim the engine down, attach the muffs, turn on the water and start your engine. Happiness is a steady stream of water.