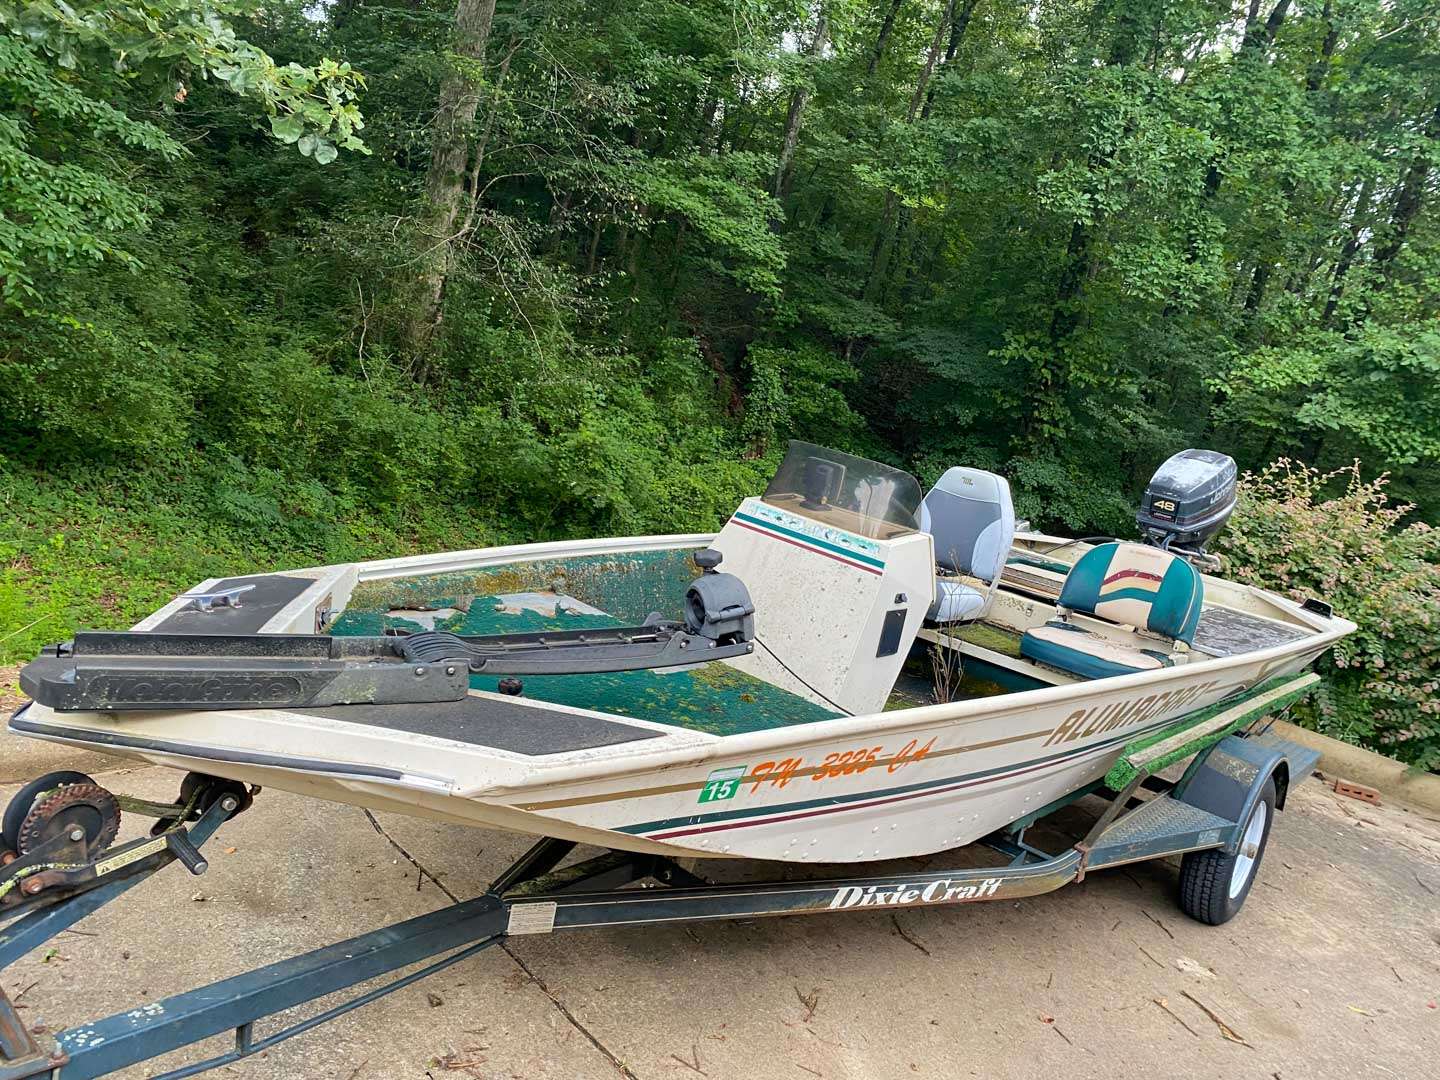
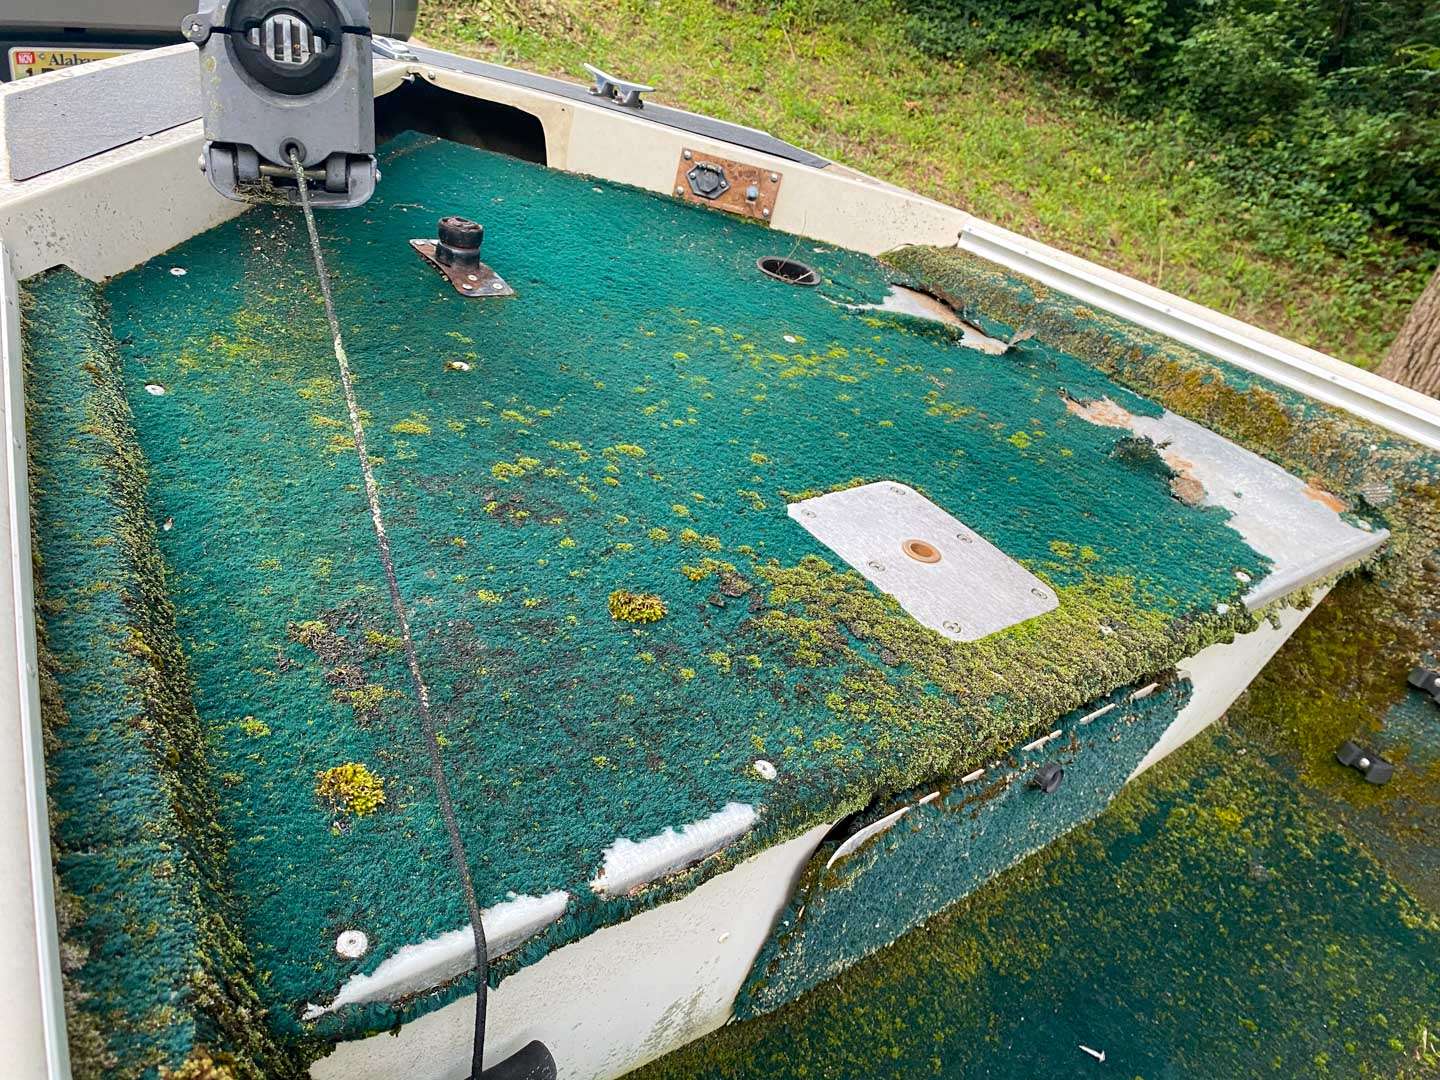
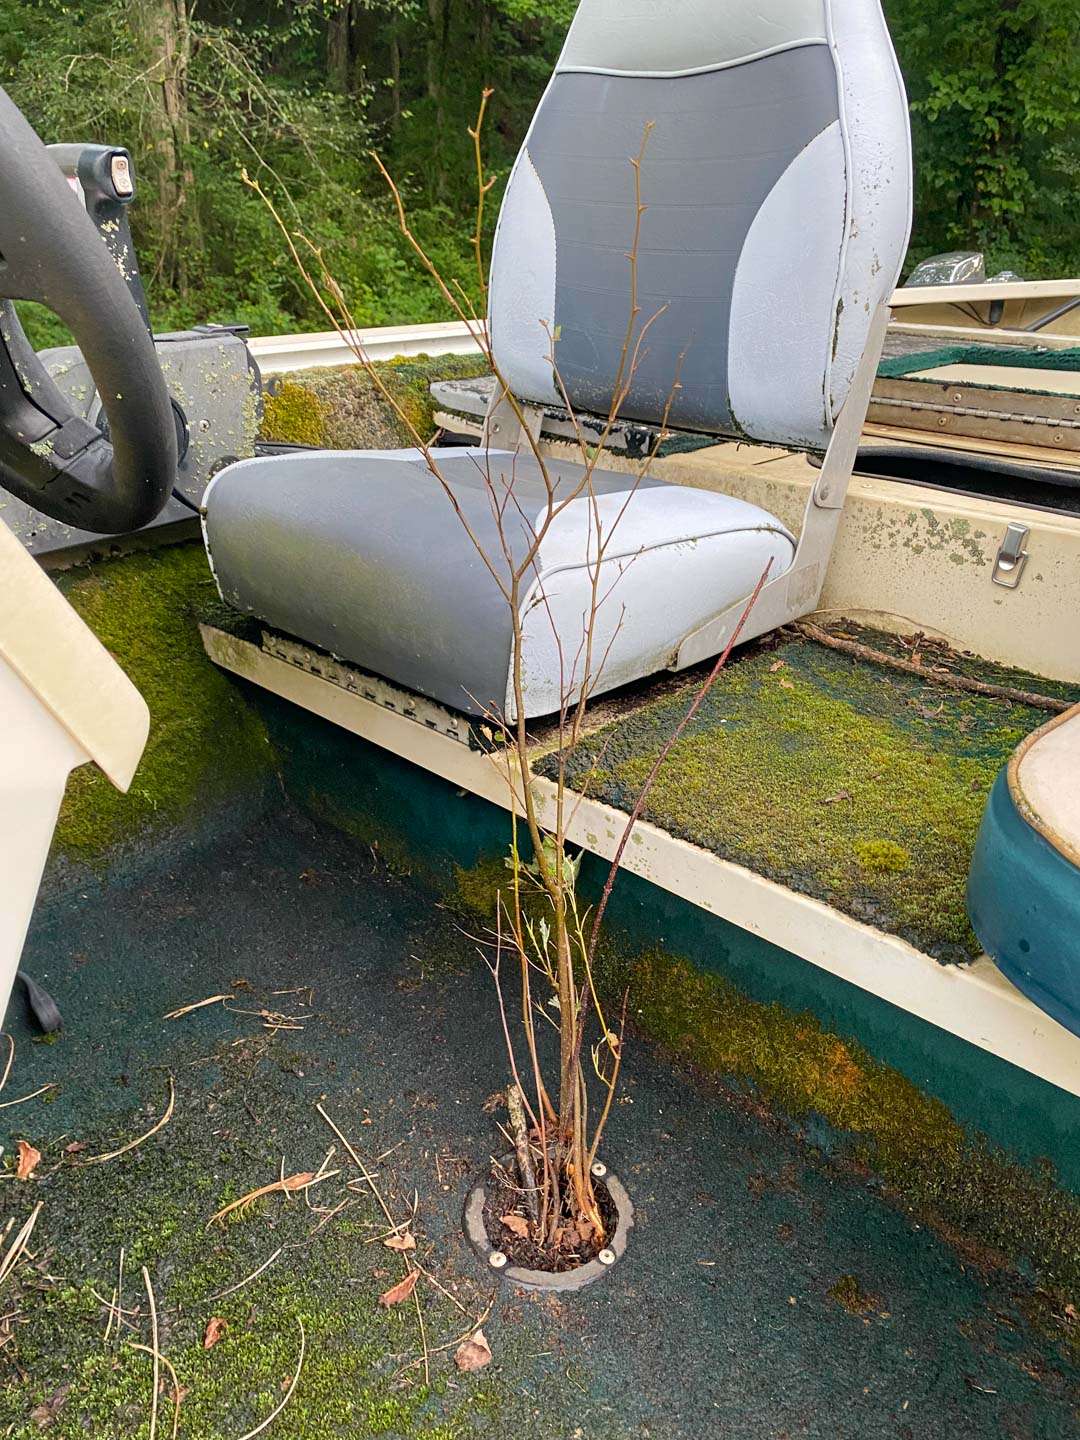
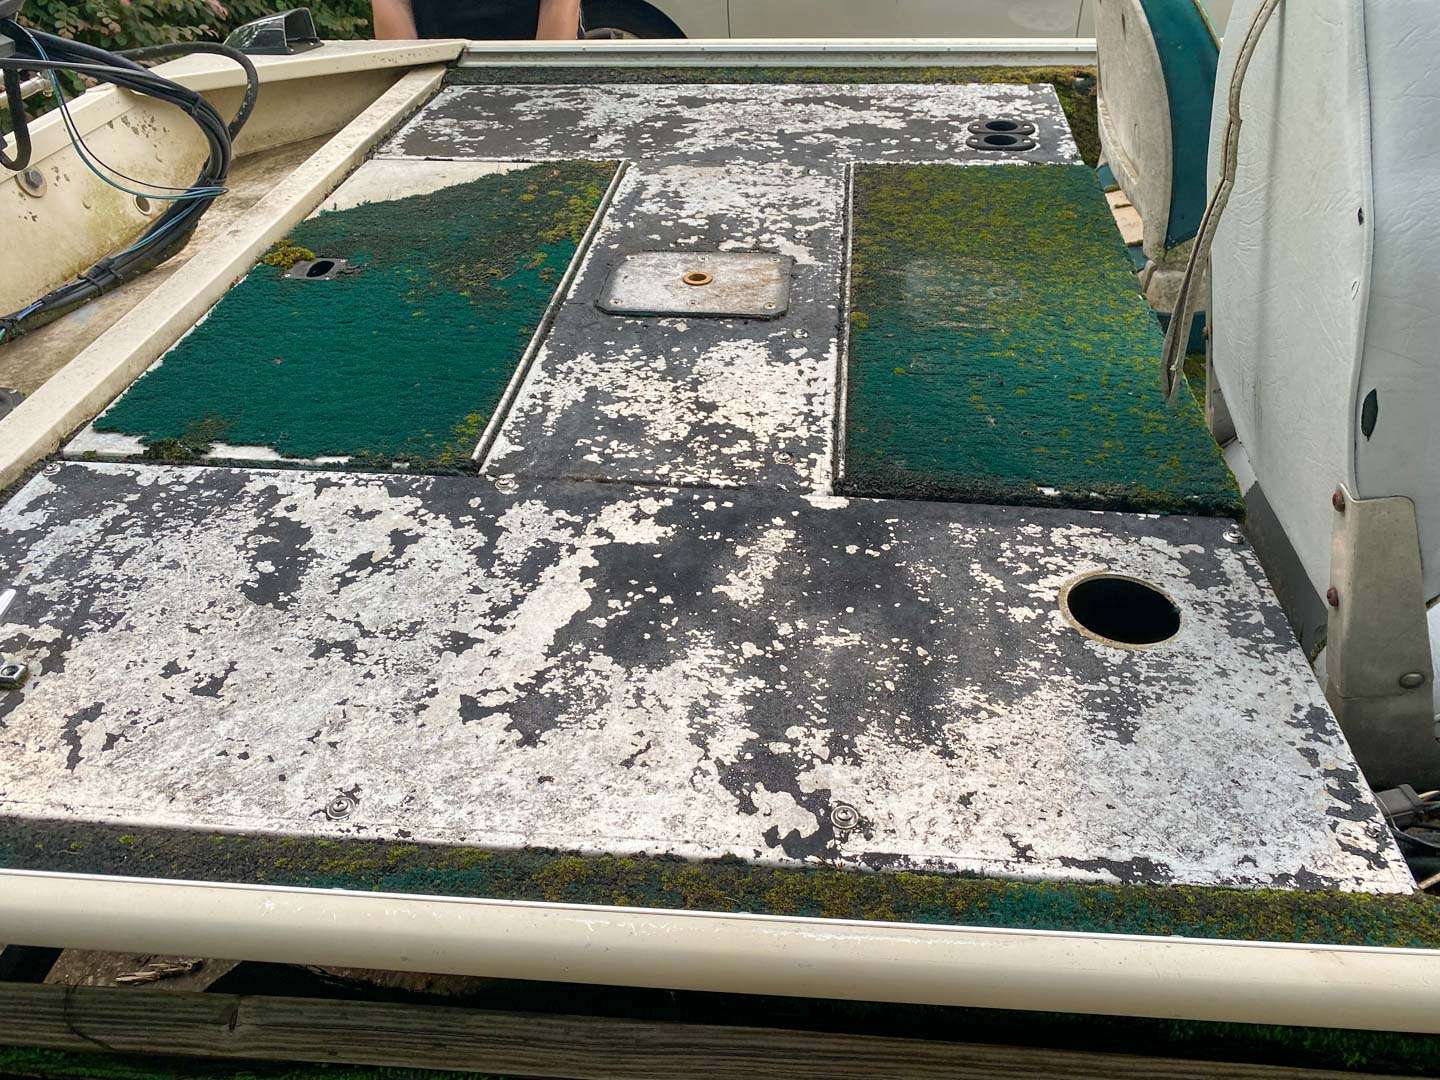
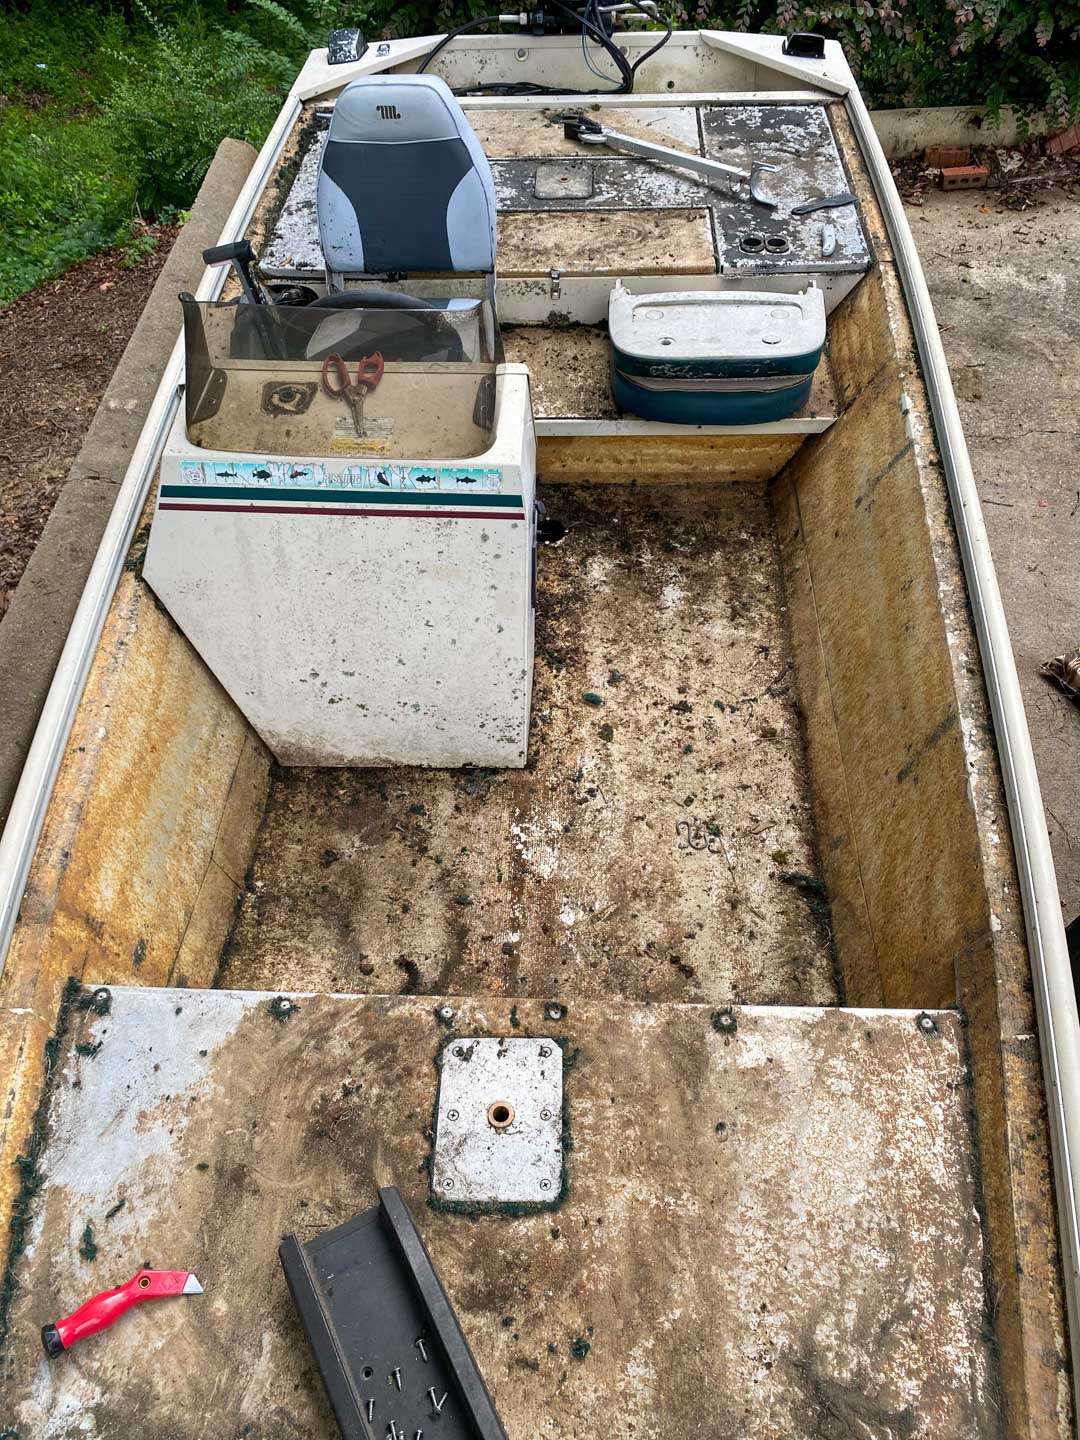
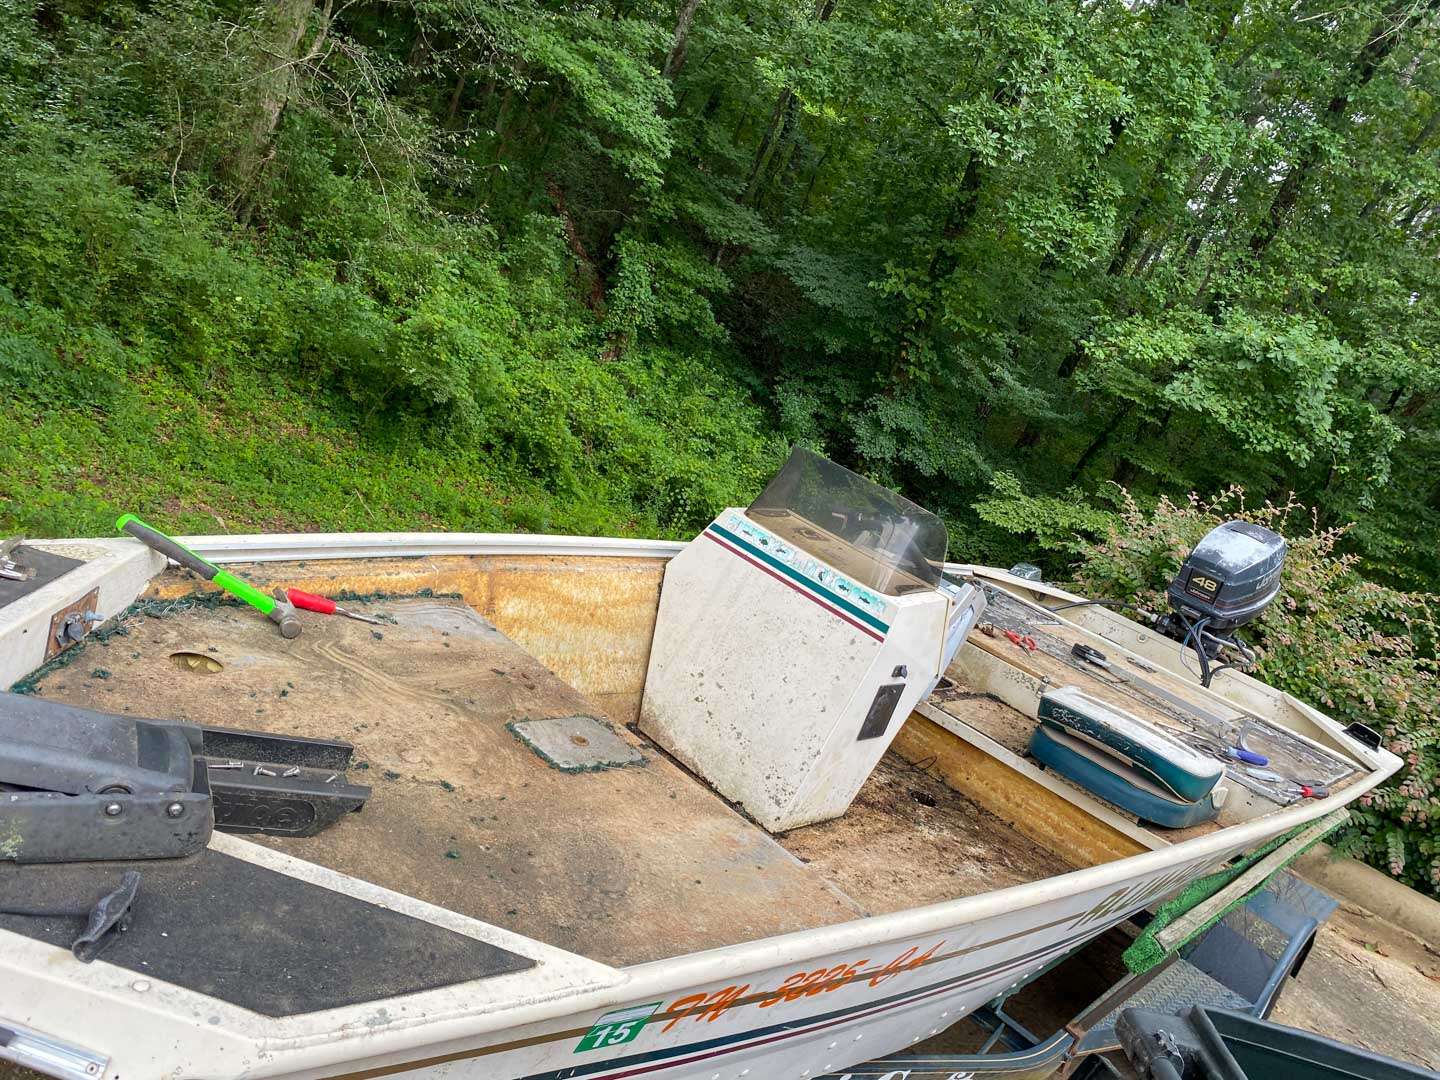
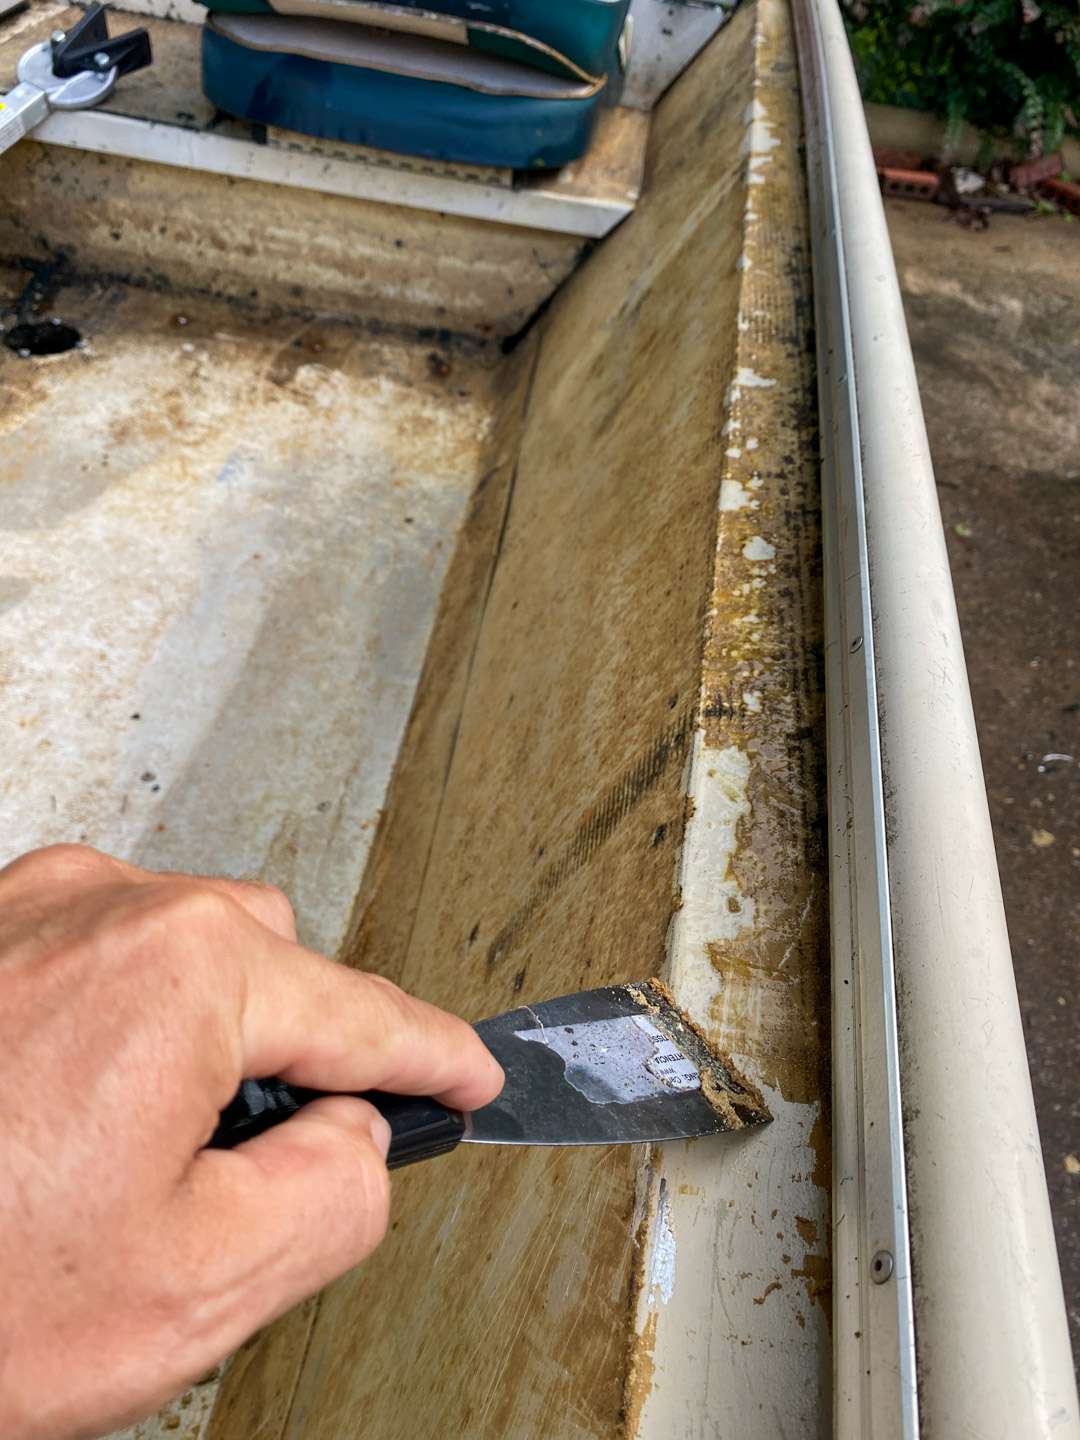
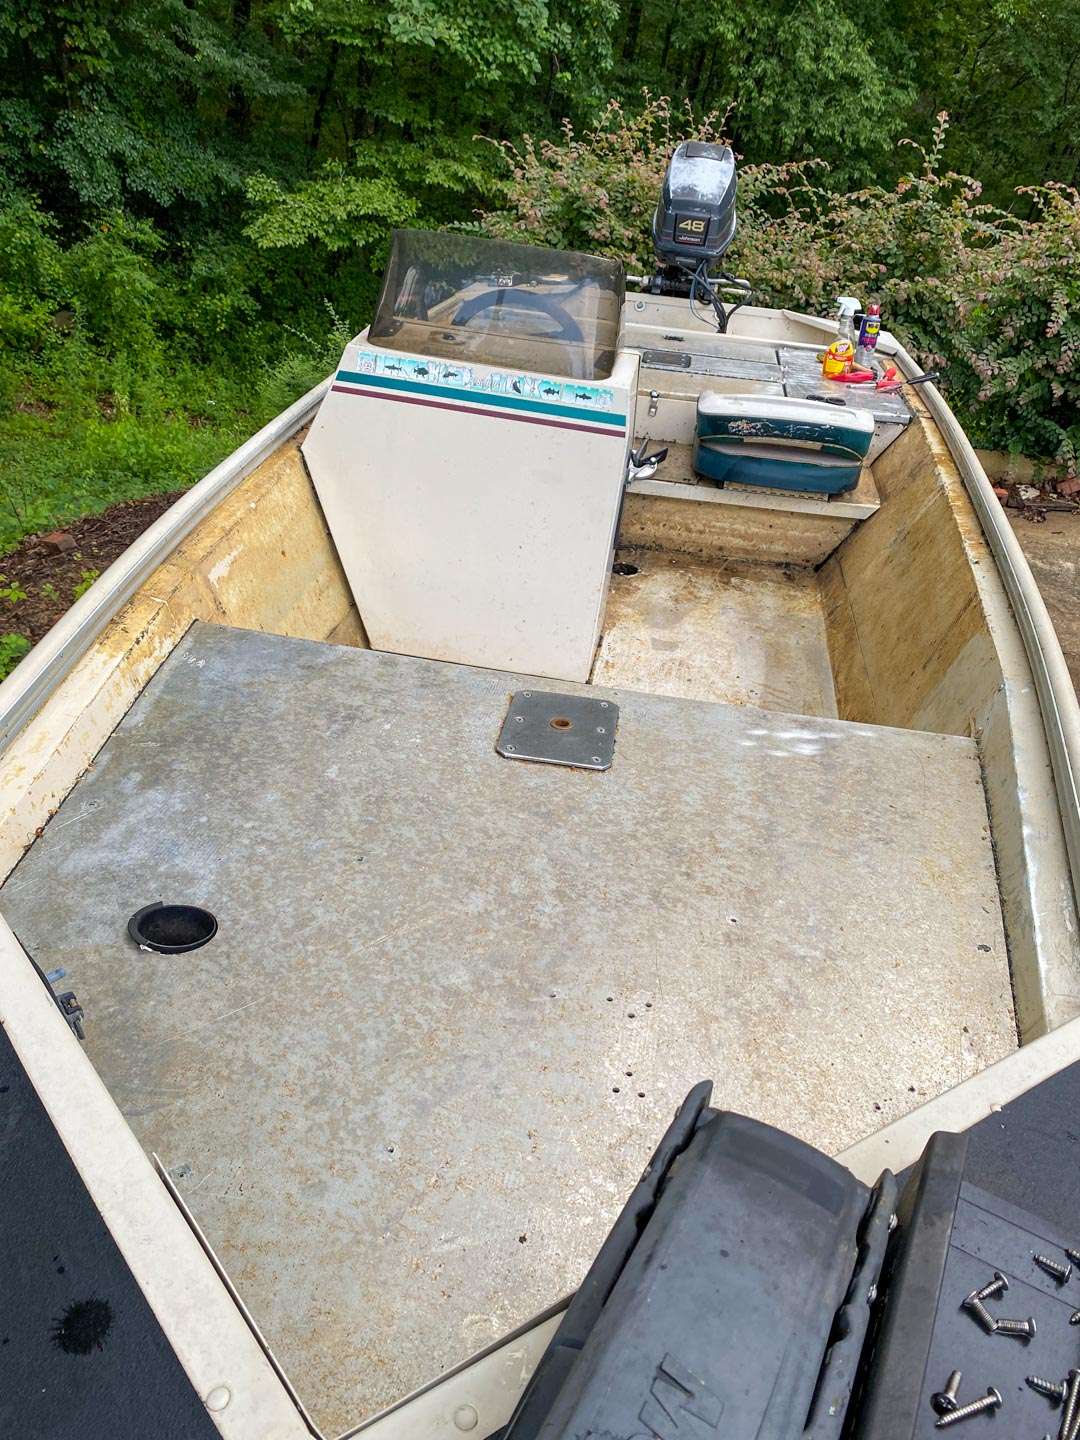
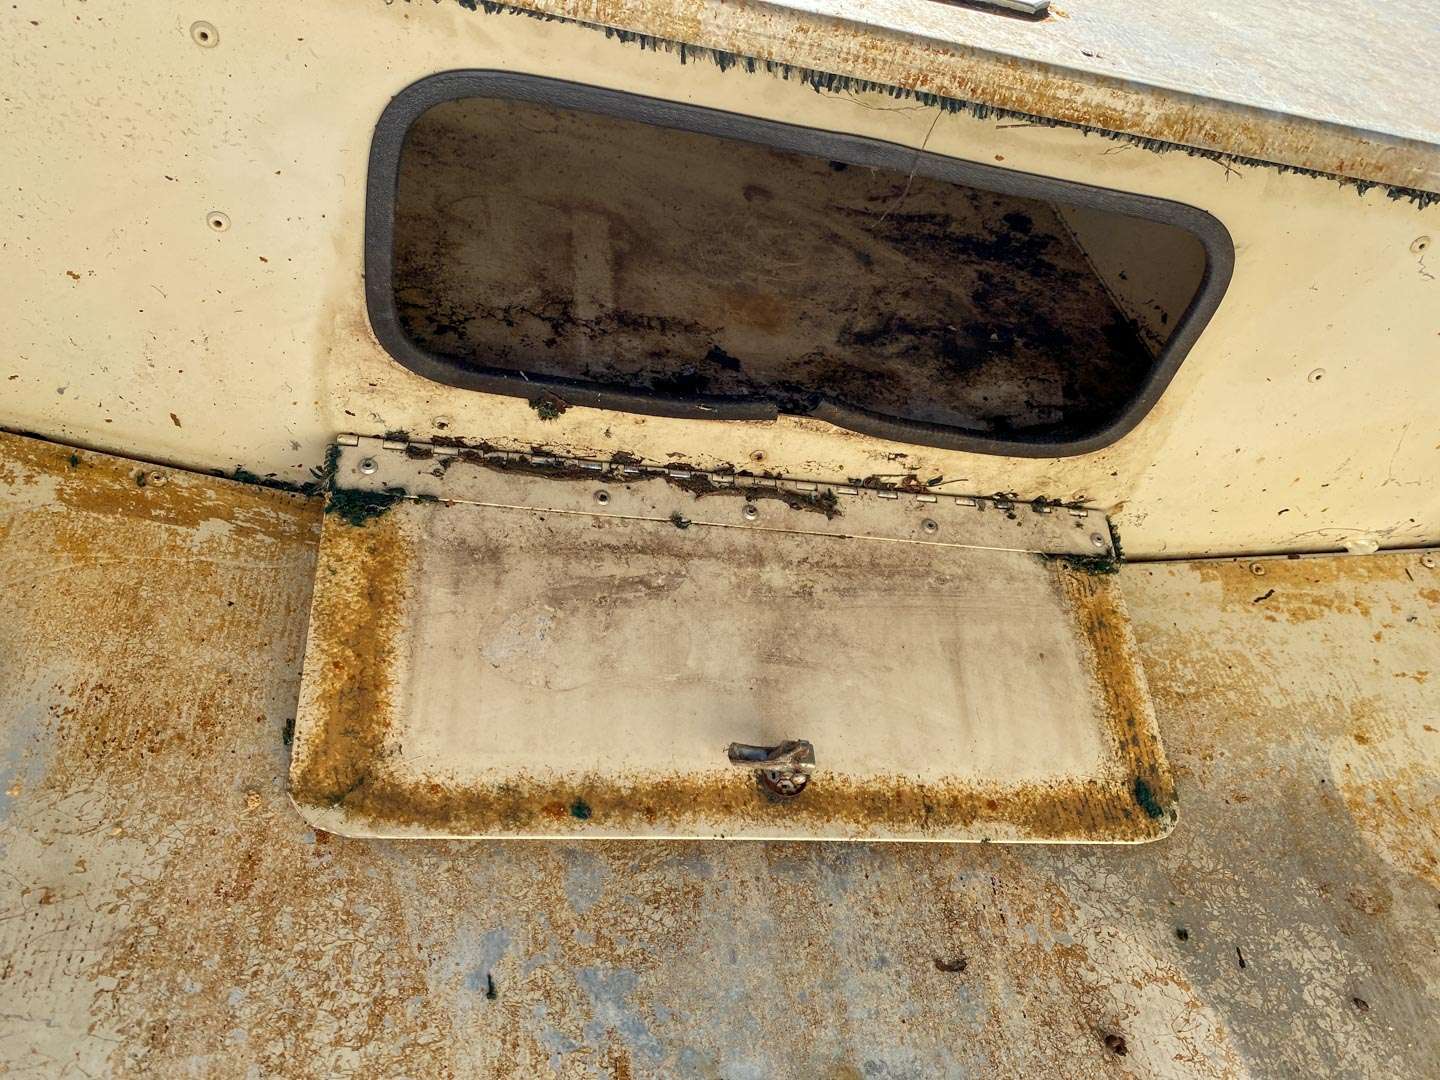
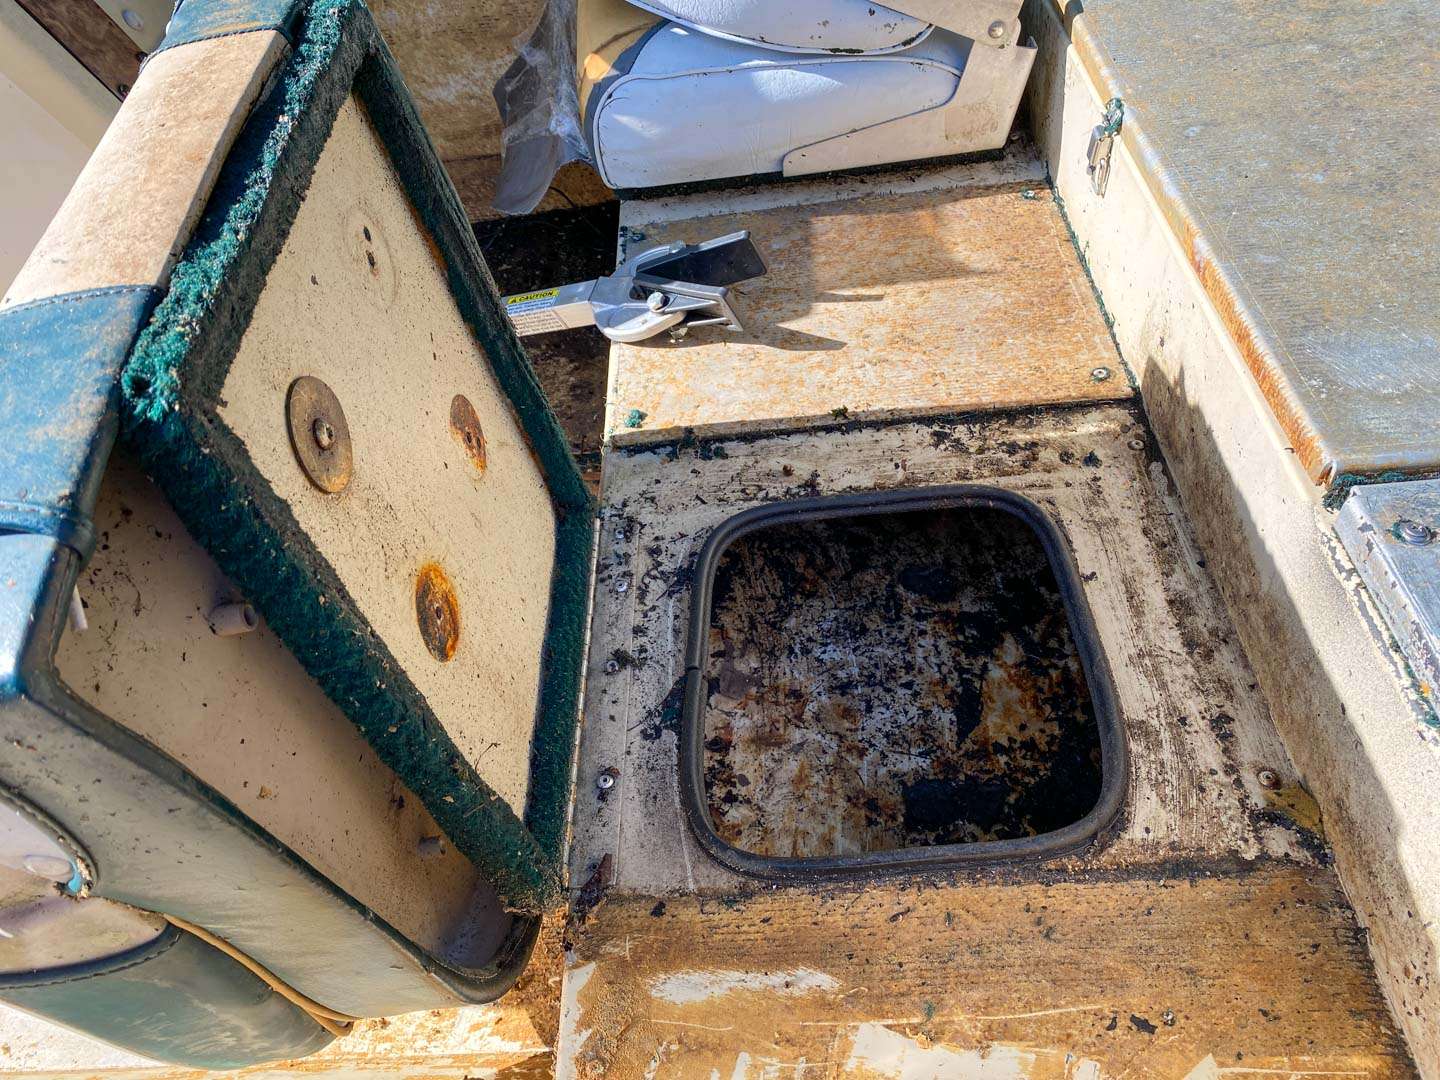
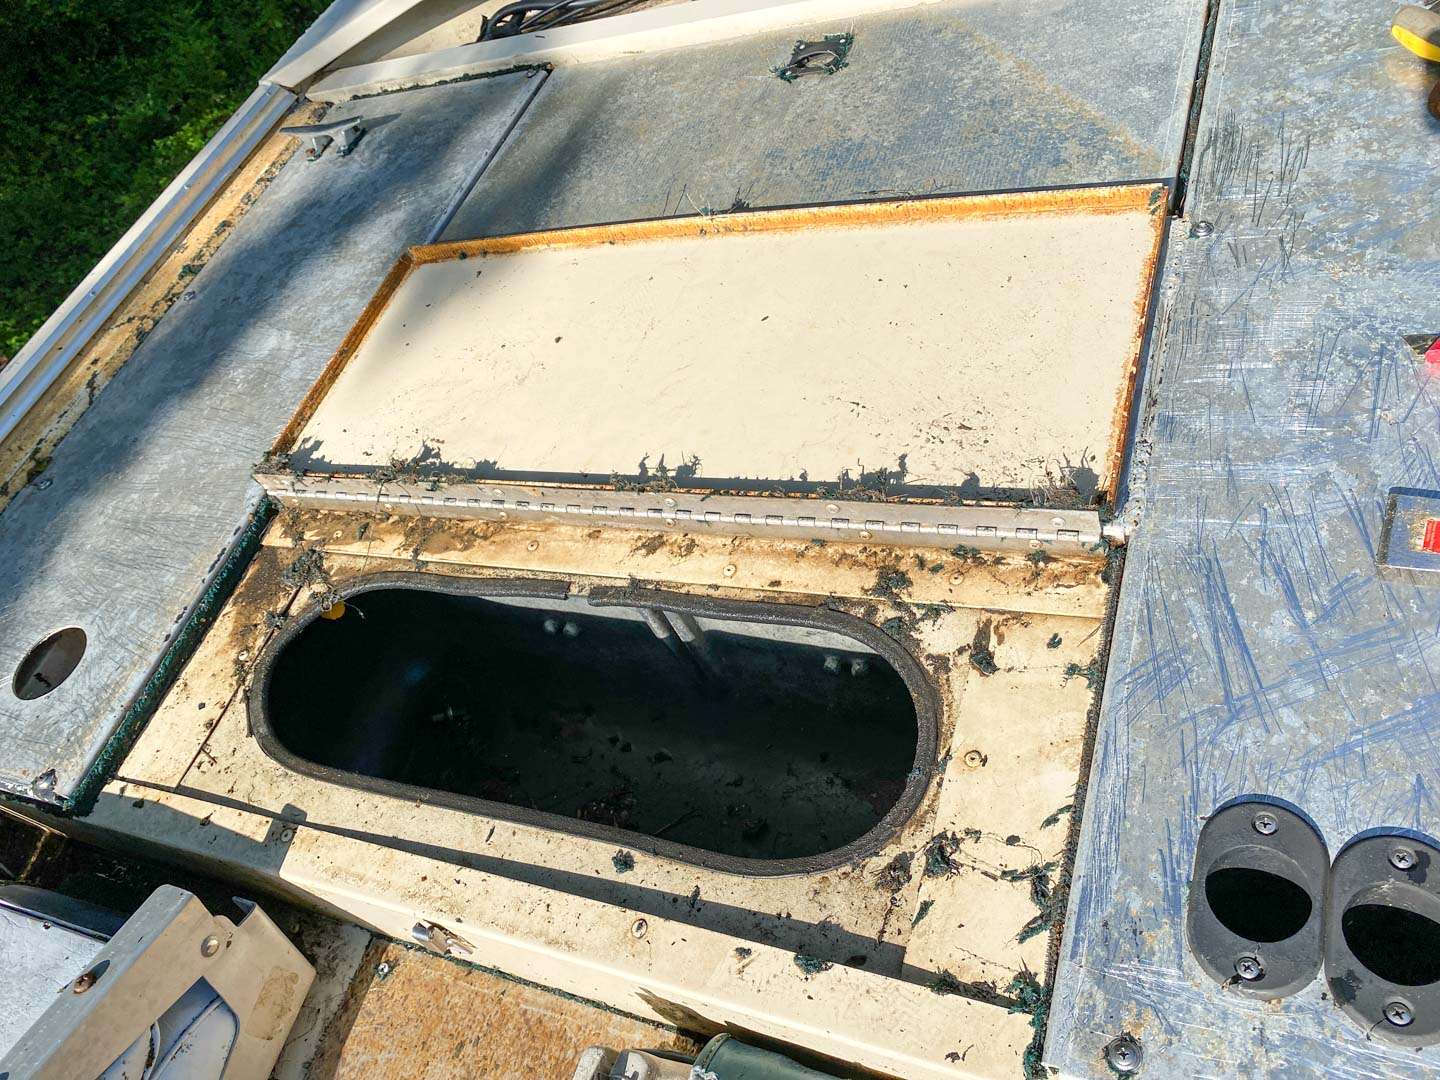
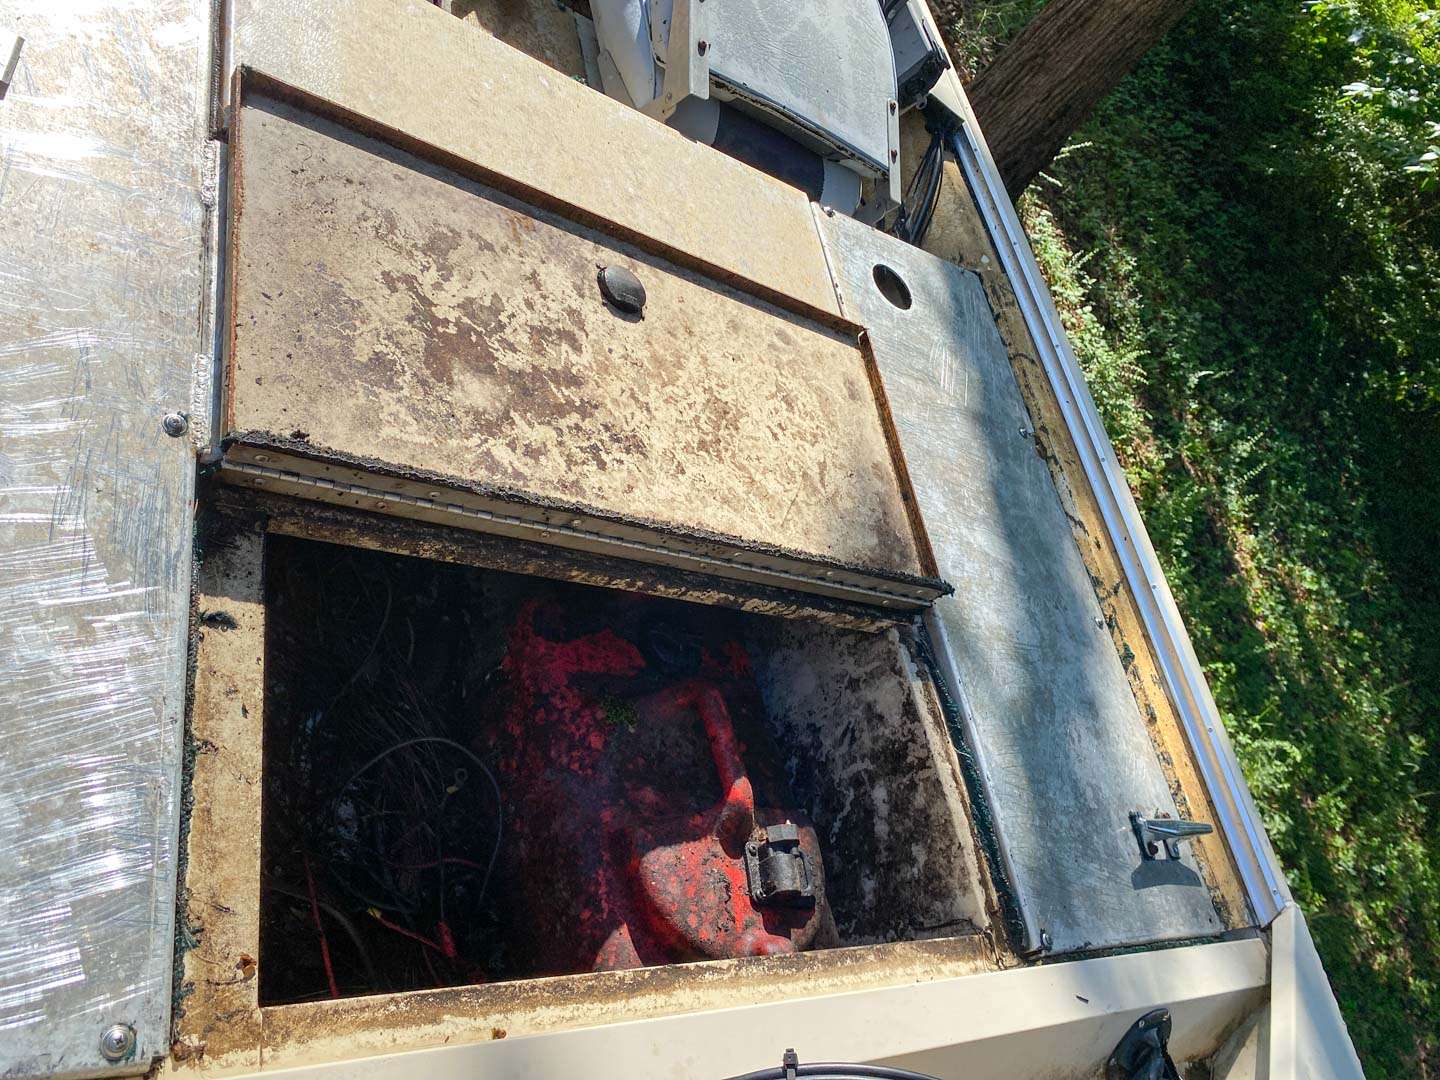
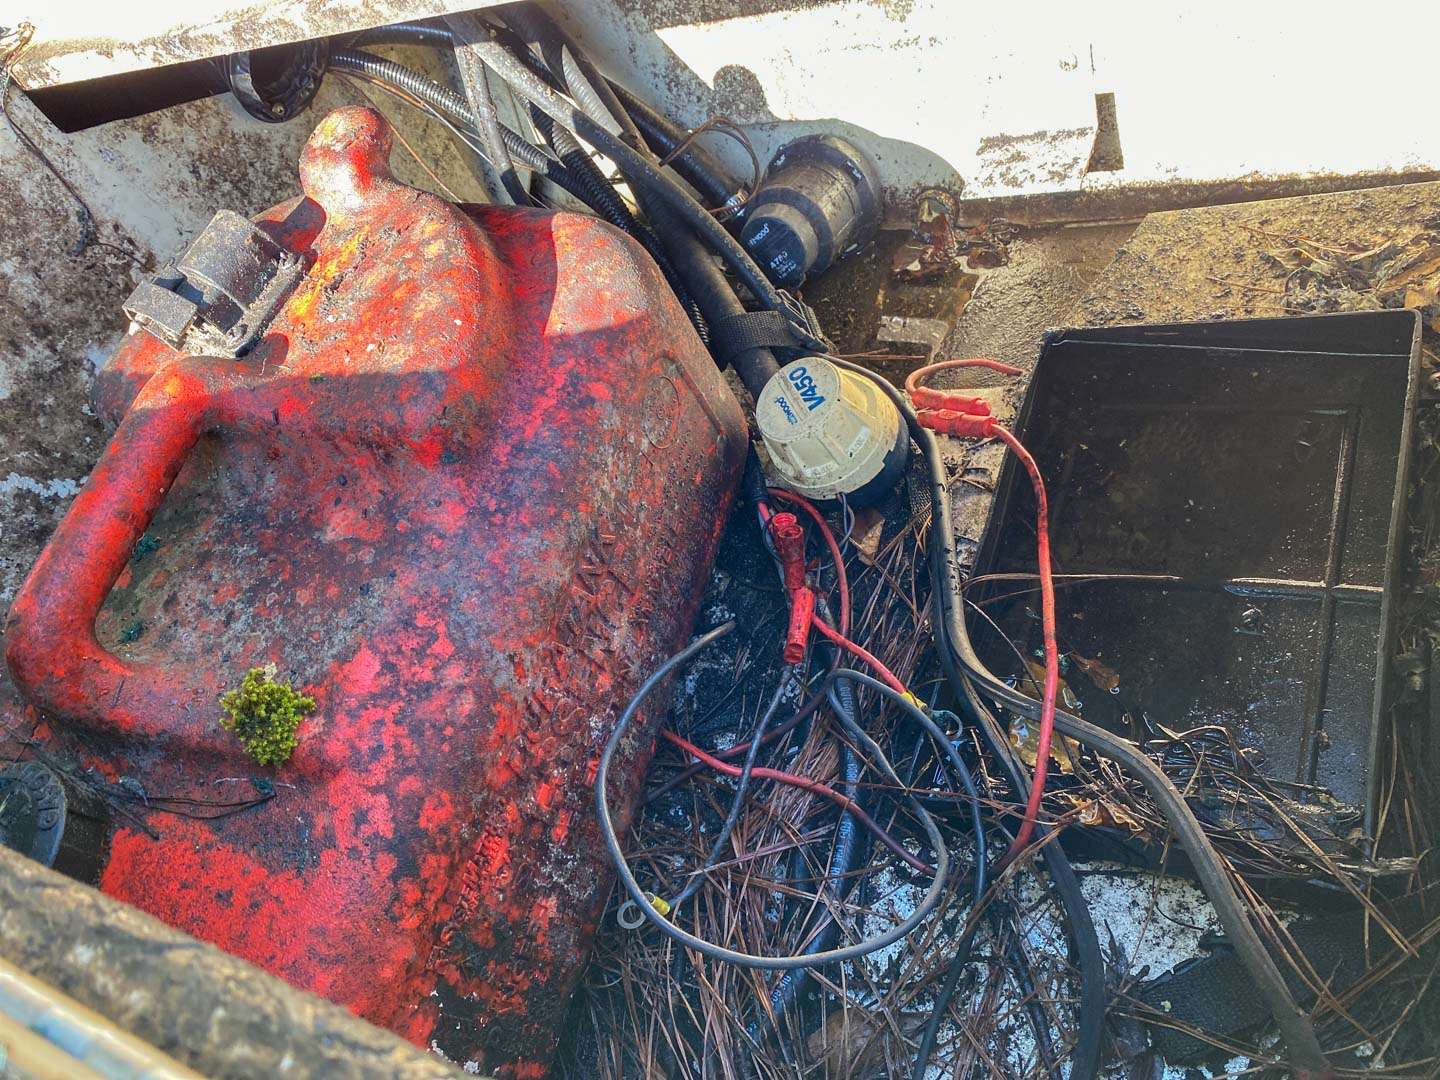
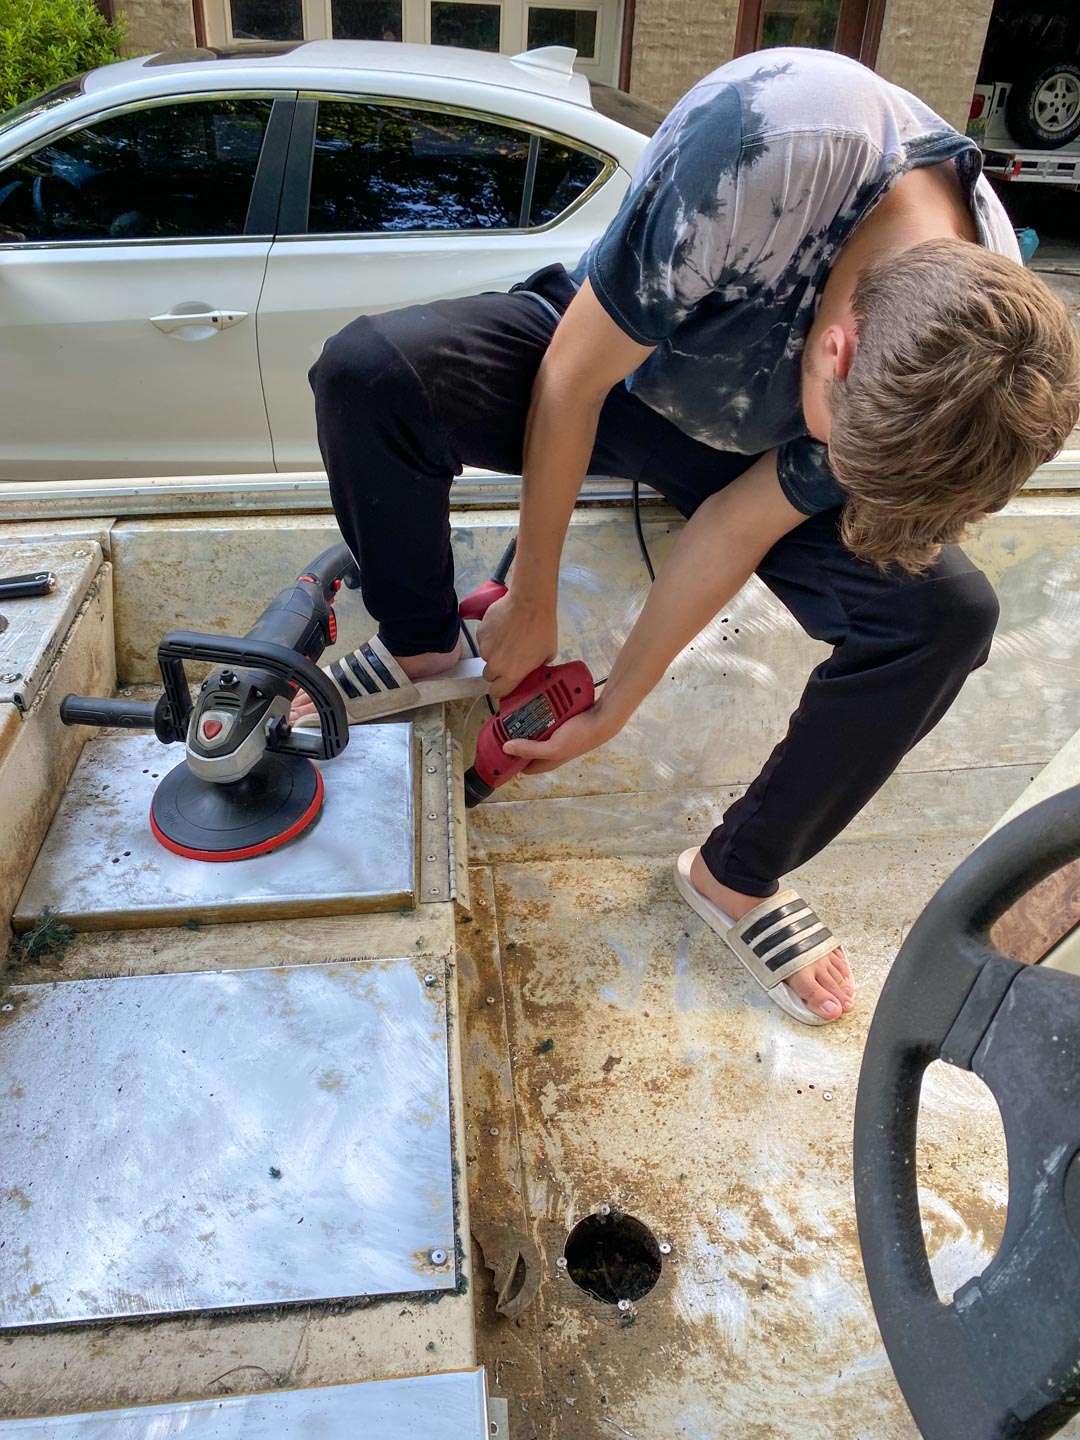
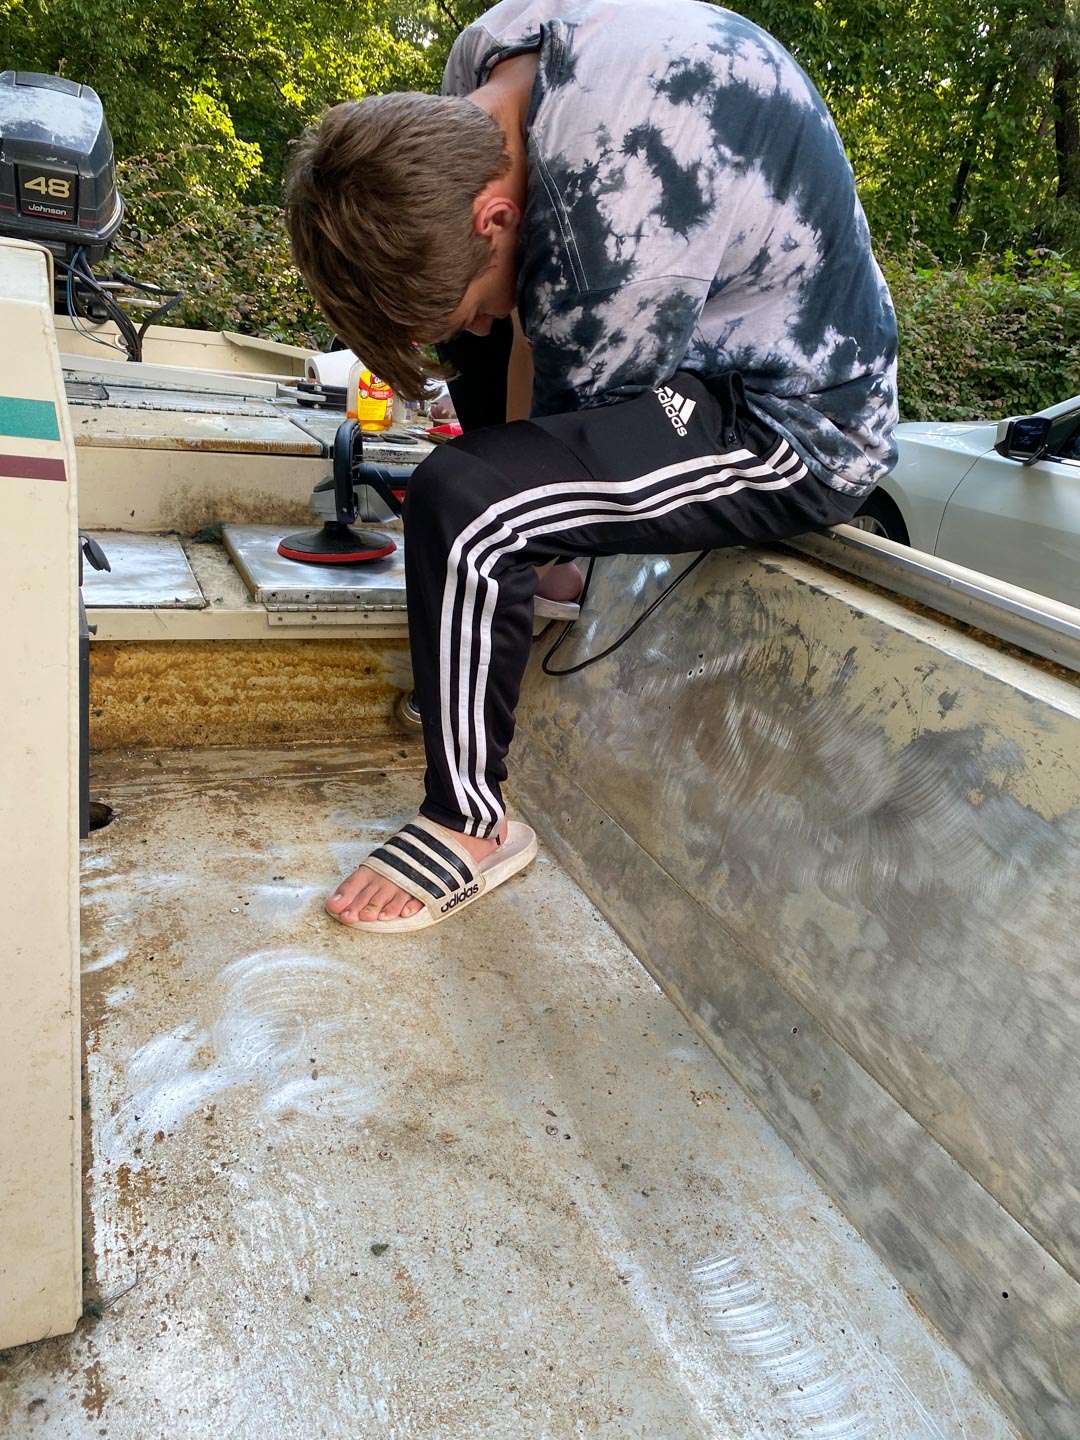
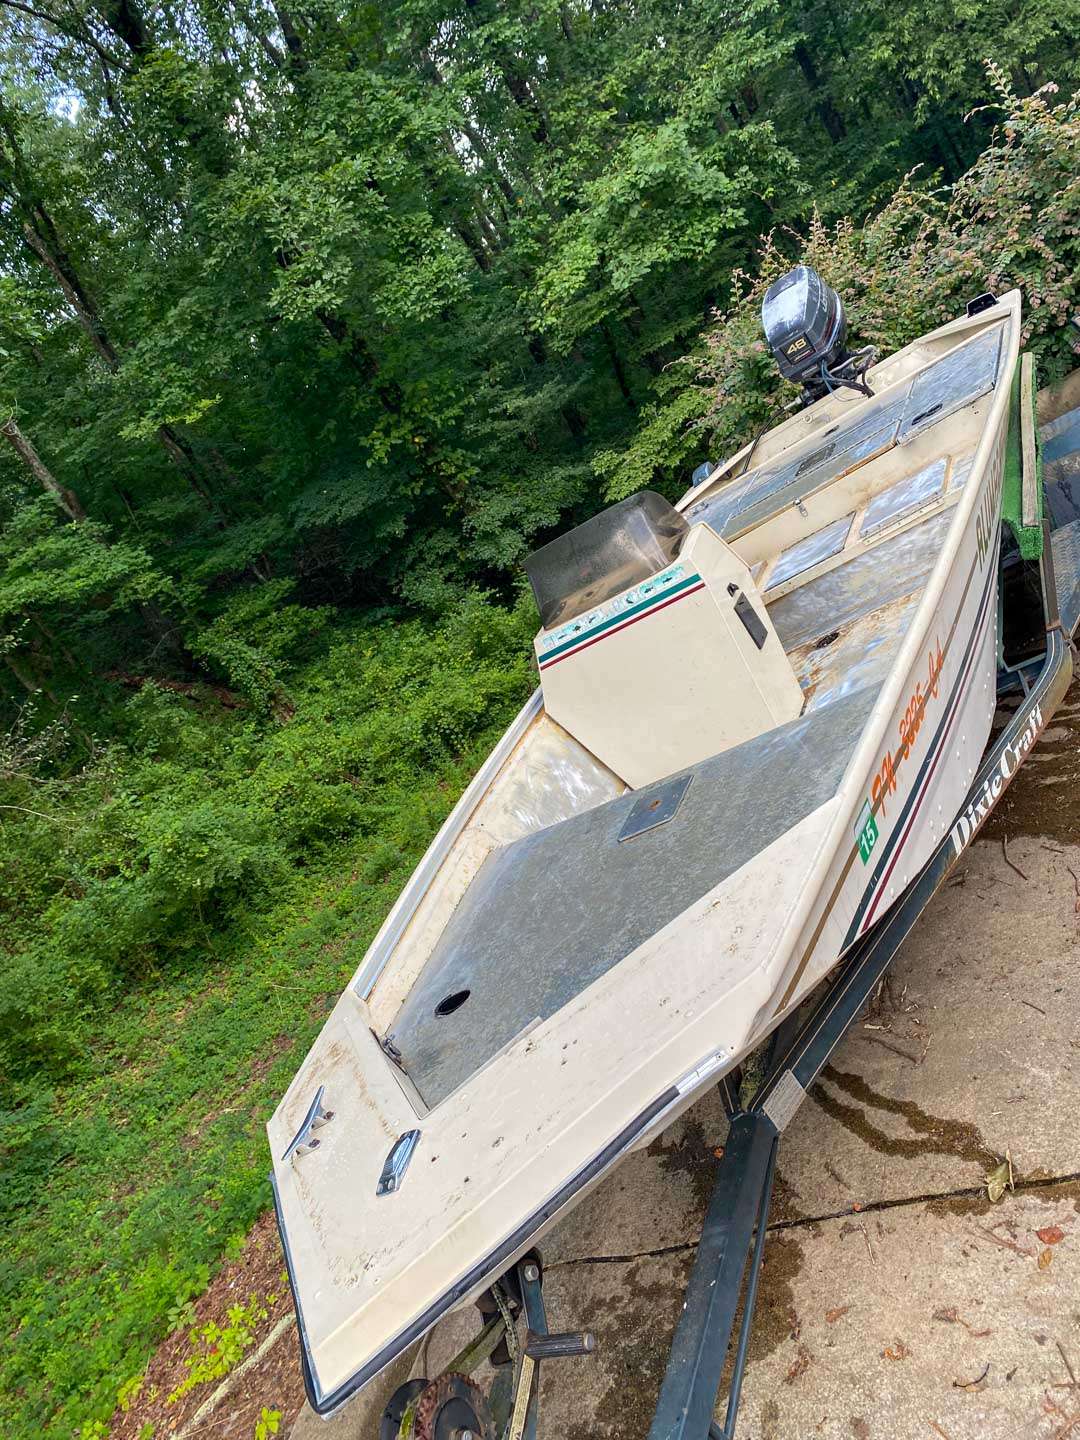
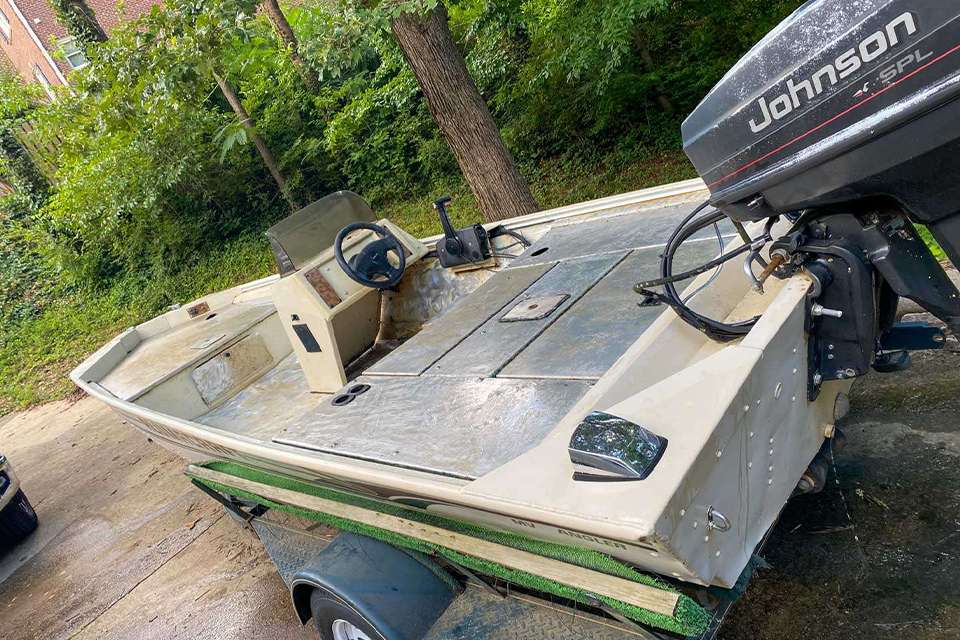
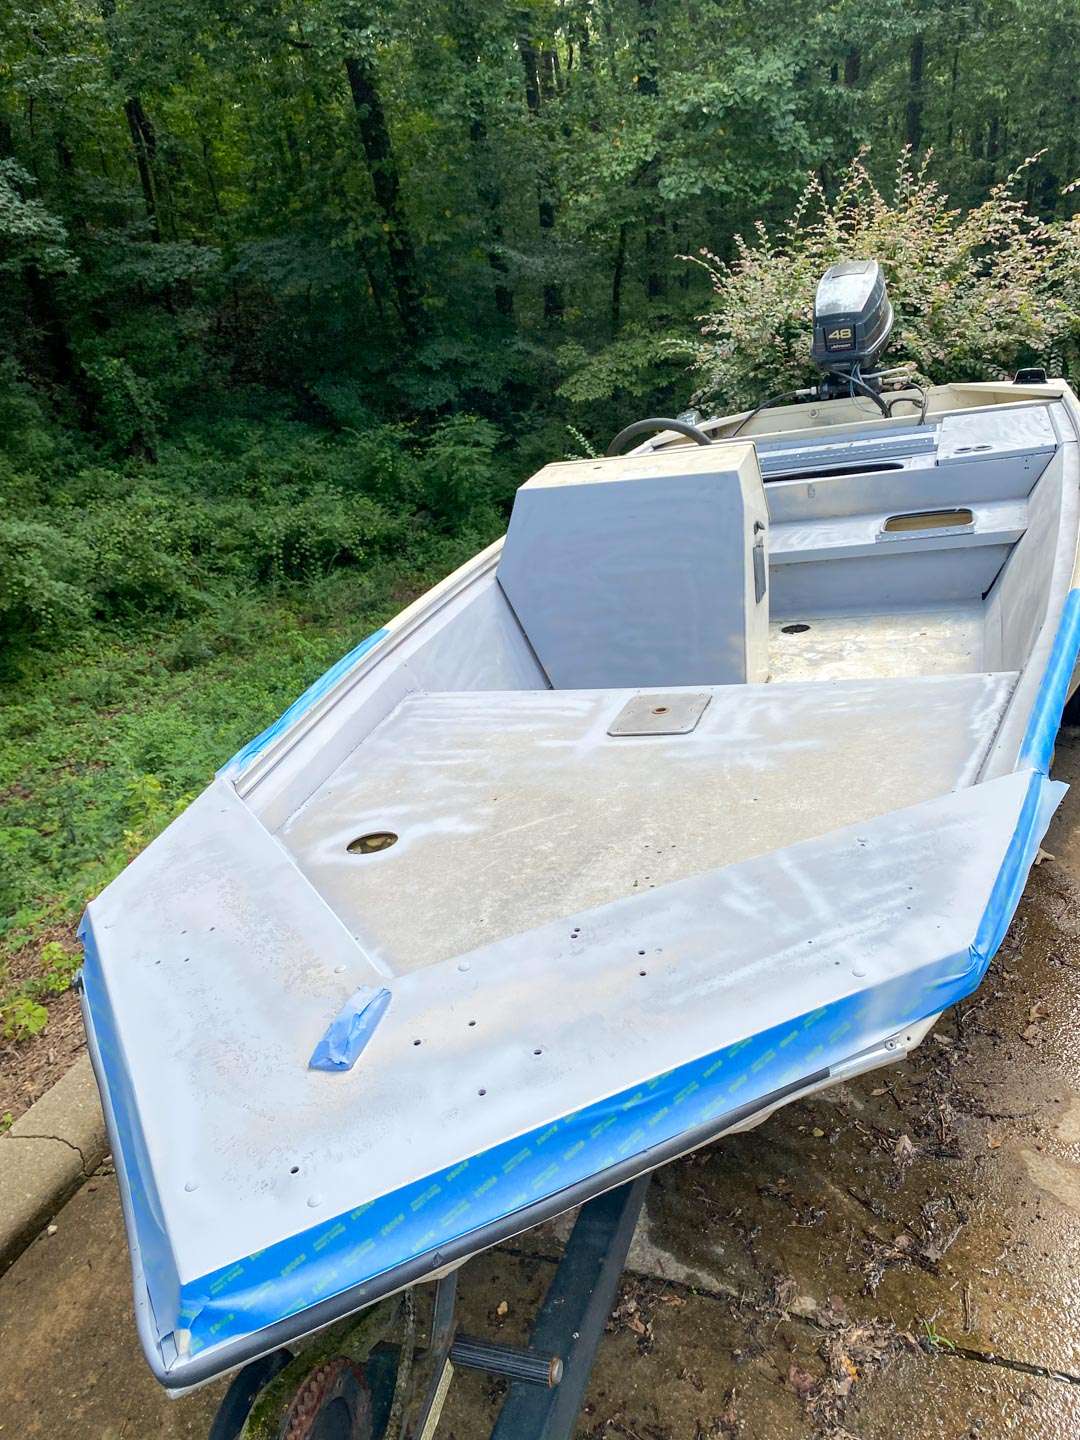
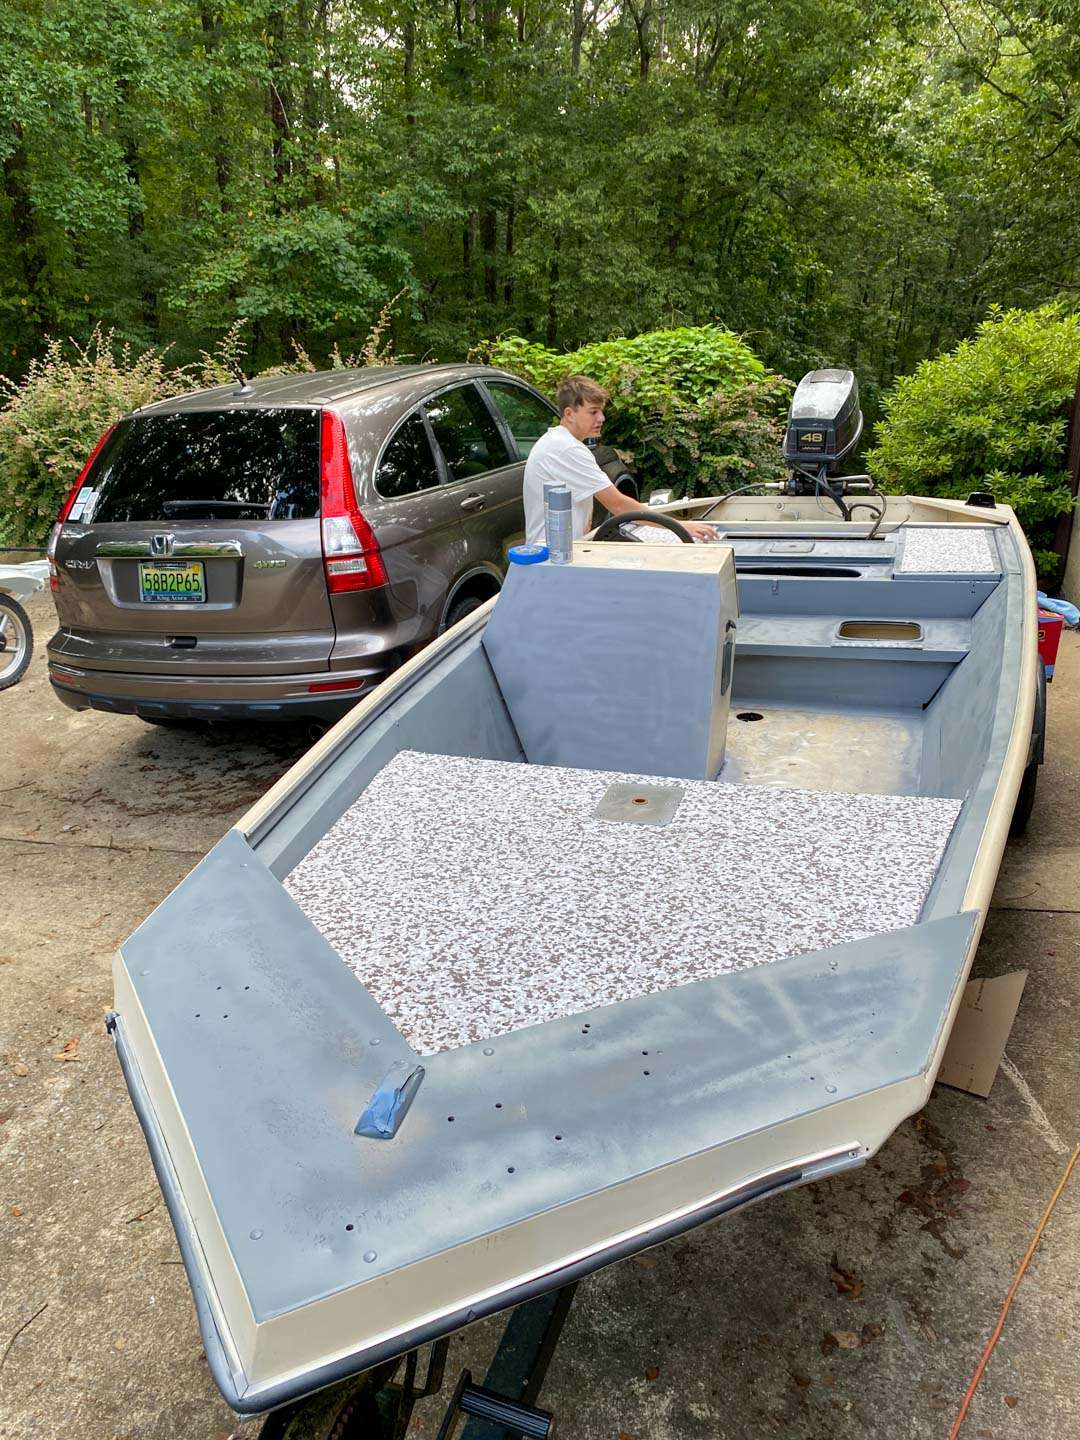
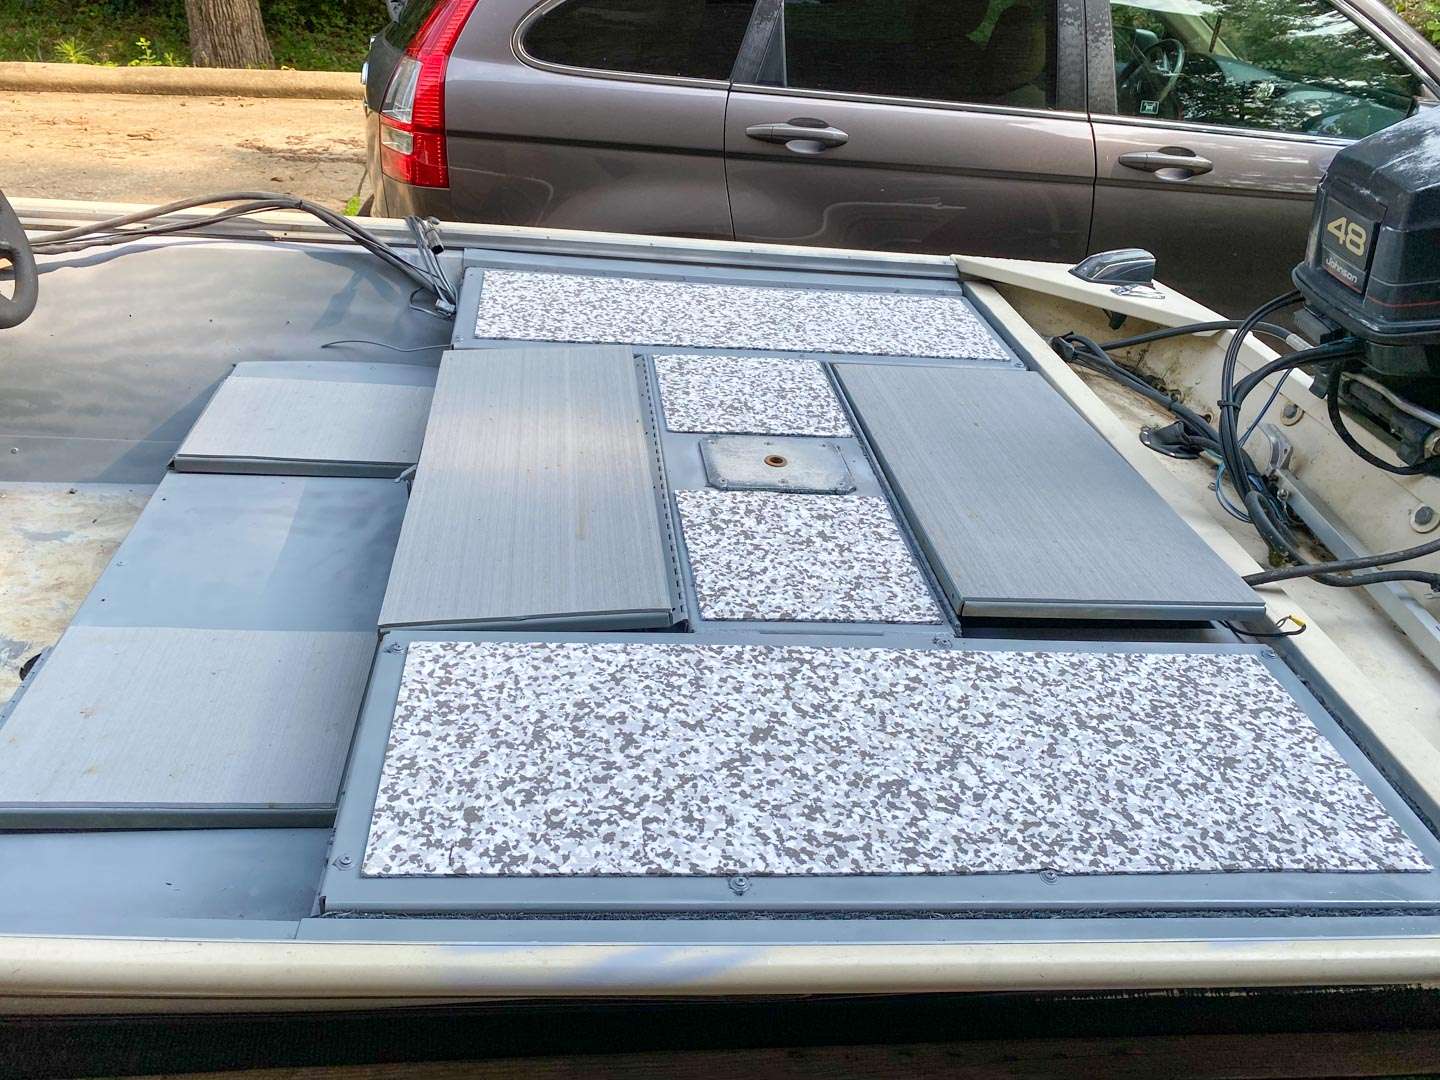
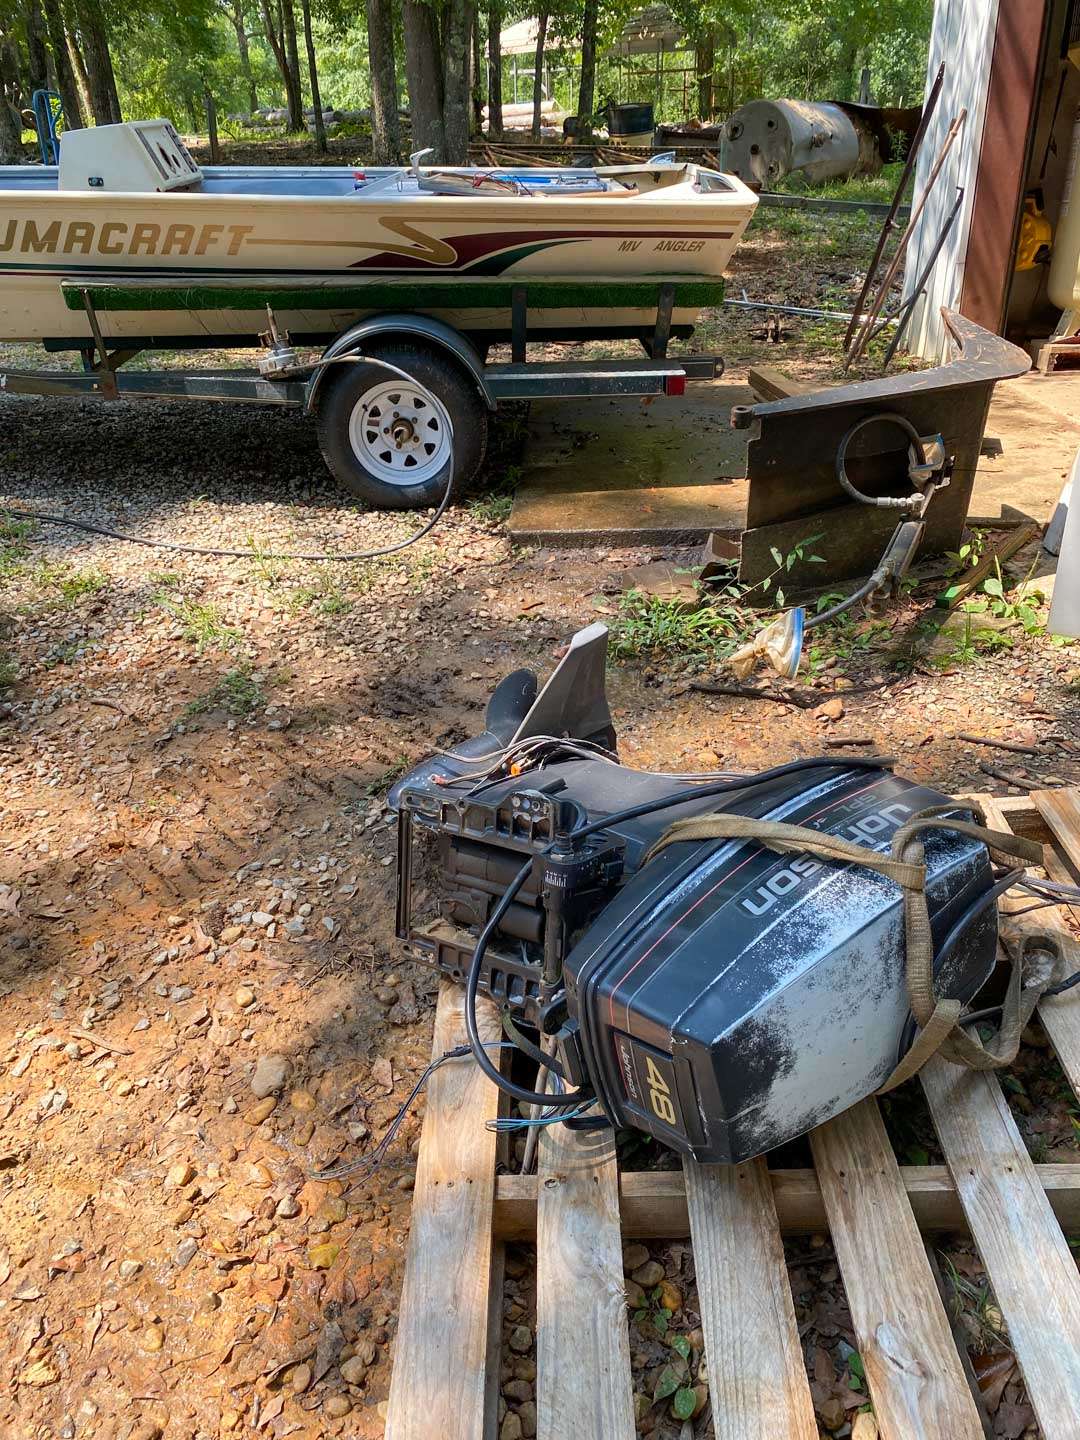
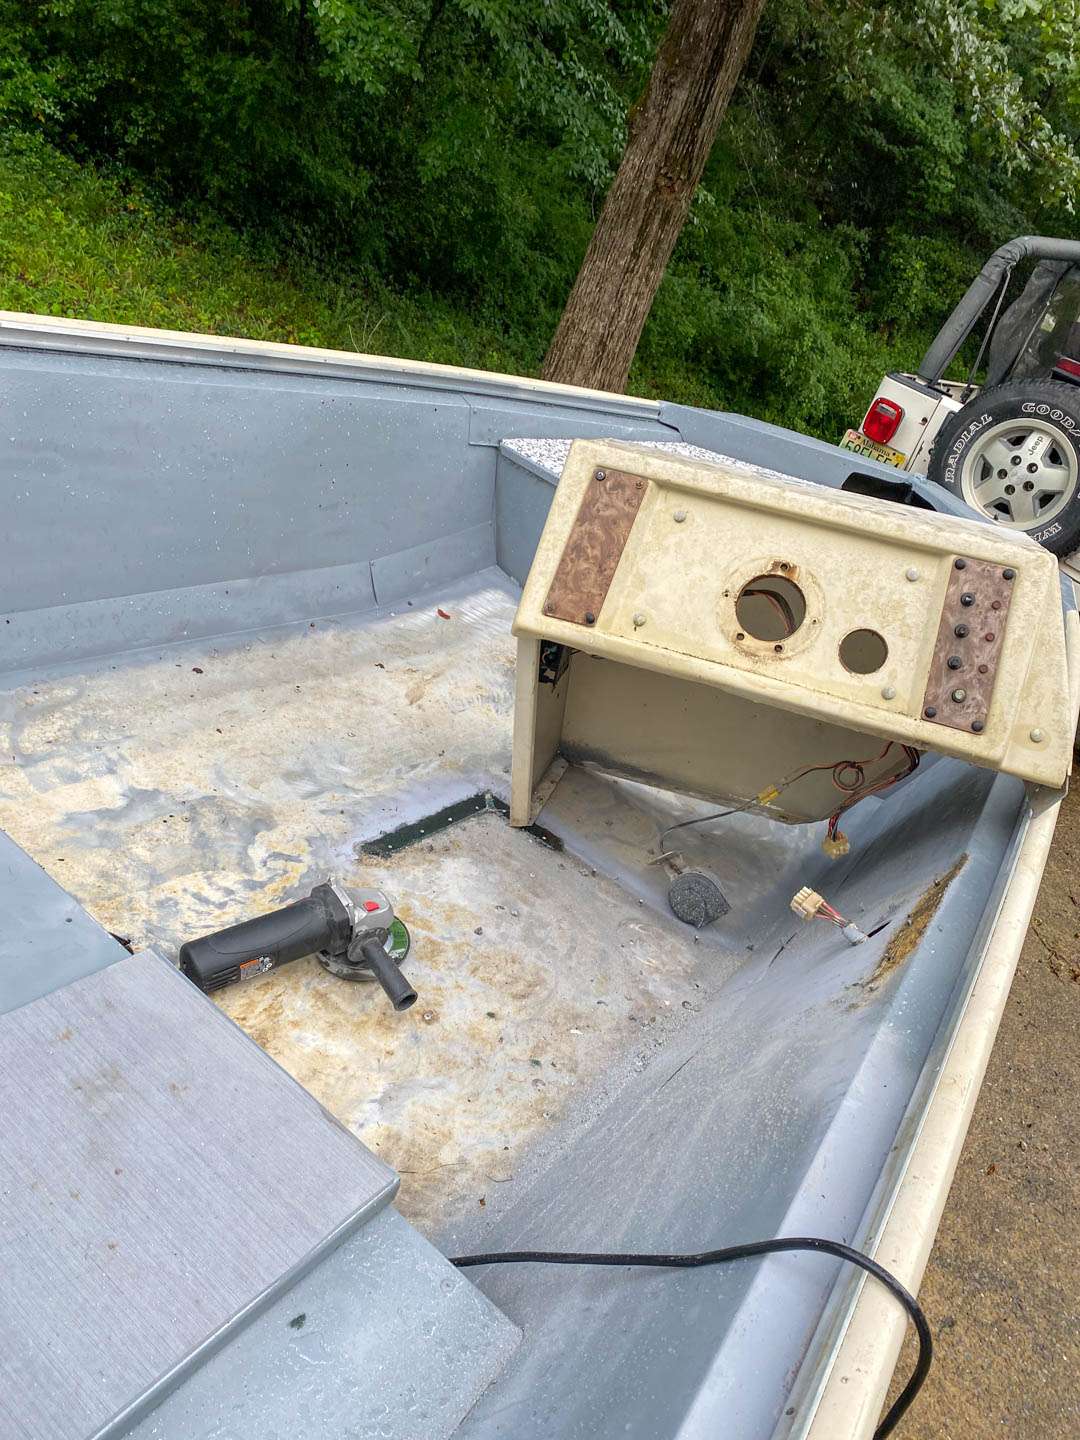
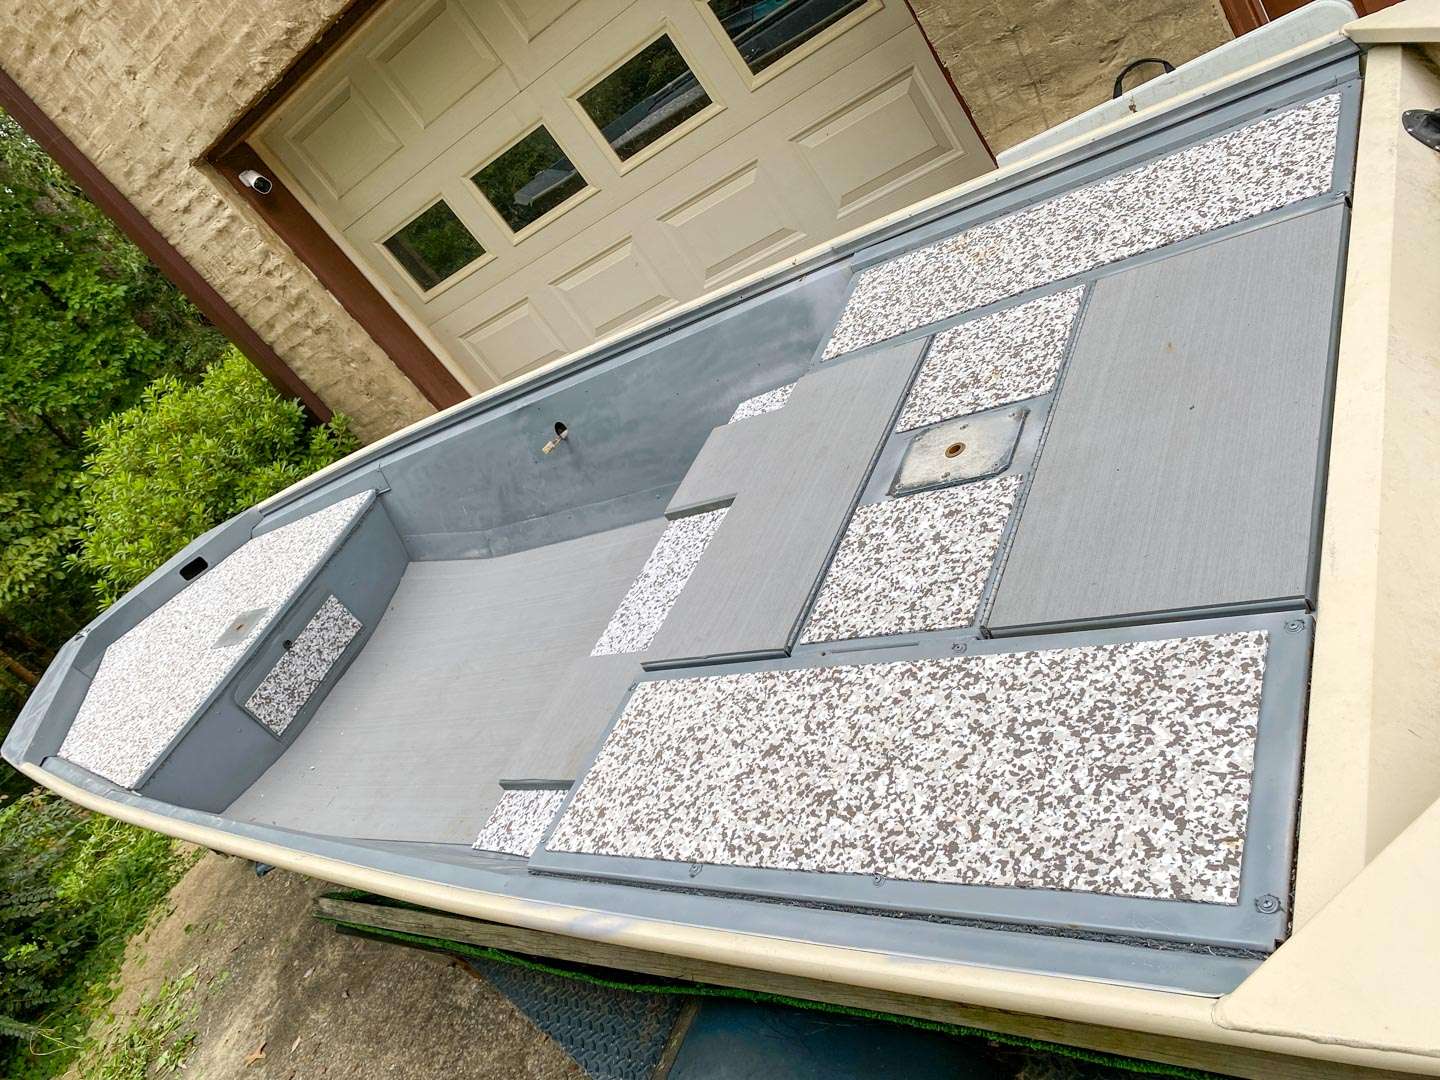
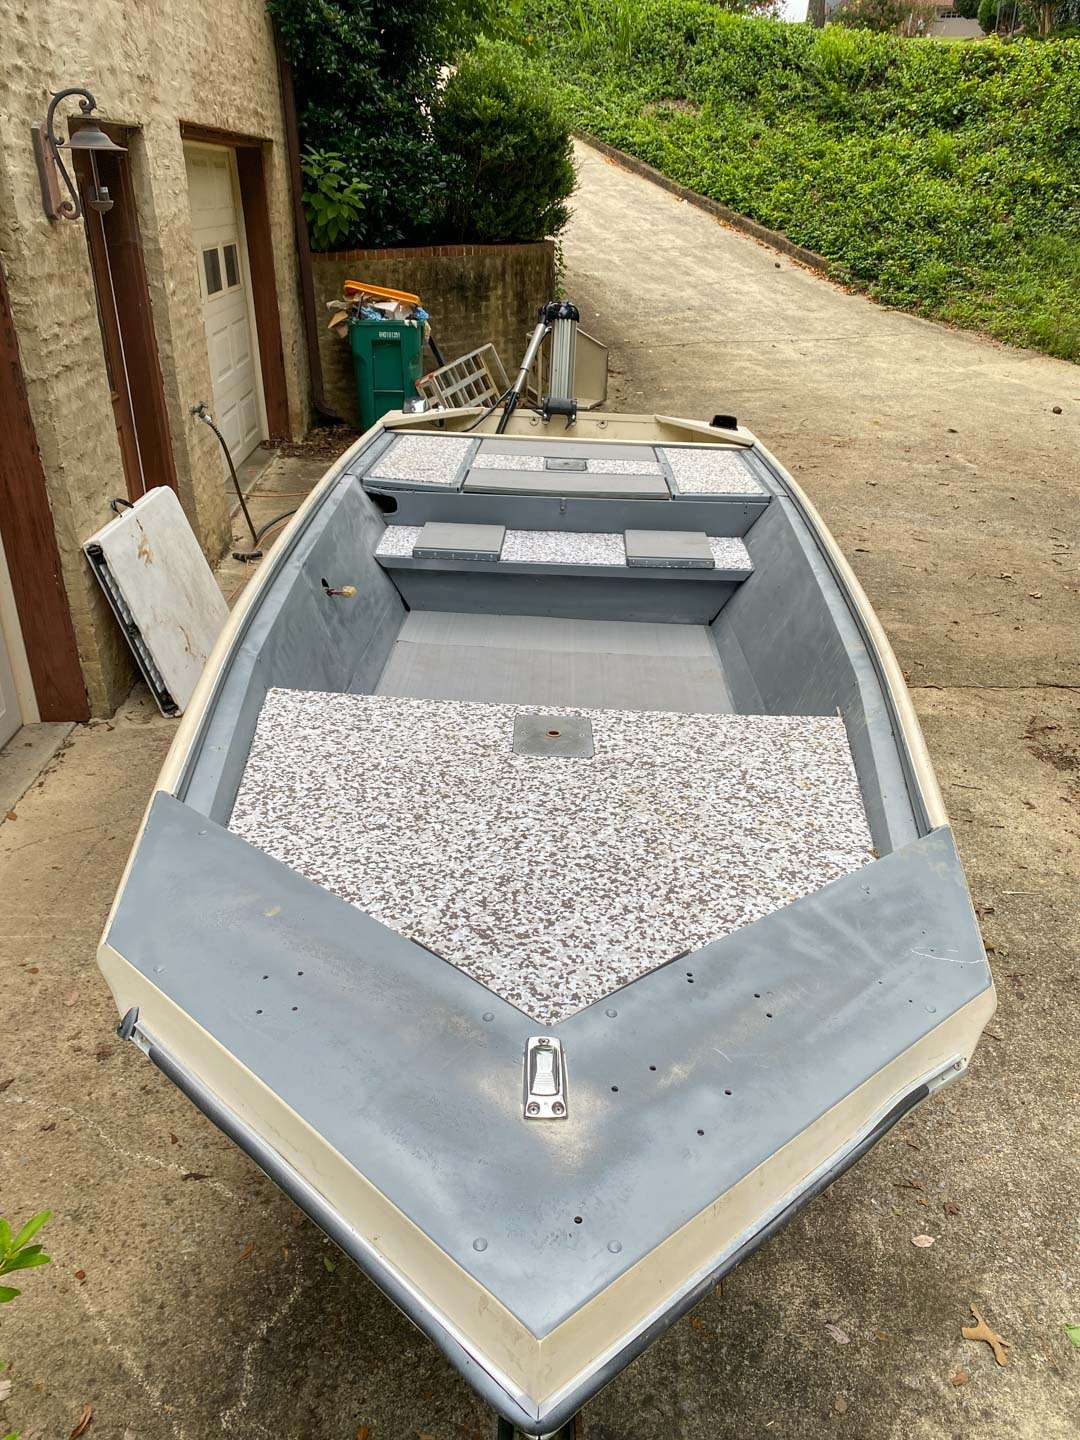
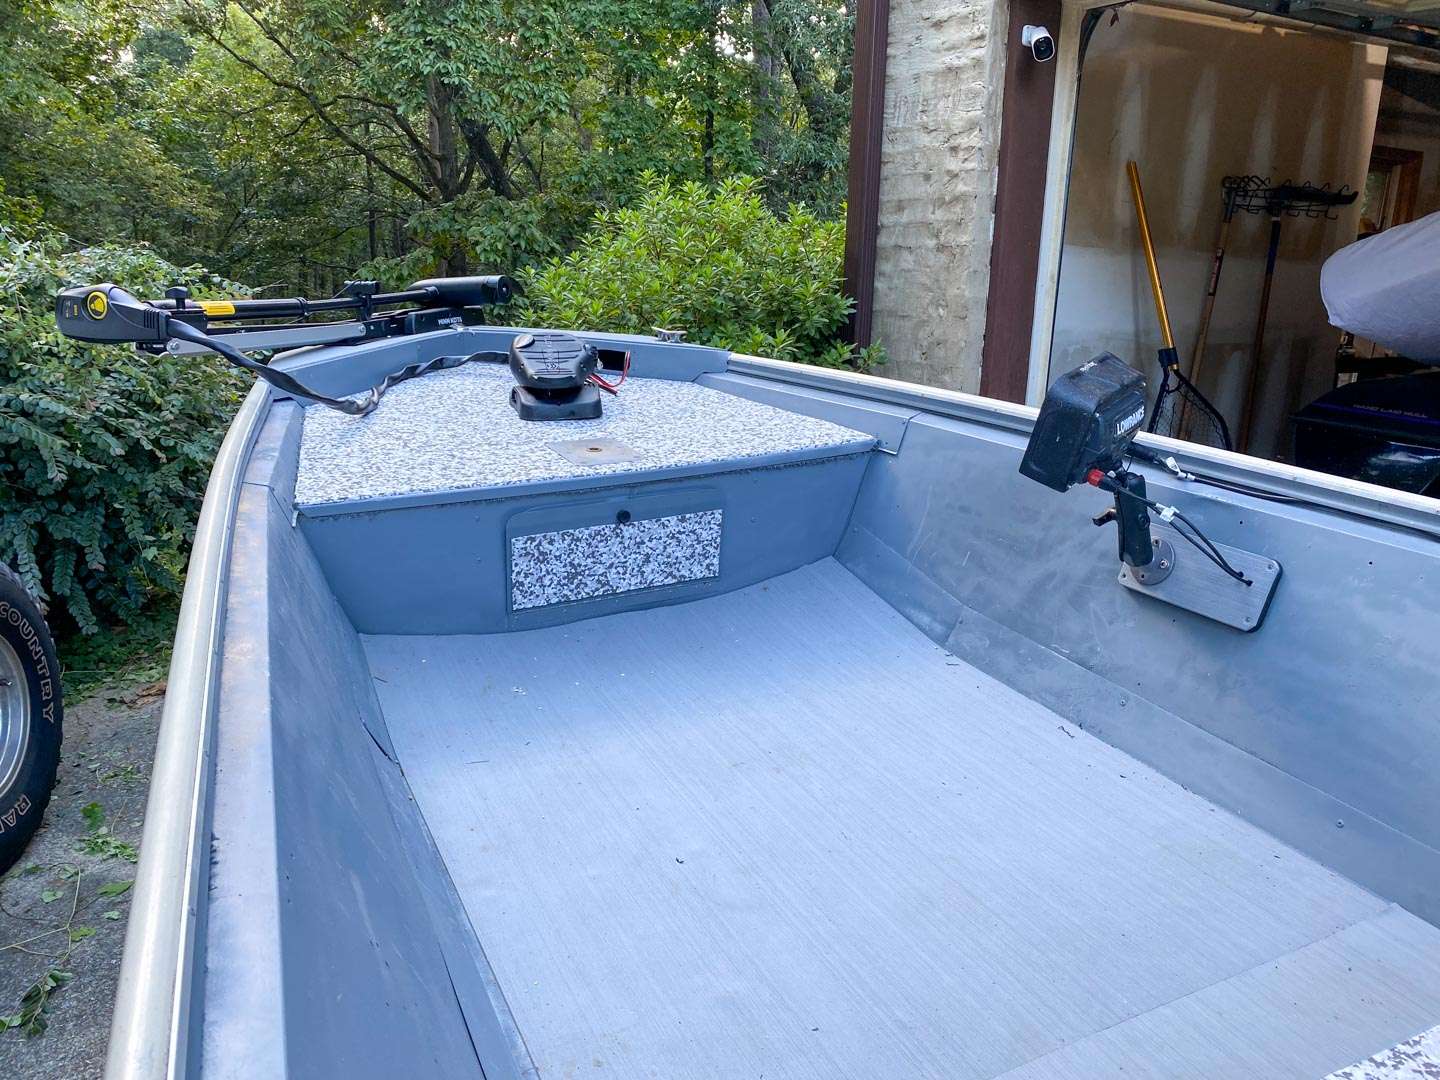
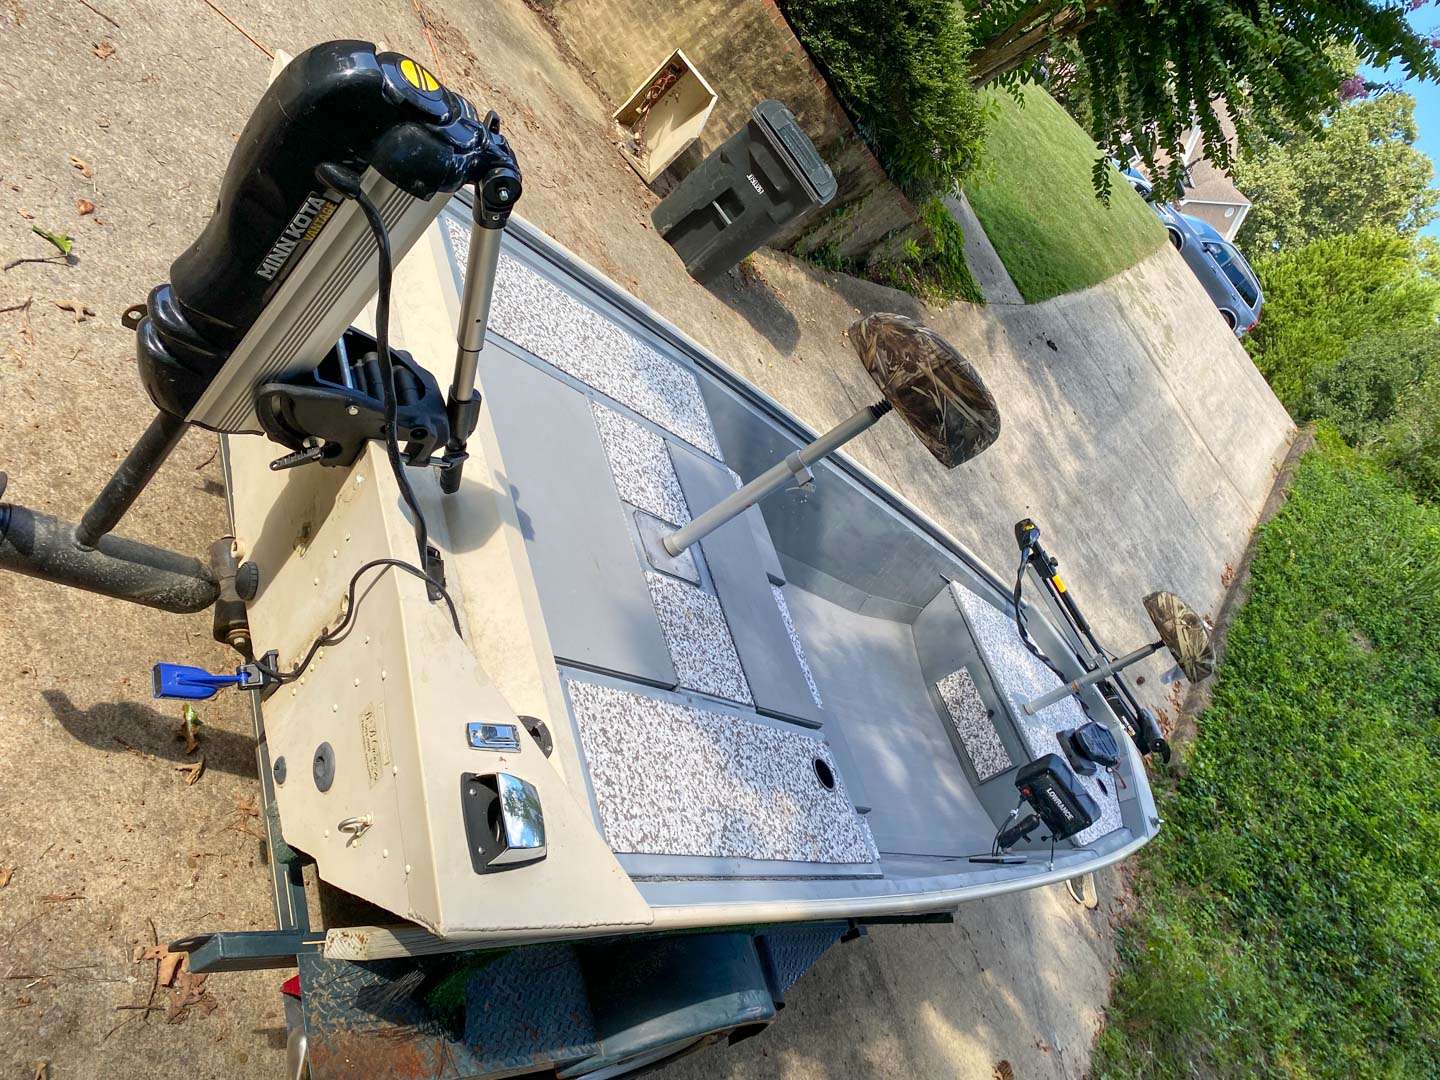
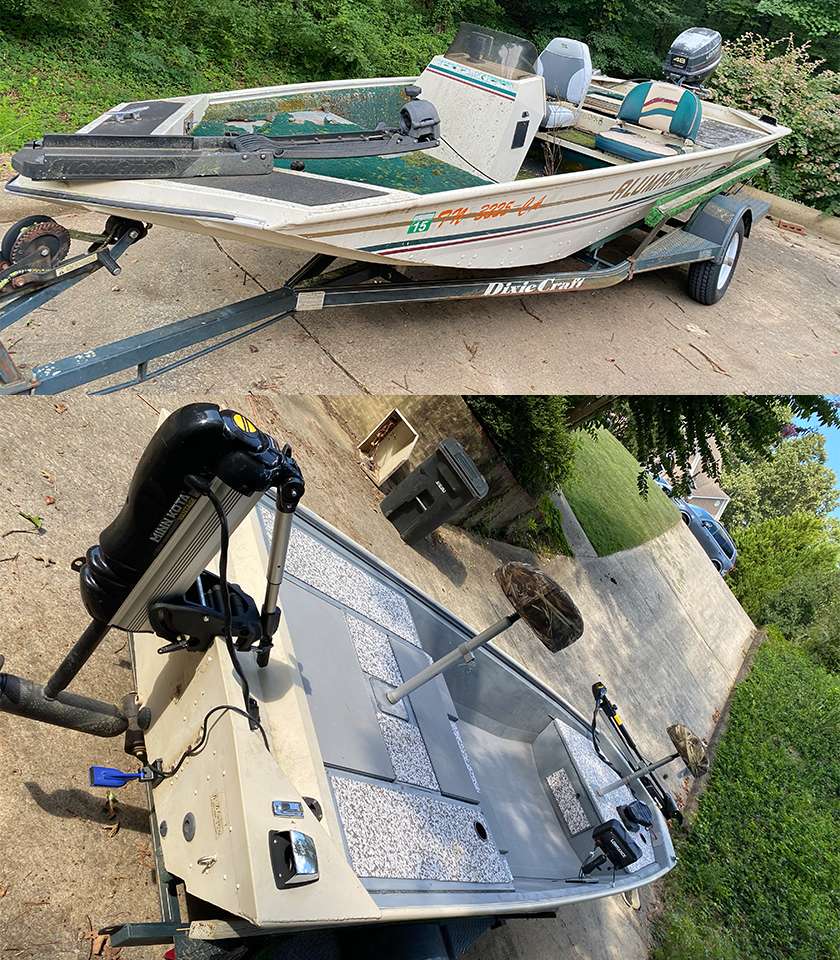
Here she is! The hull is in great shape. The interior, not so much. Several science projects seemed to be taking place at the same time, with special mold and plant growth a botanist would be proud of.
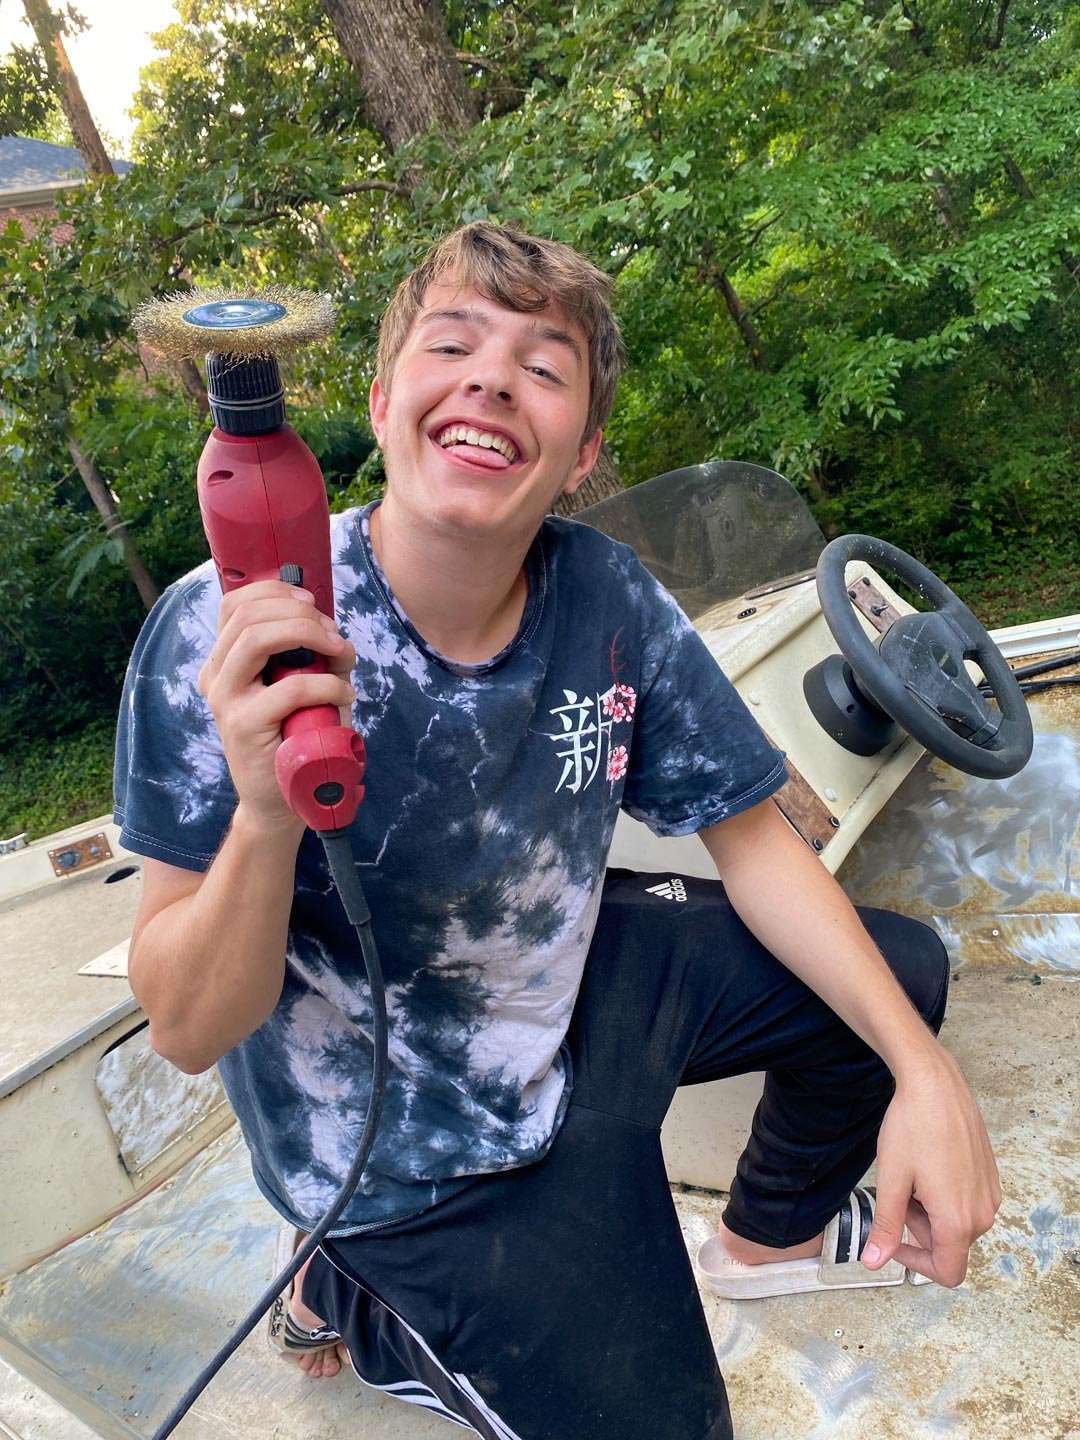
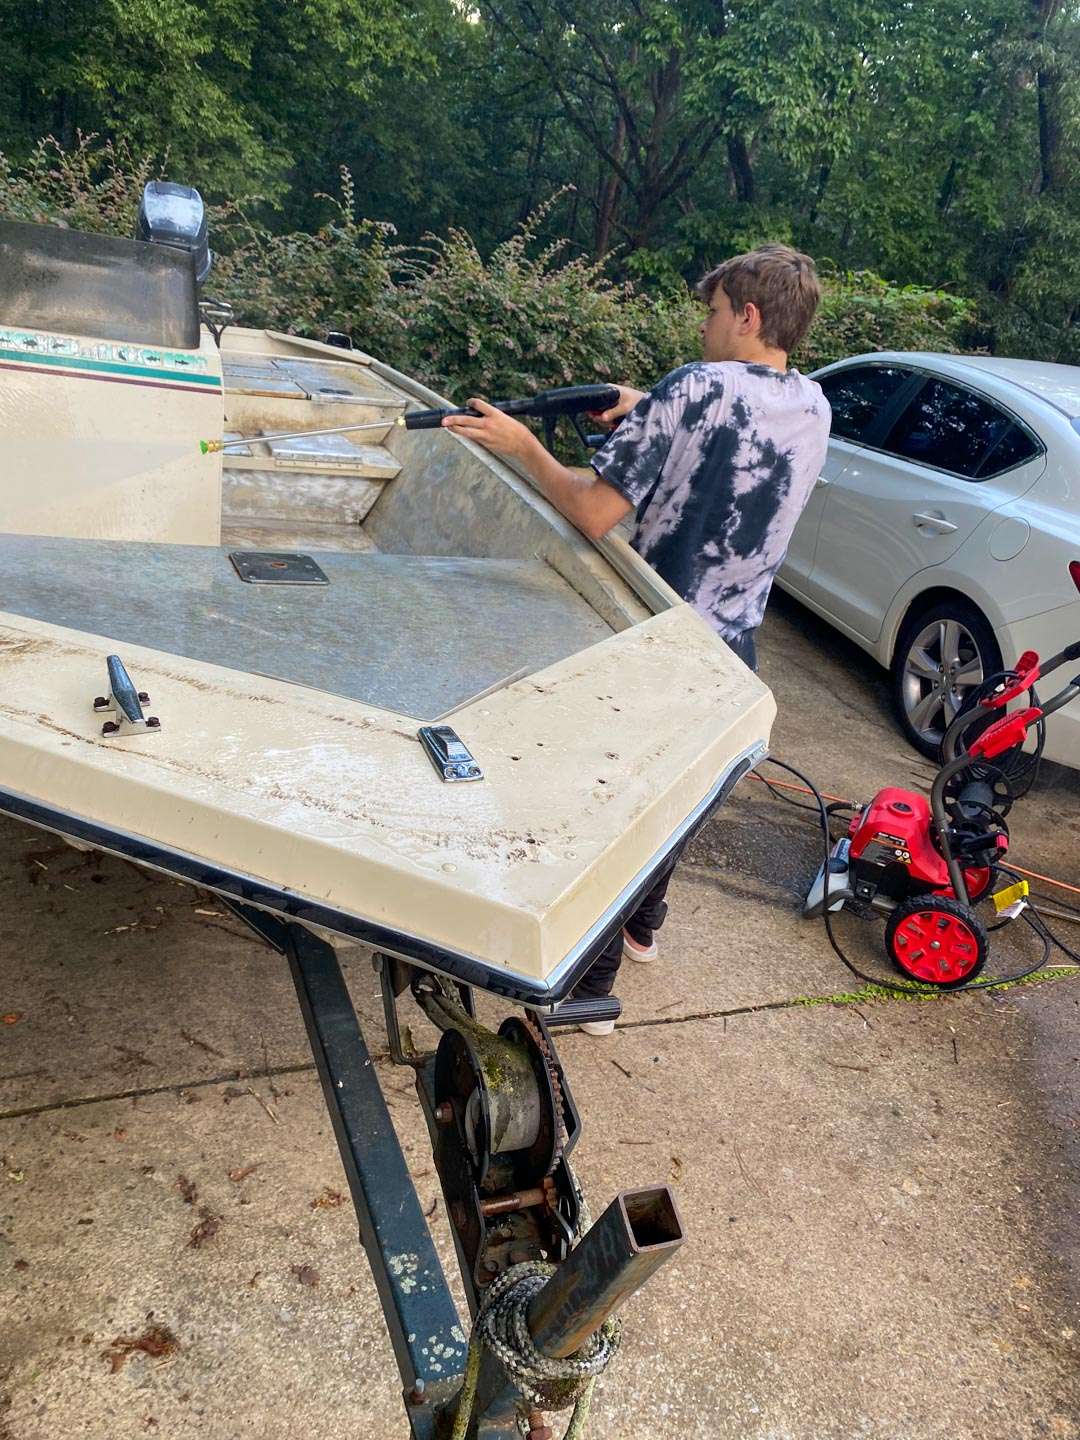
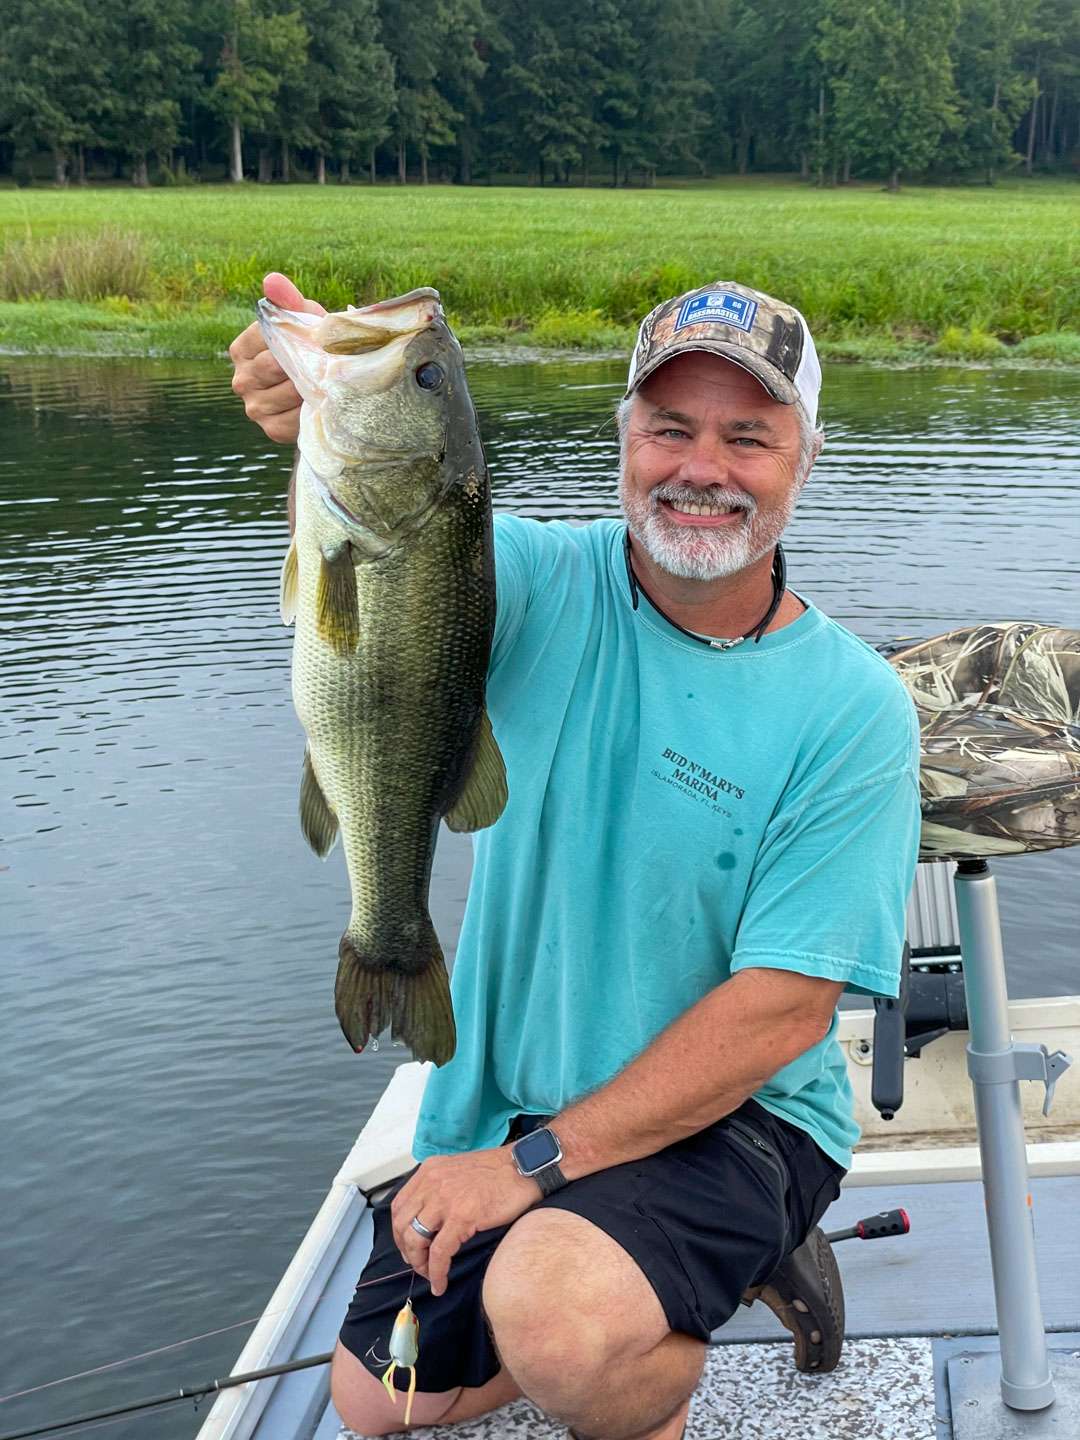
All captions: James Hall


Please enter your details.
We cannot find an active B.A.S.S. Membership for the information you have provided. Please renew your membership here.We cannot find an active B.A.S.S. Membership for the information you have provided. Please try again.Scheduled maintenance. We'll be back shortly. If you continue to have trouble please contact customer service at 877-BASS-USA.


