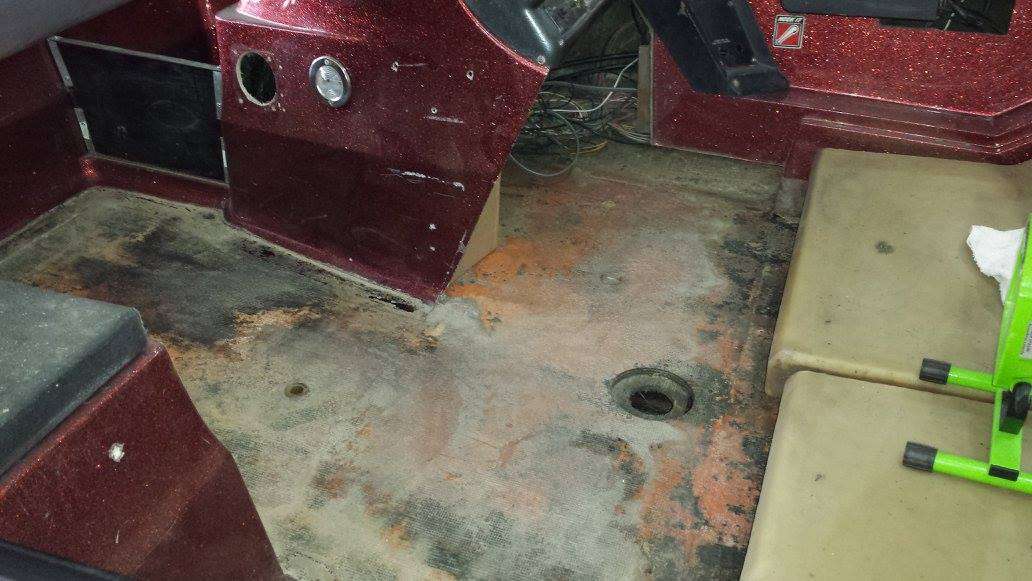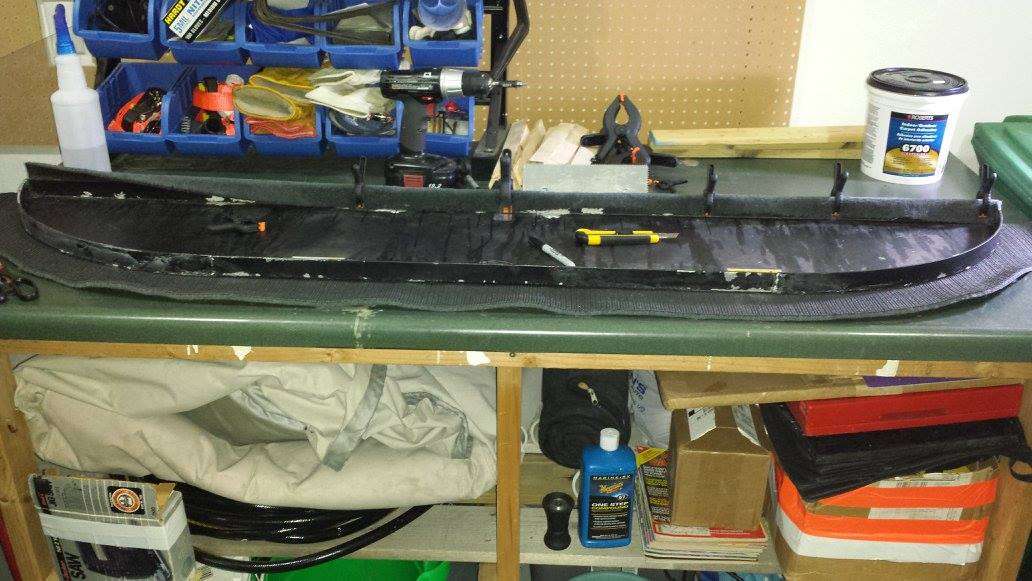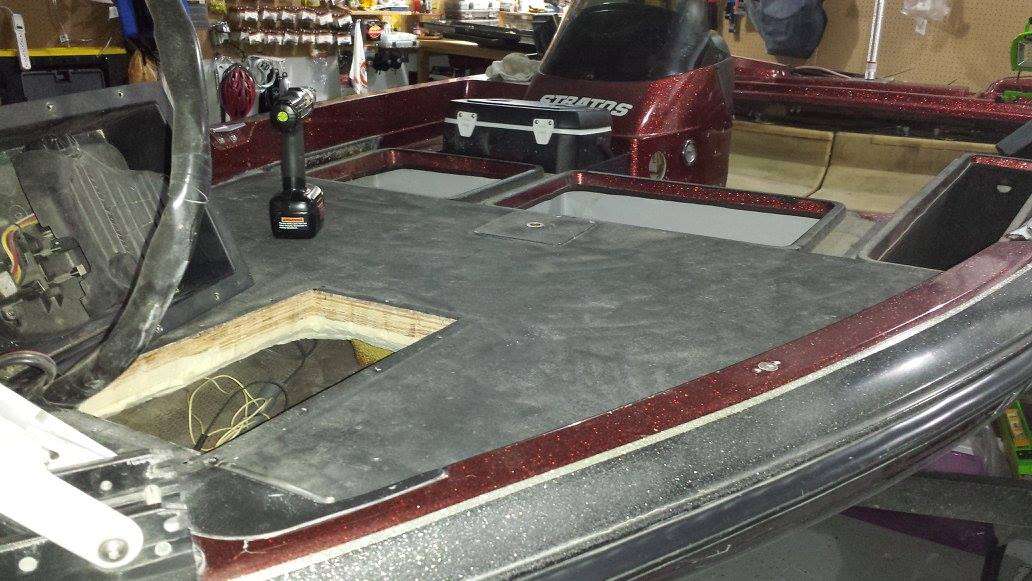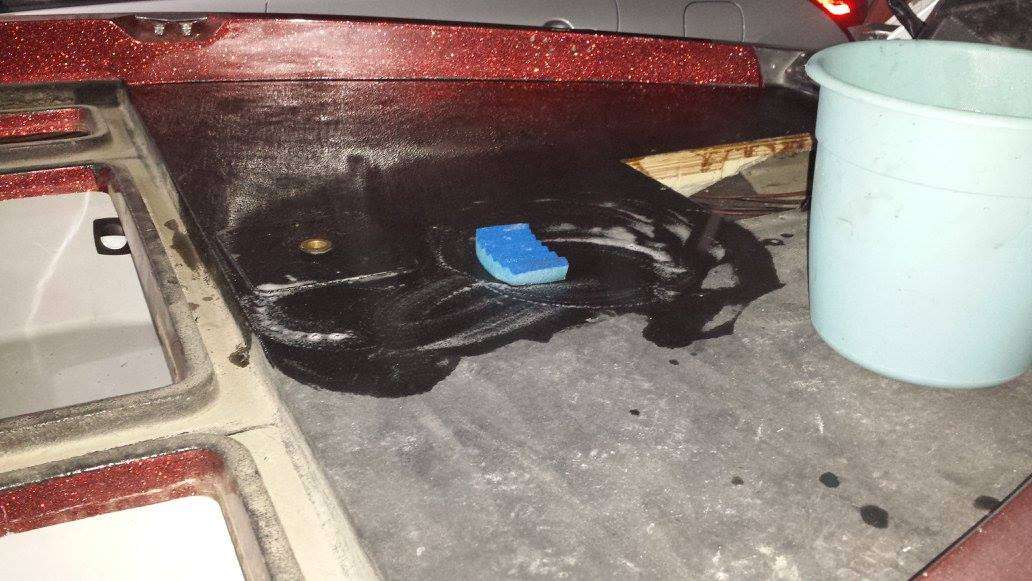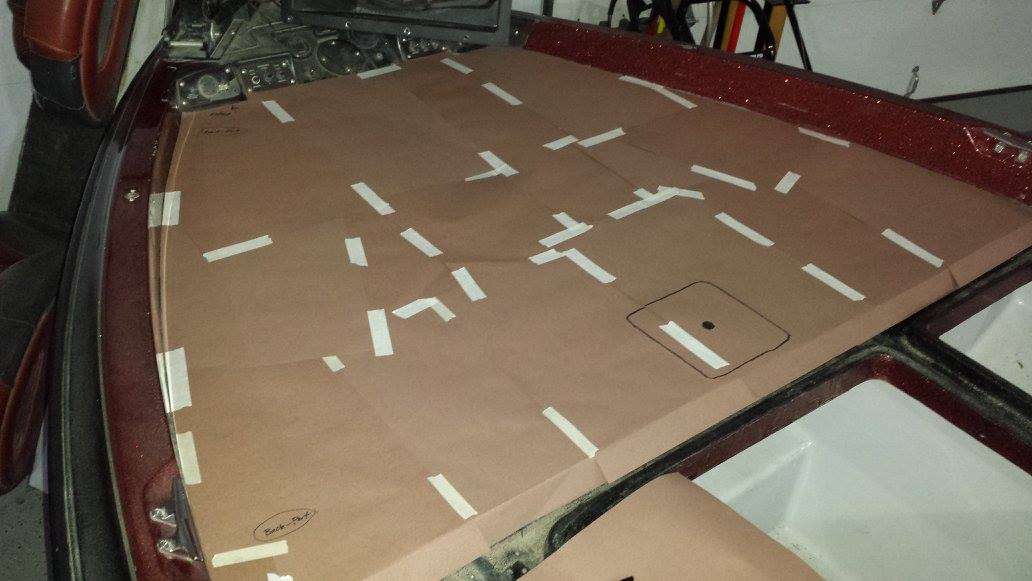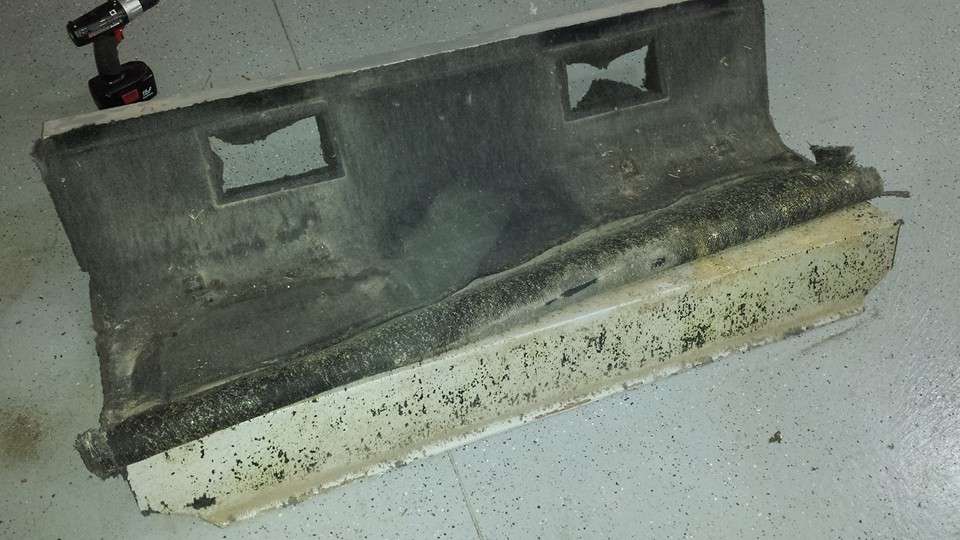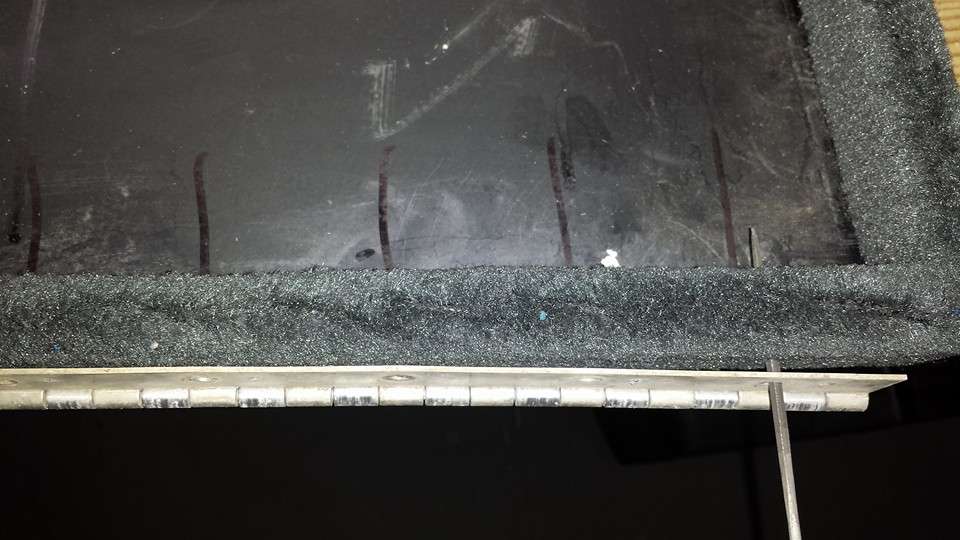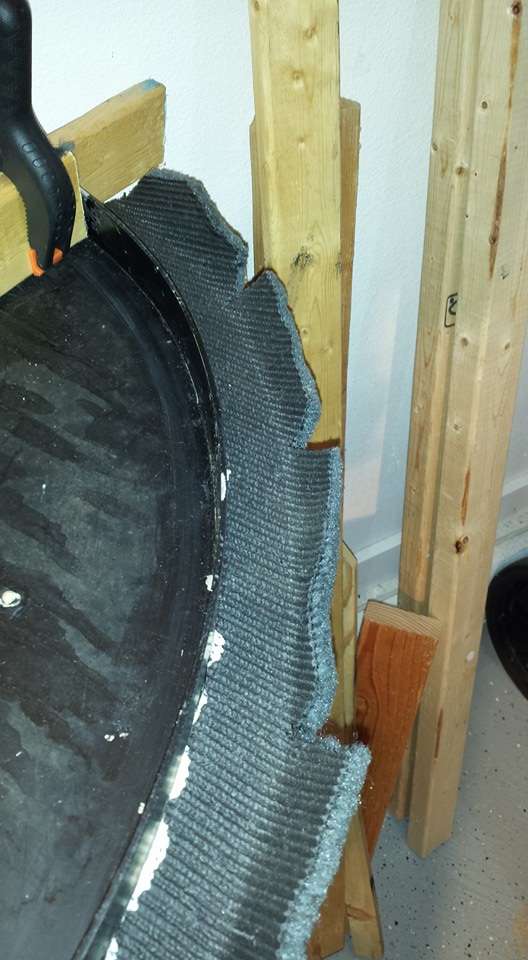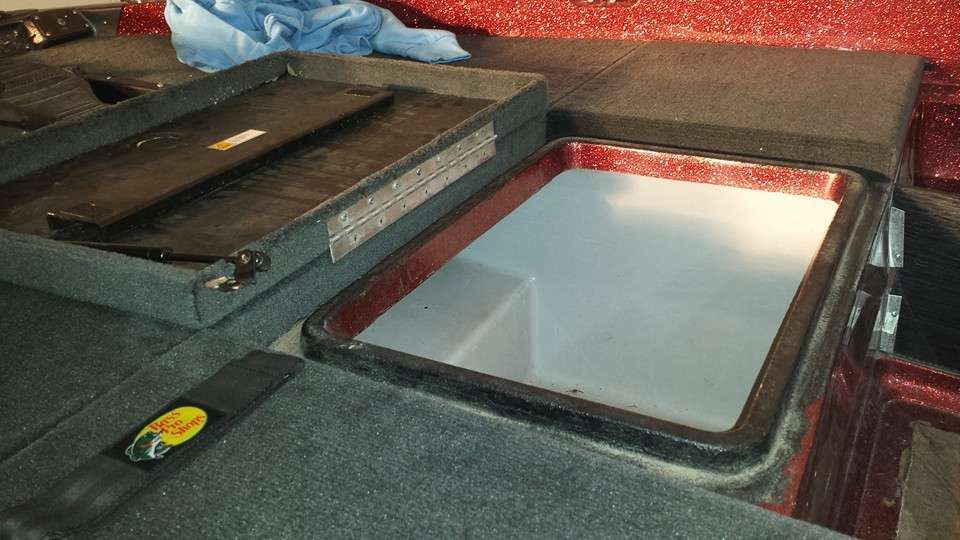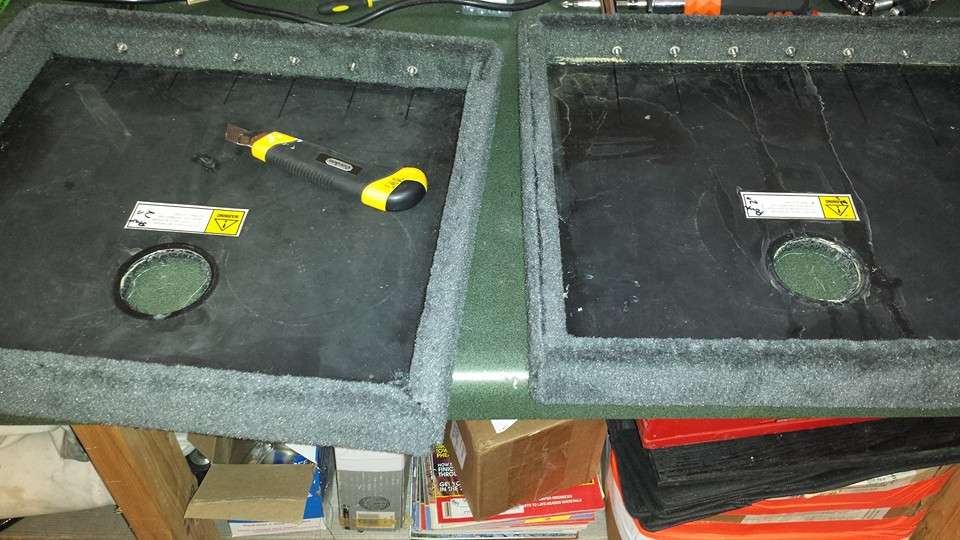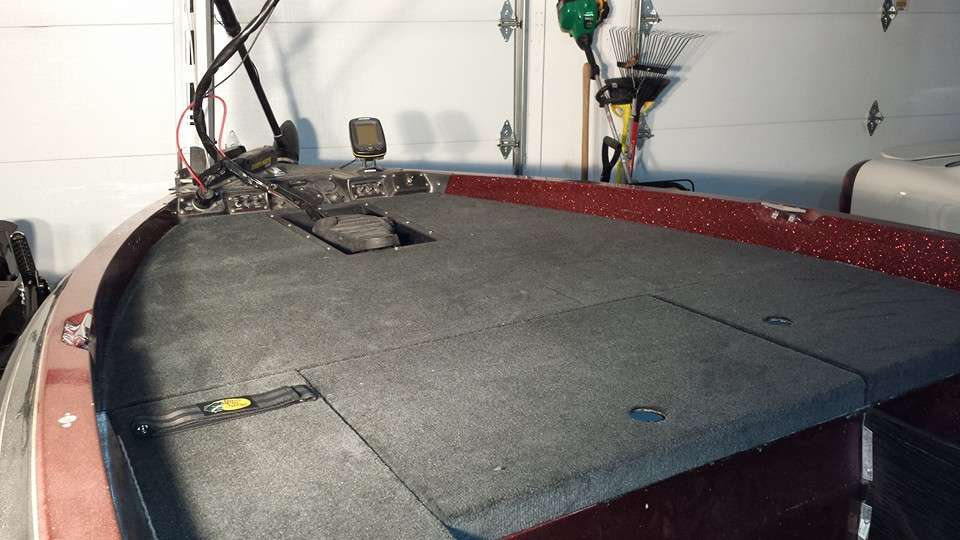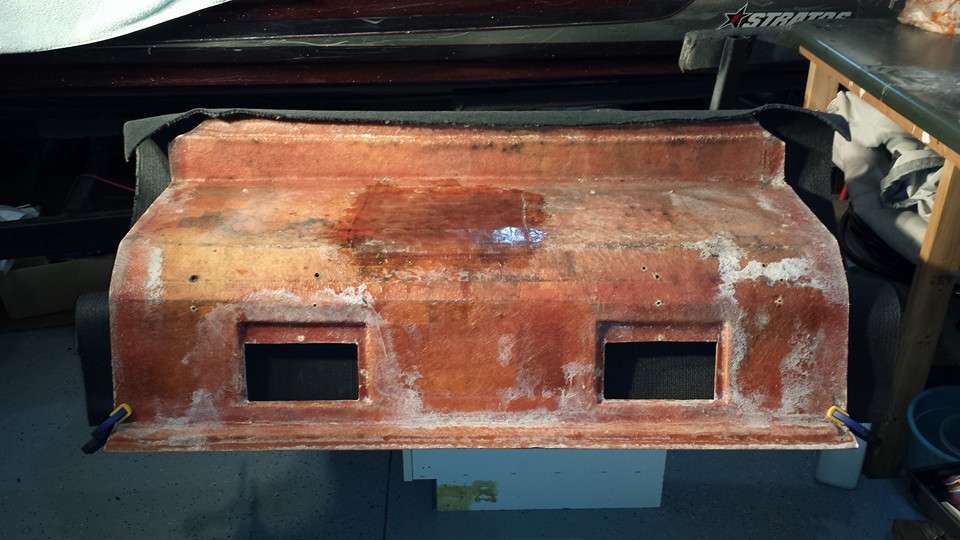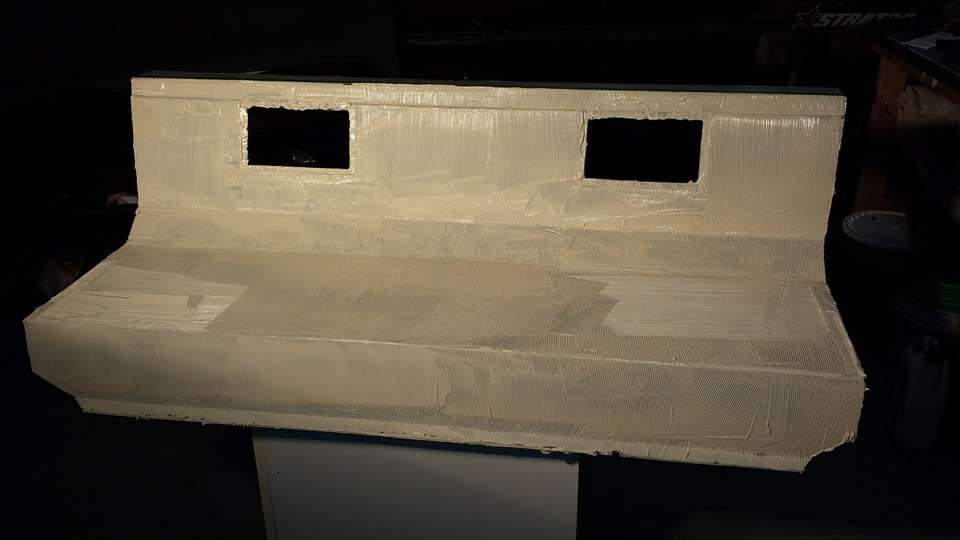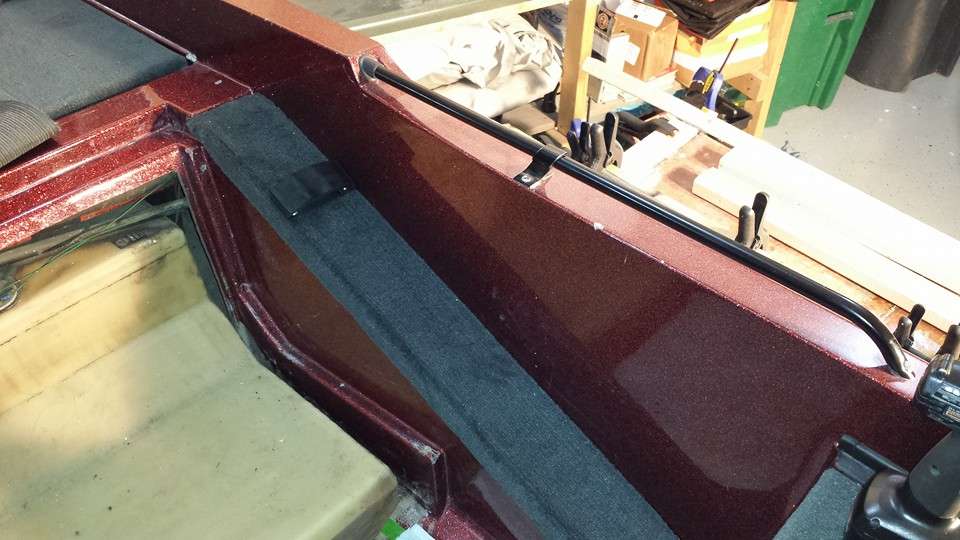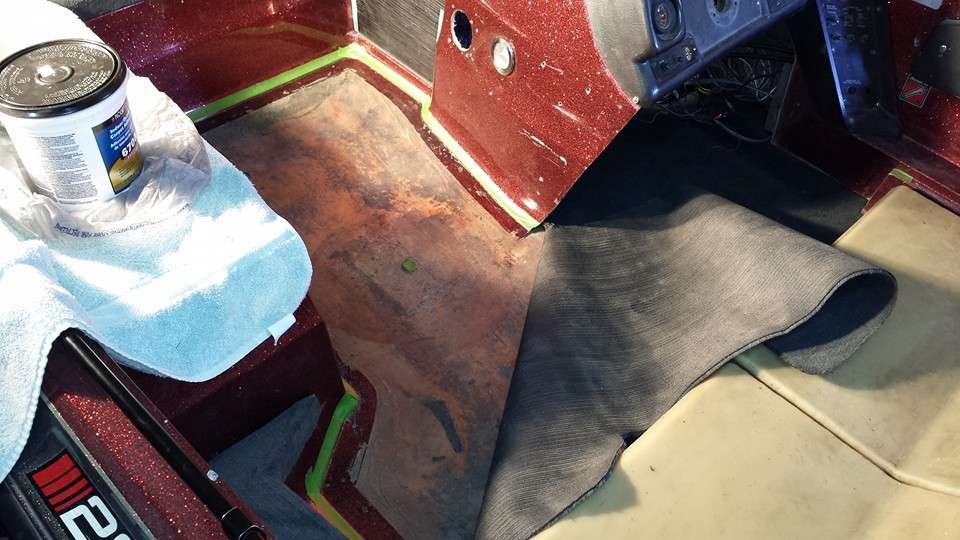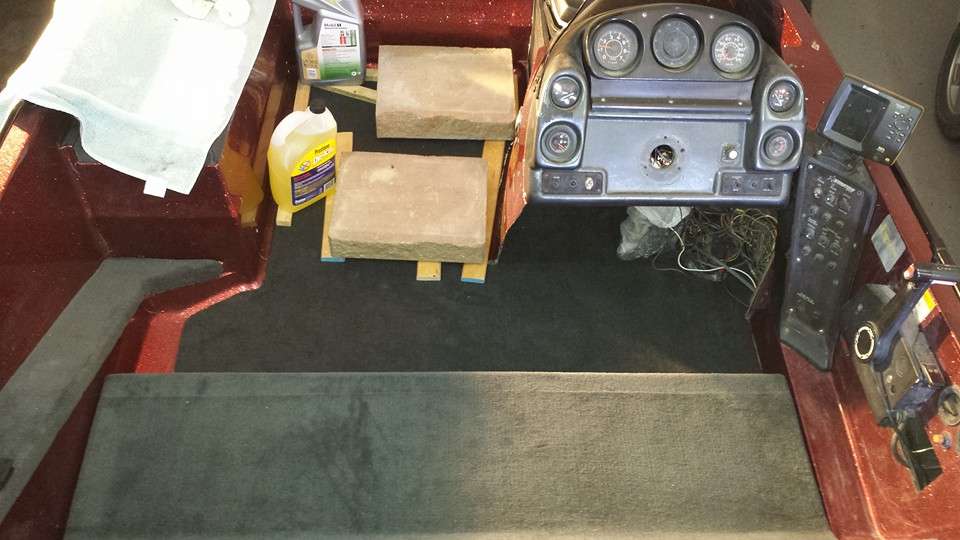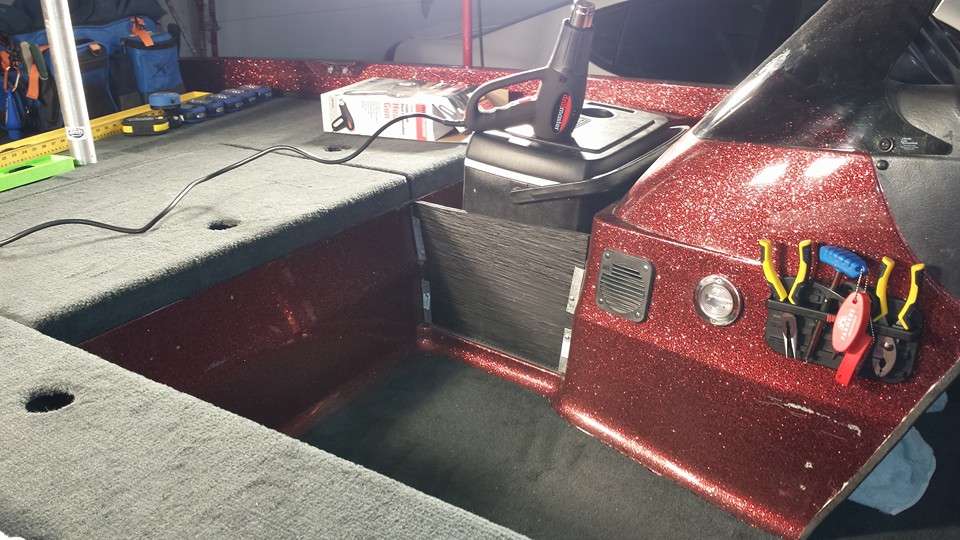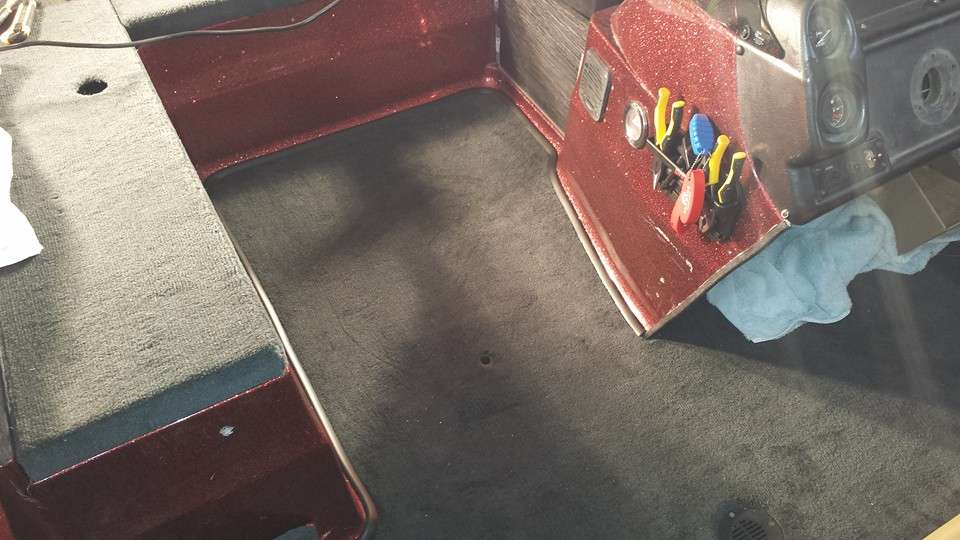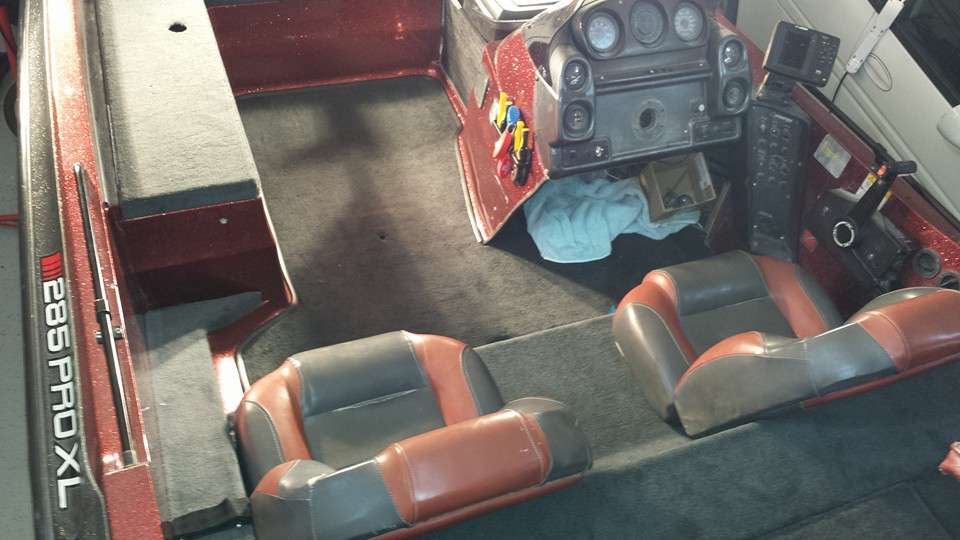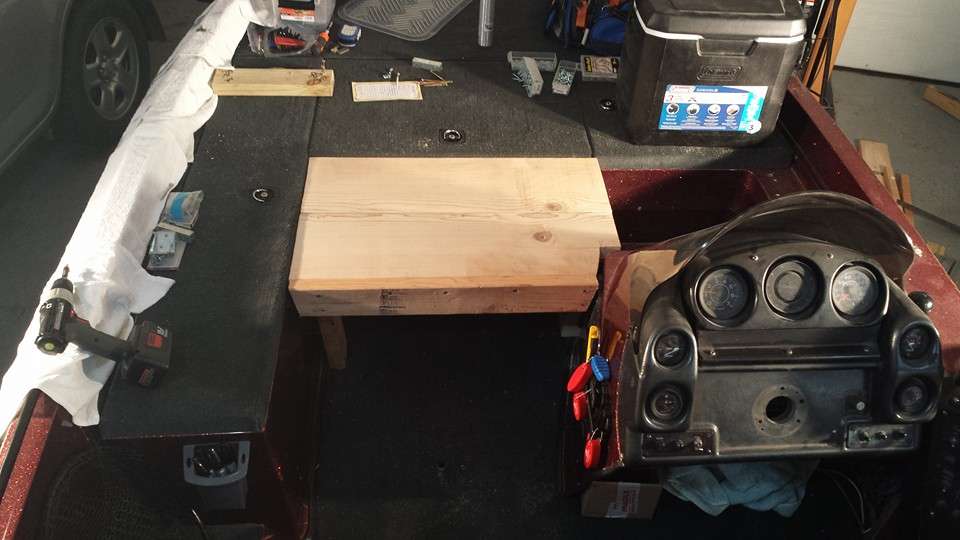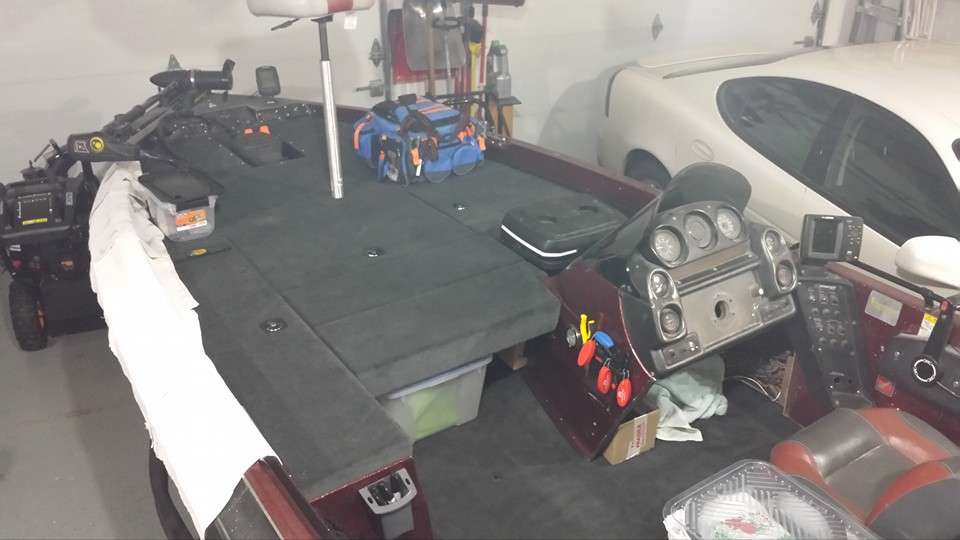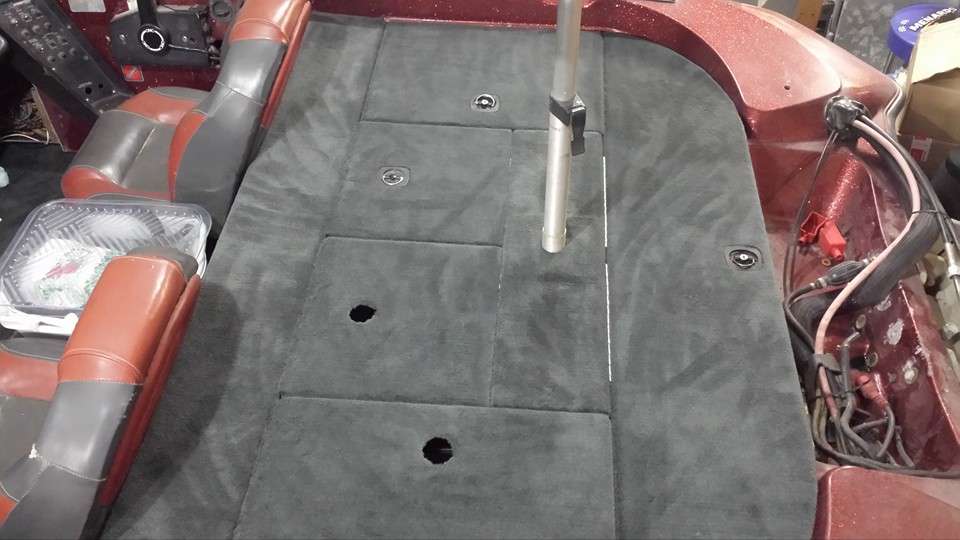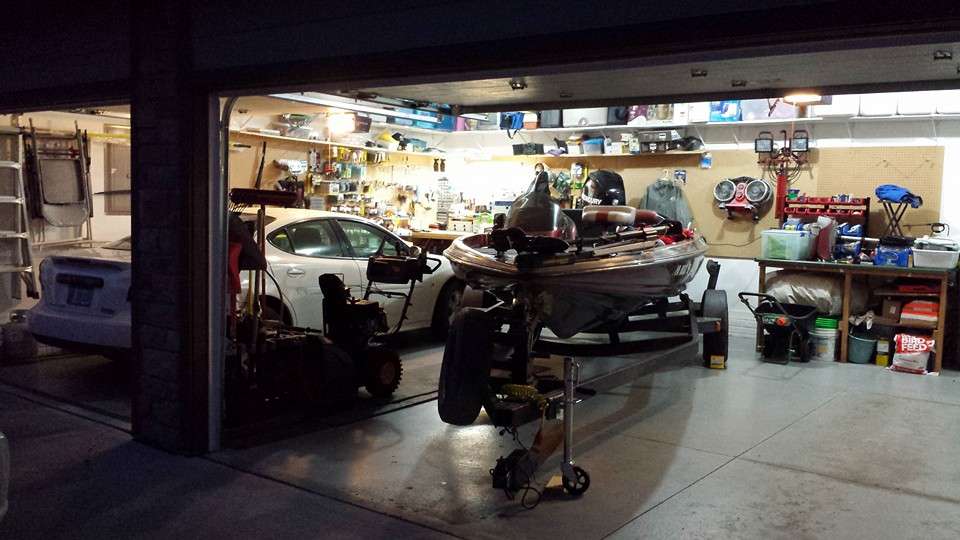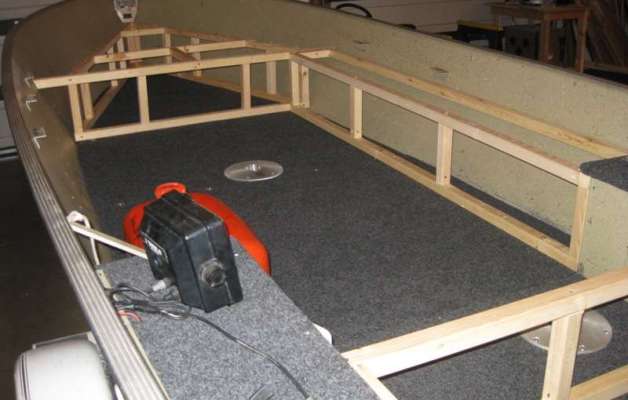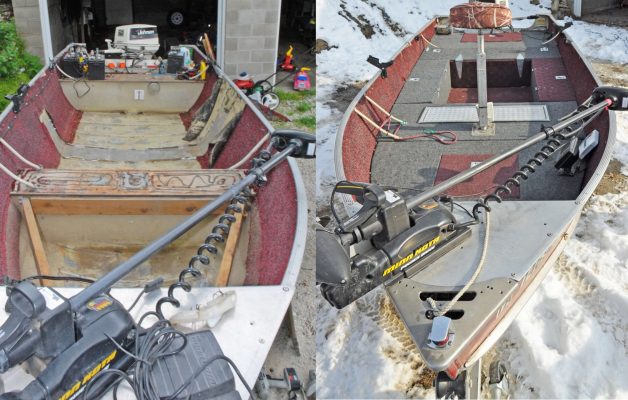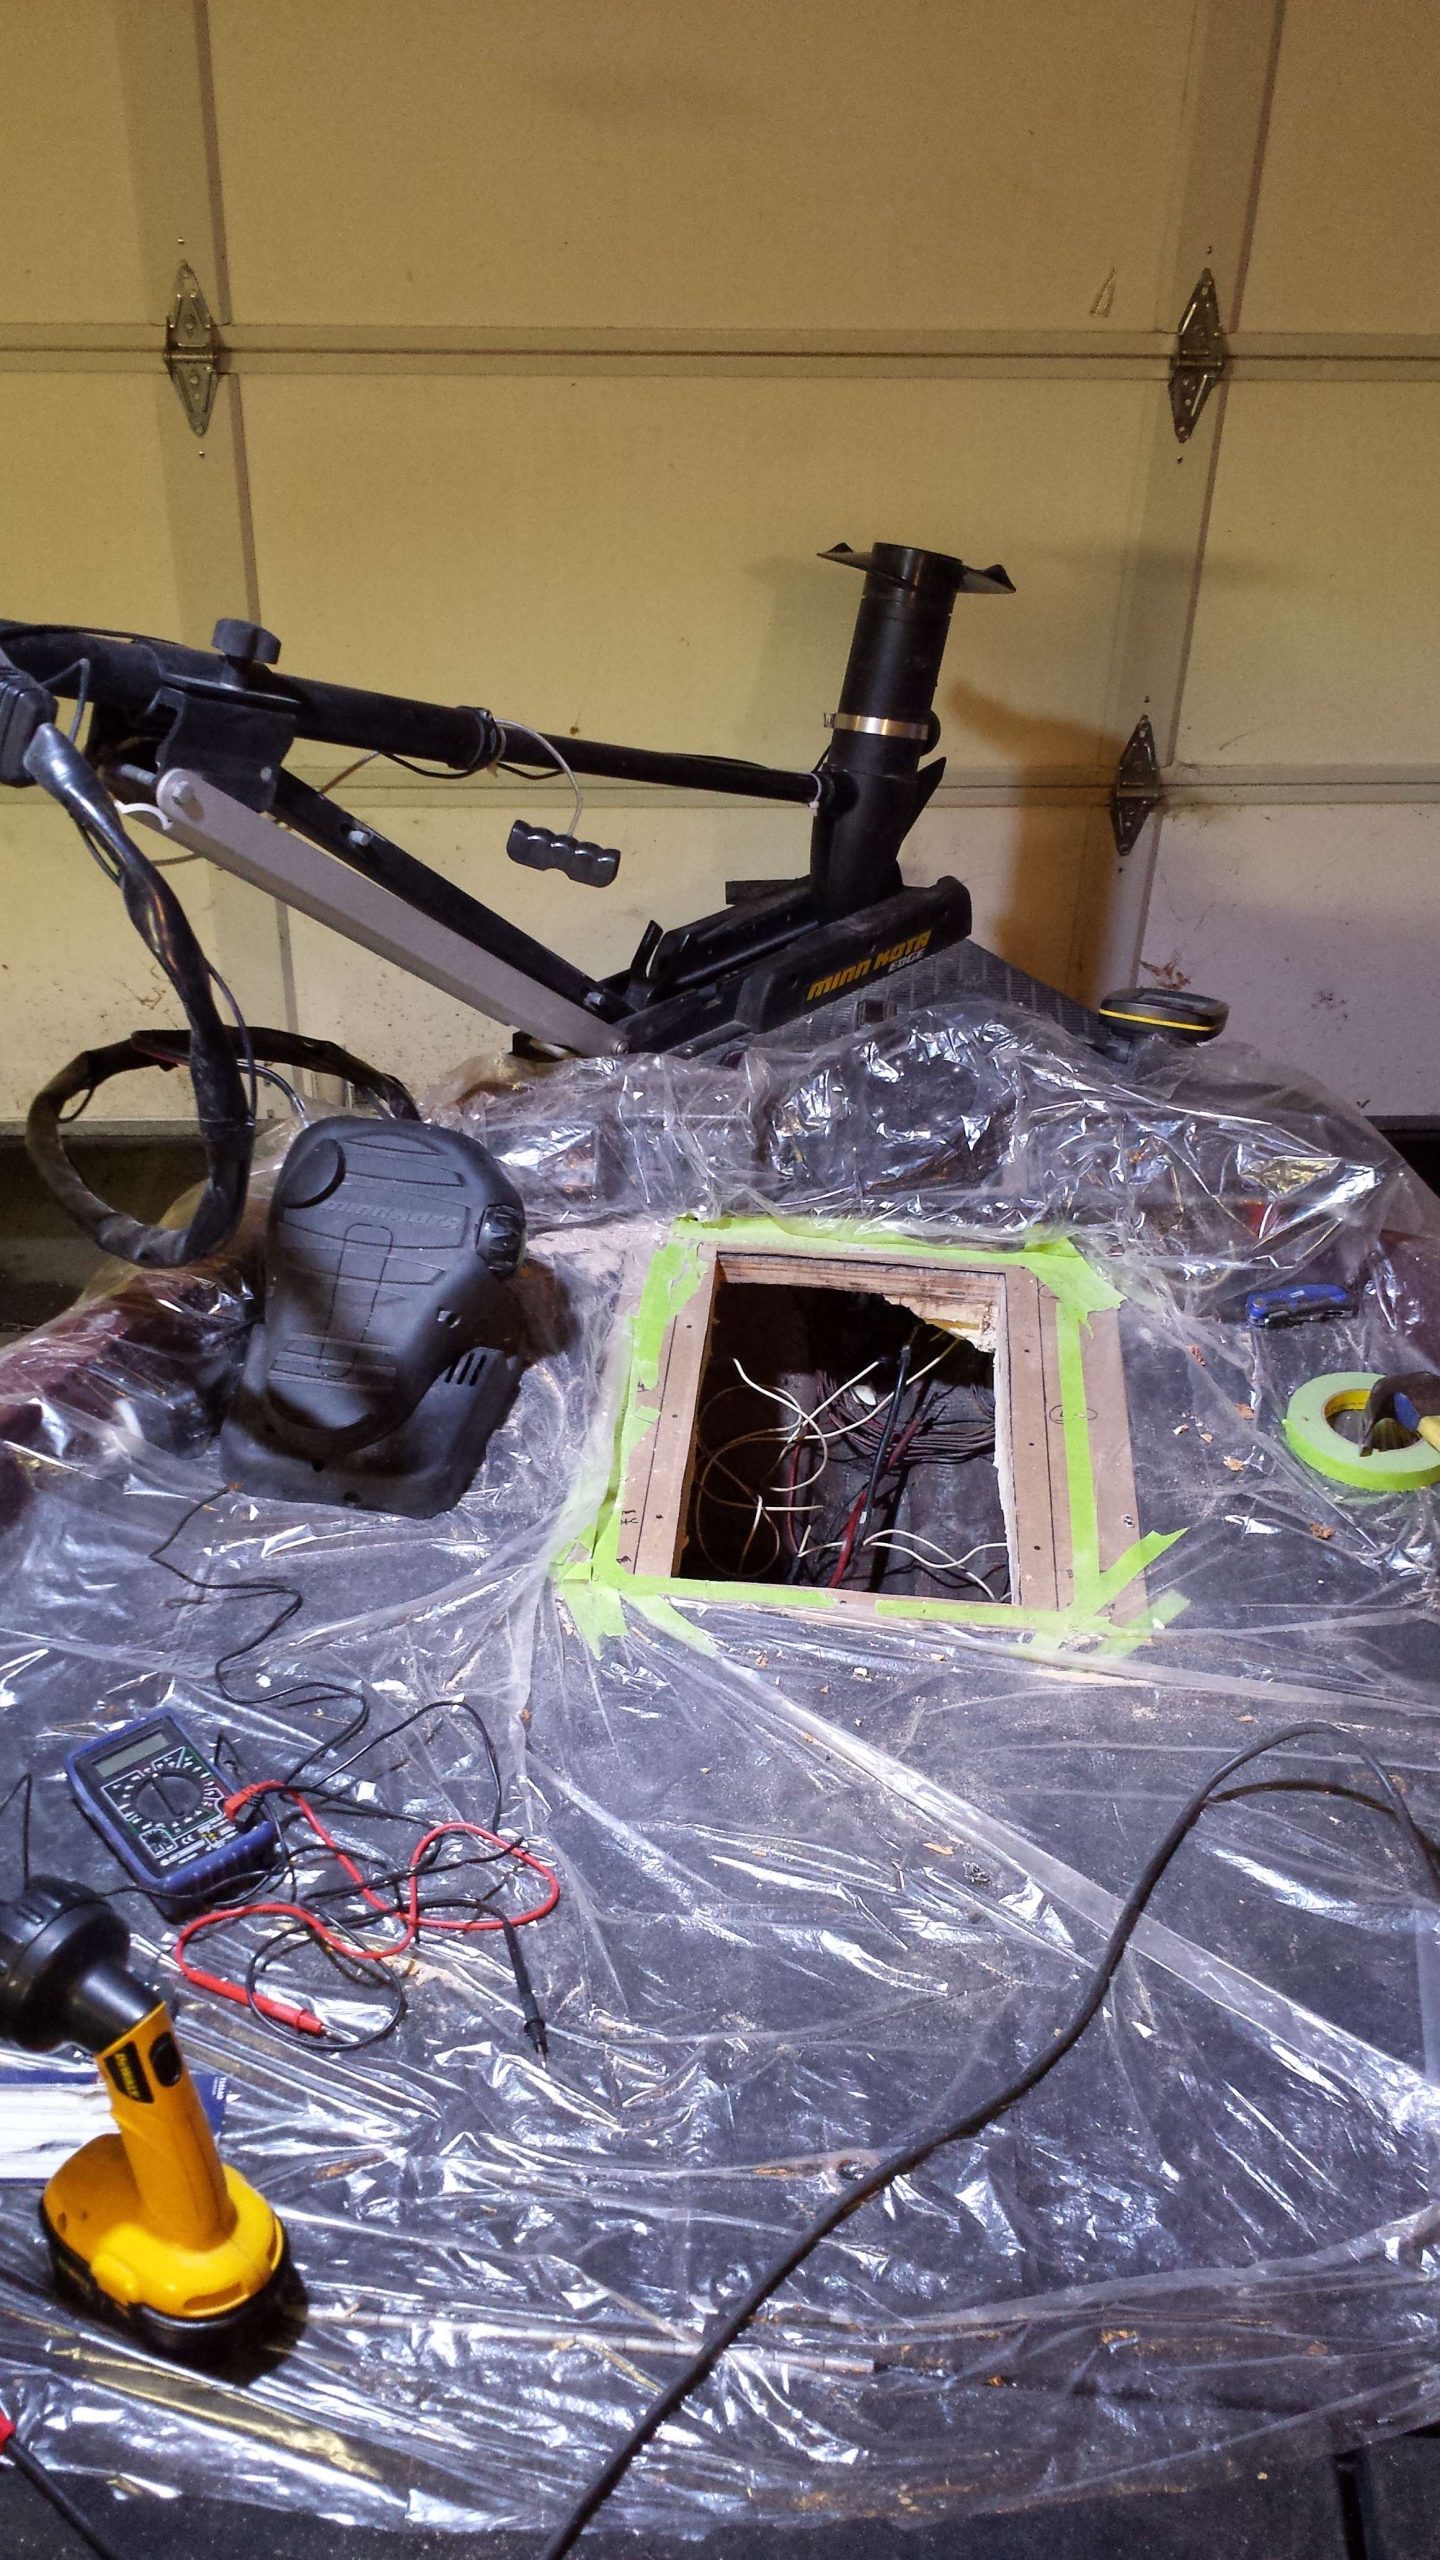
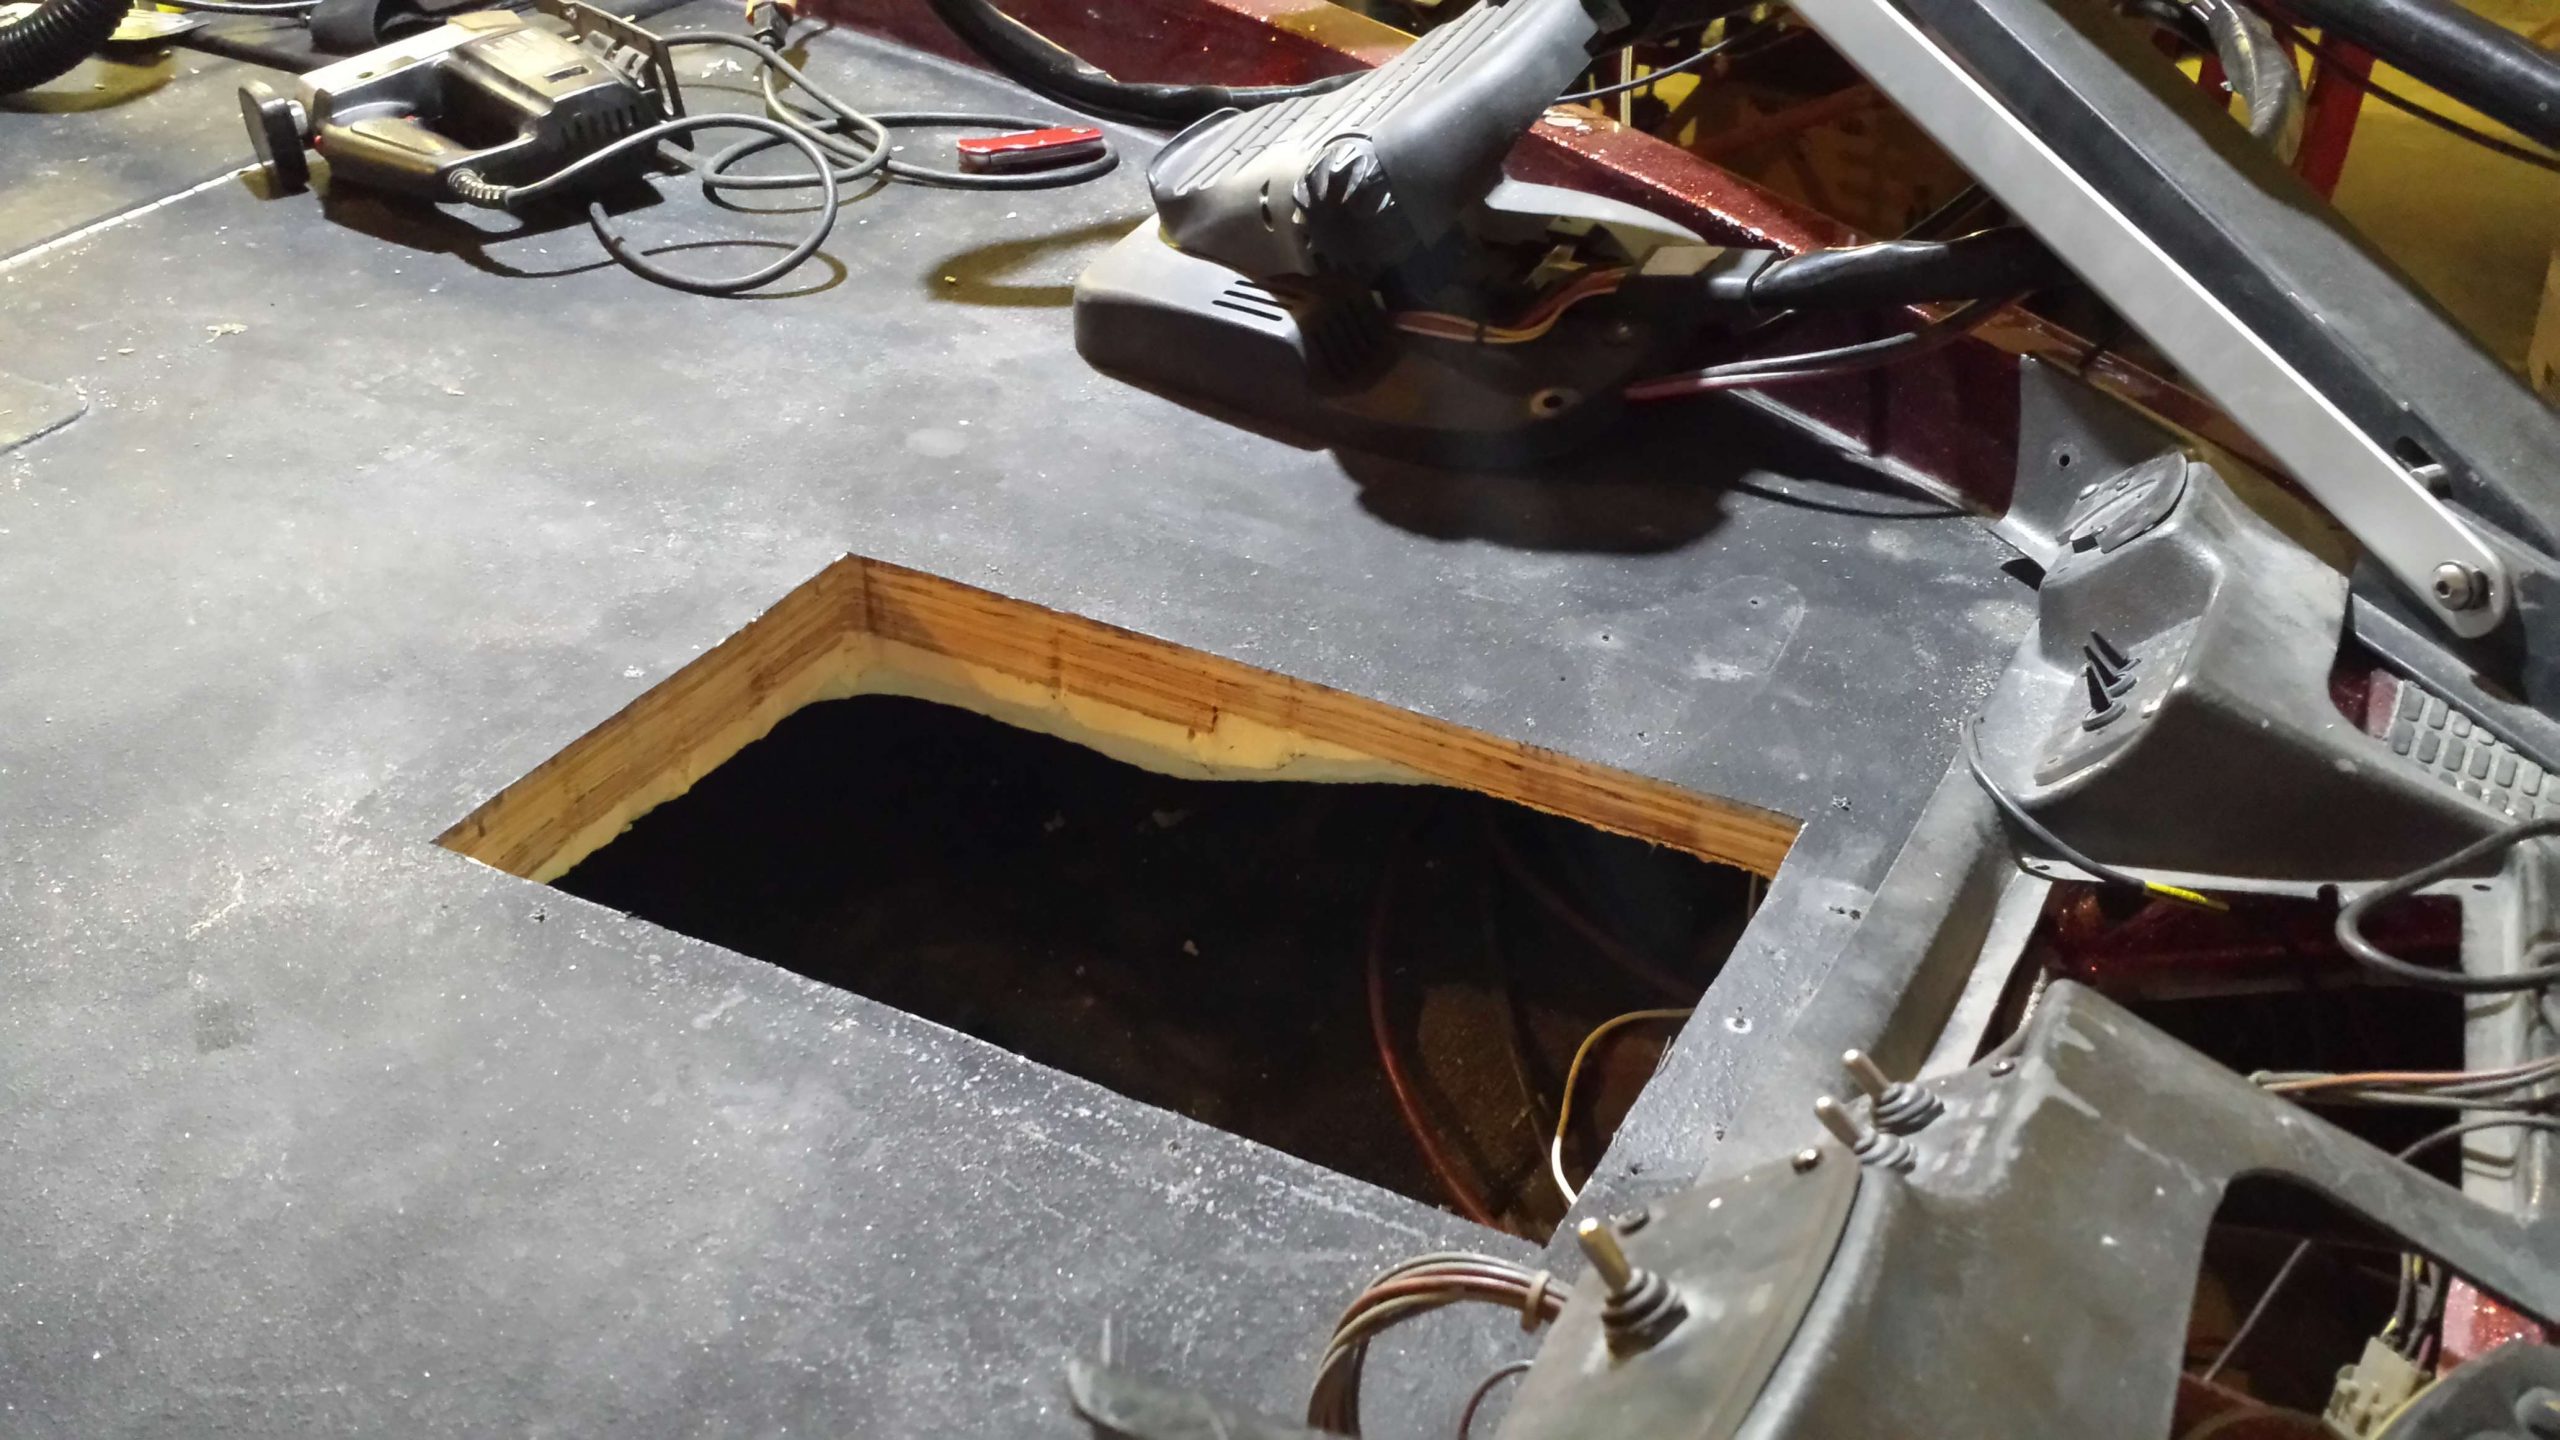
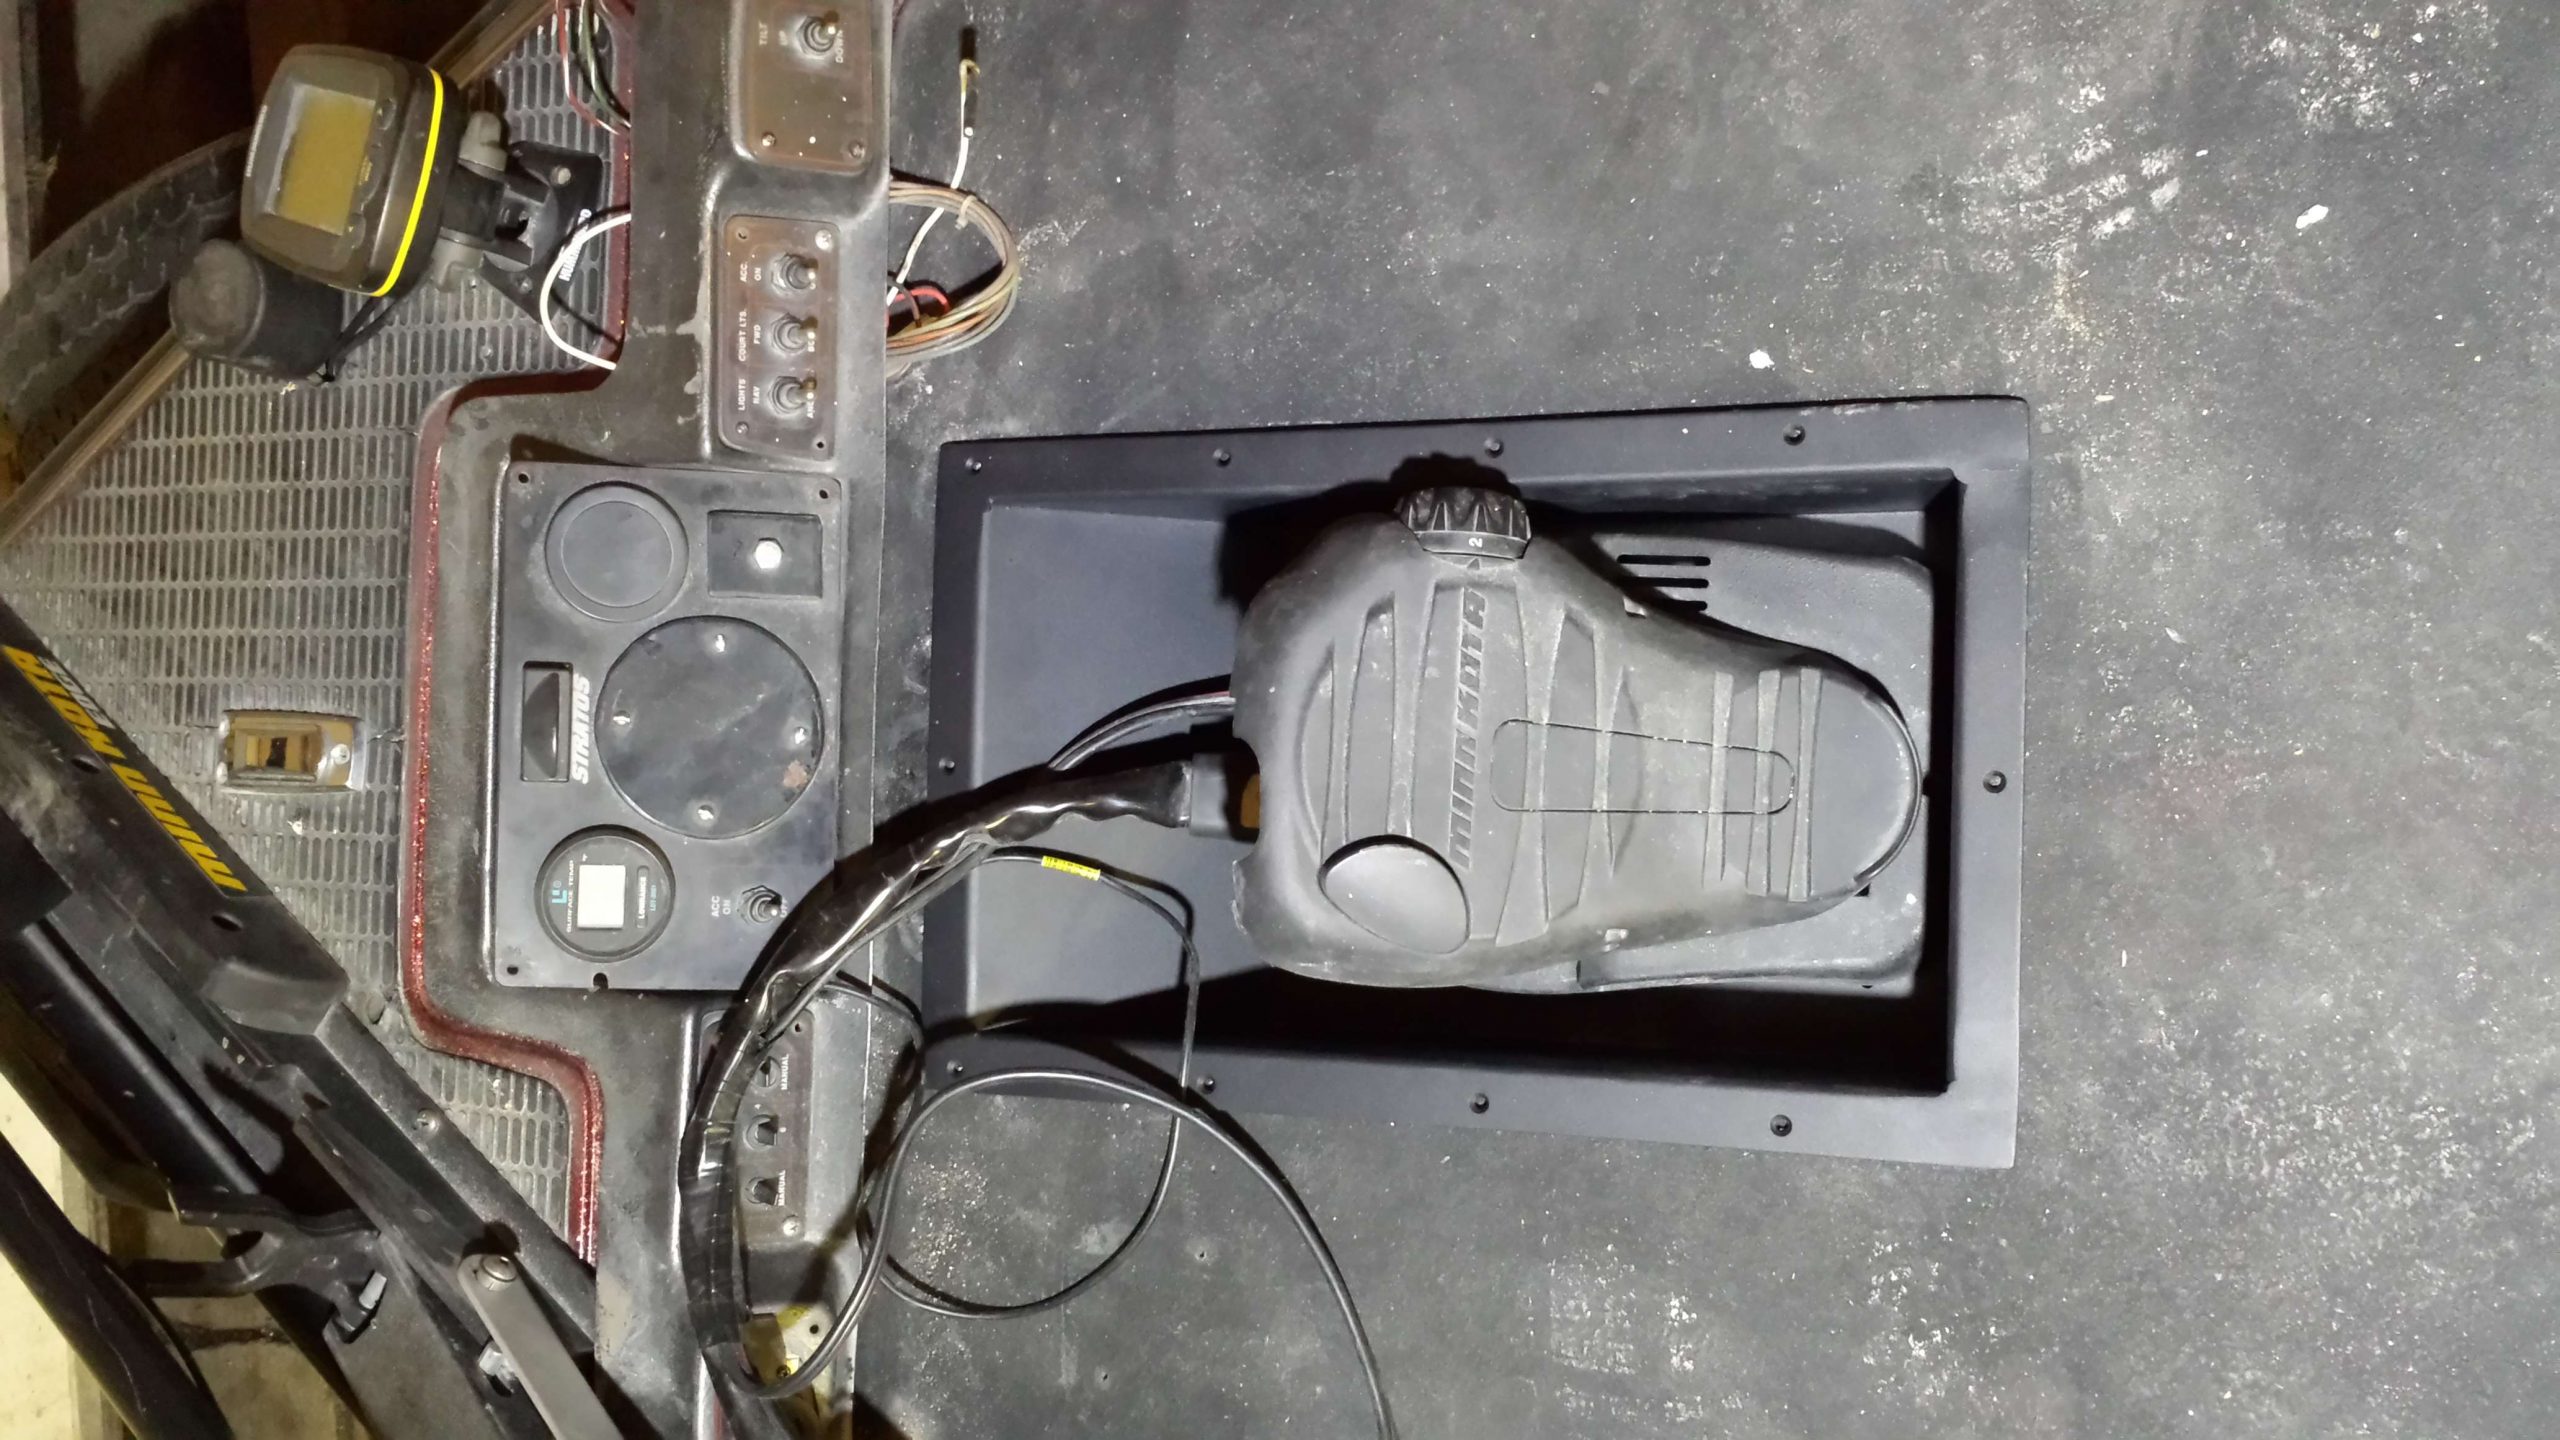
I procured the carpet for my bass boat renovation on bassboatseats.com. While on this website, you may request carpet samples for colors and various weights. I chose 24-ounce gunmetal gray for my carpet color and decided to purchase 18 feet; which would be extra should I mess up anywhere along this project.