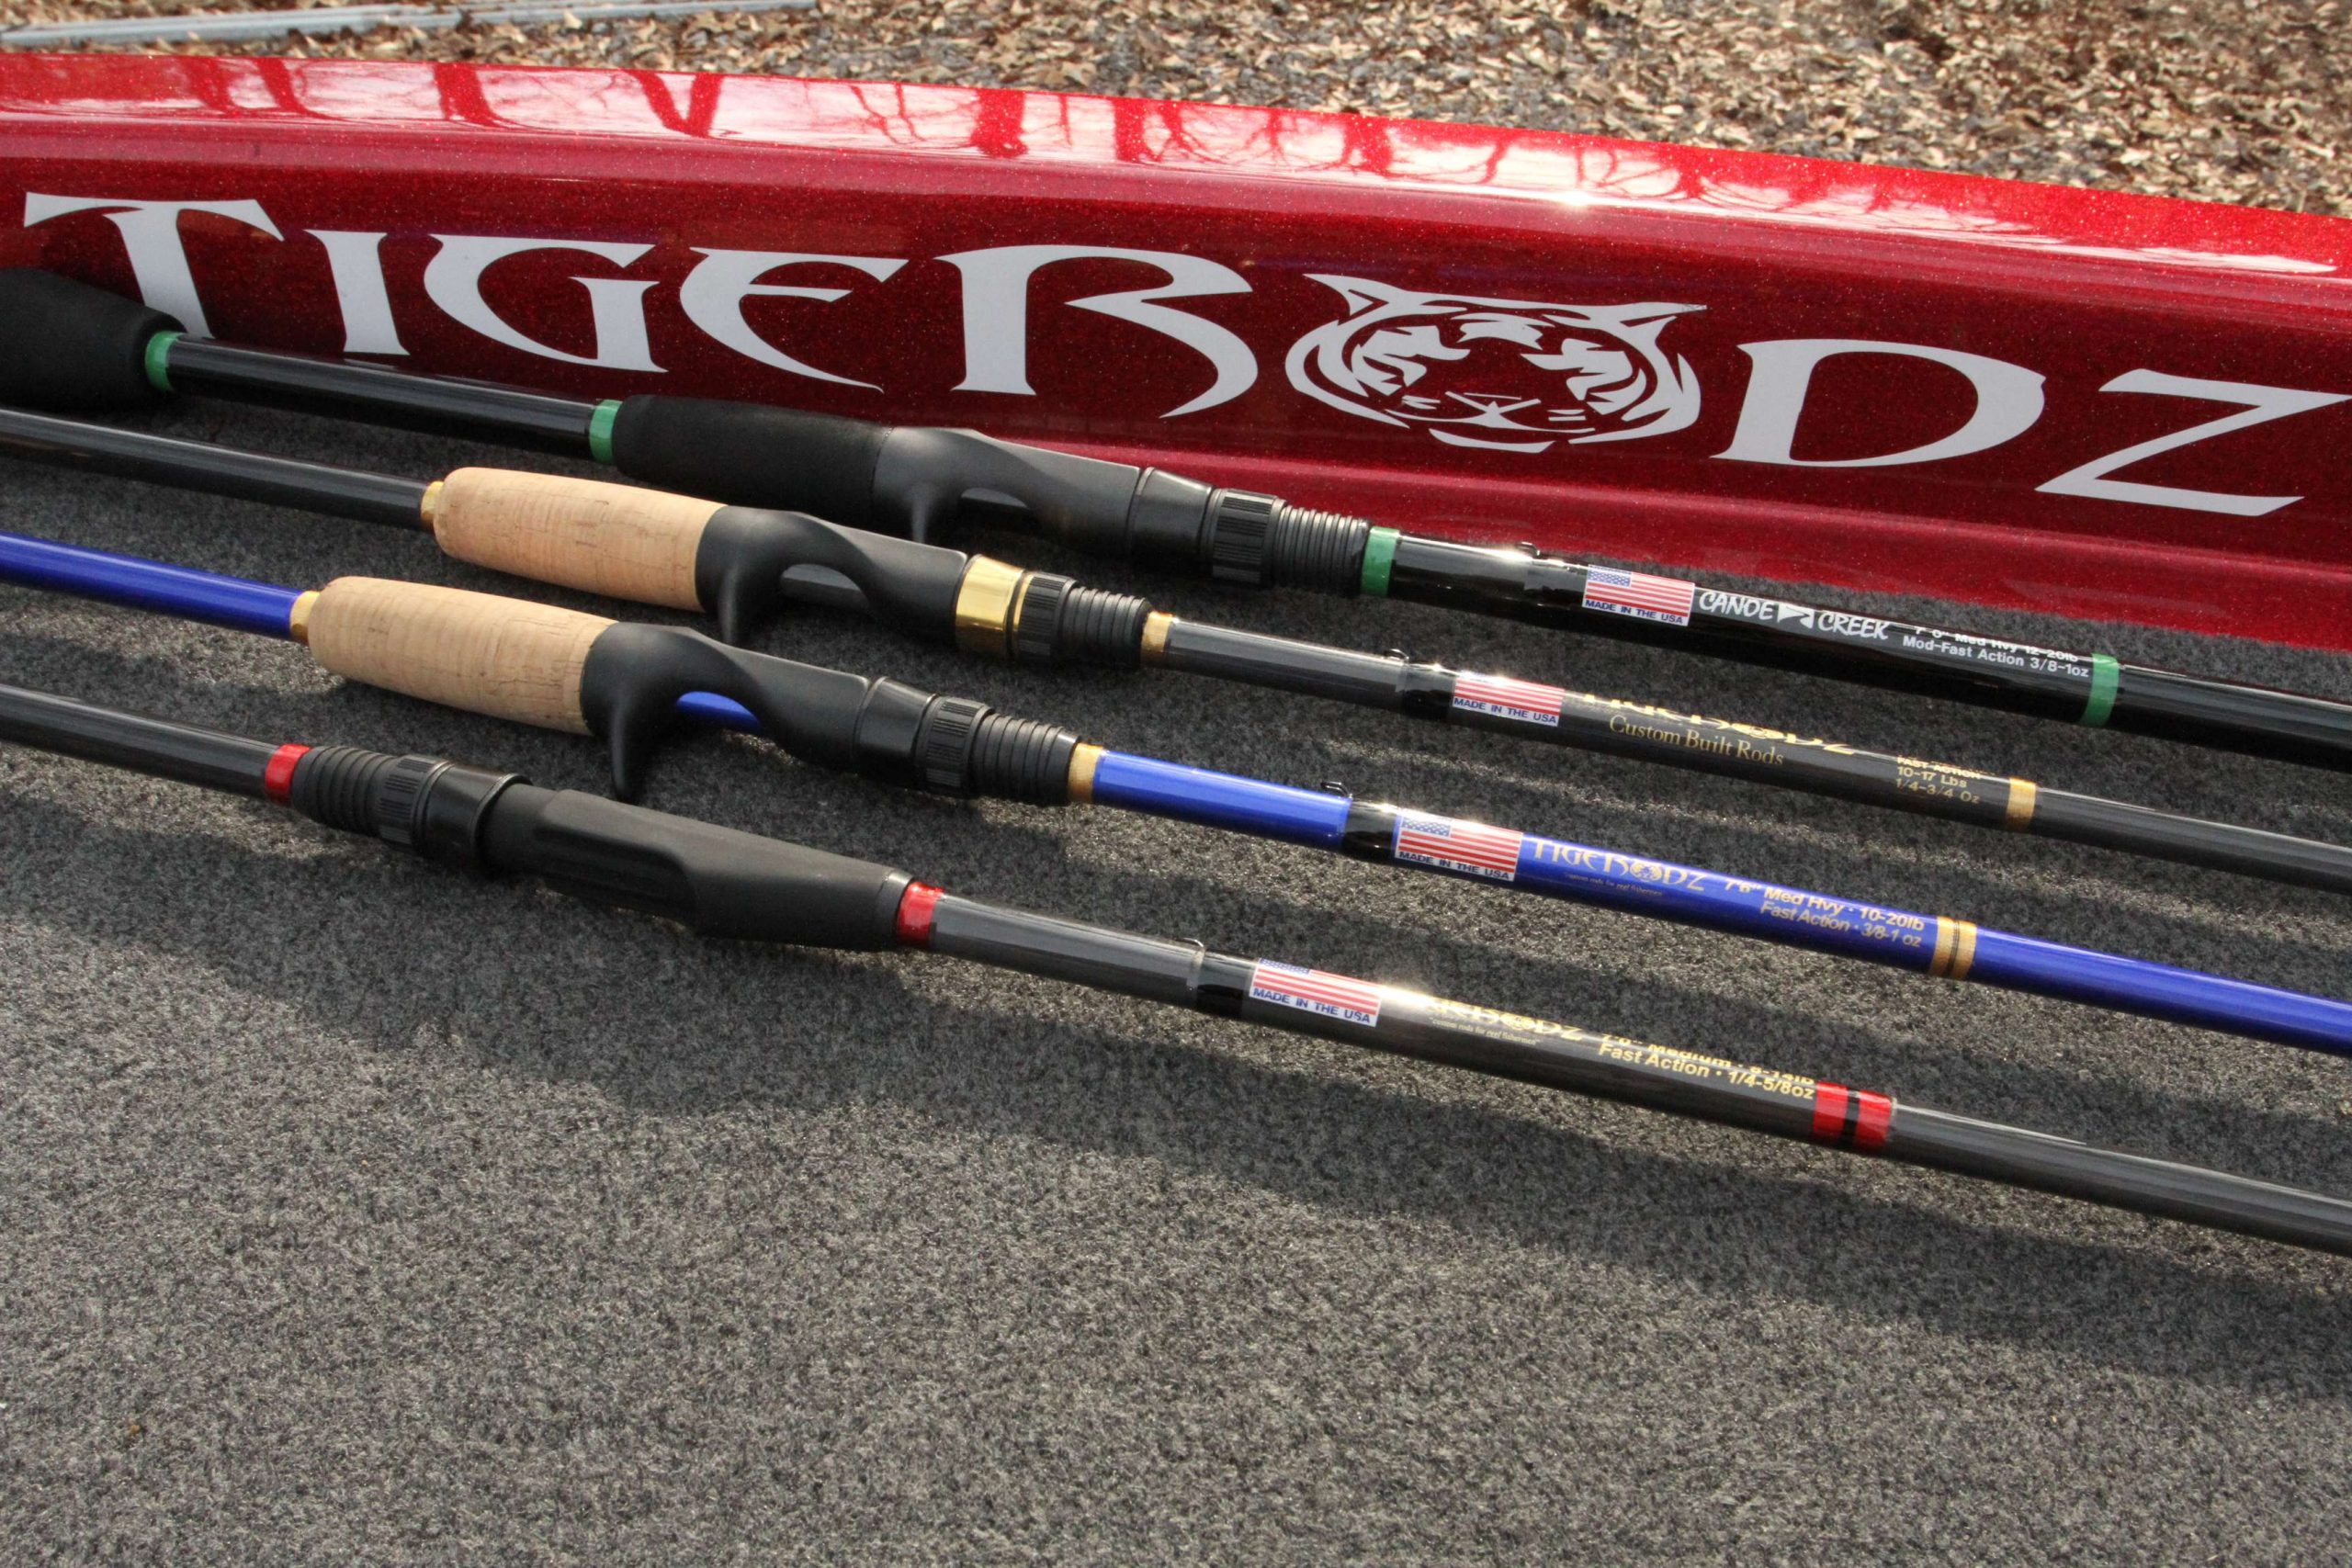
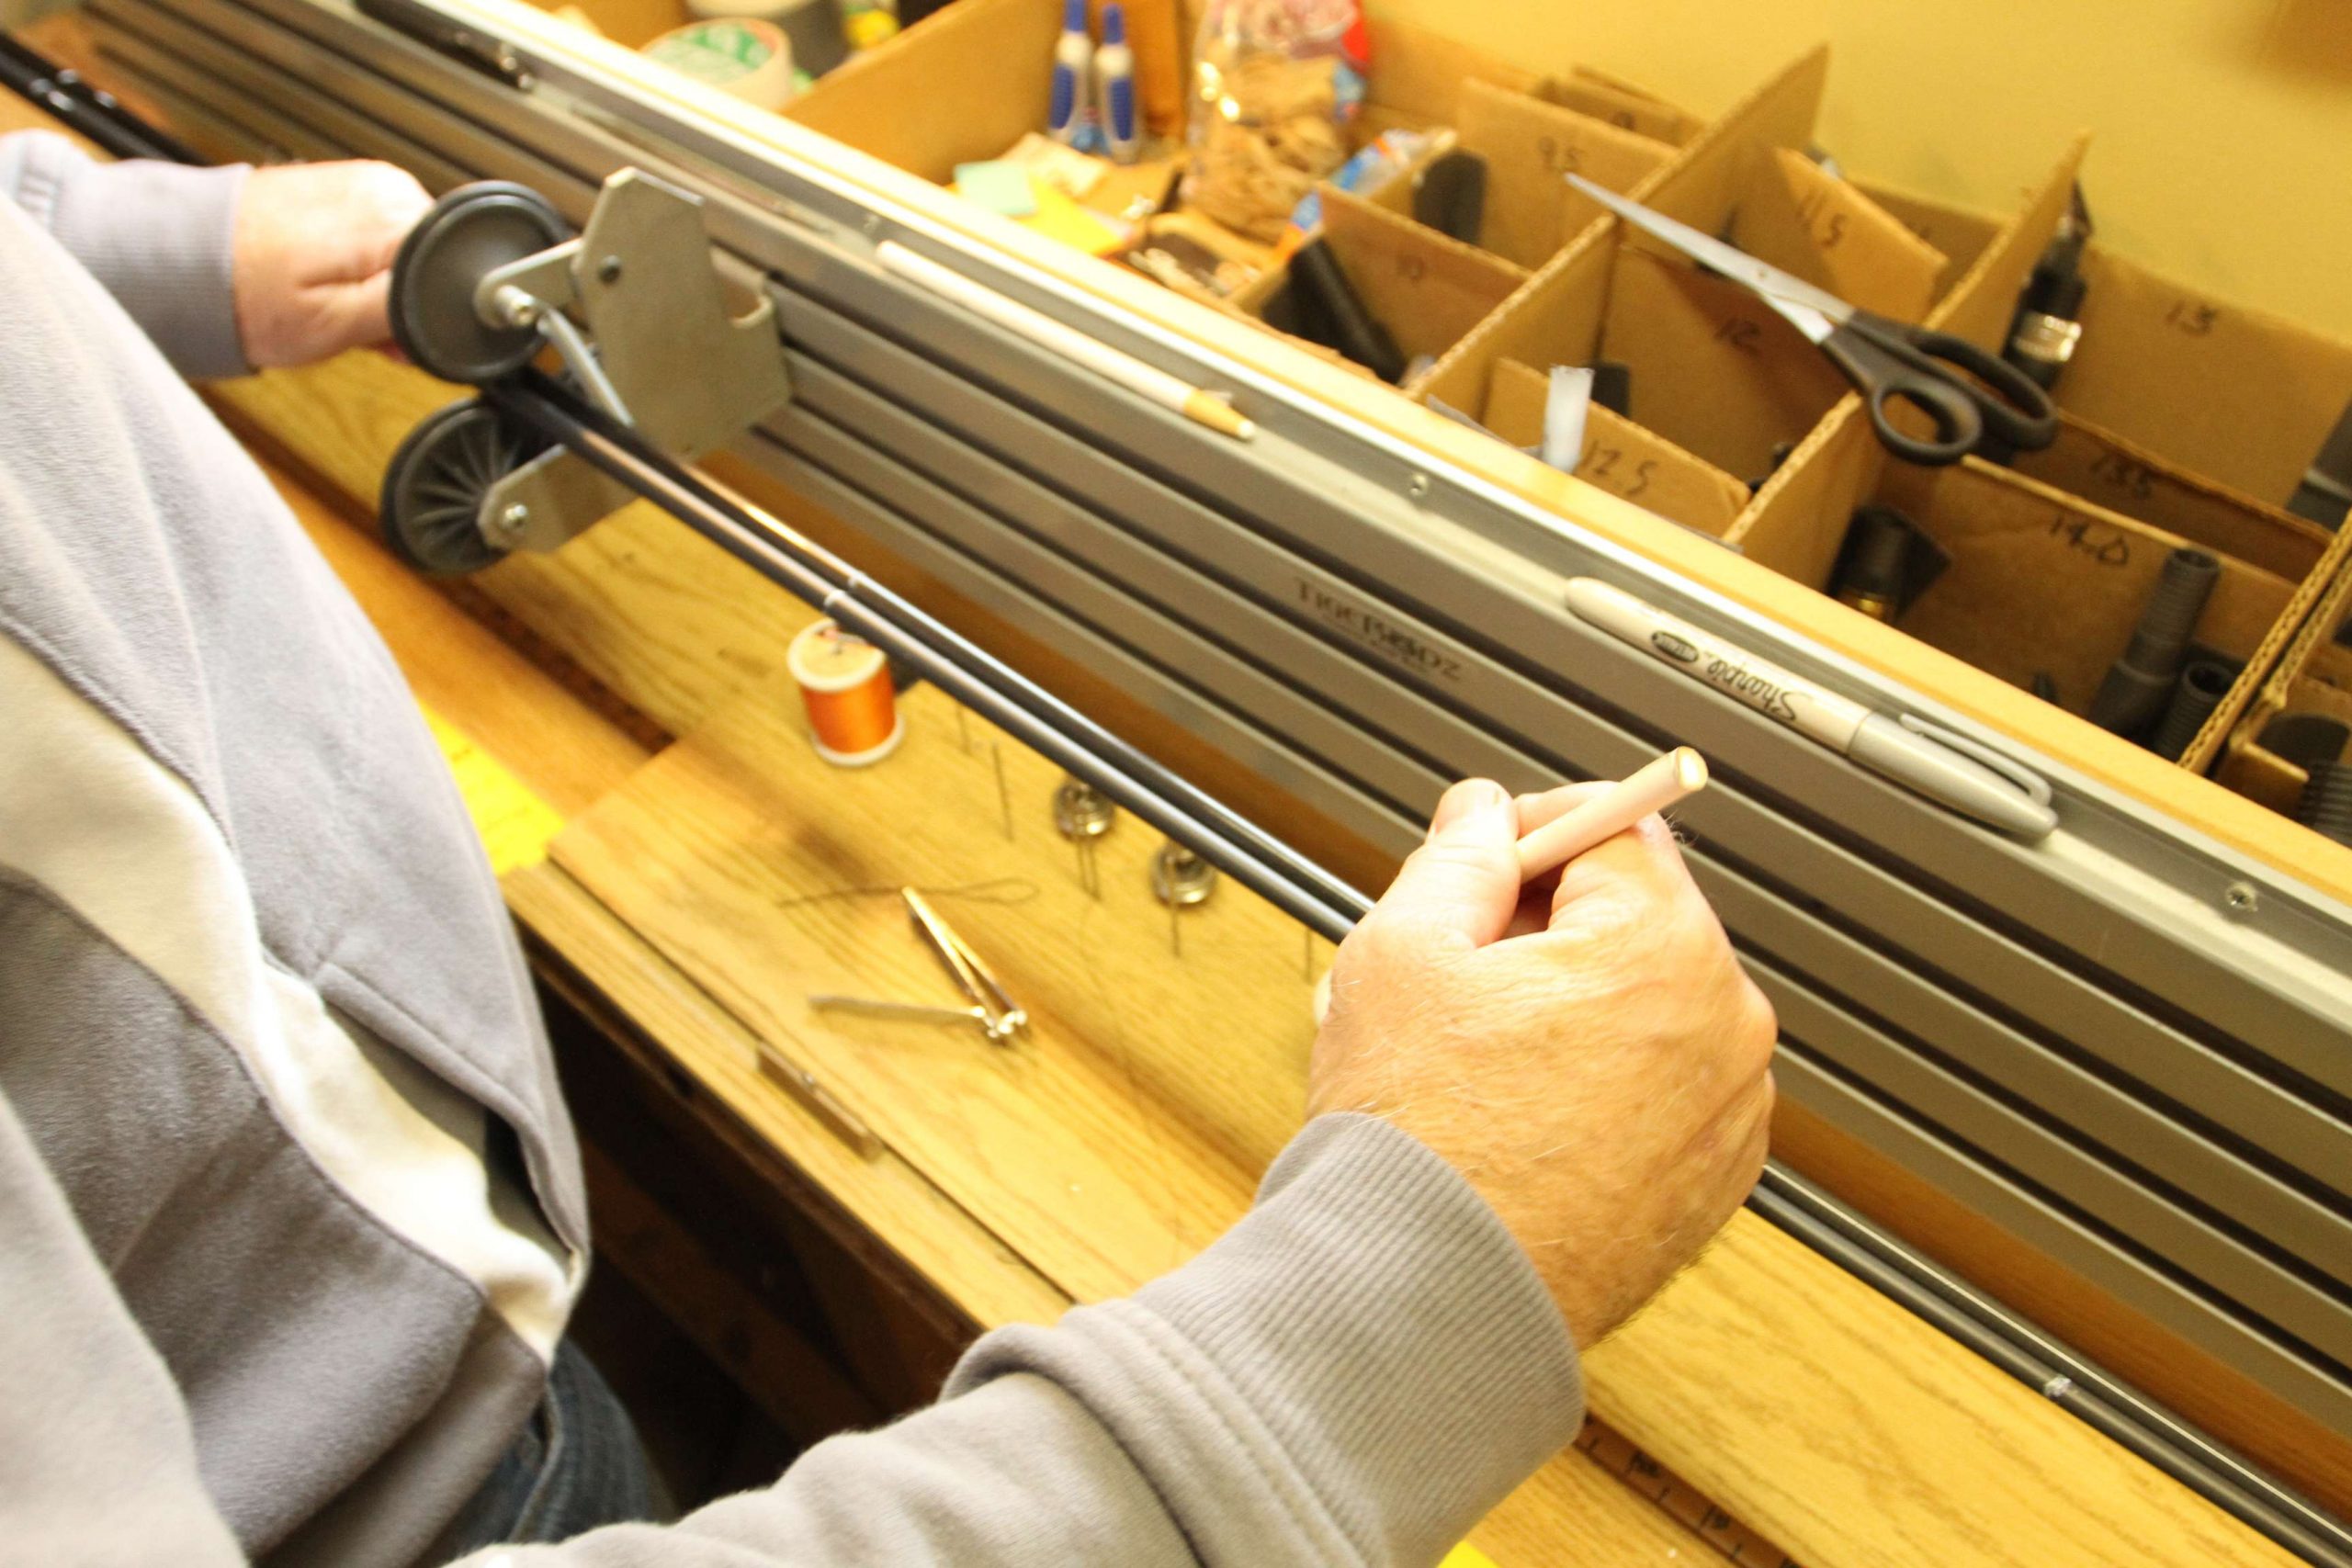
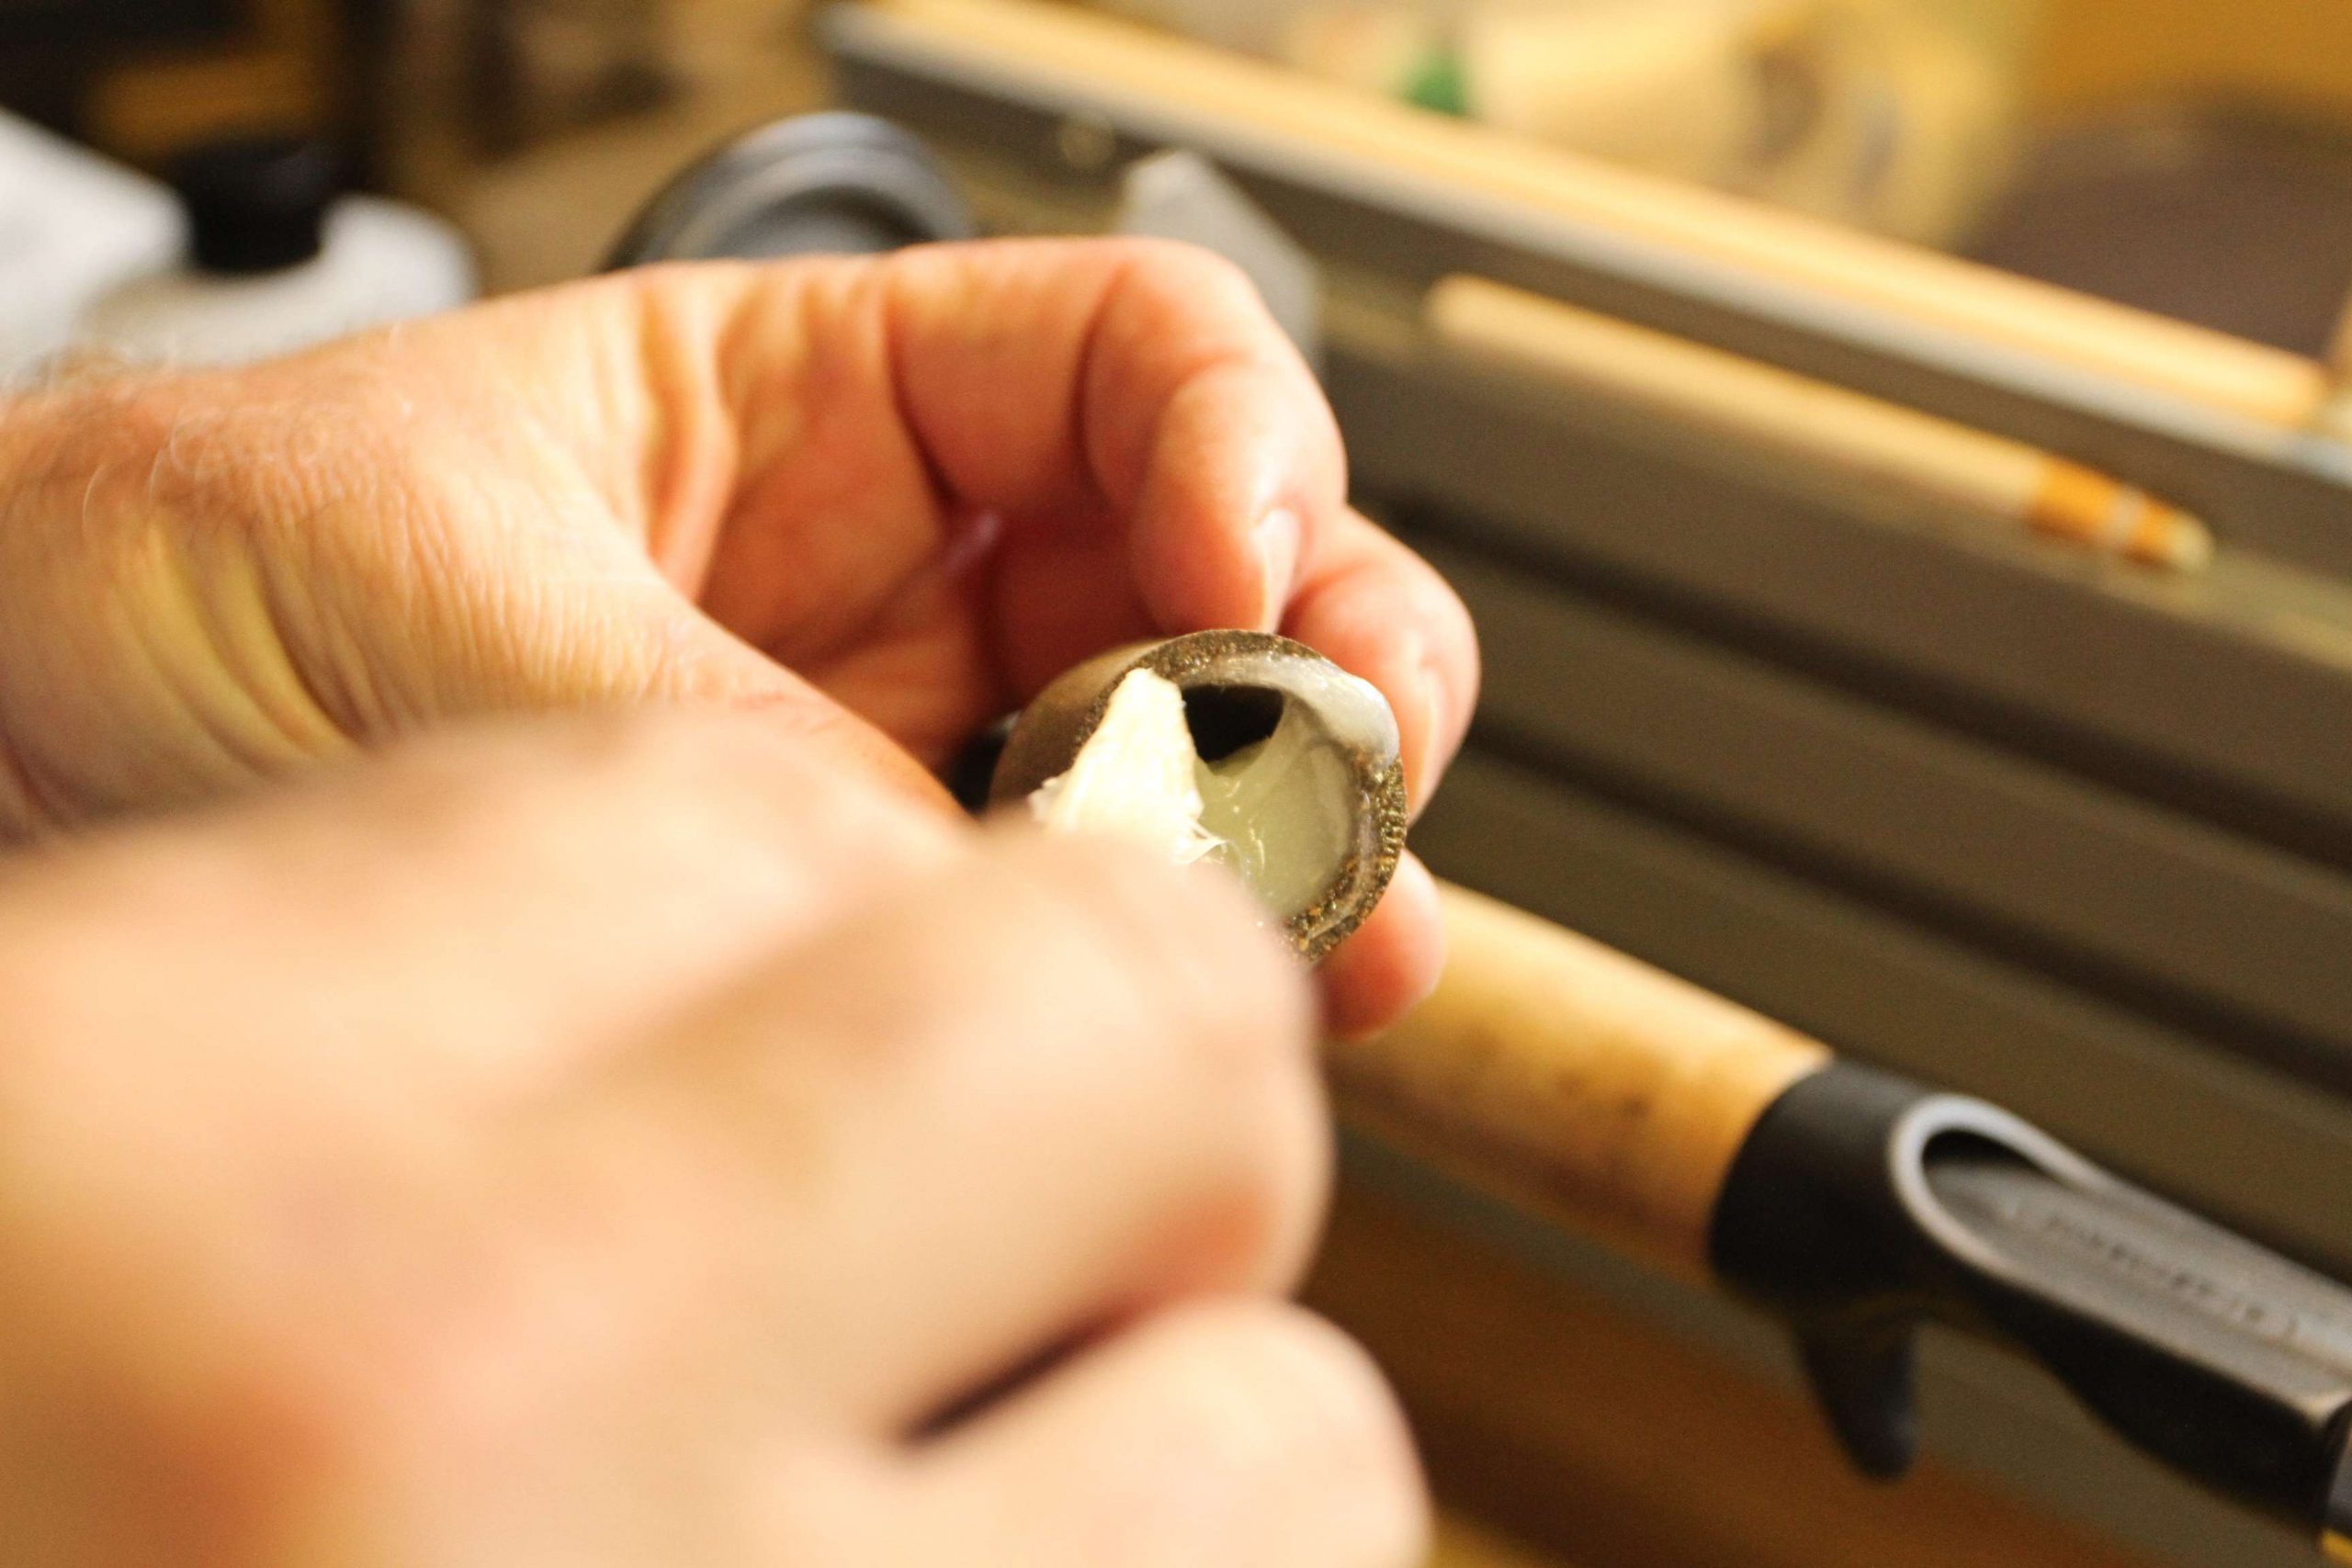
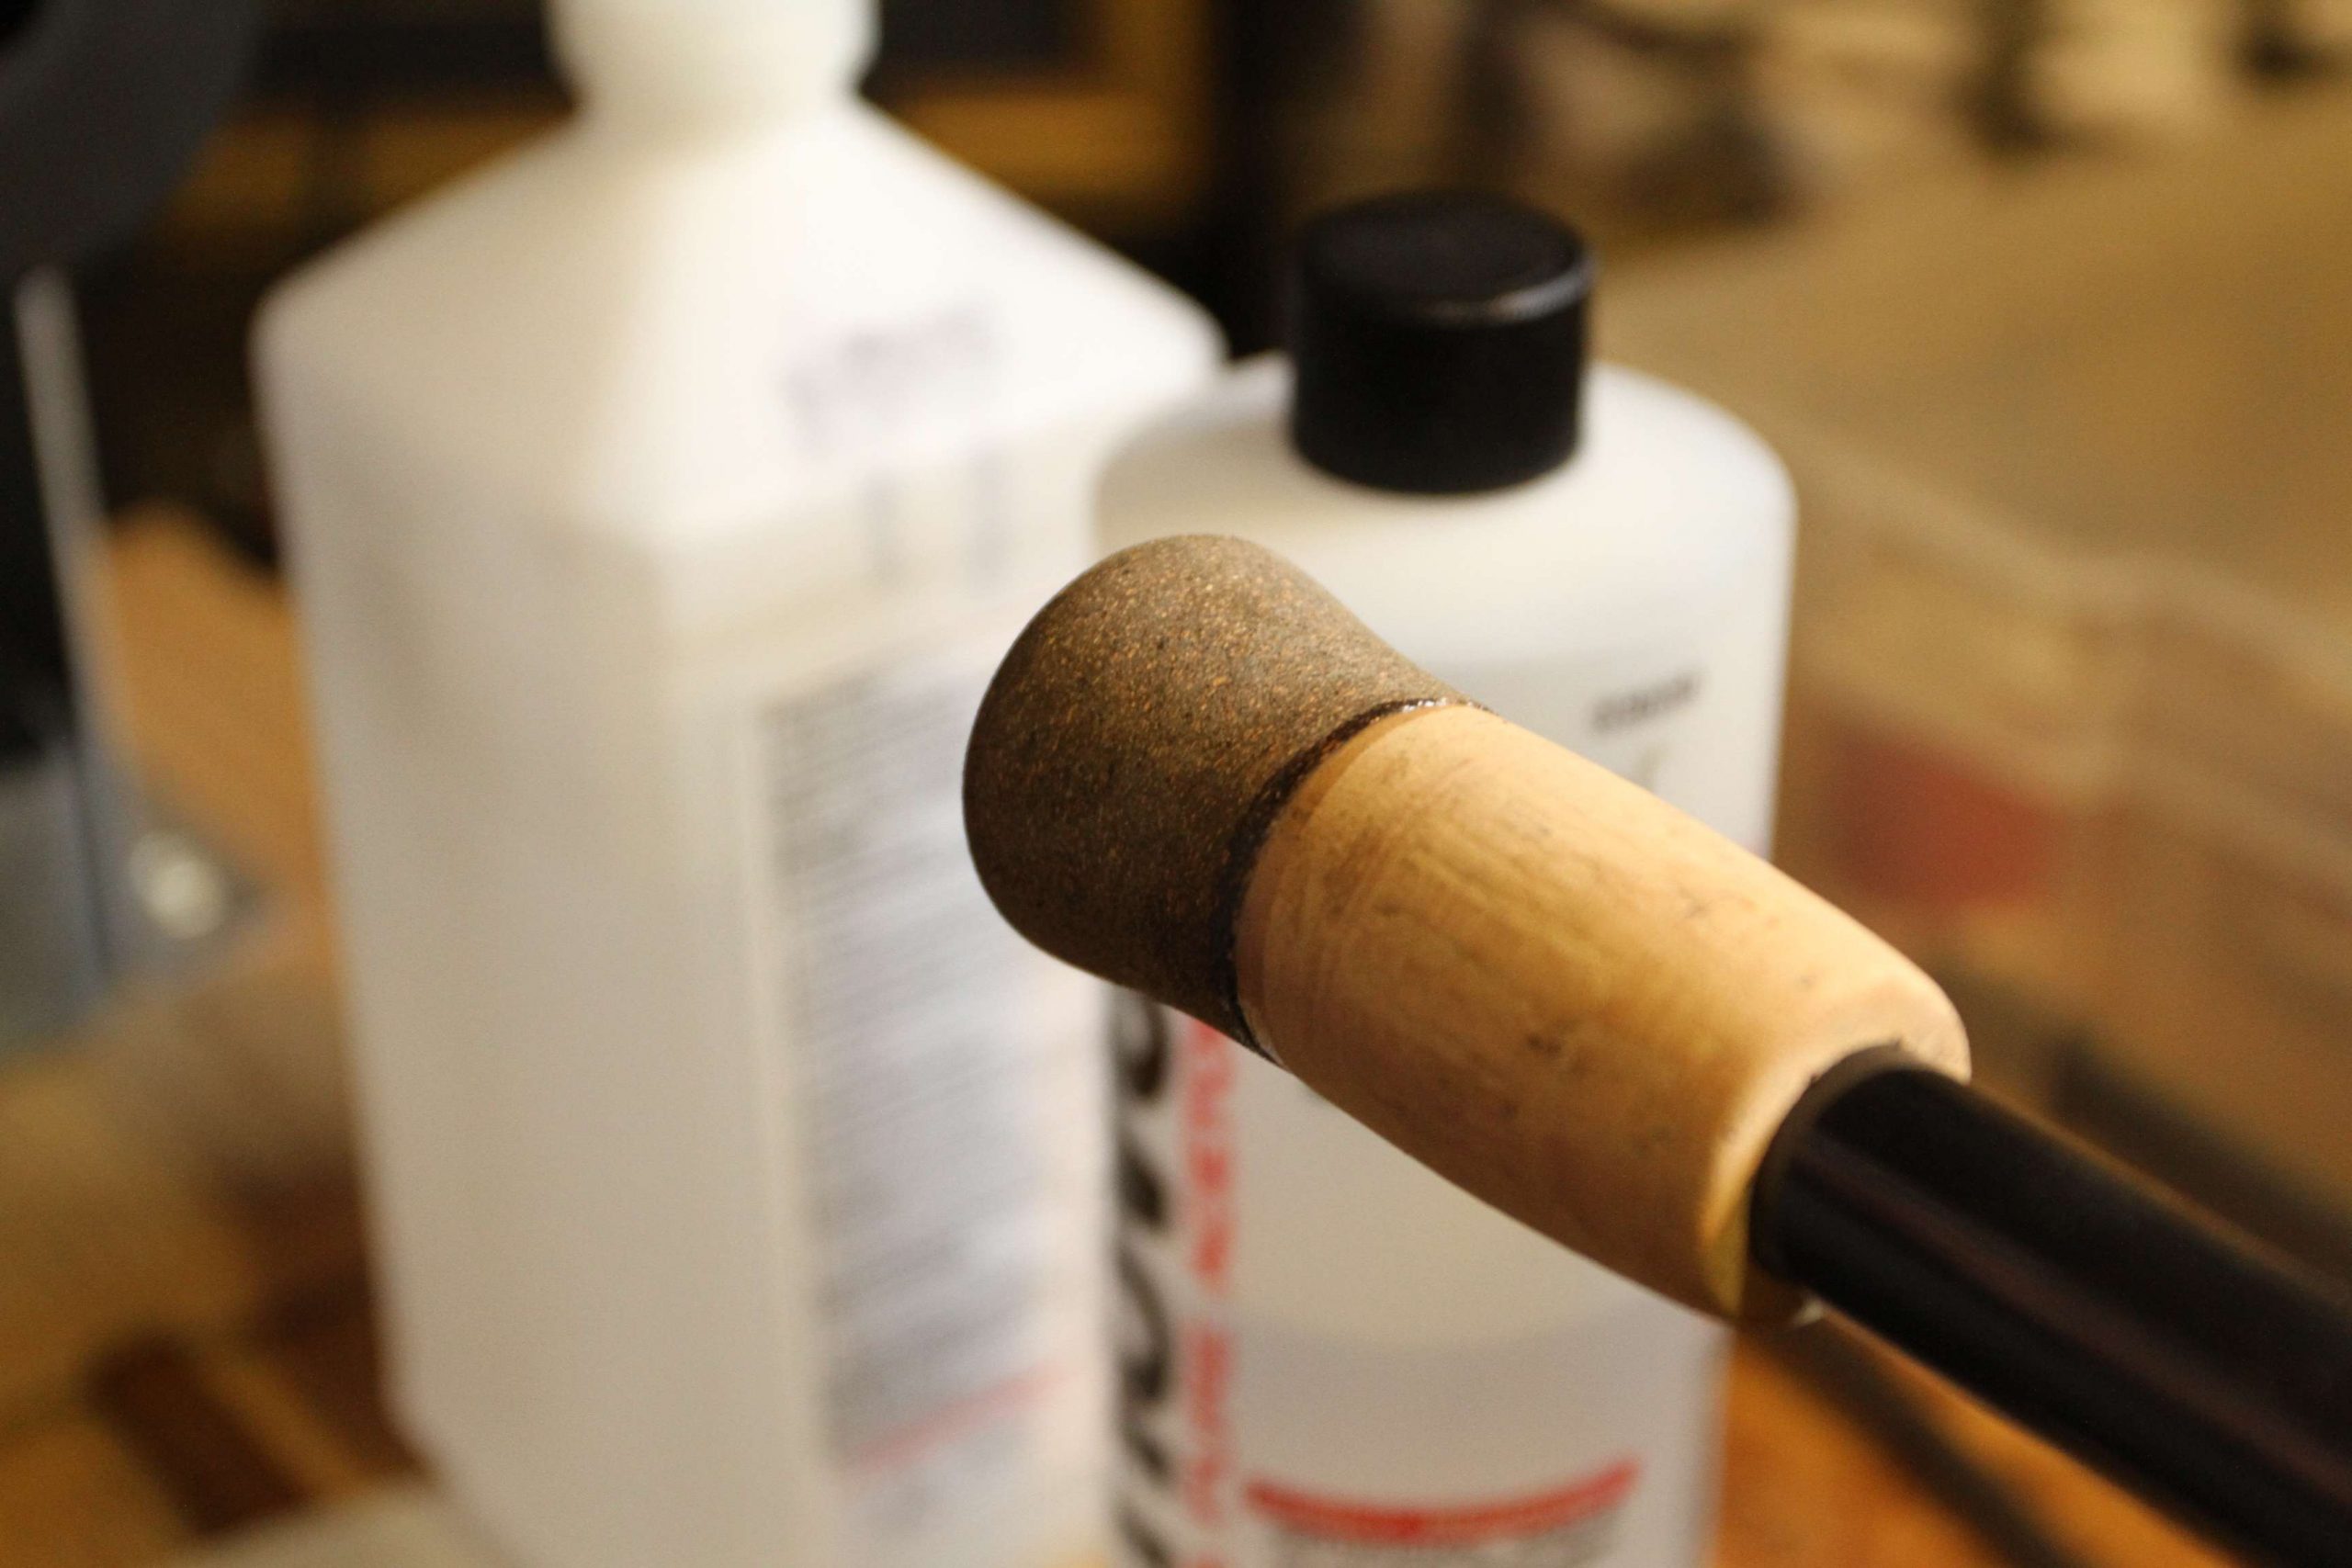
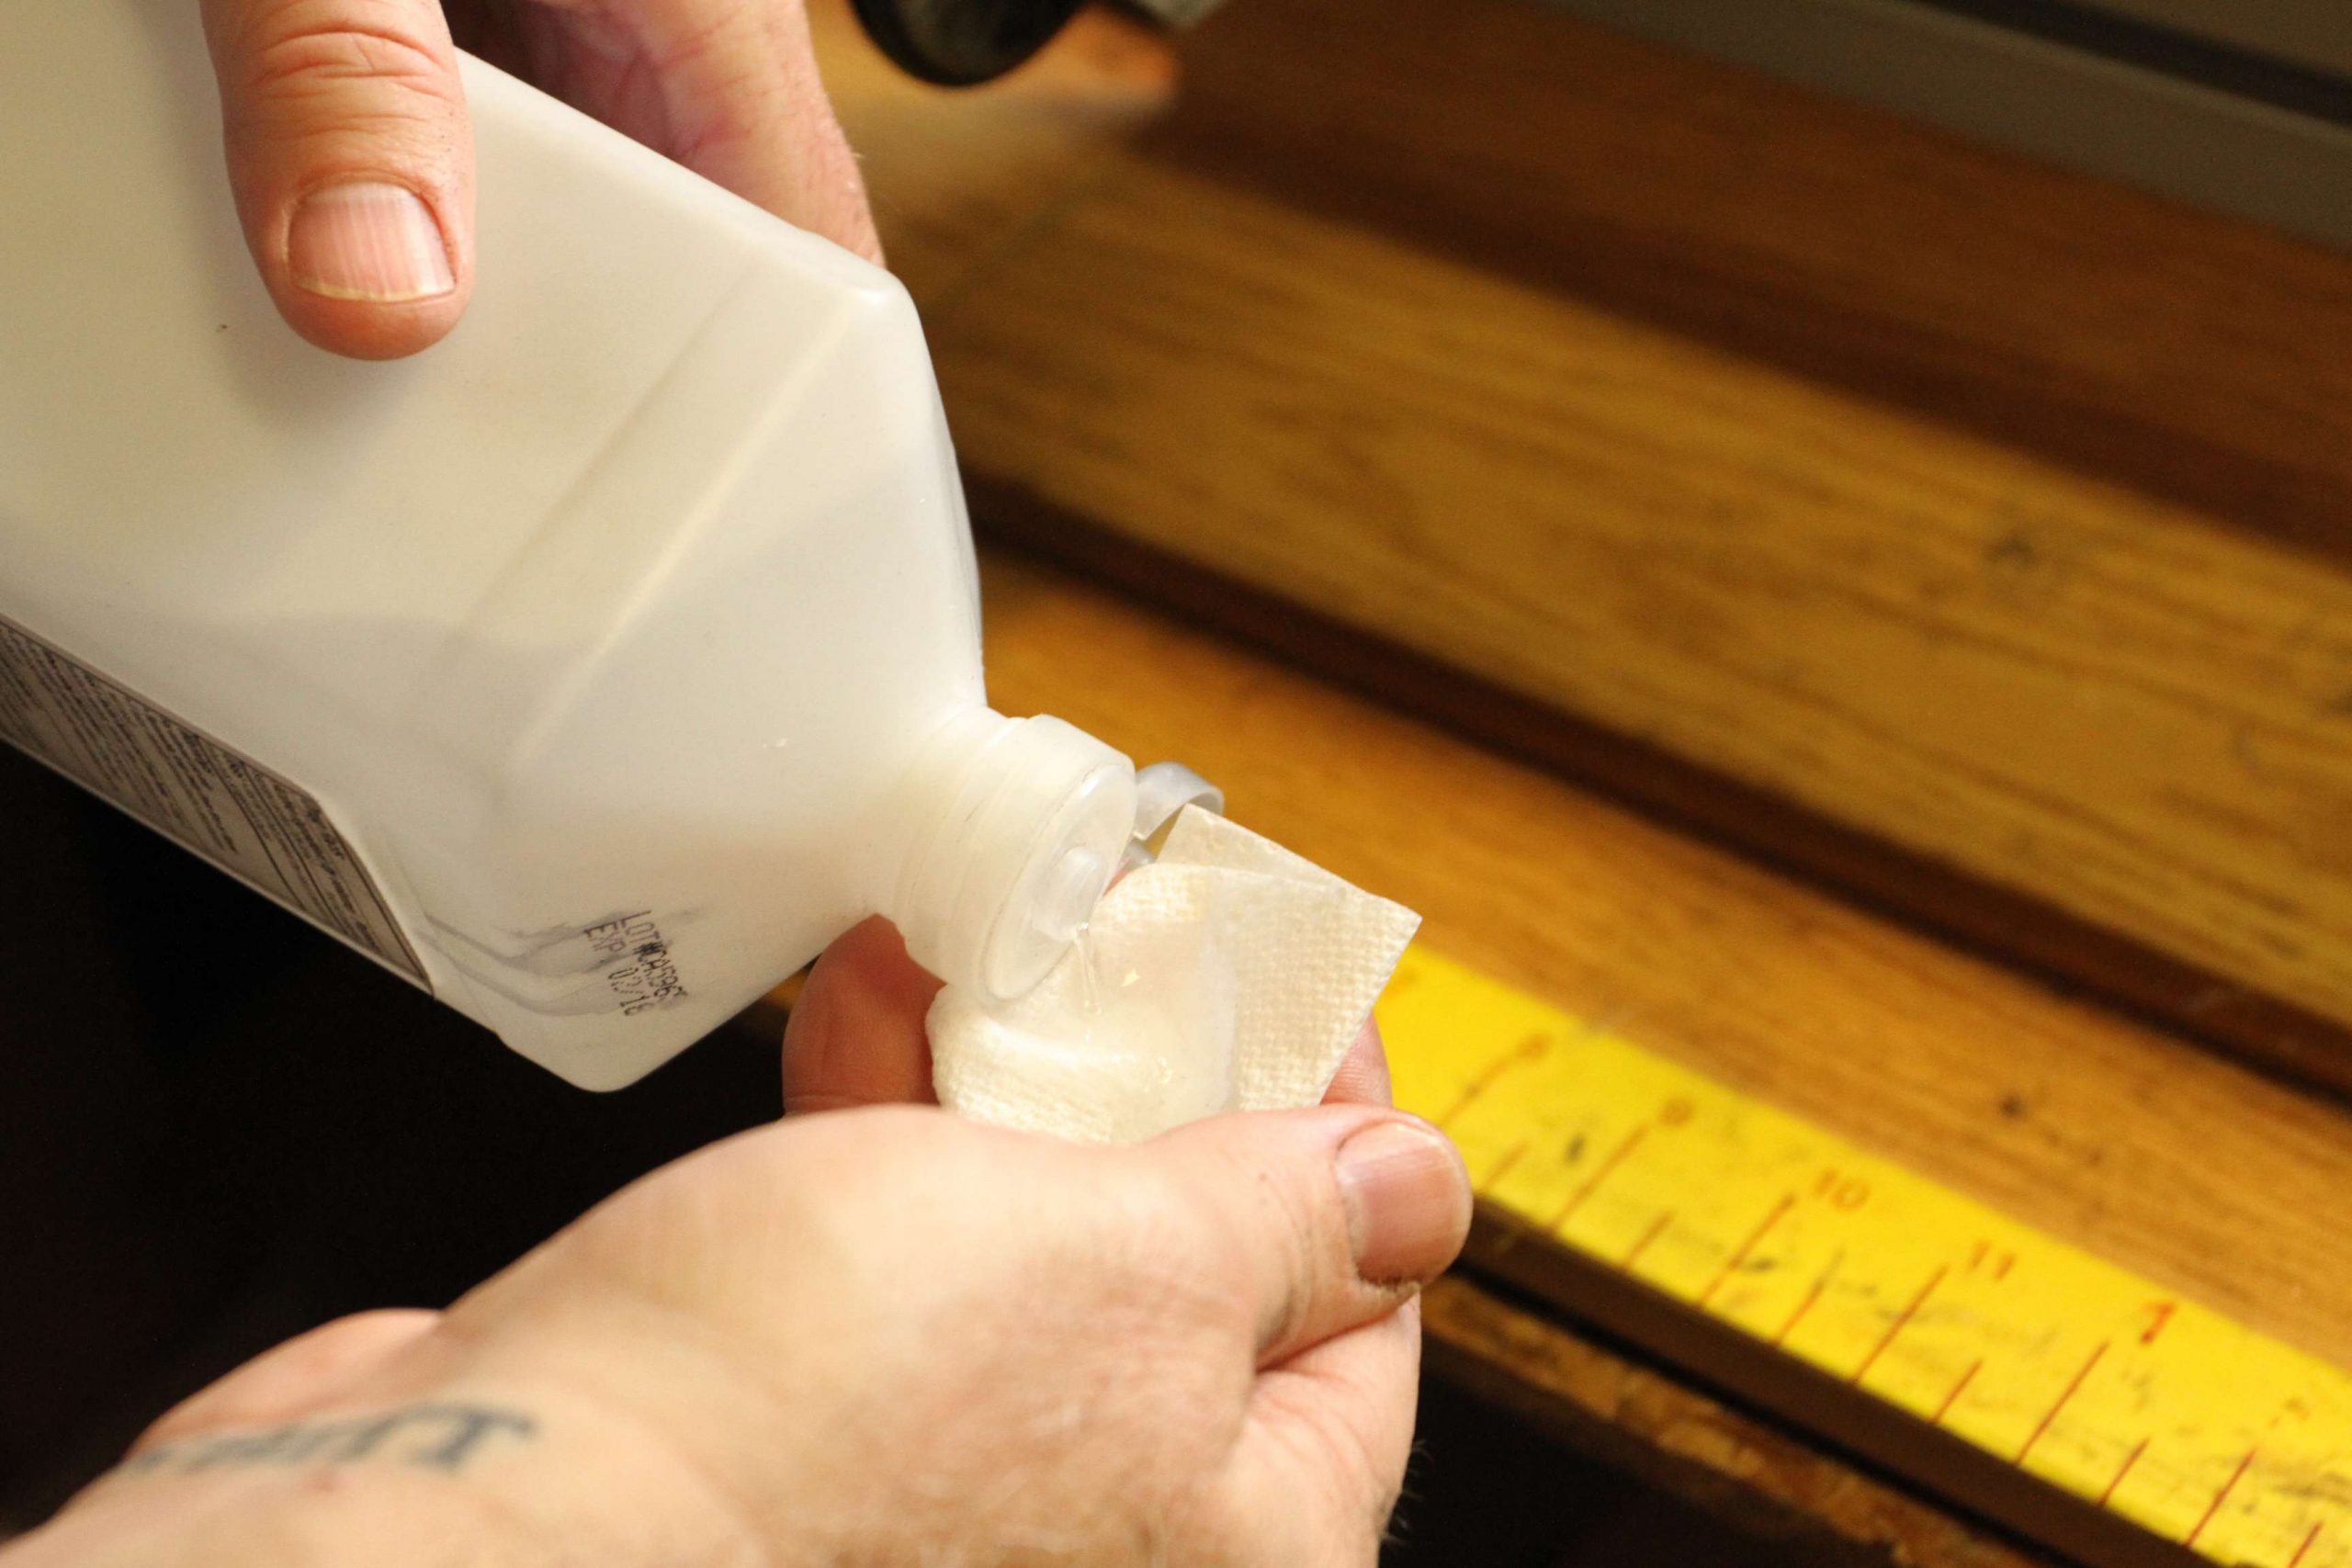
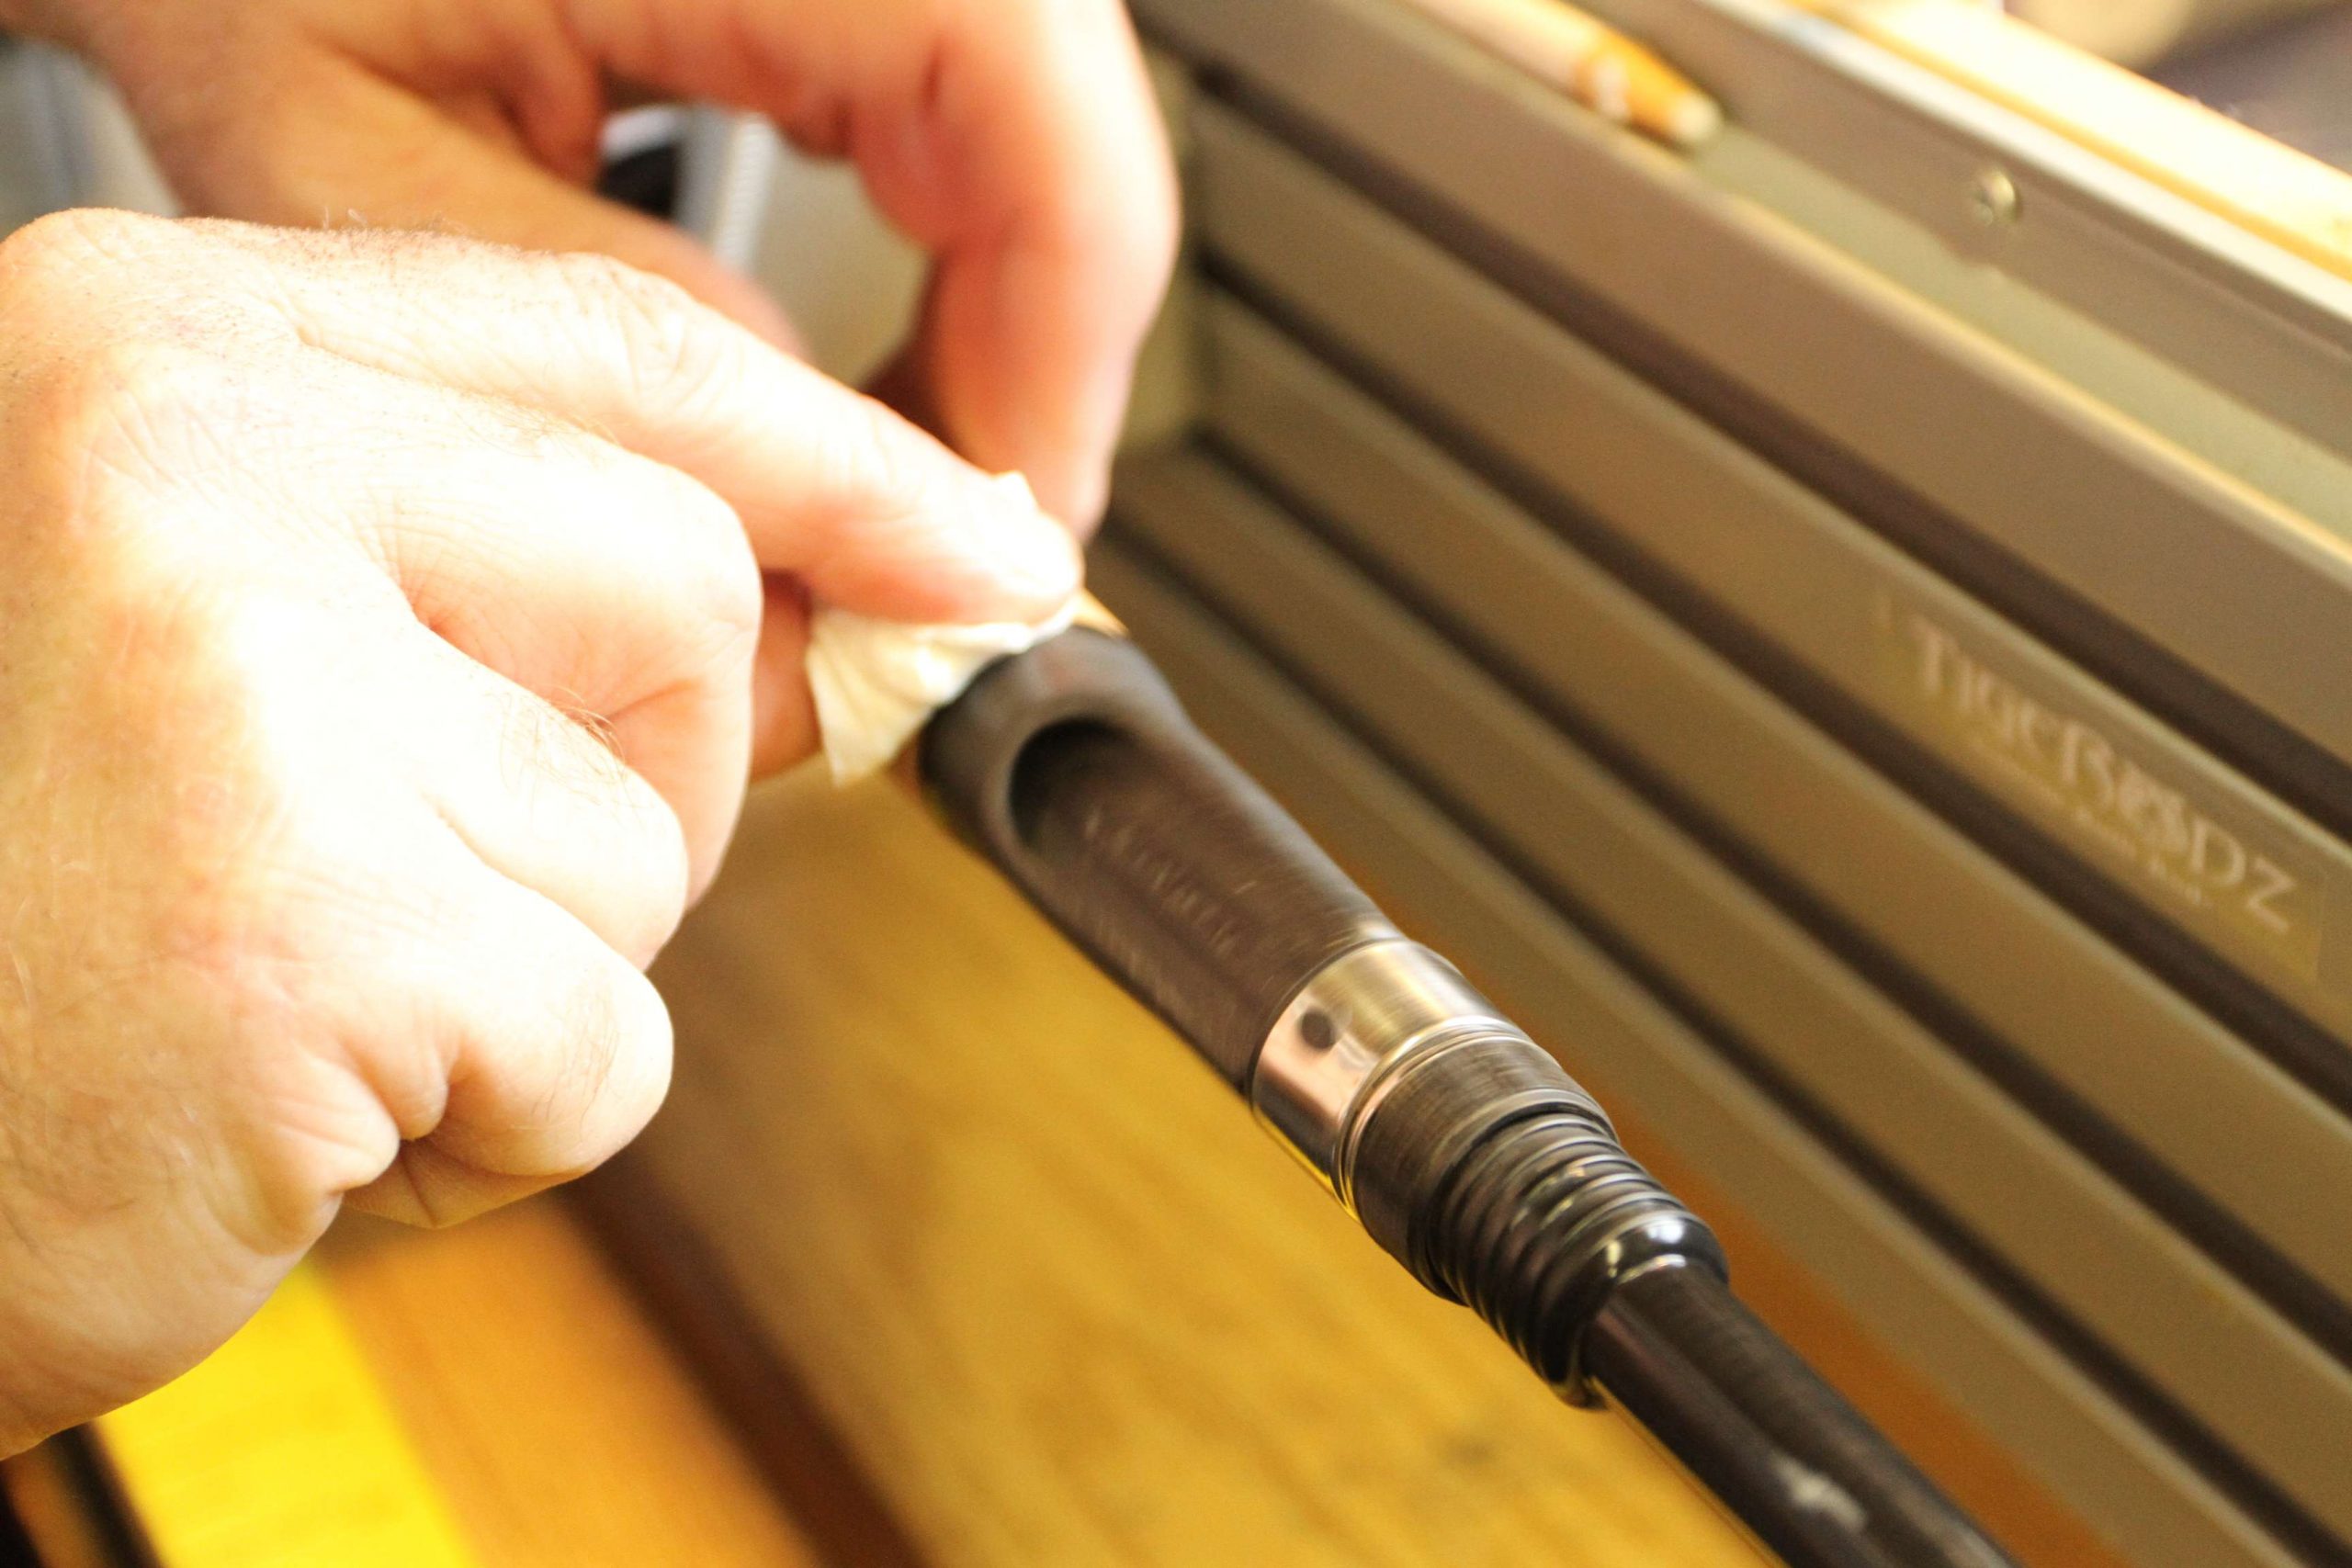
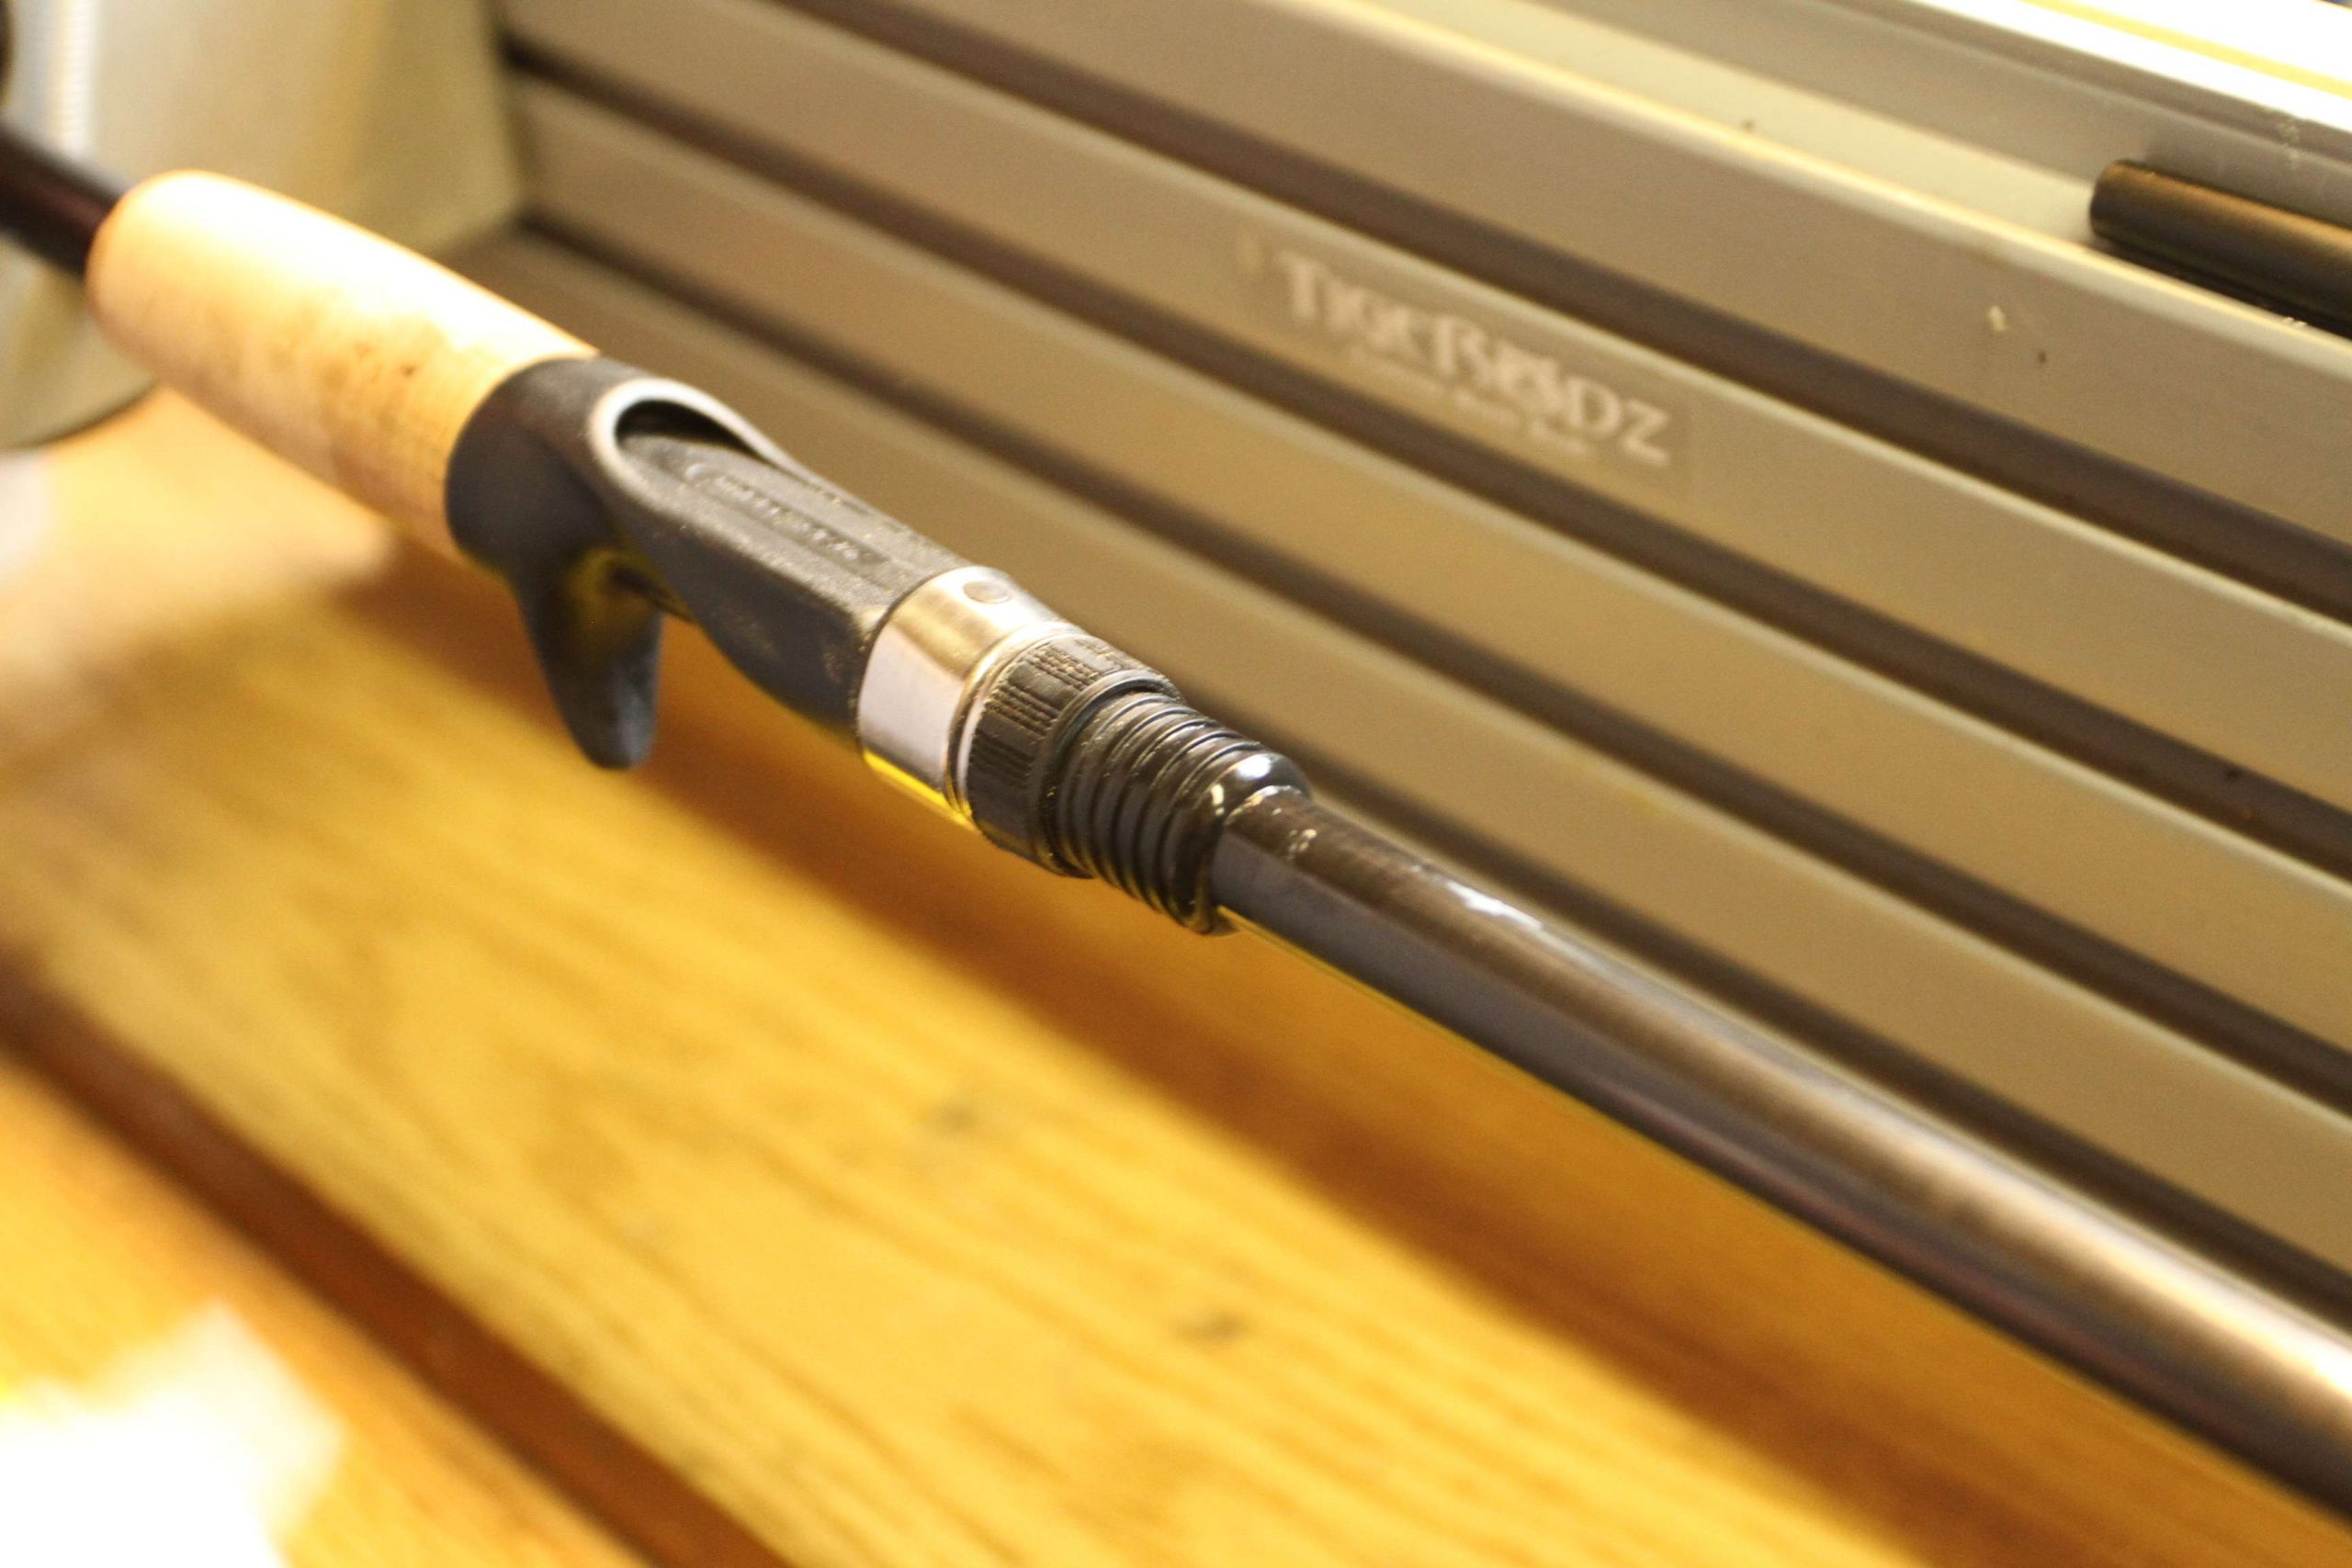
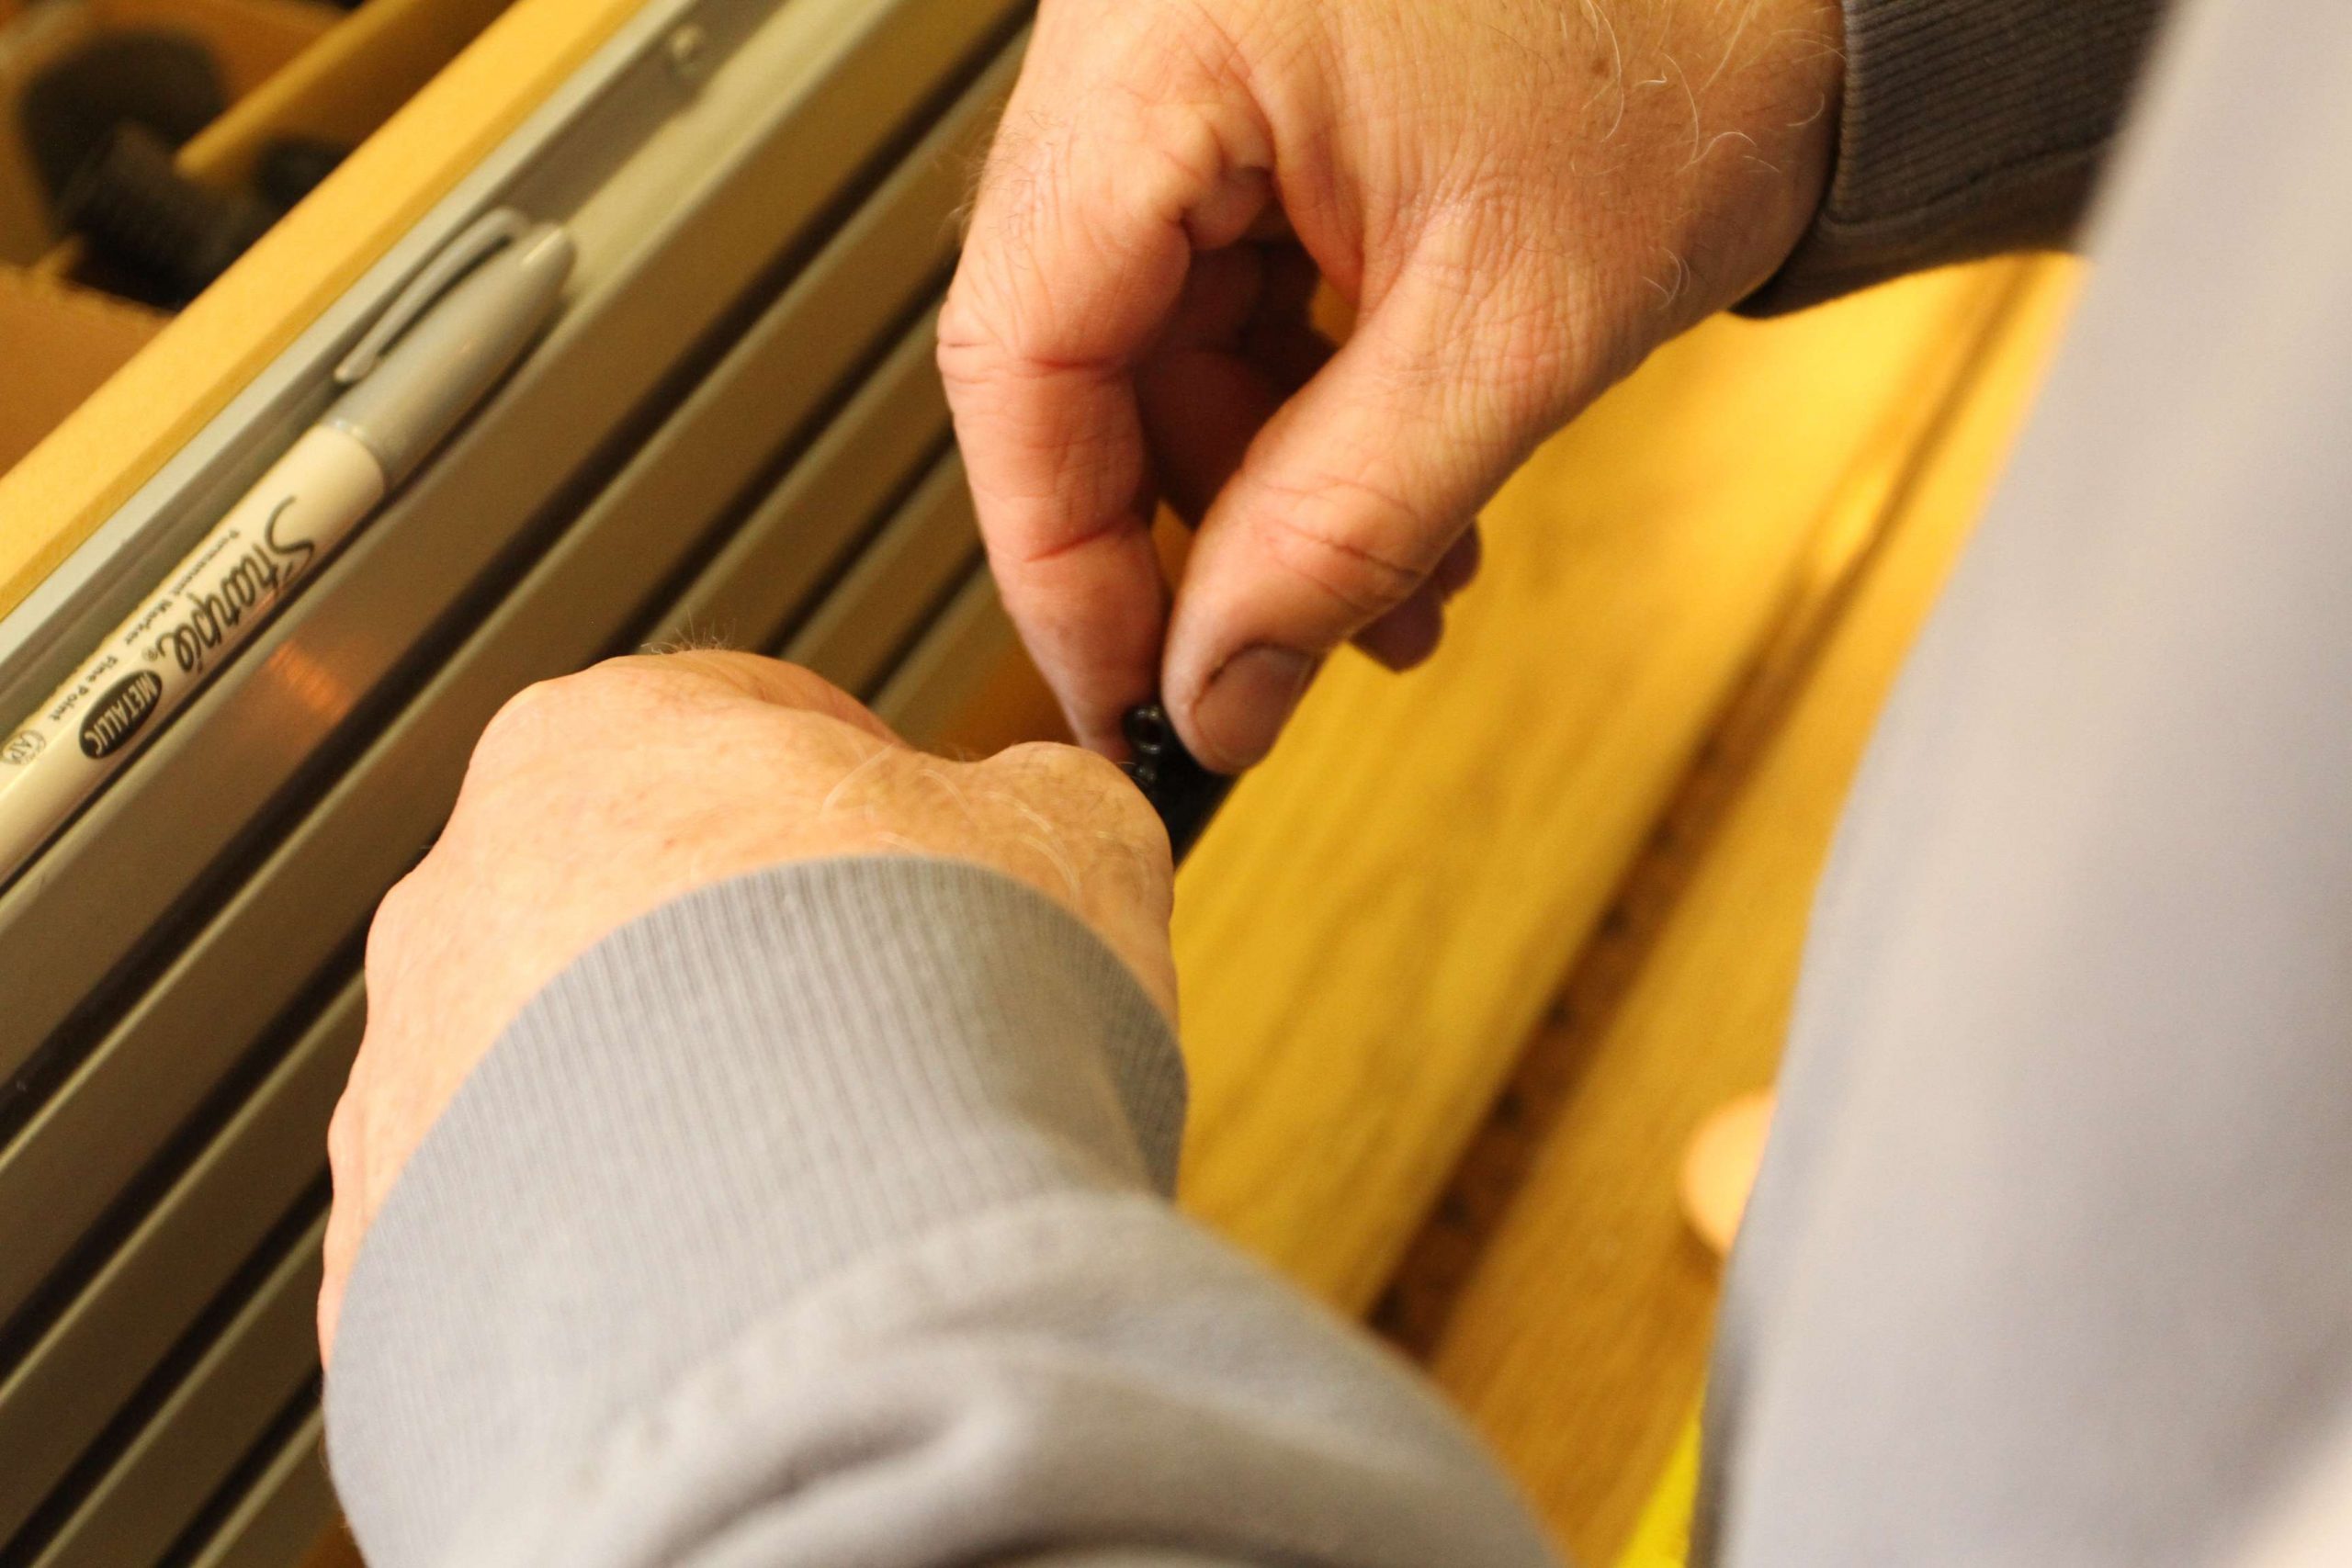
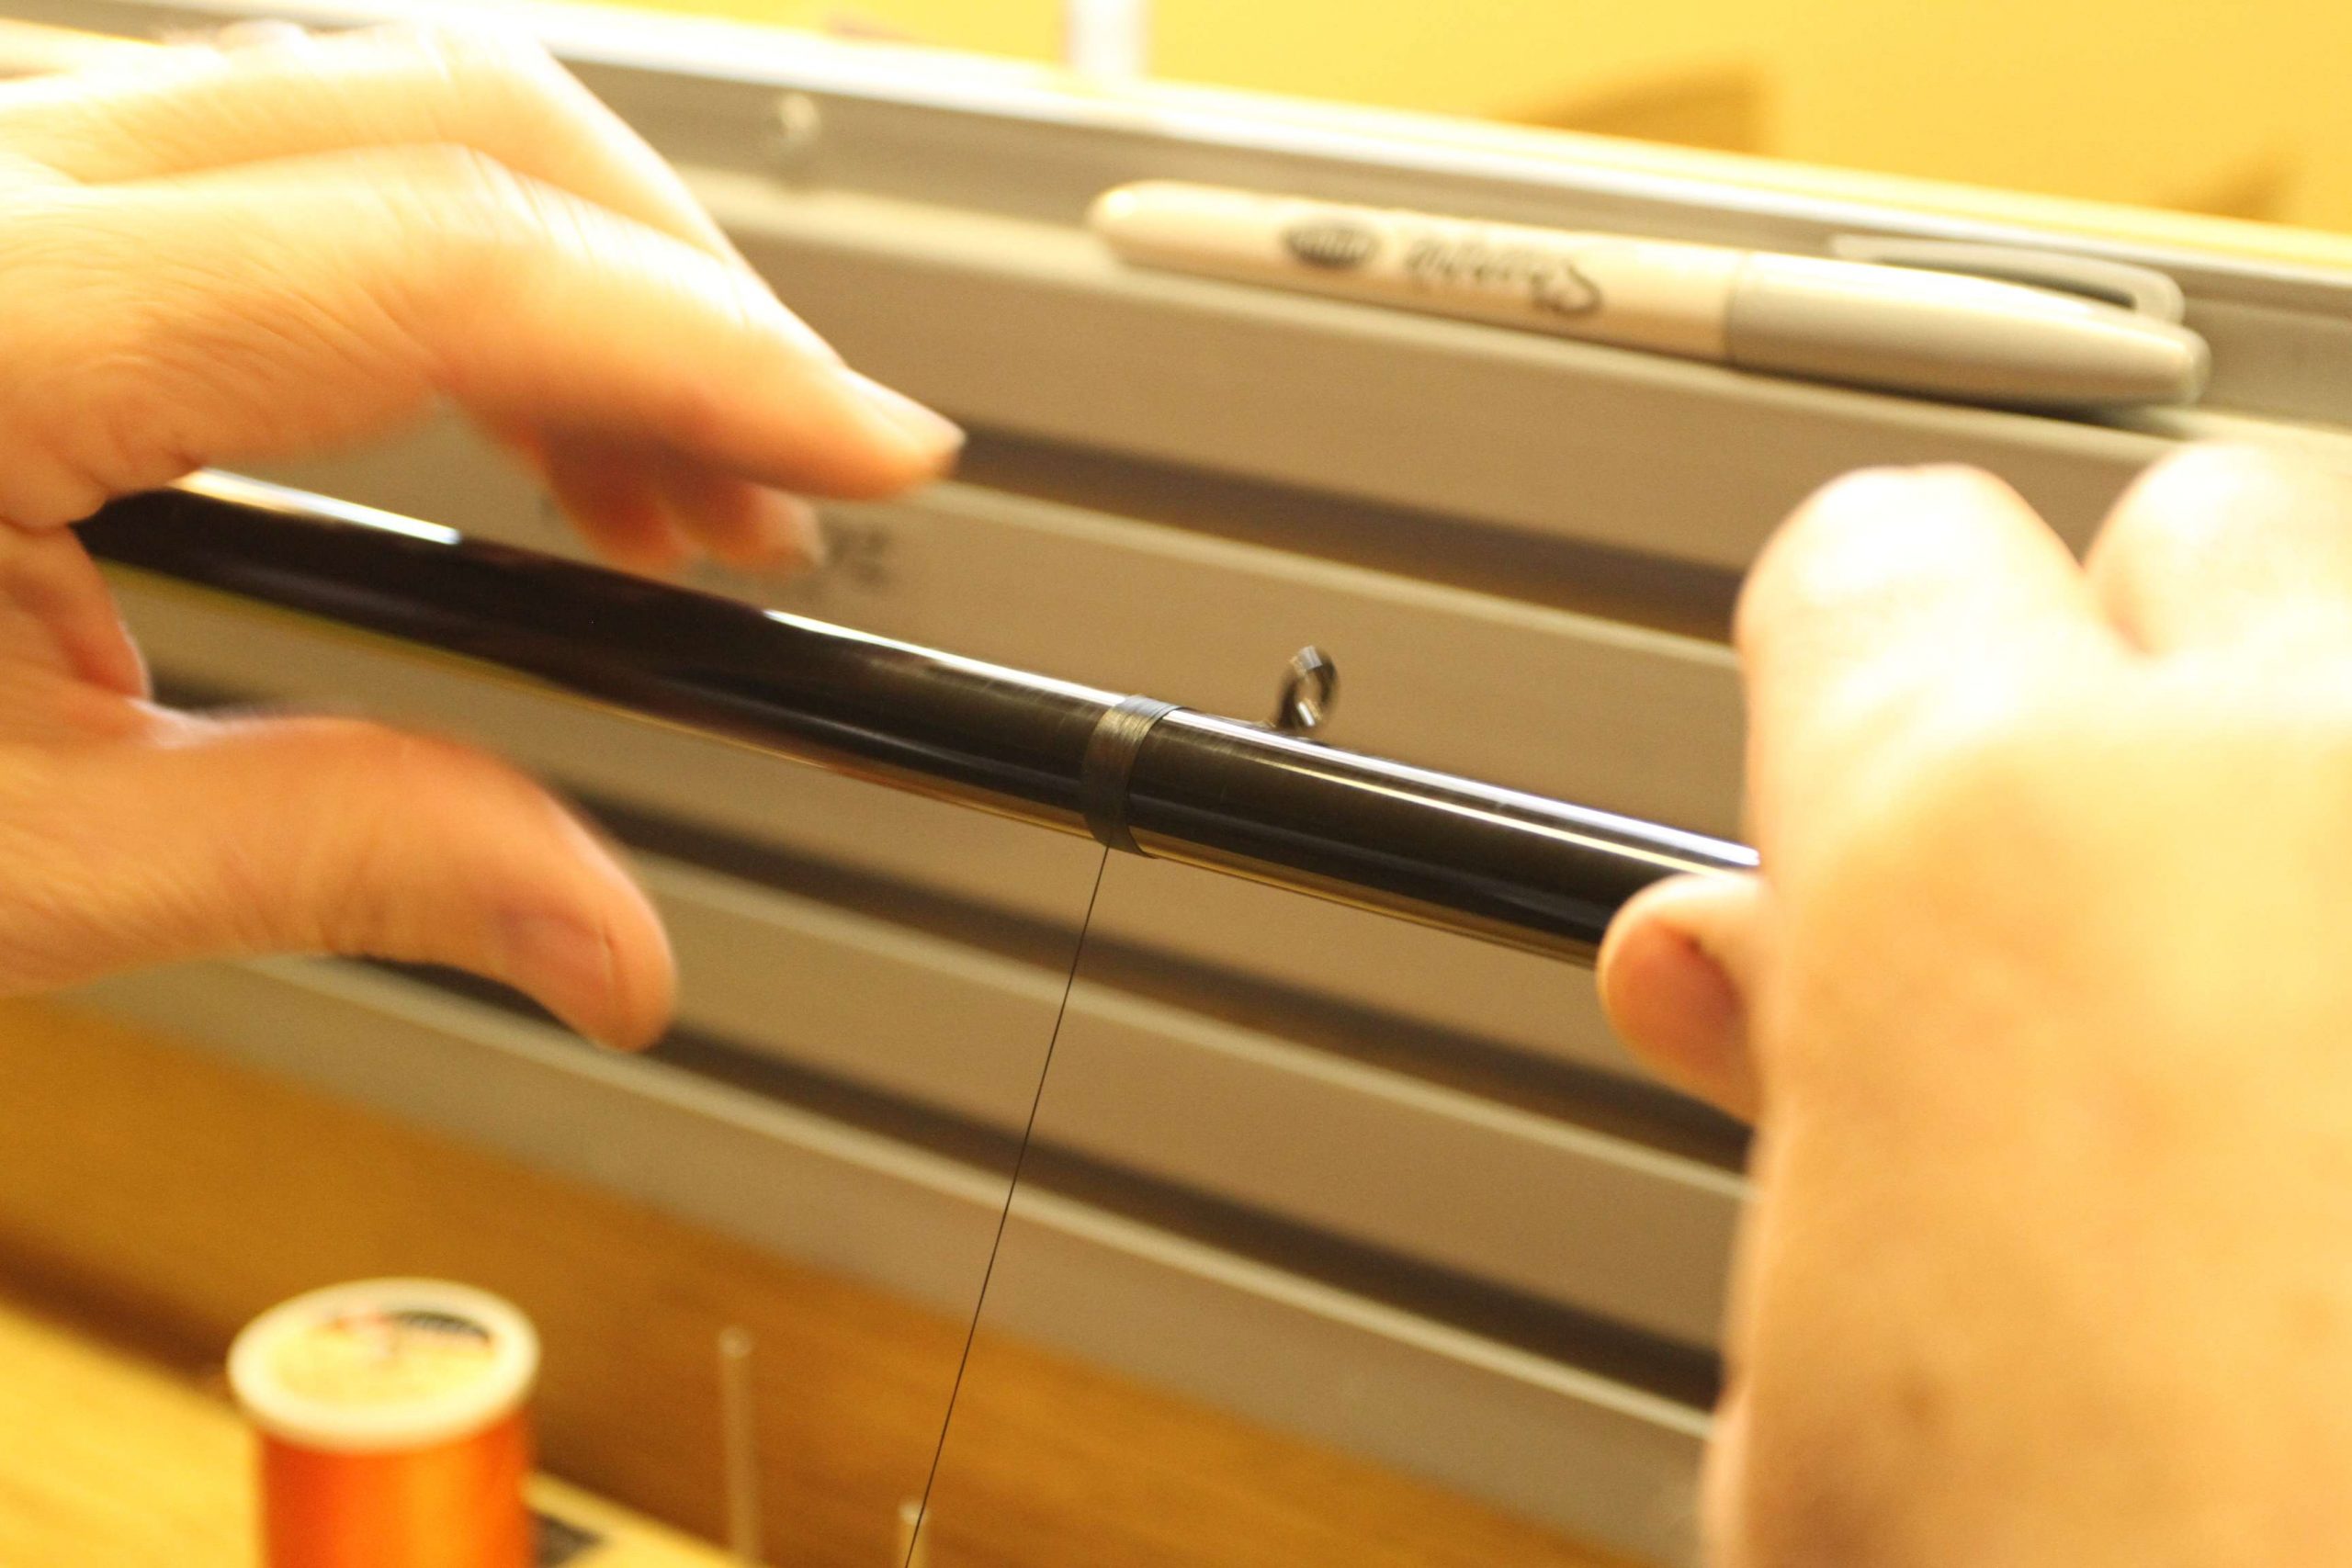
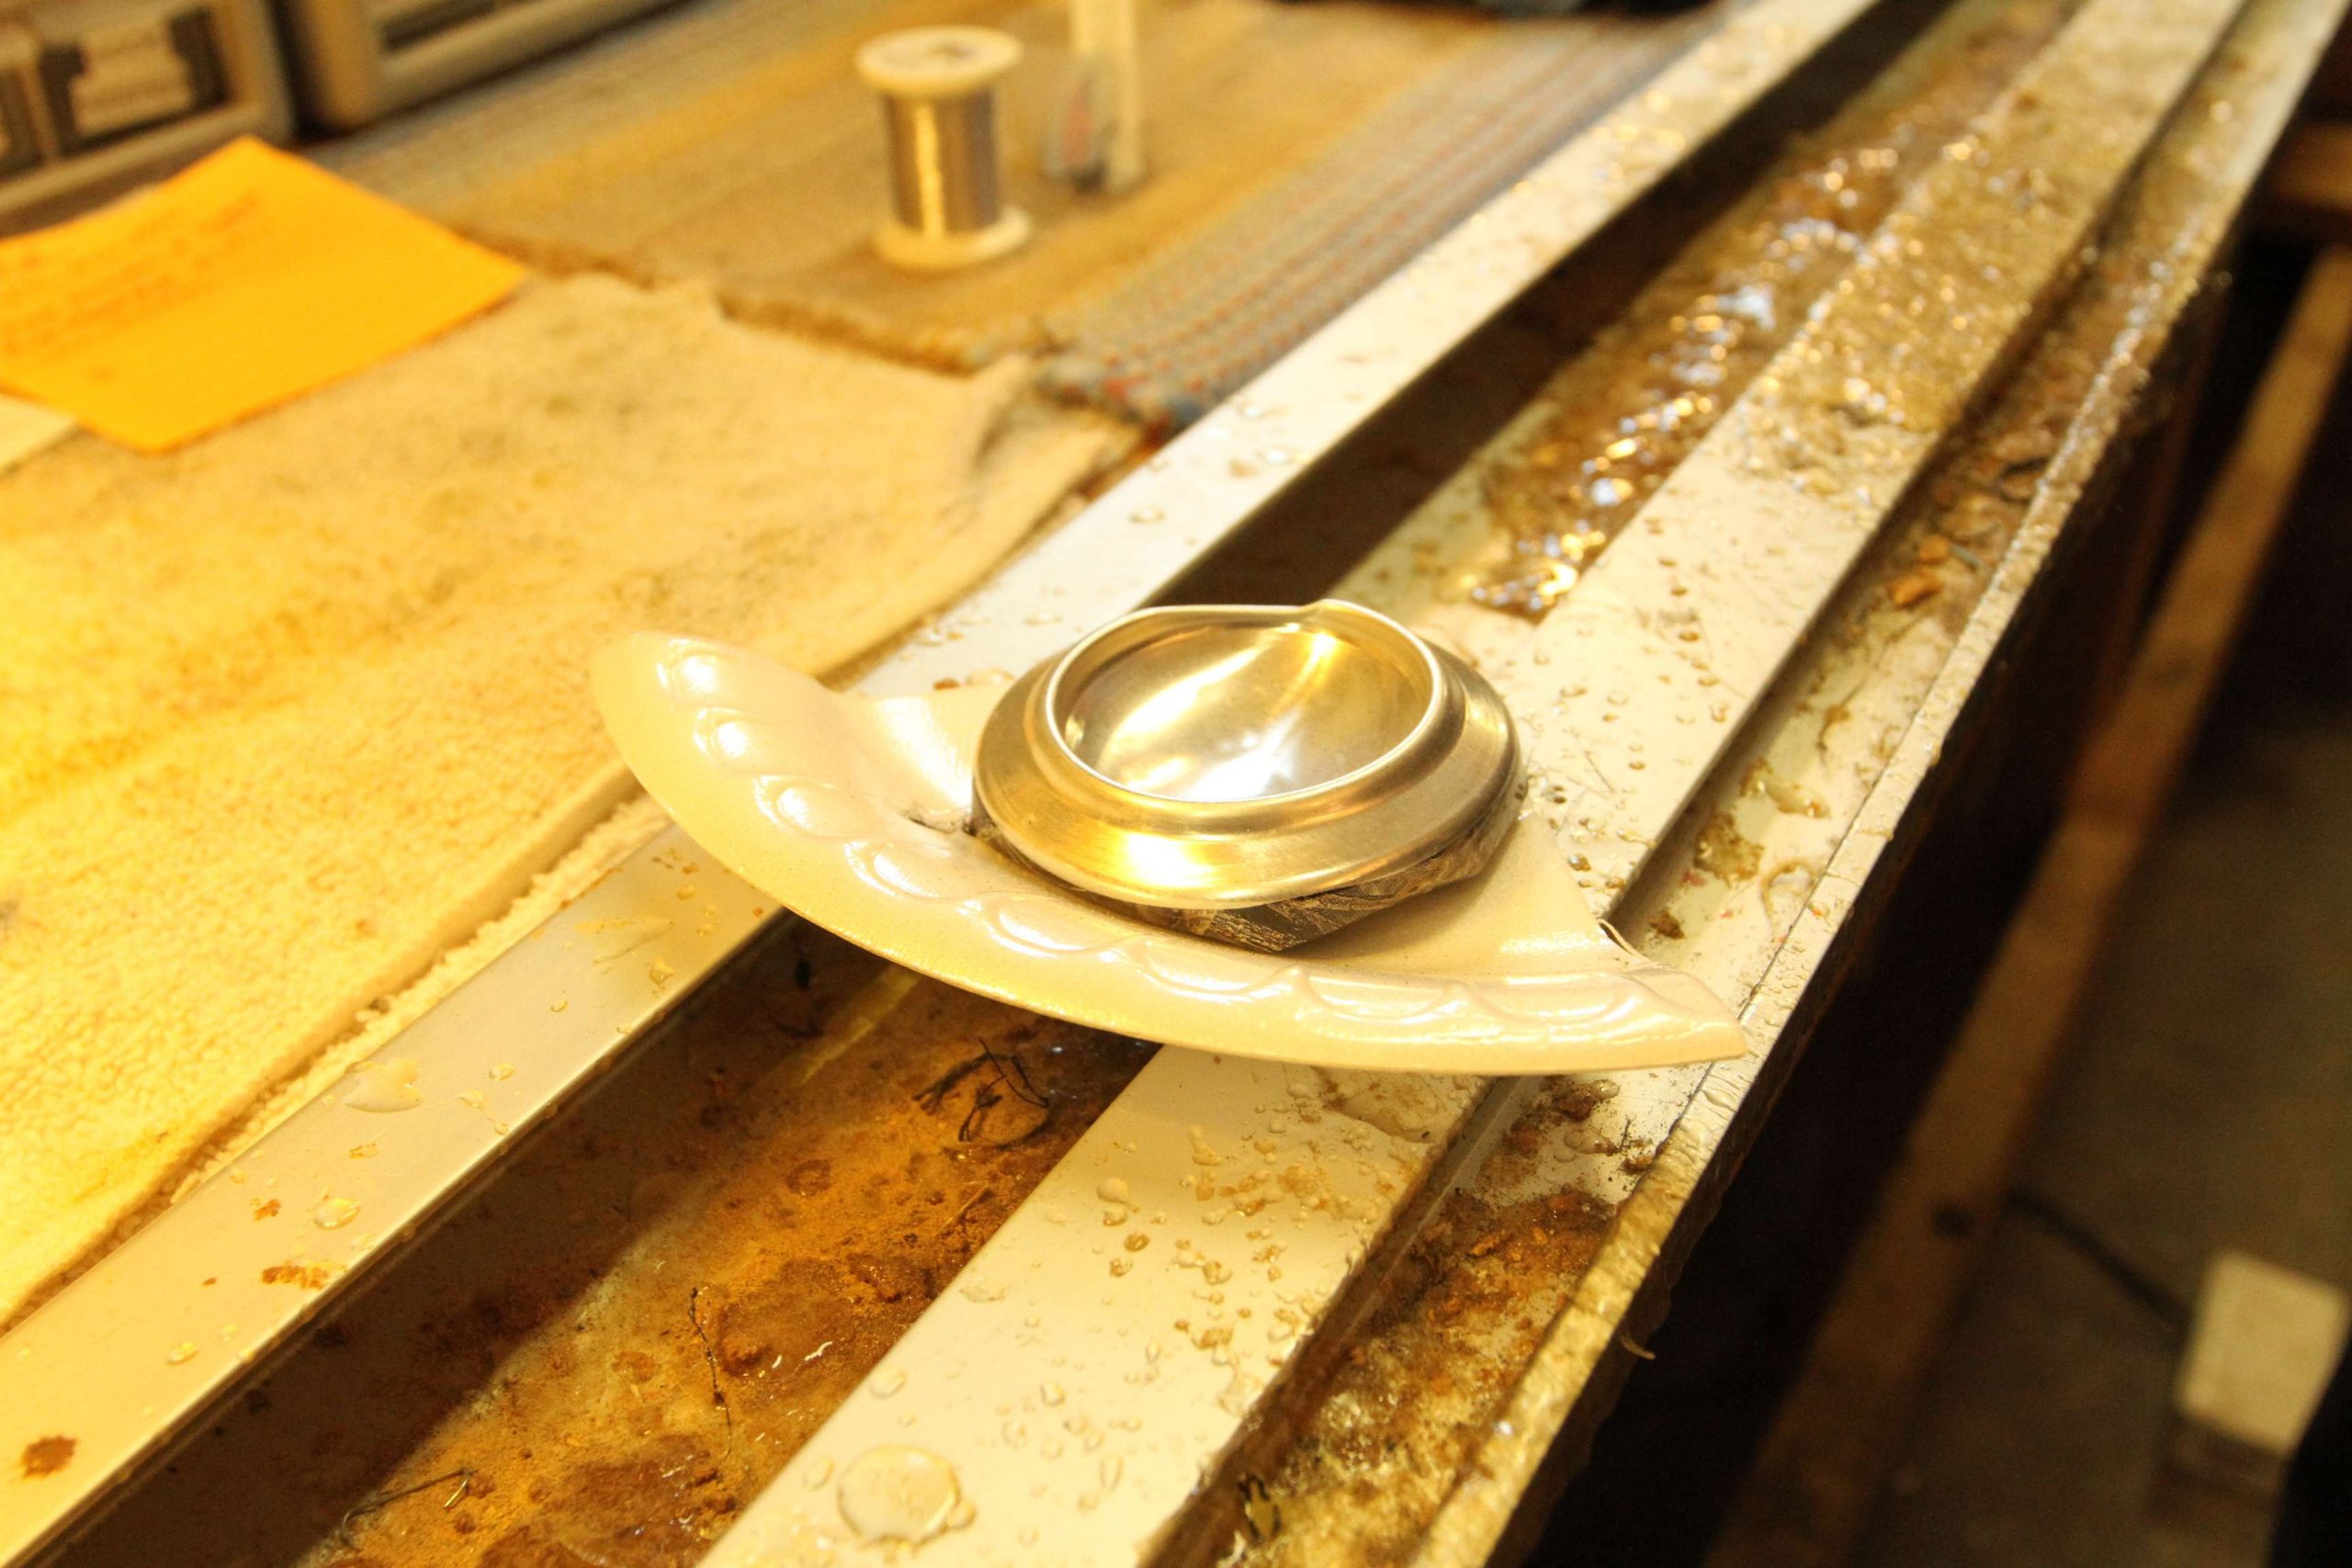
TigeRodz is run out of his basement in Scottsboro, Ala., where I was about to get a first-class education in DIY rod construction.
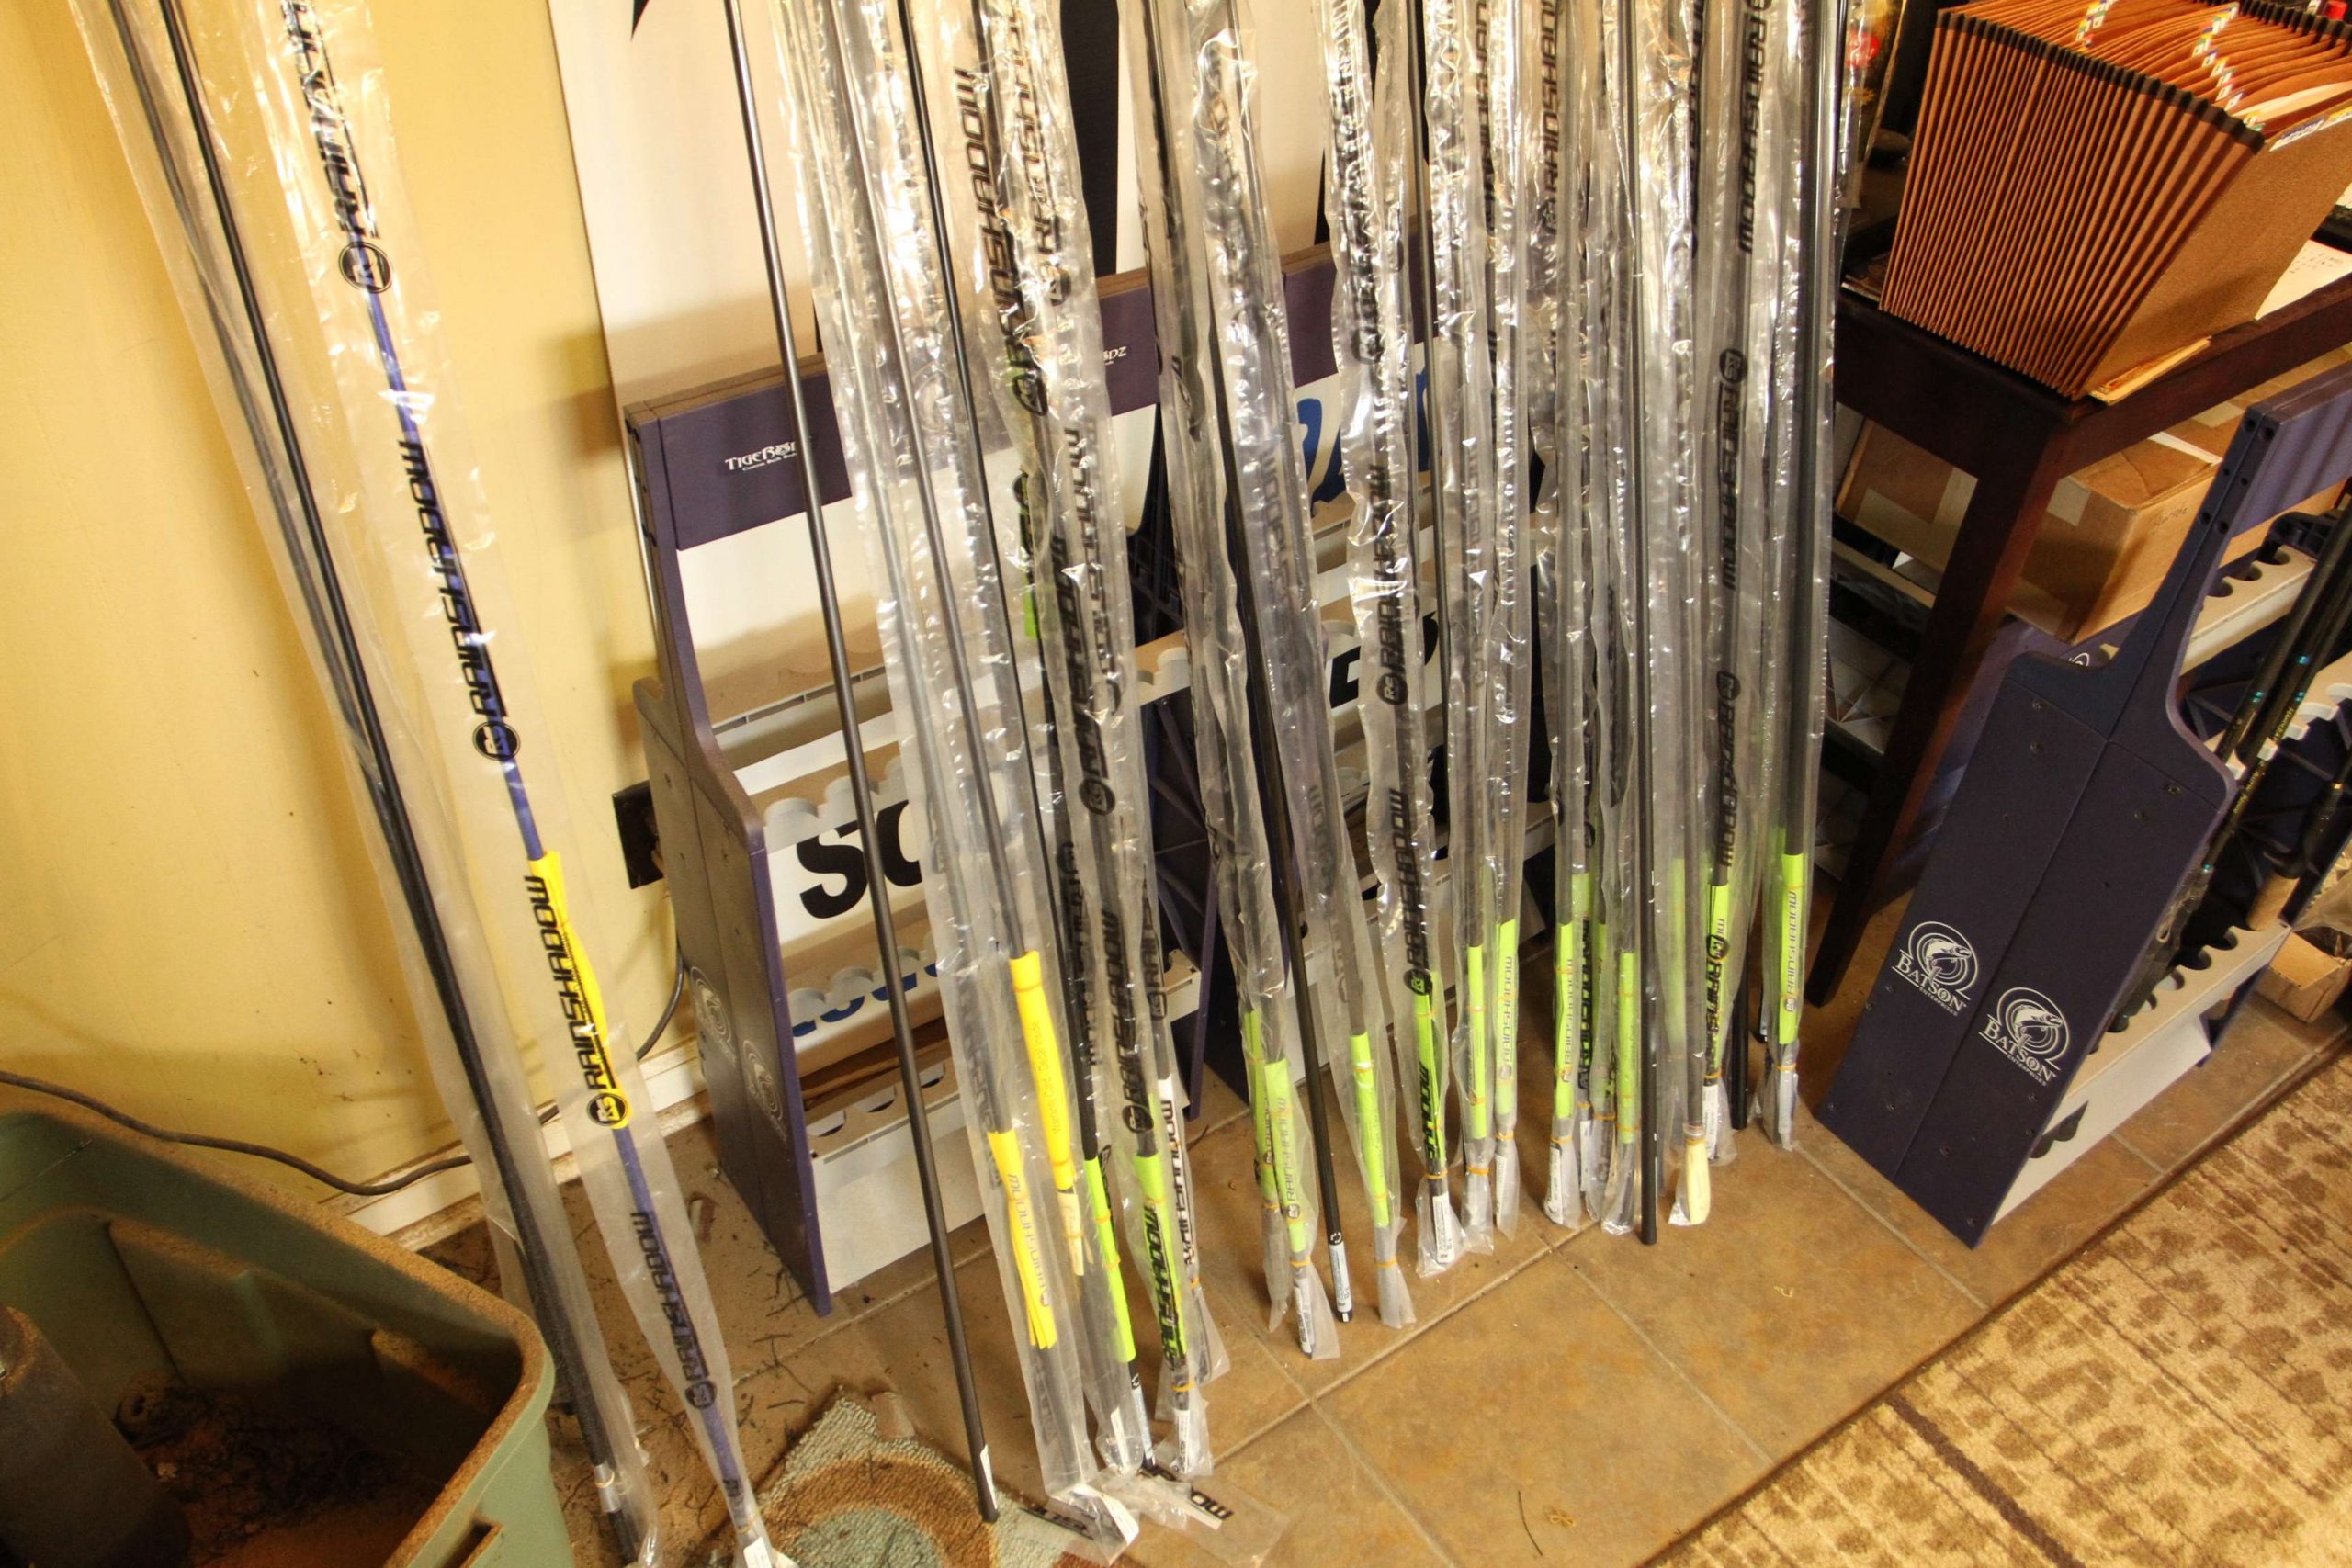
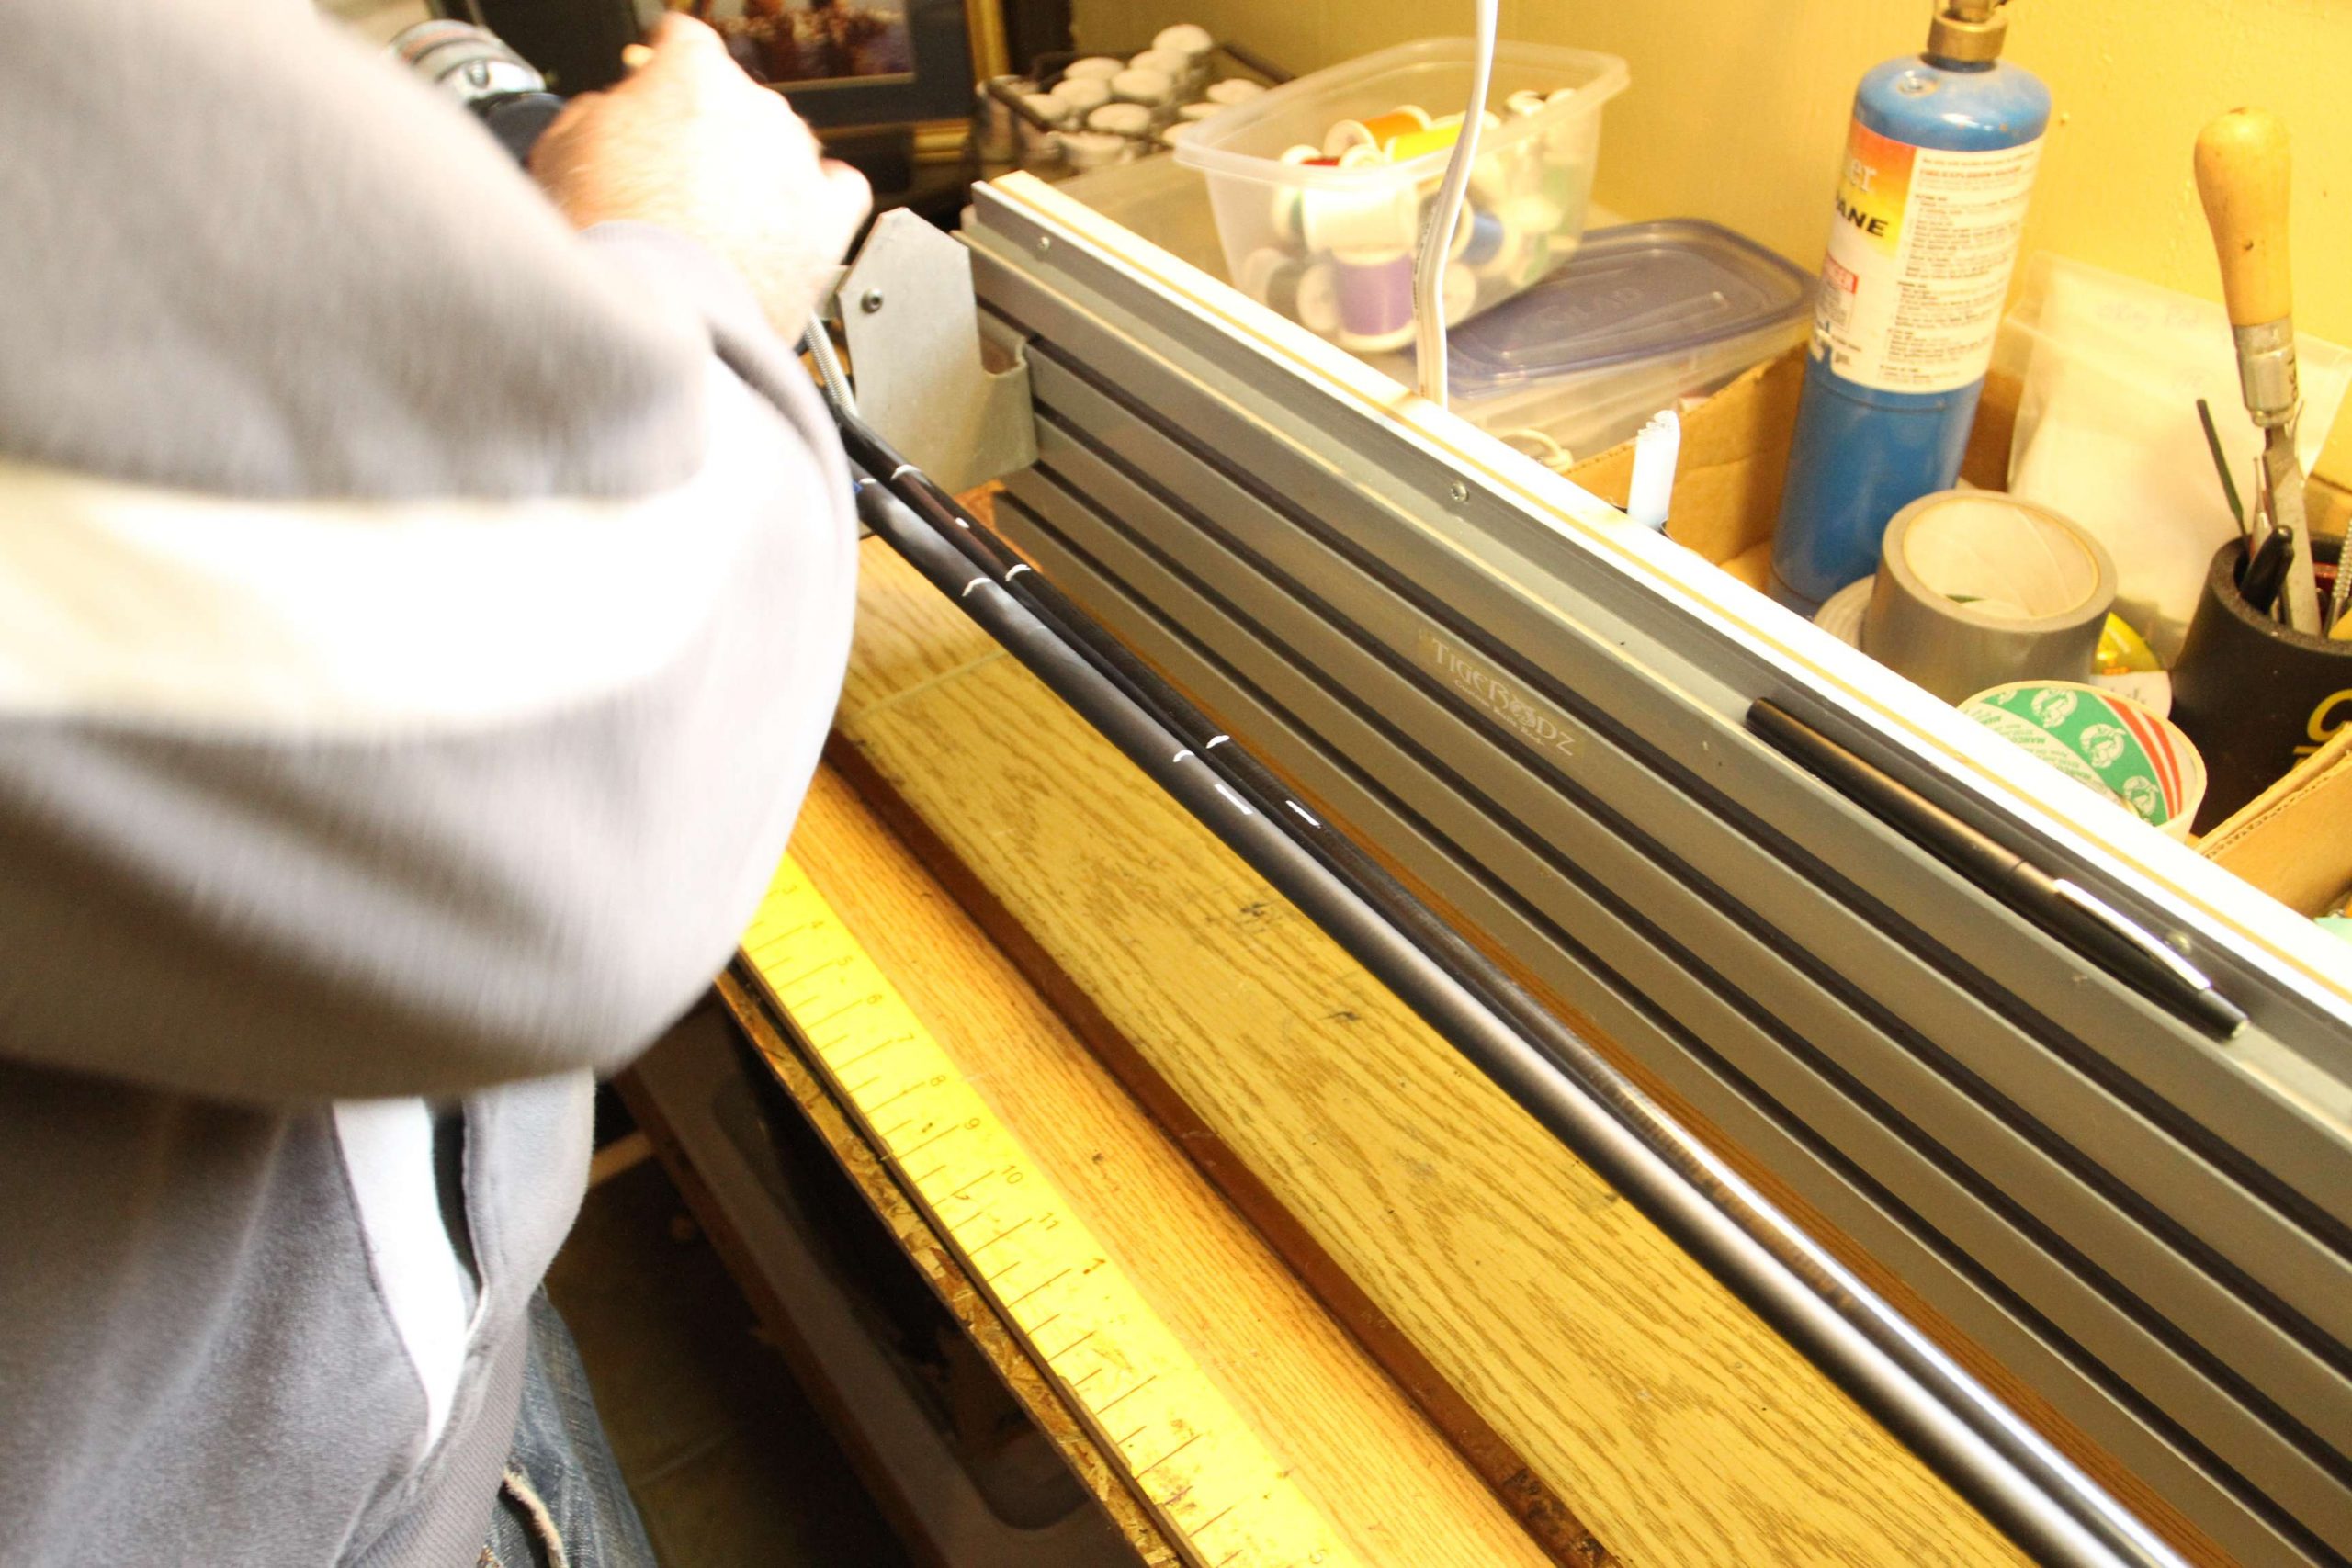
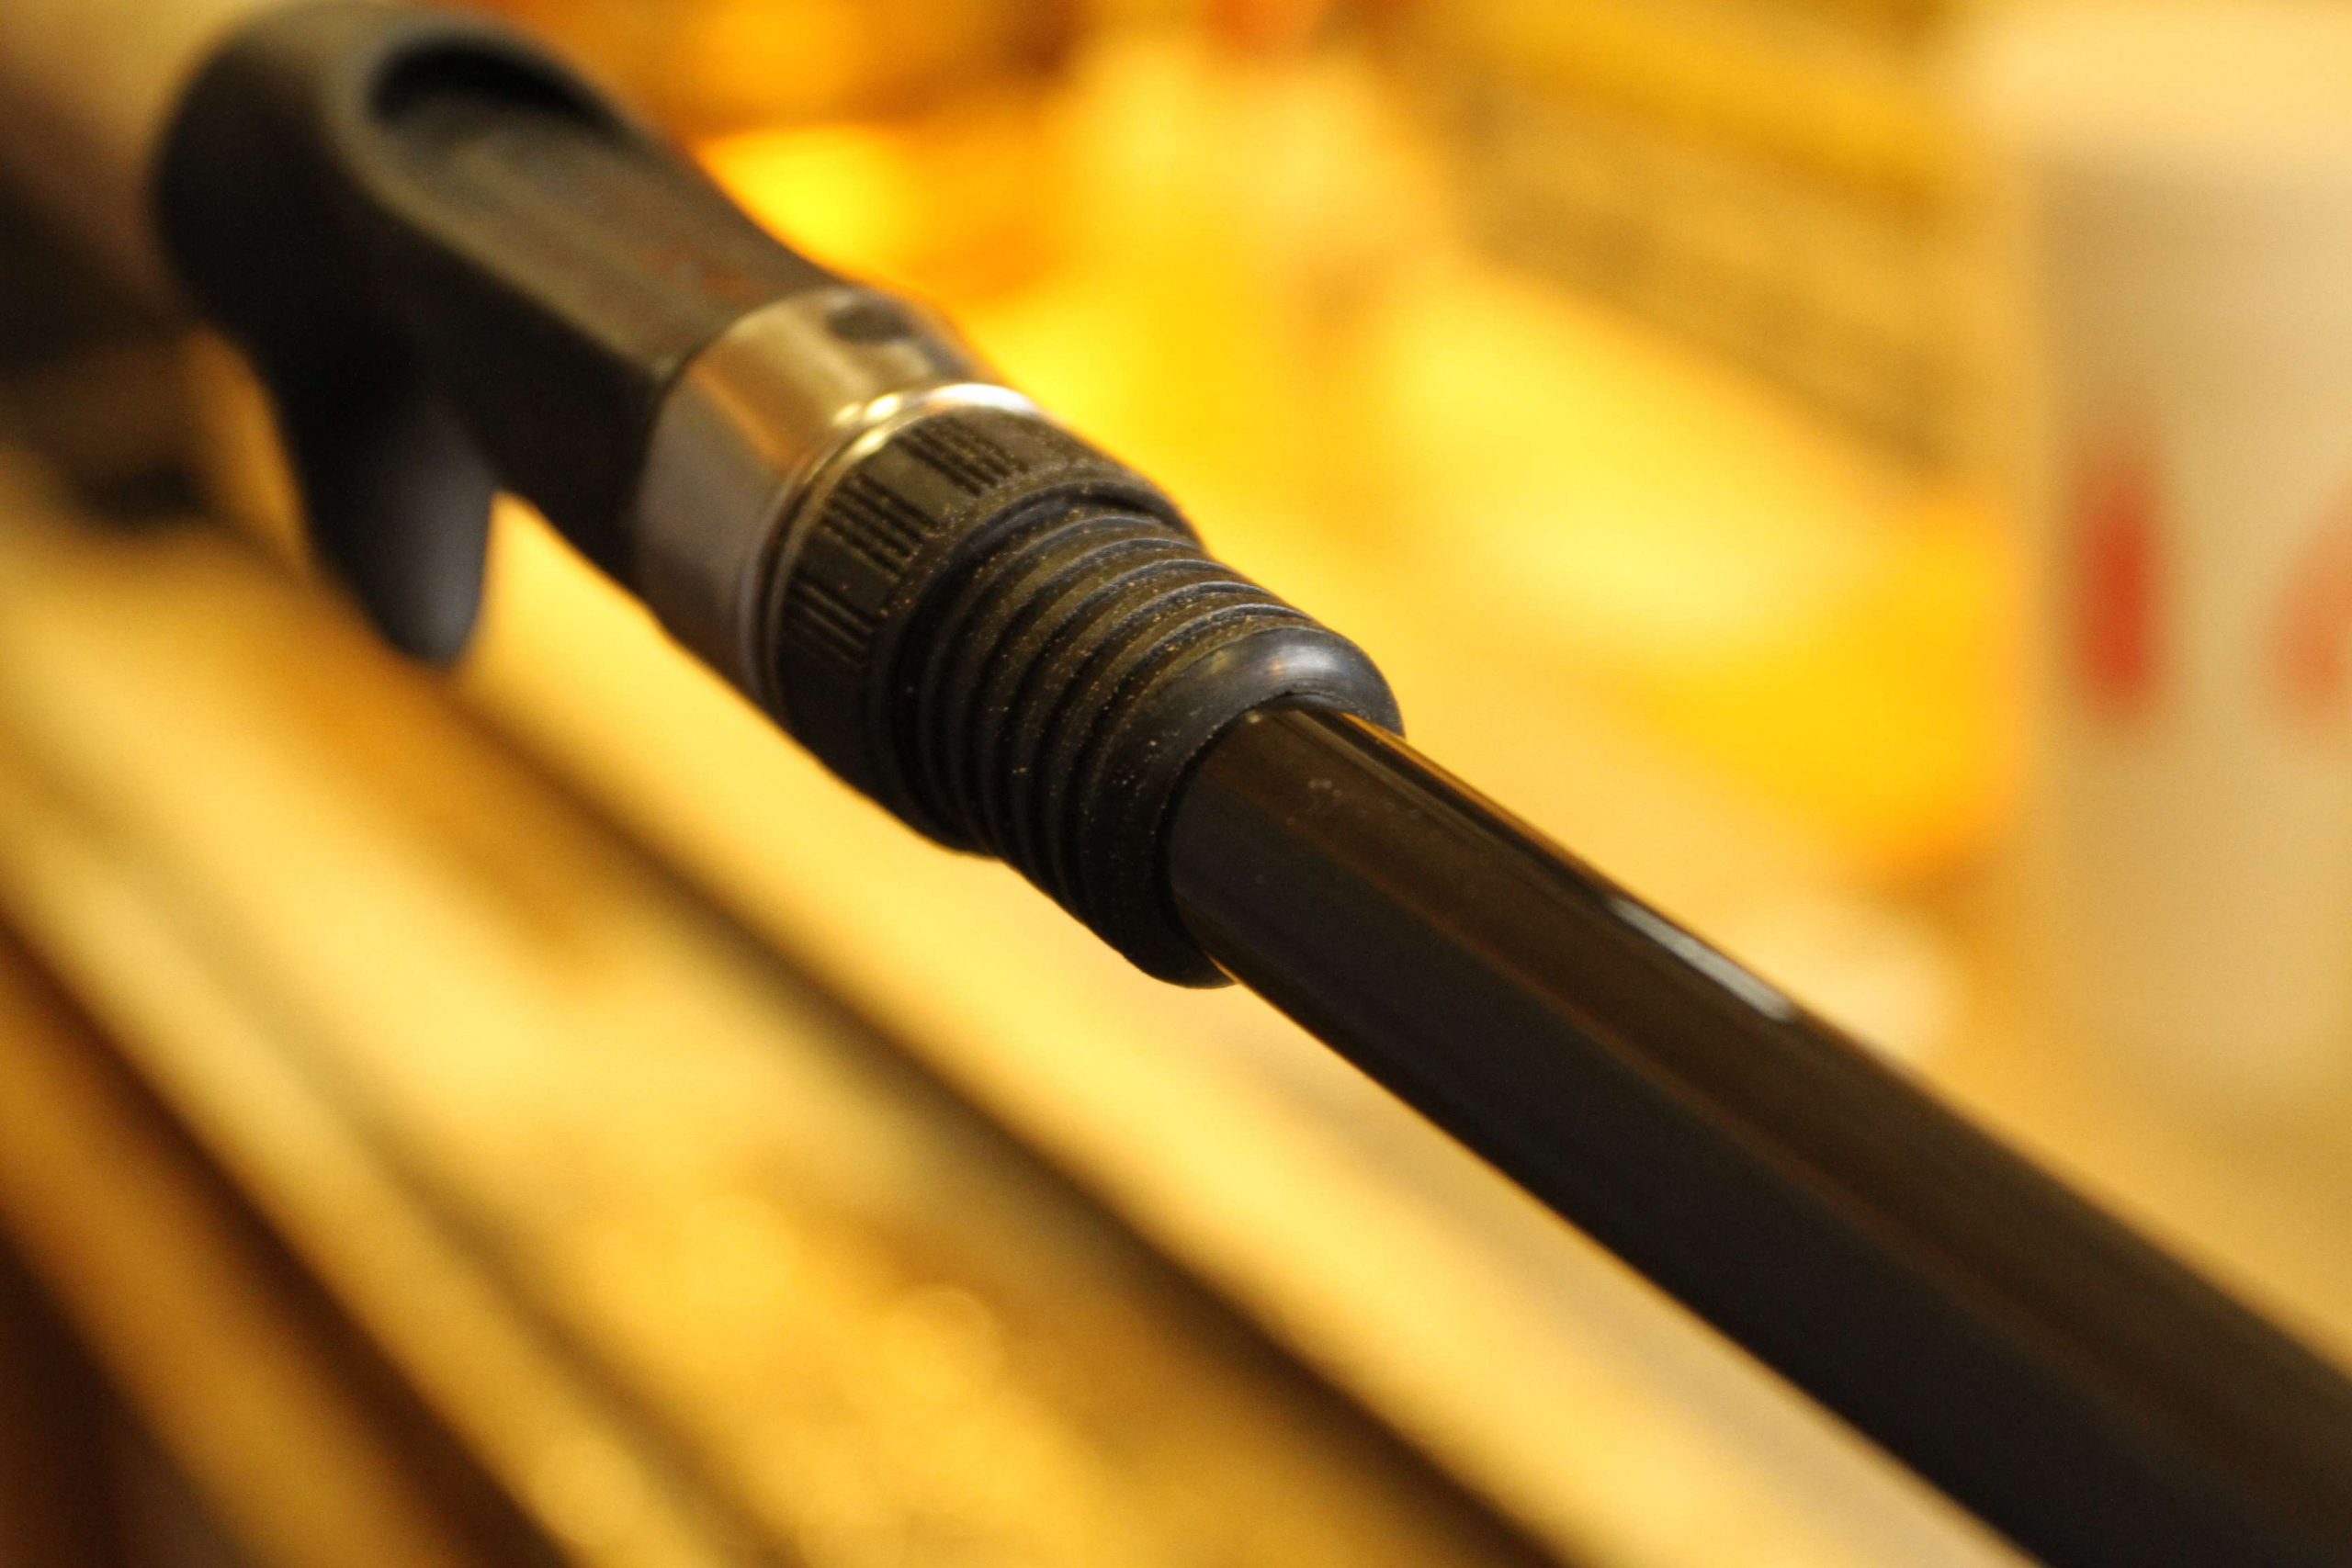
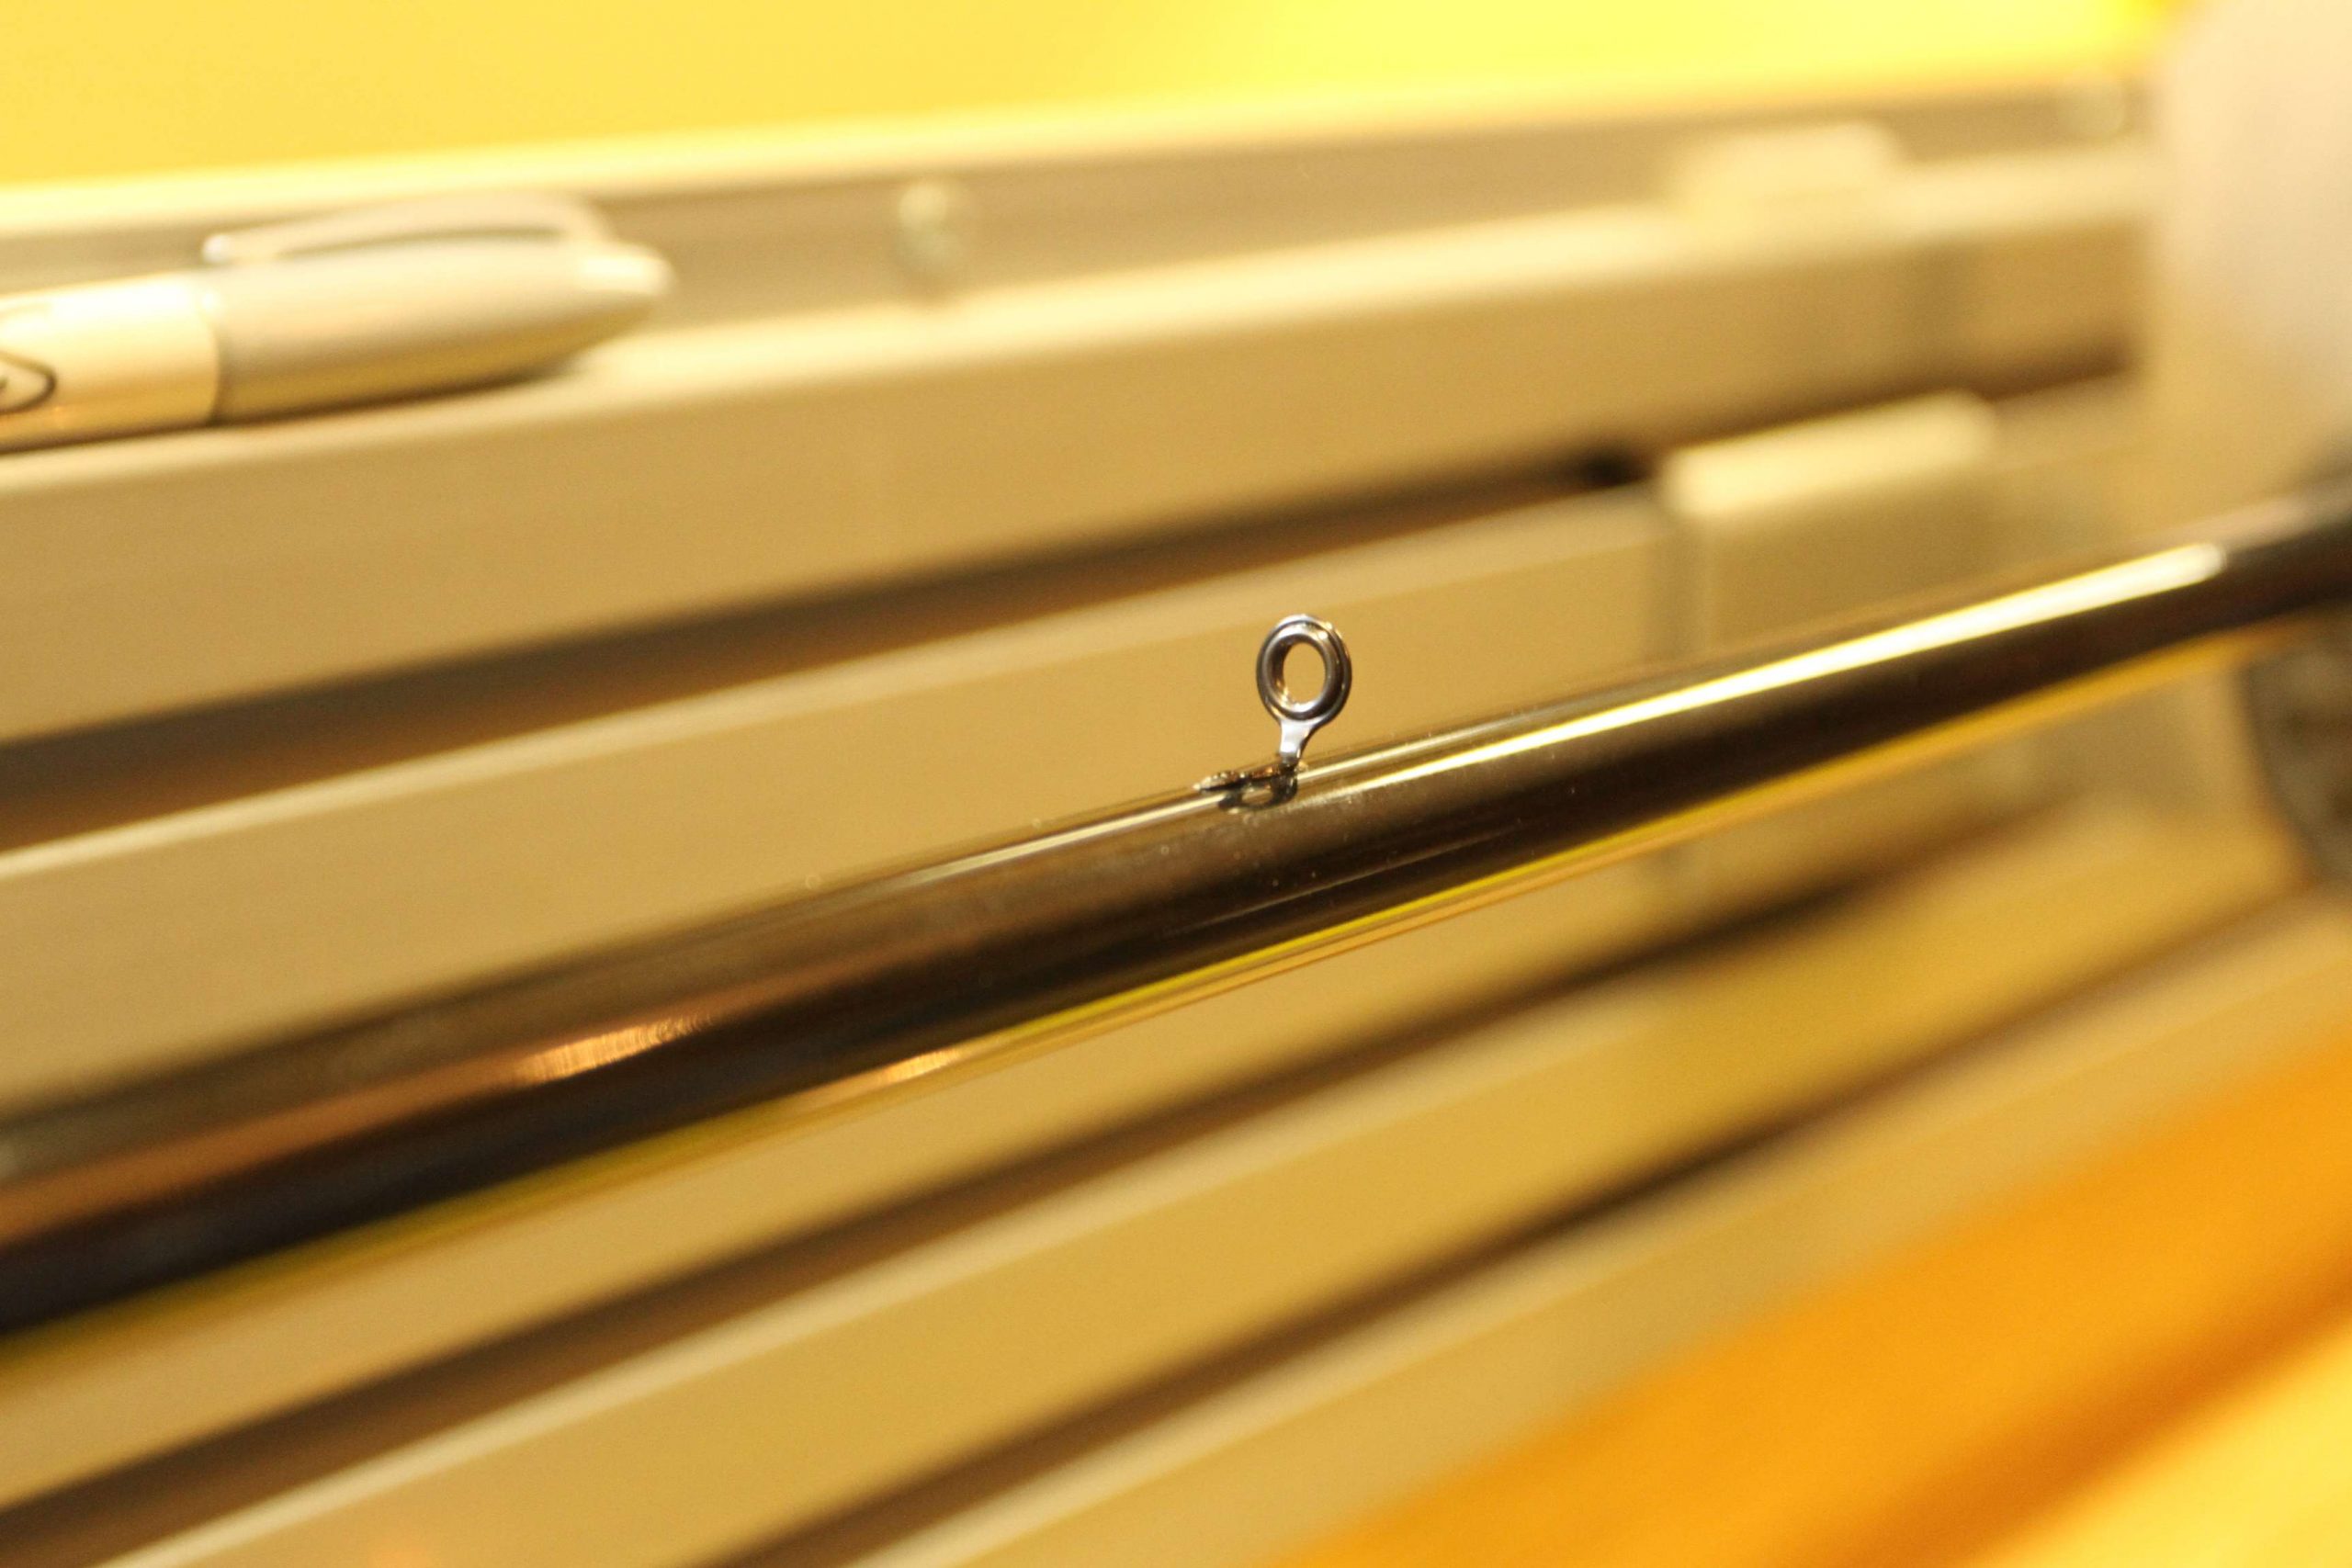
Here you can see a pile of Rain Shadow blanks awaiting his personal touch.
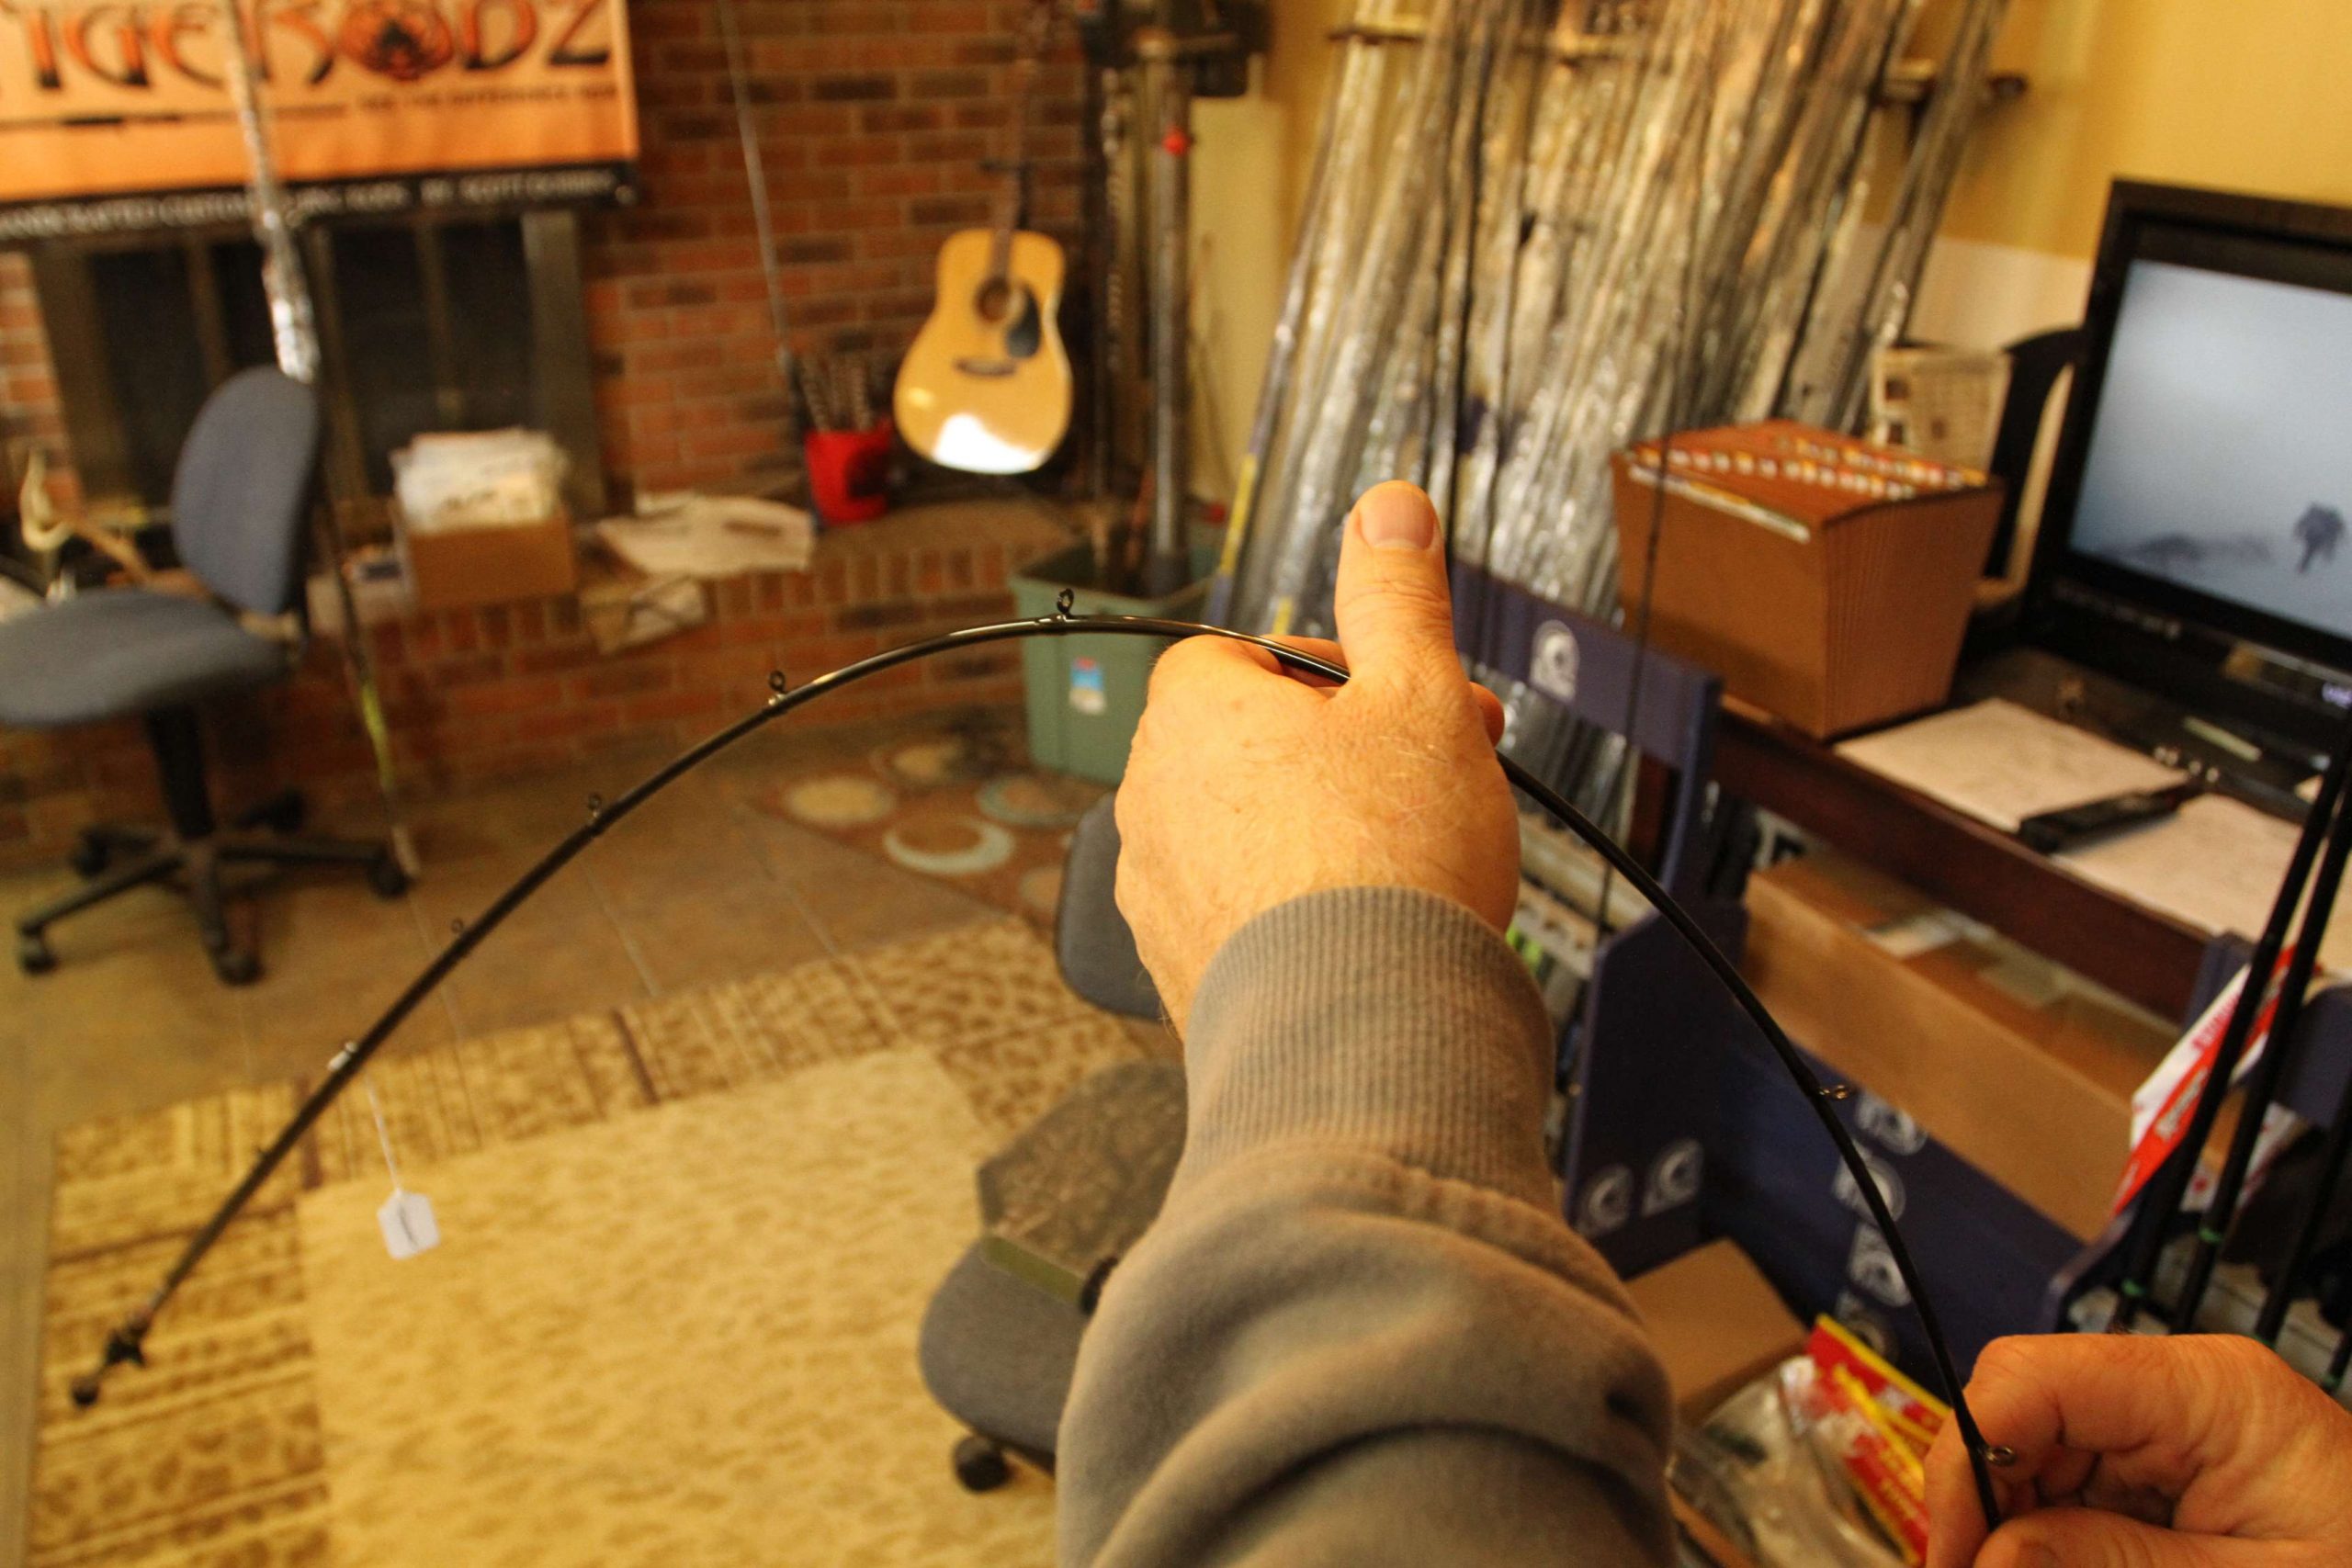
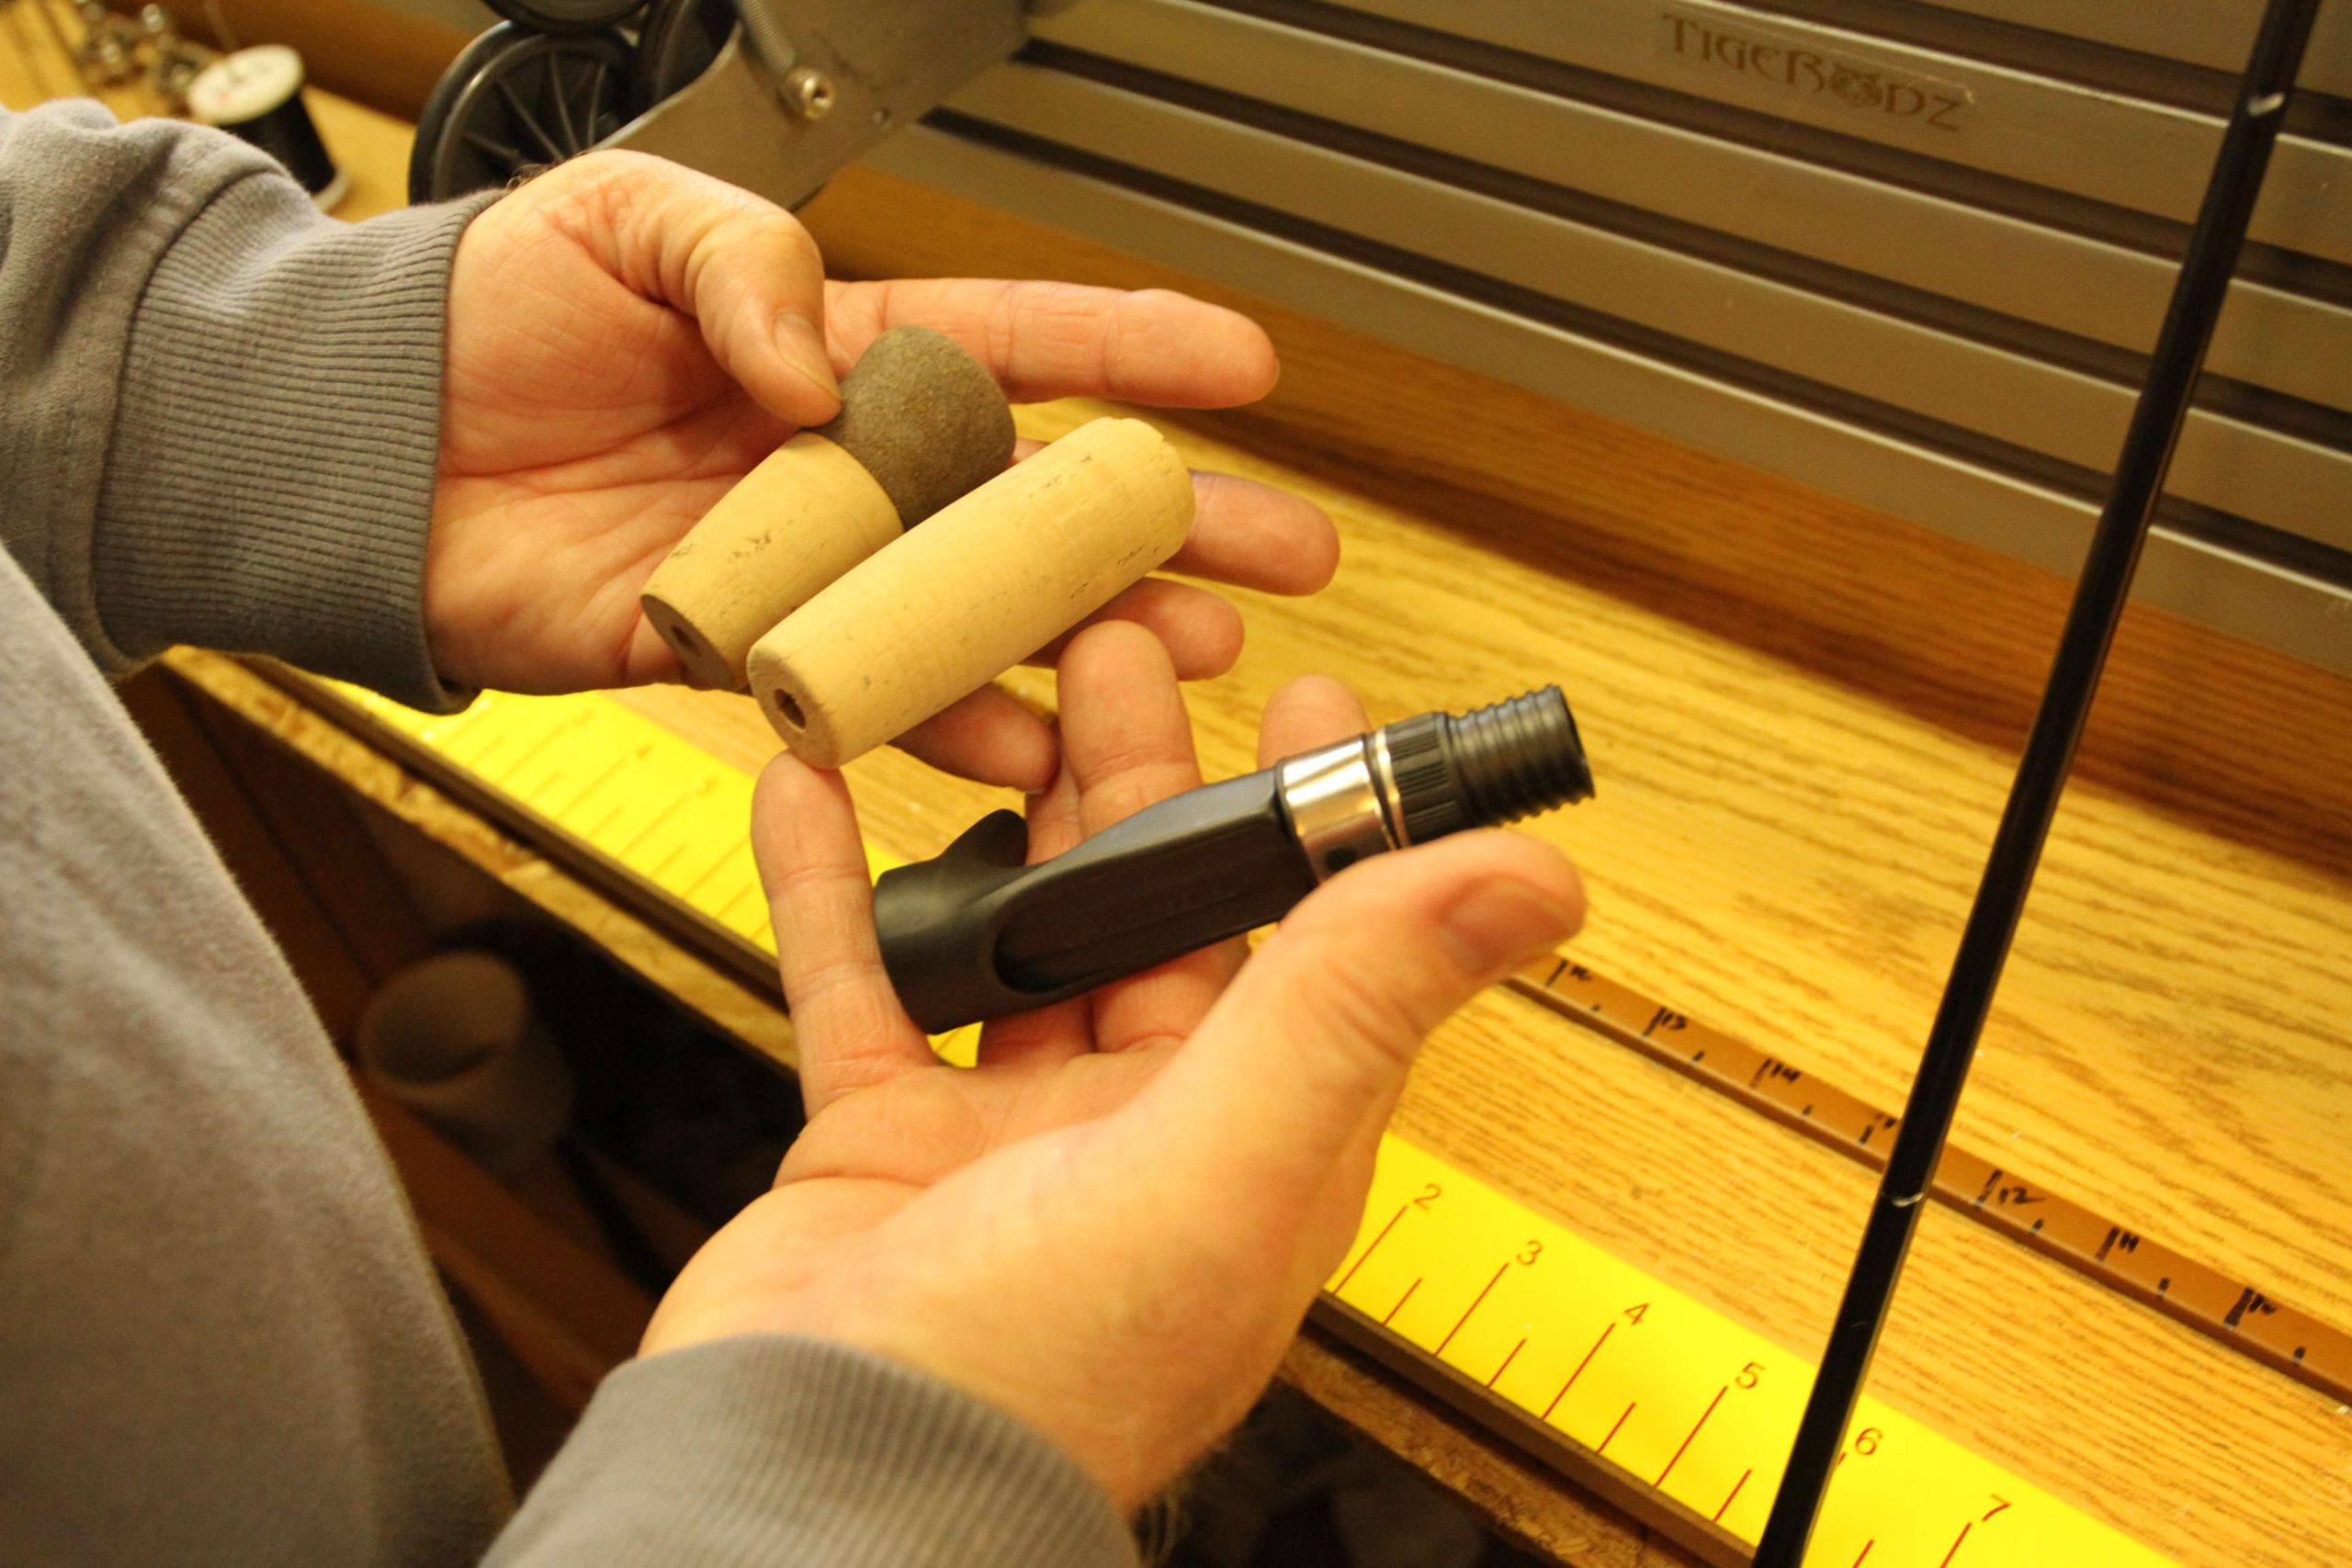
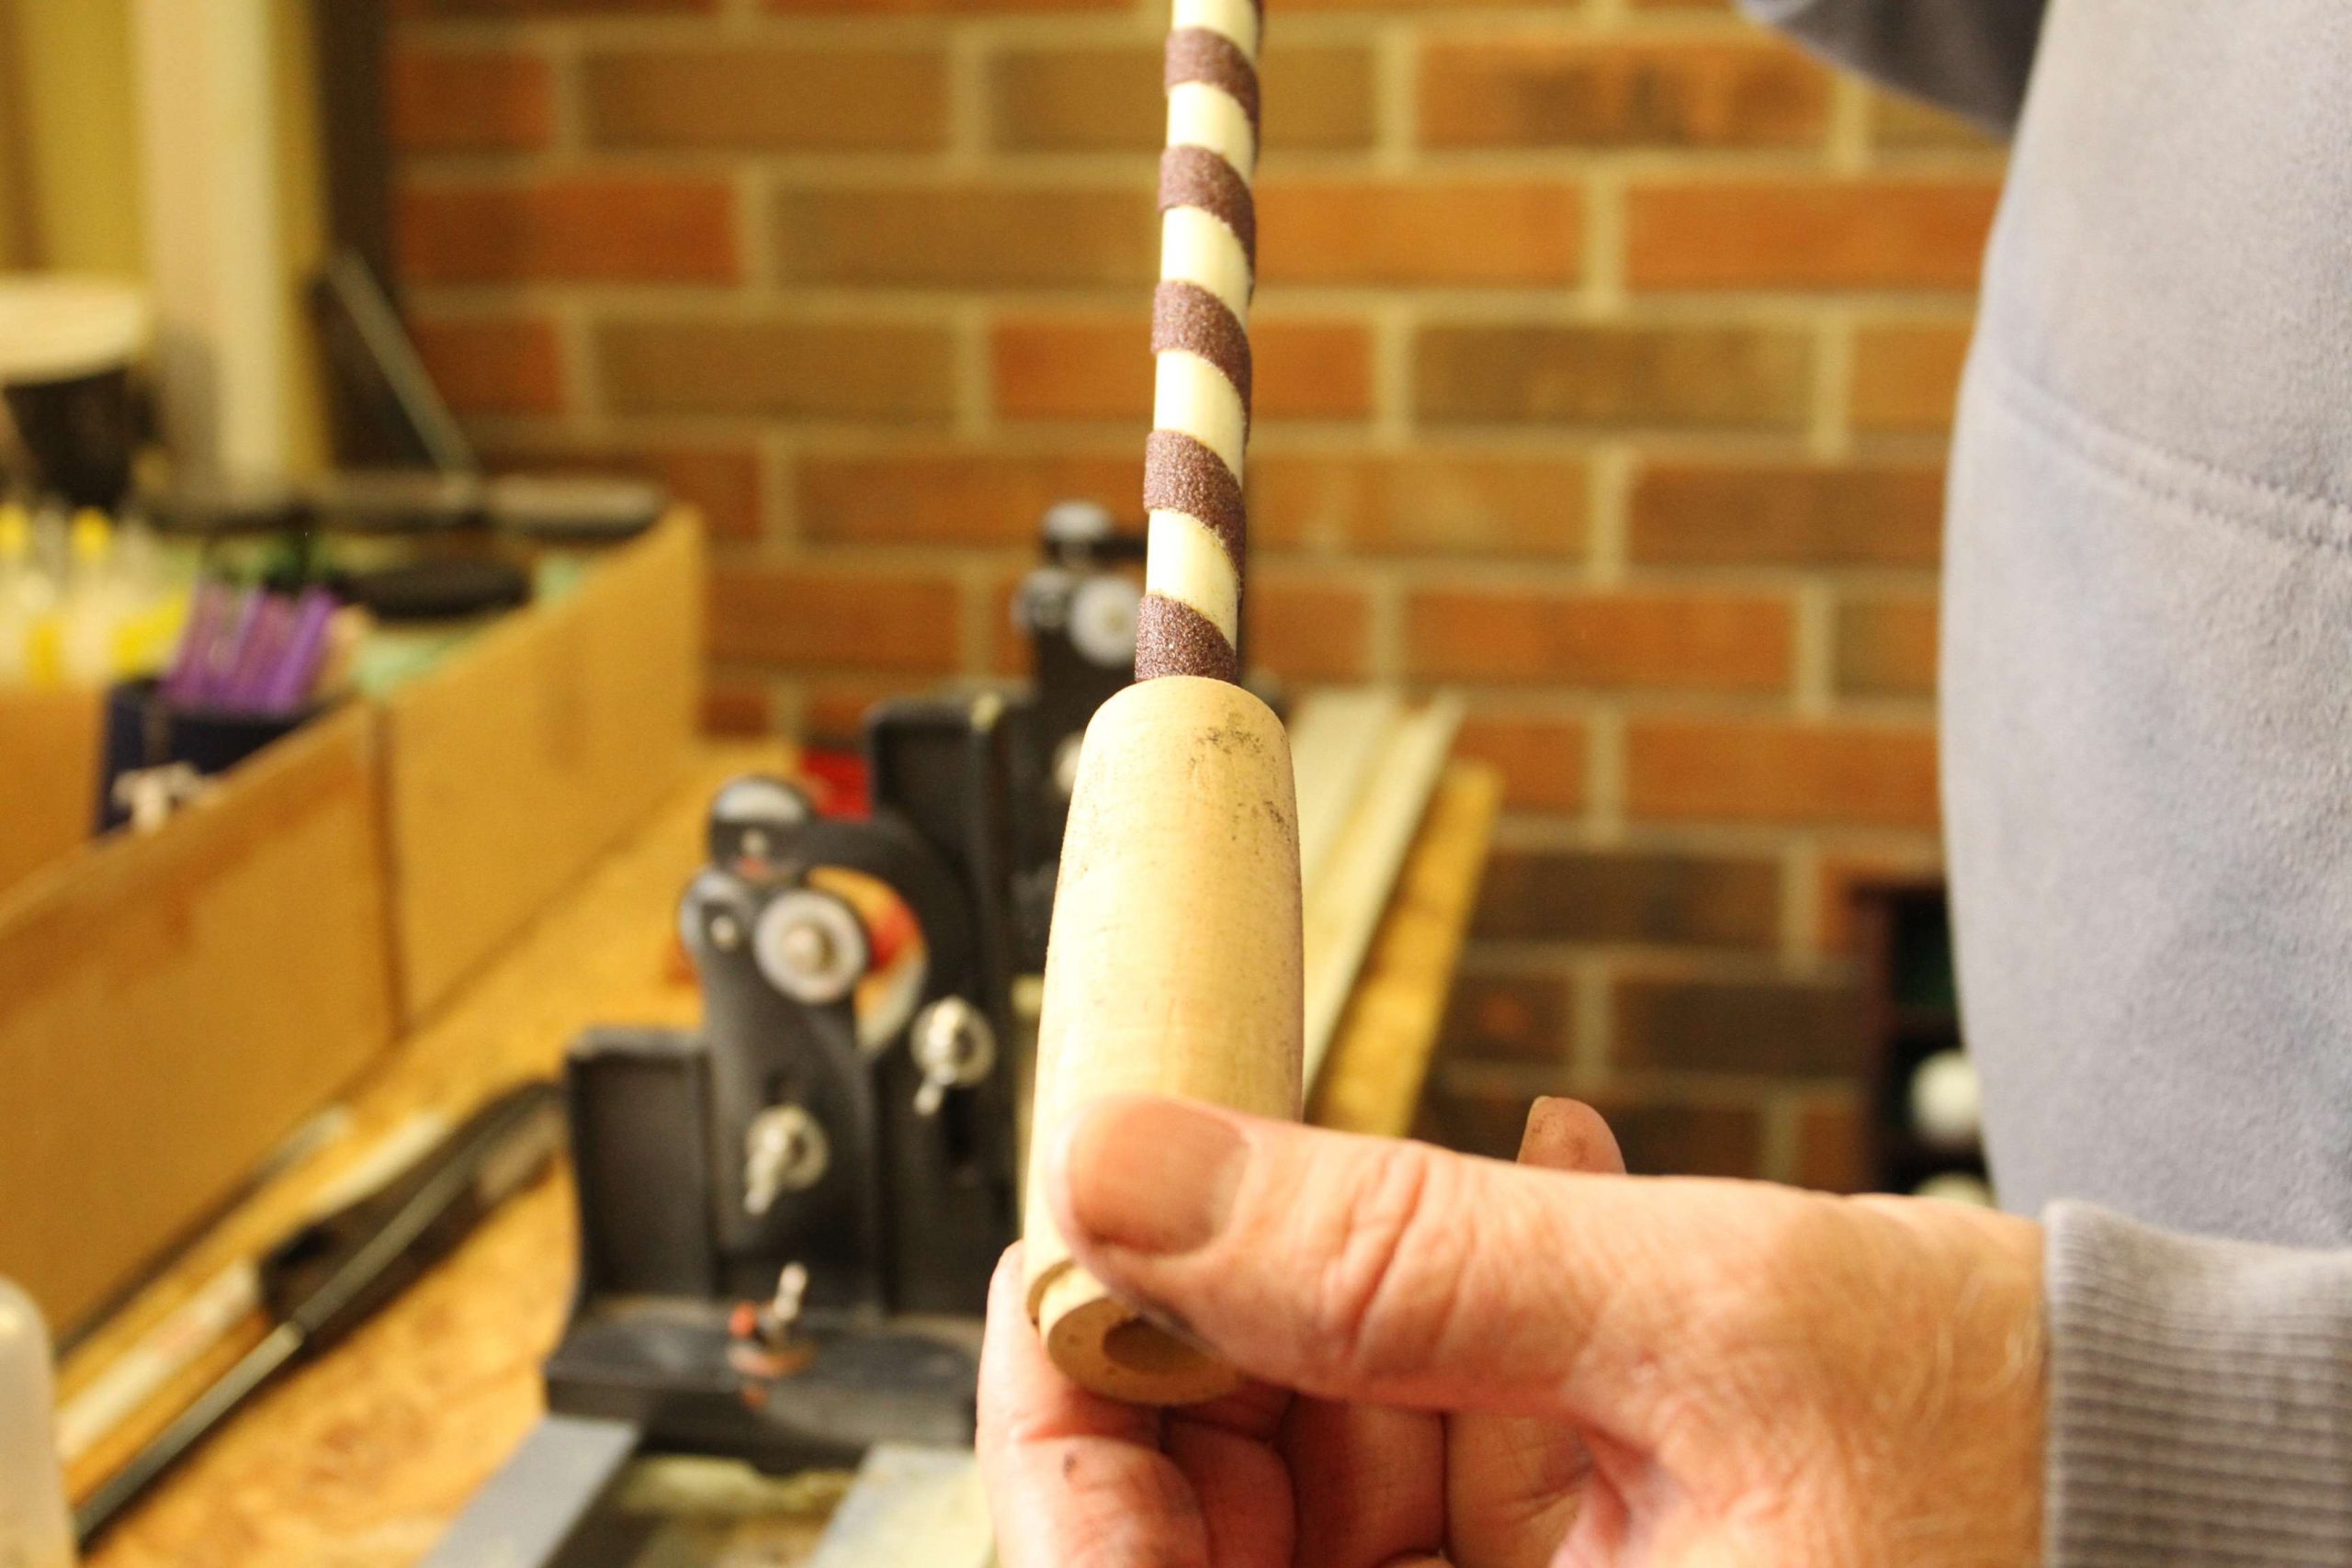
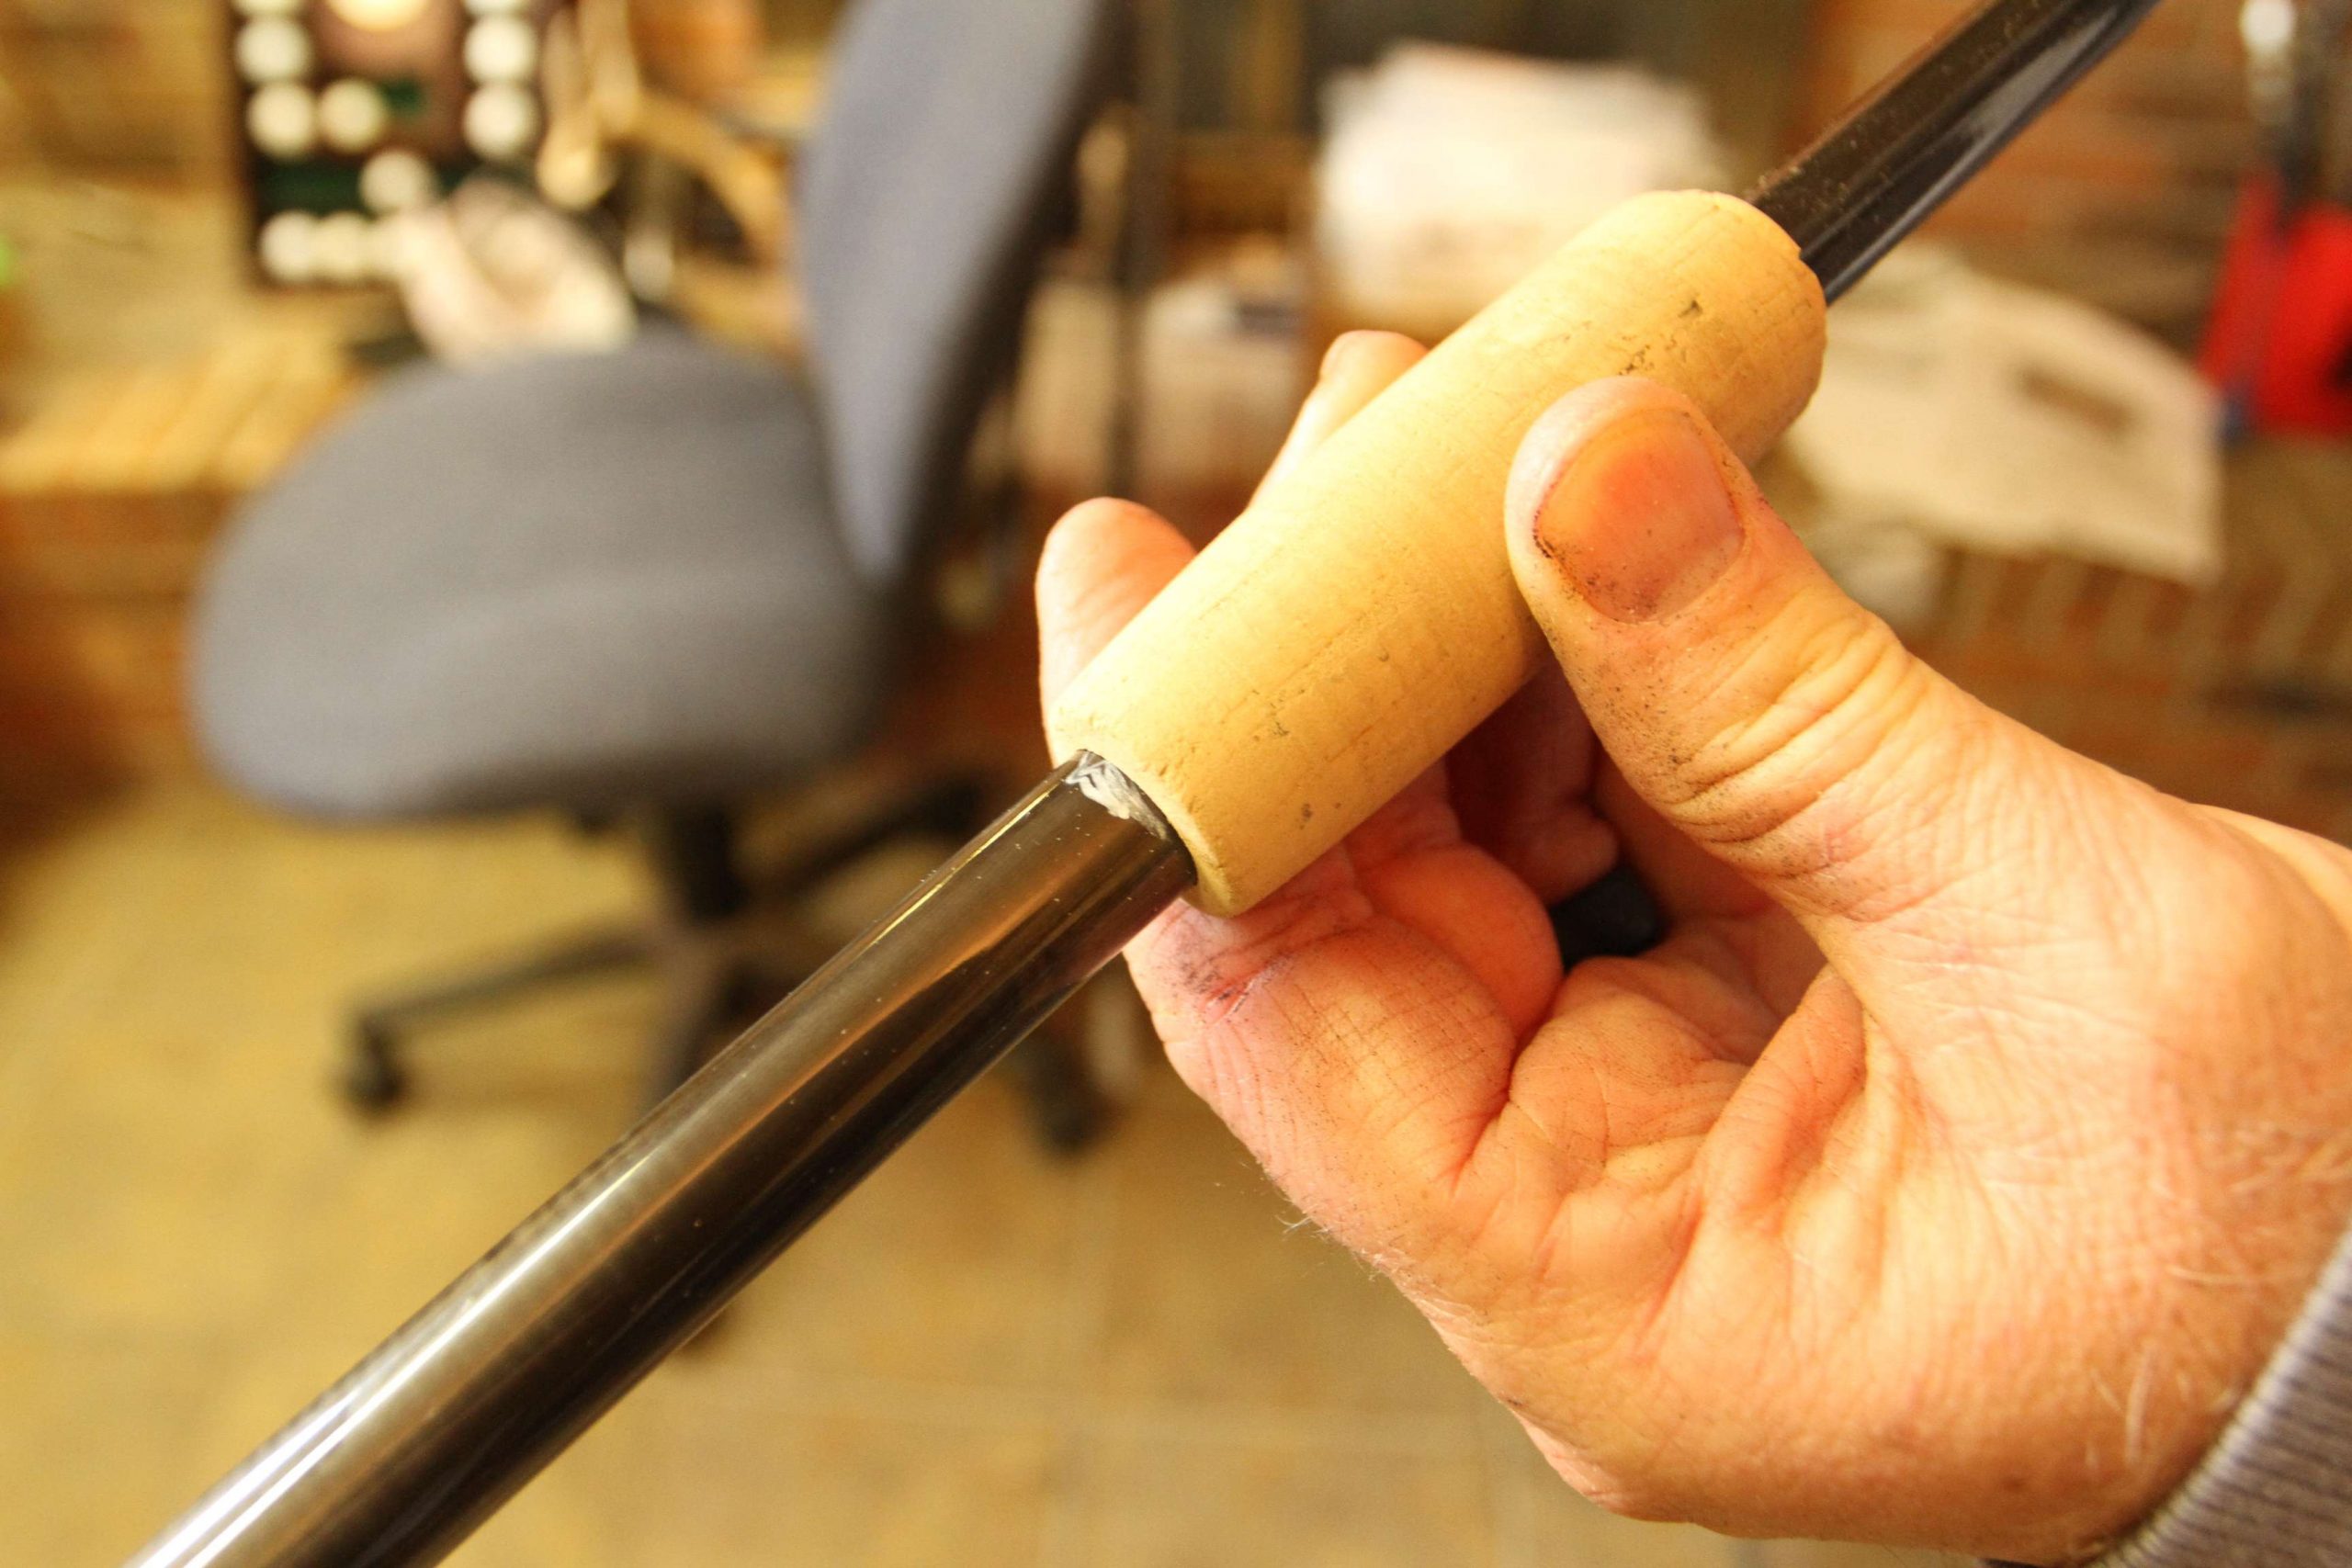
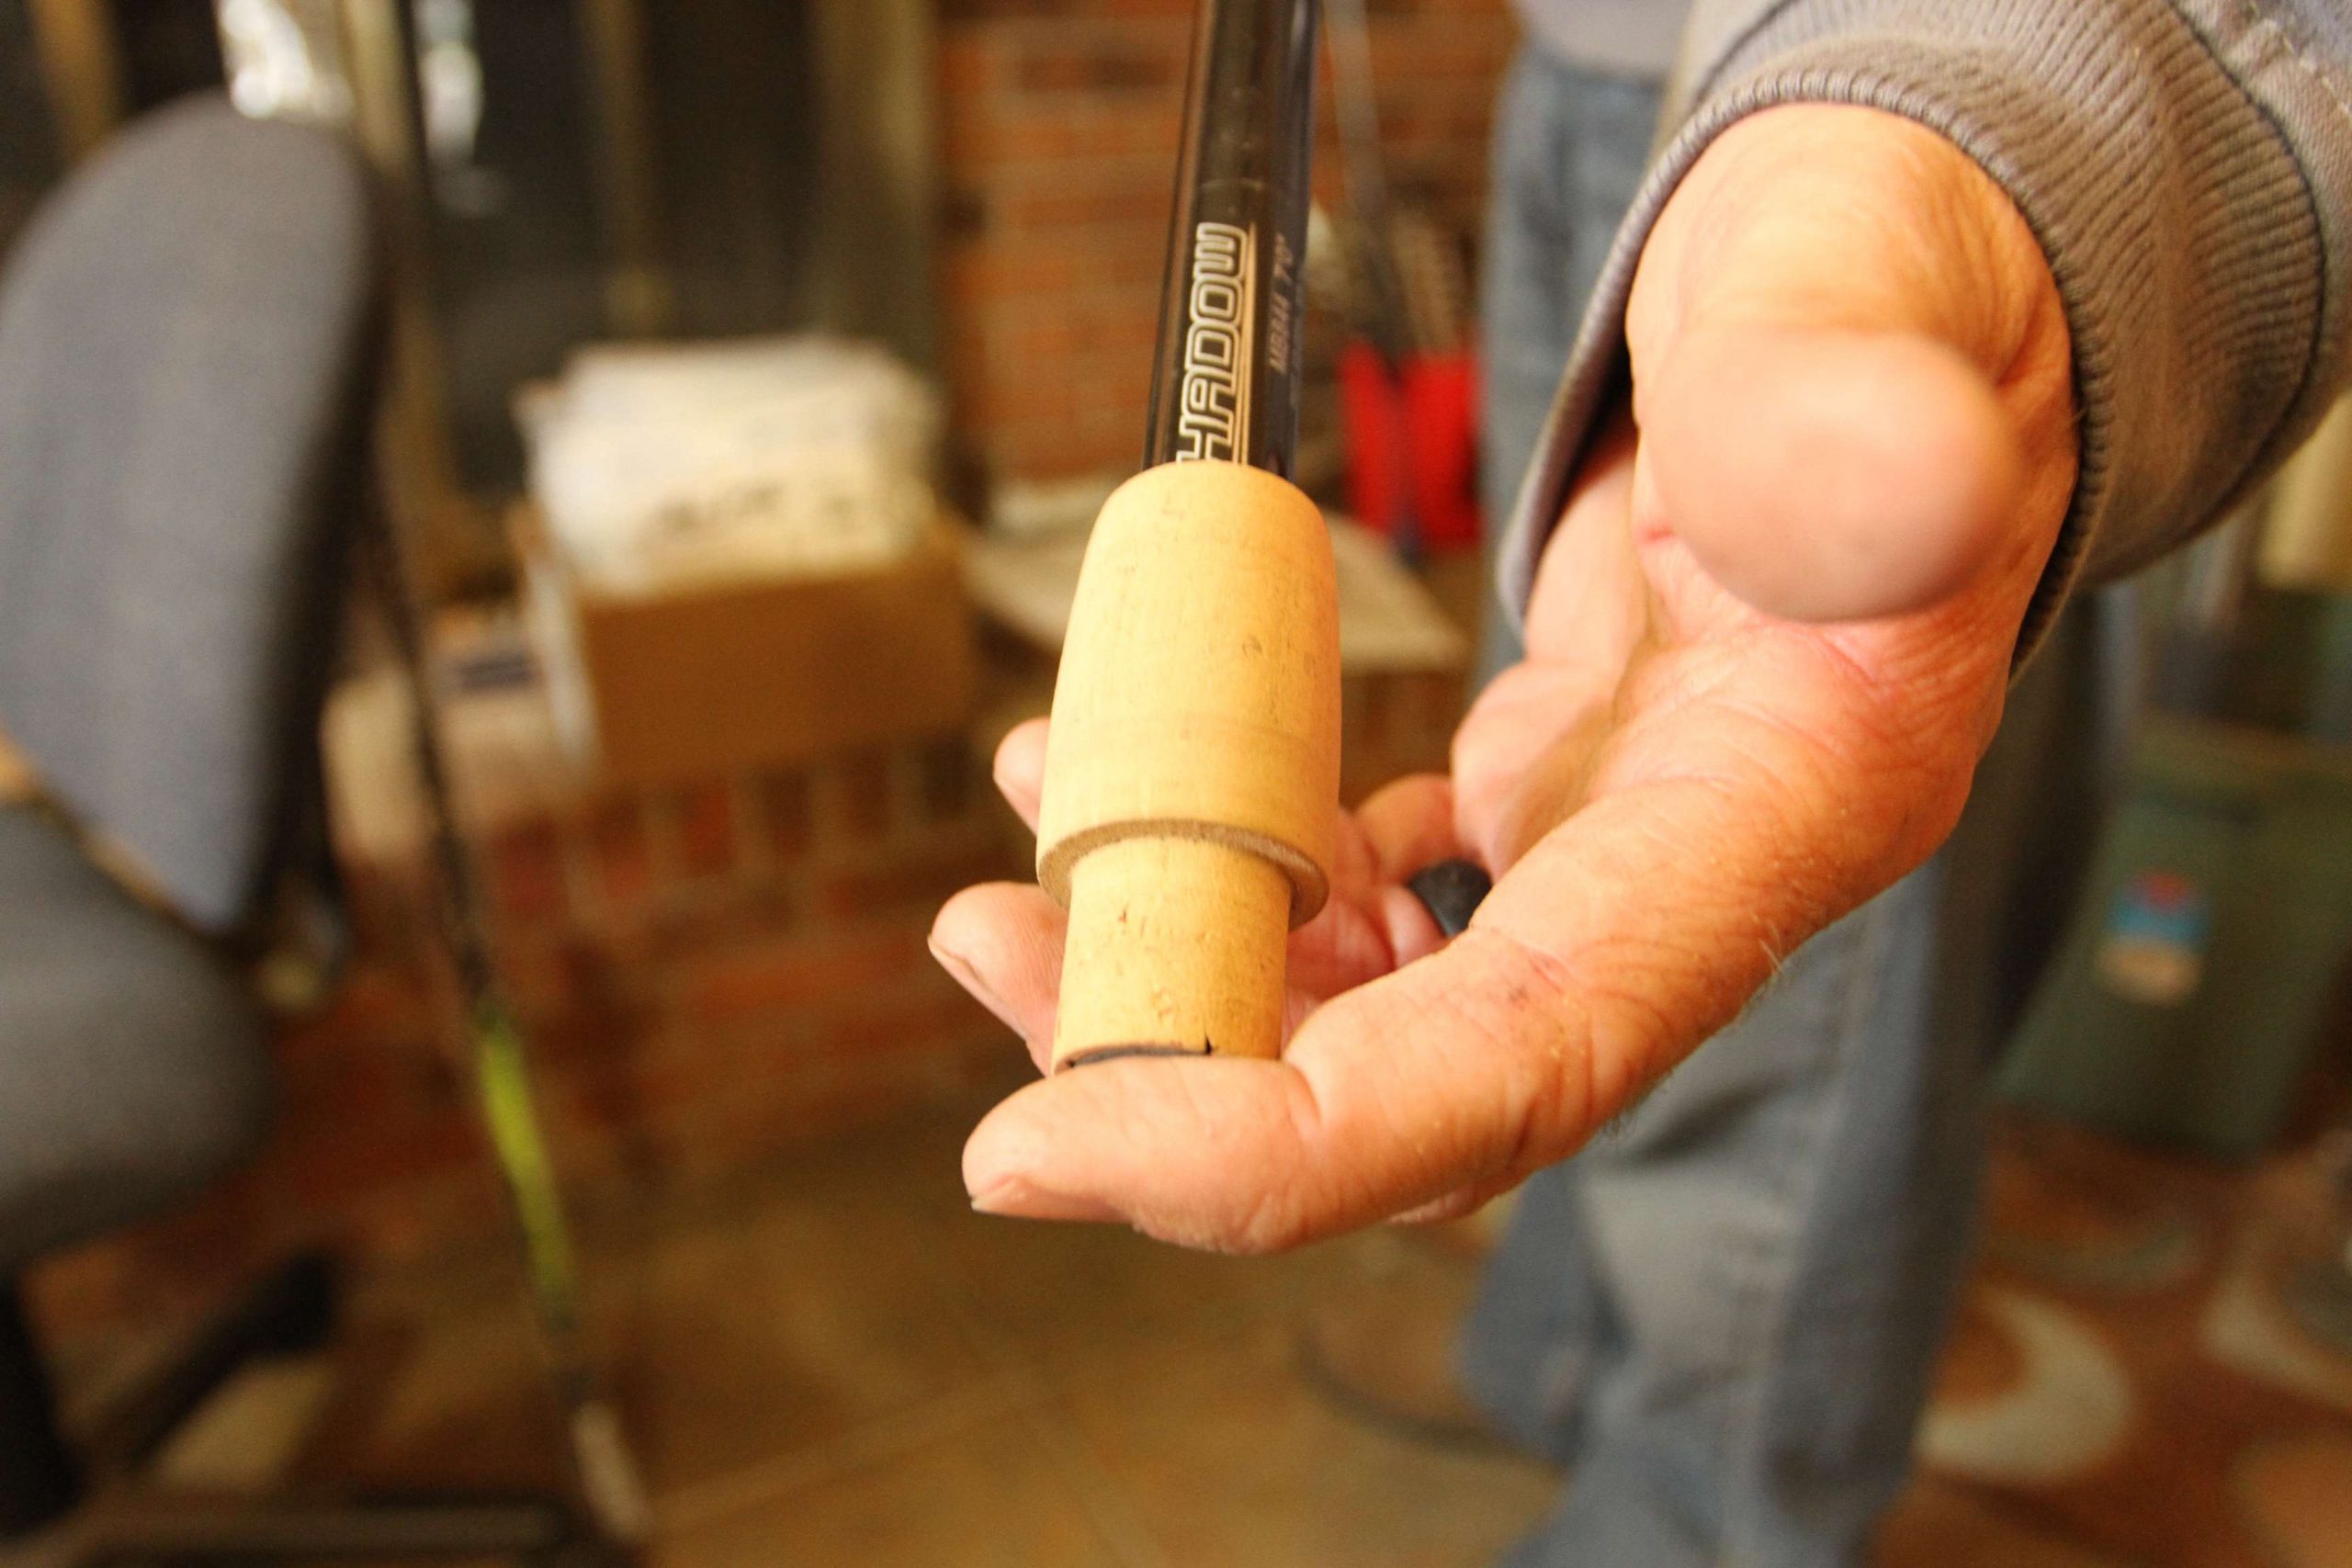
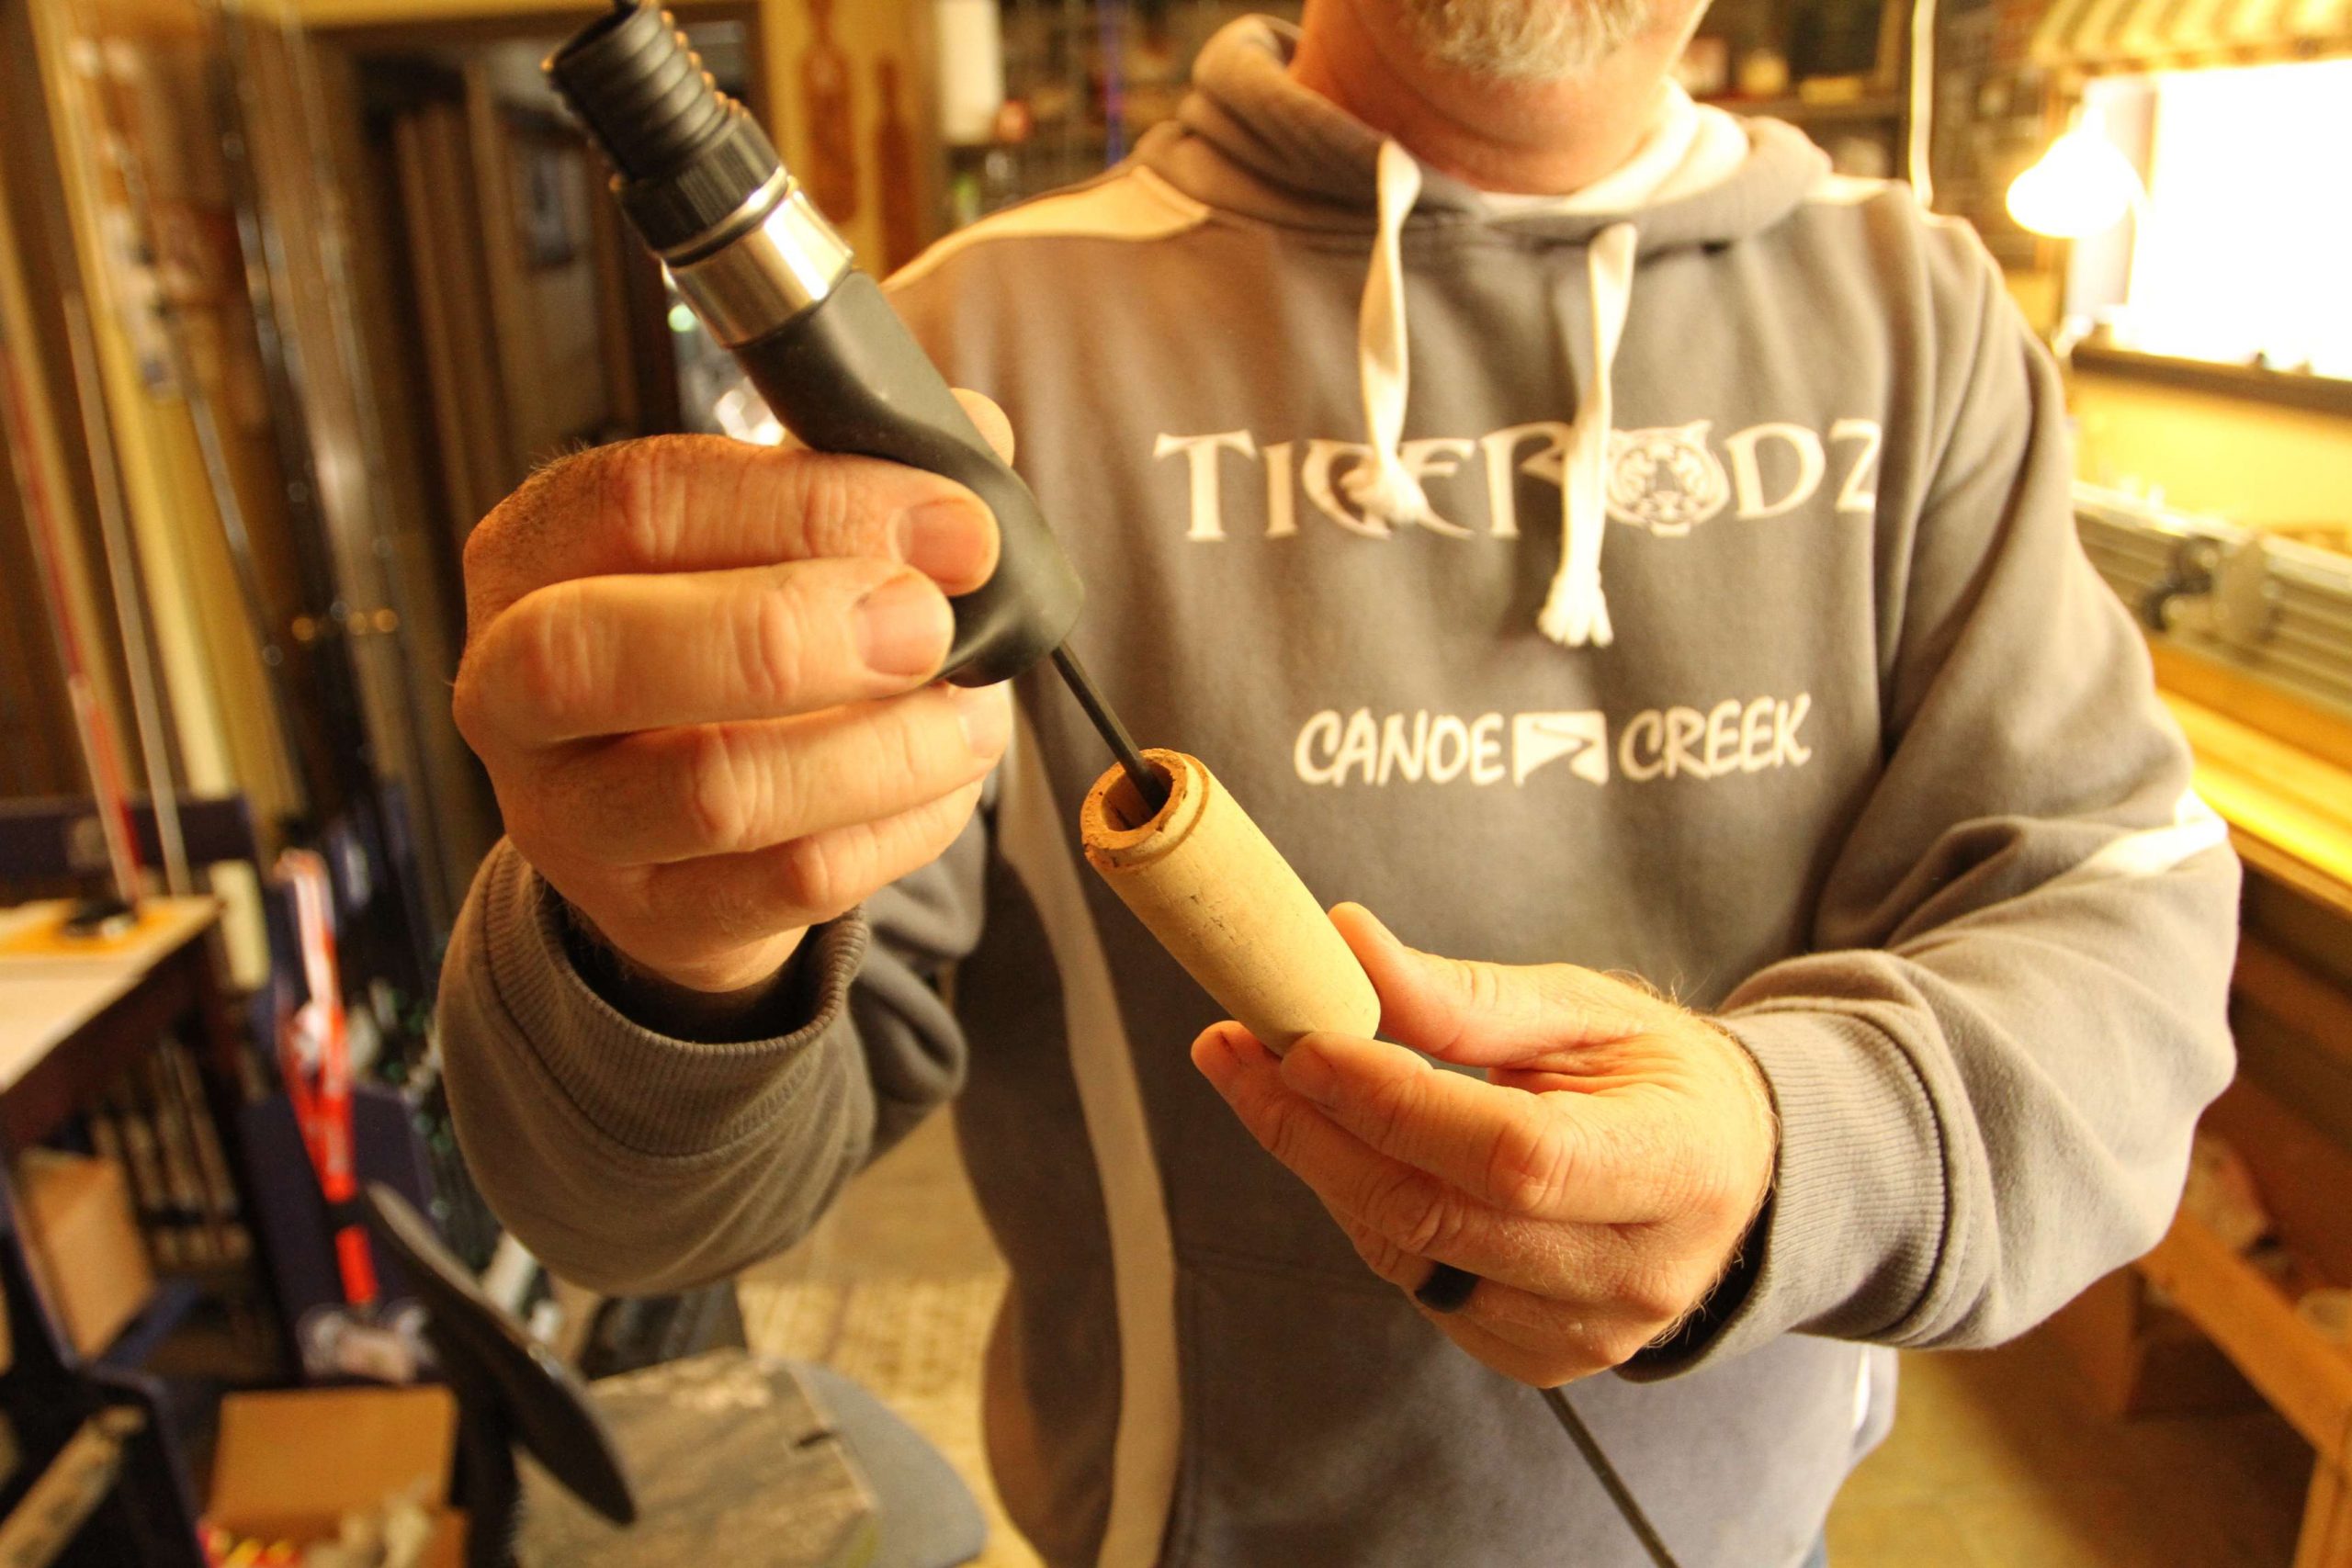
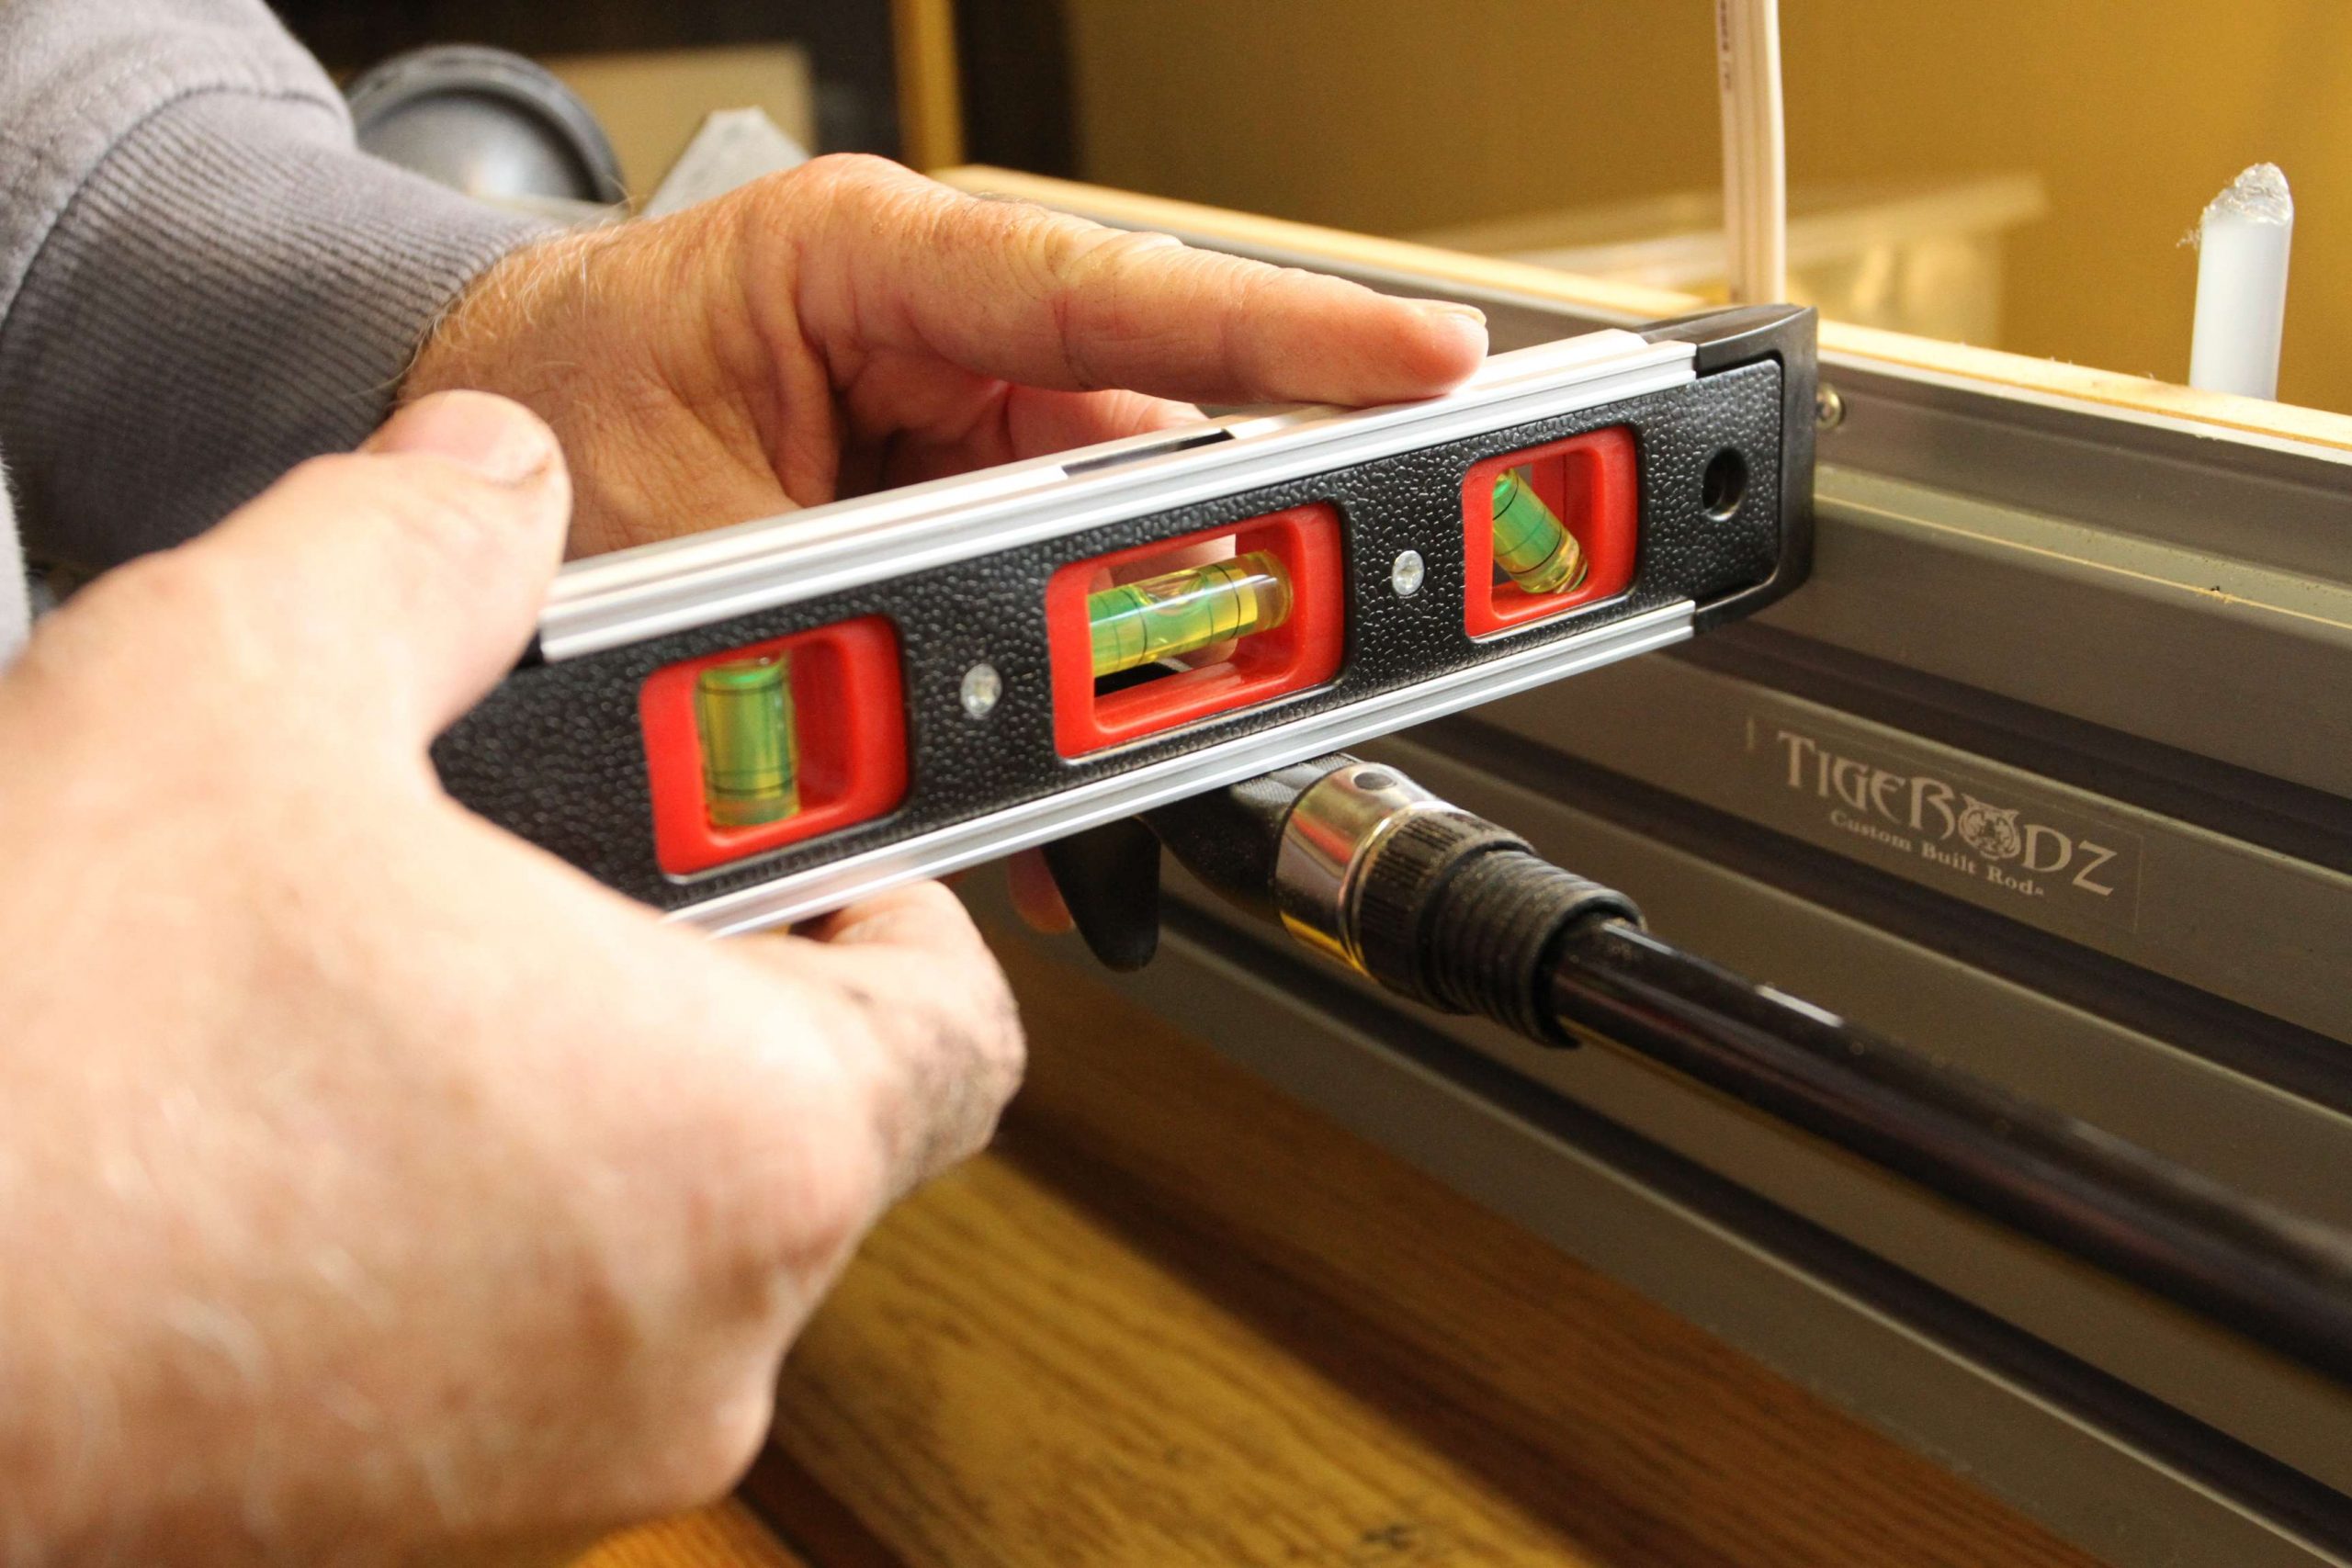

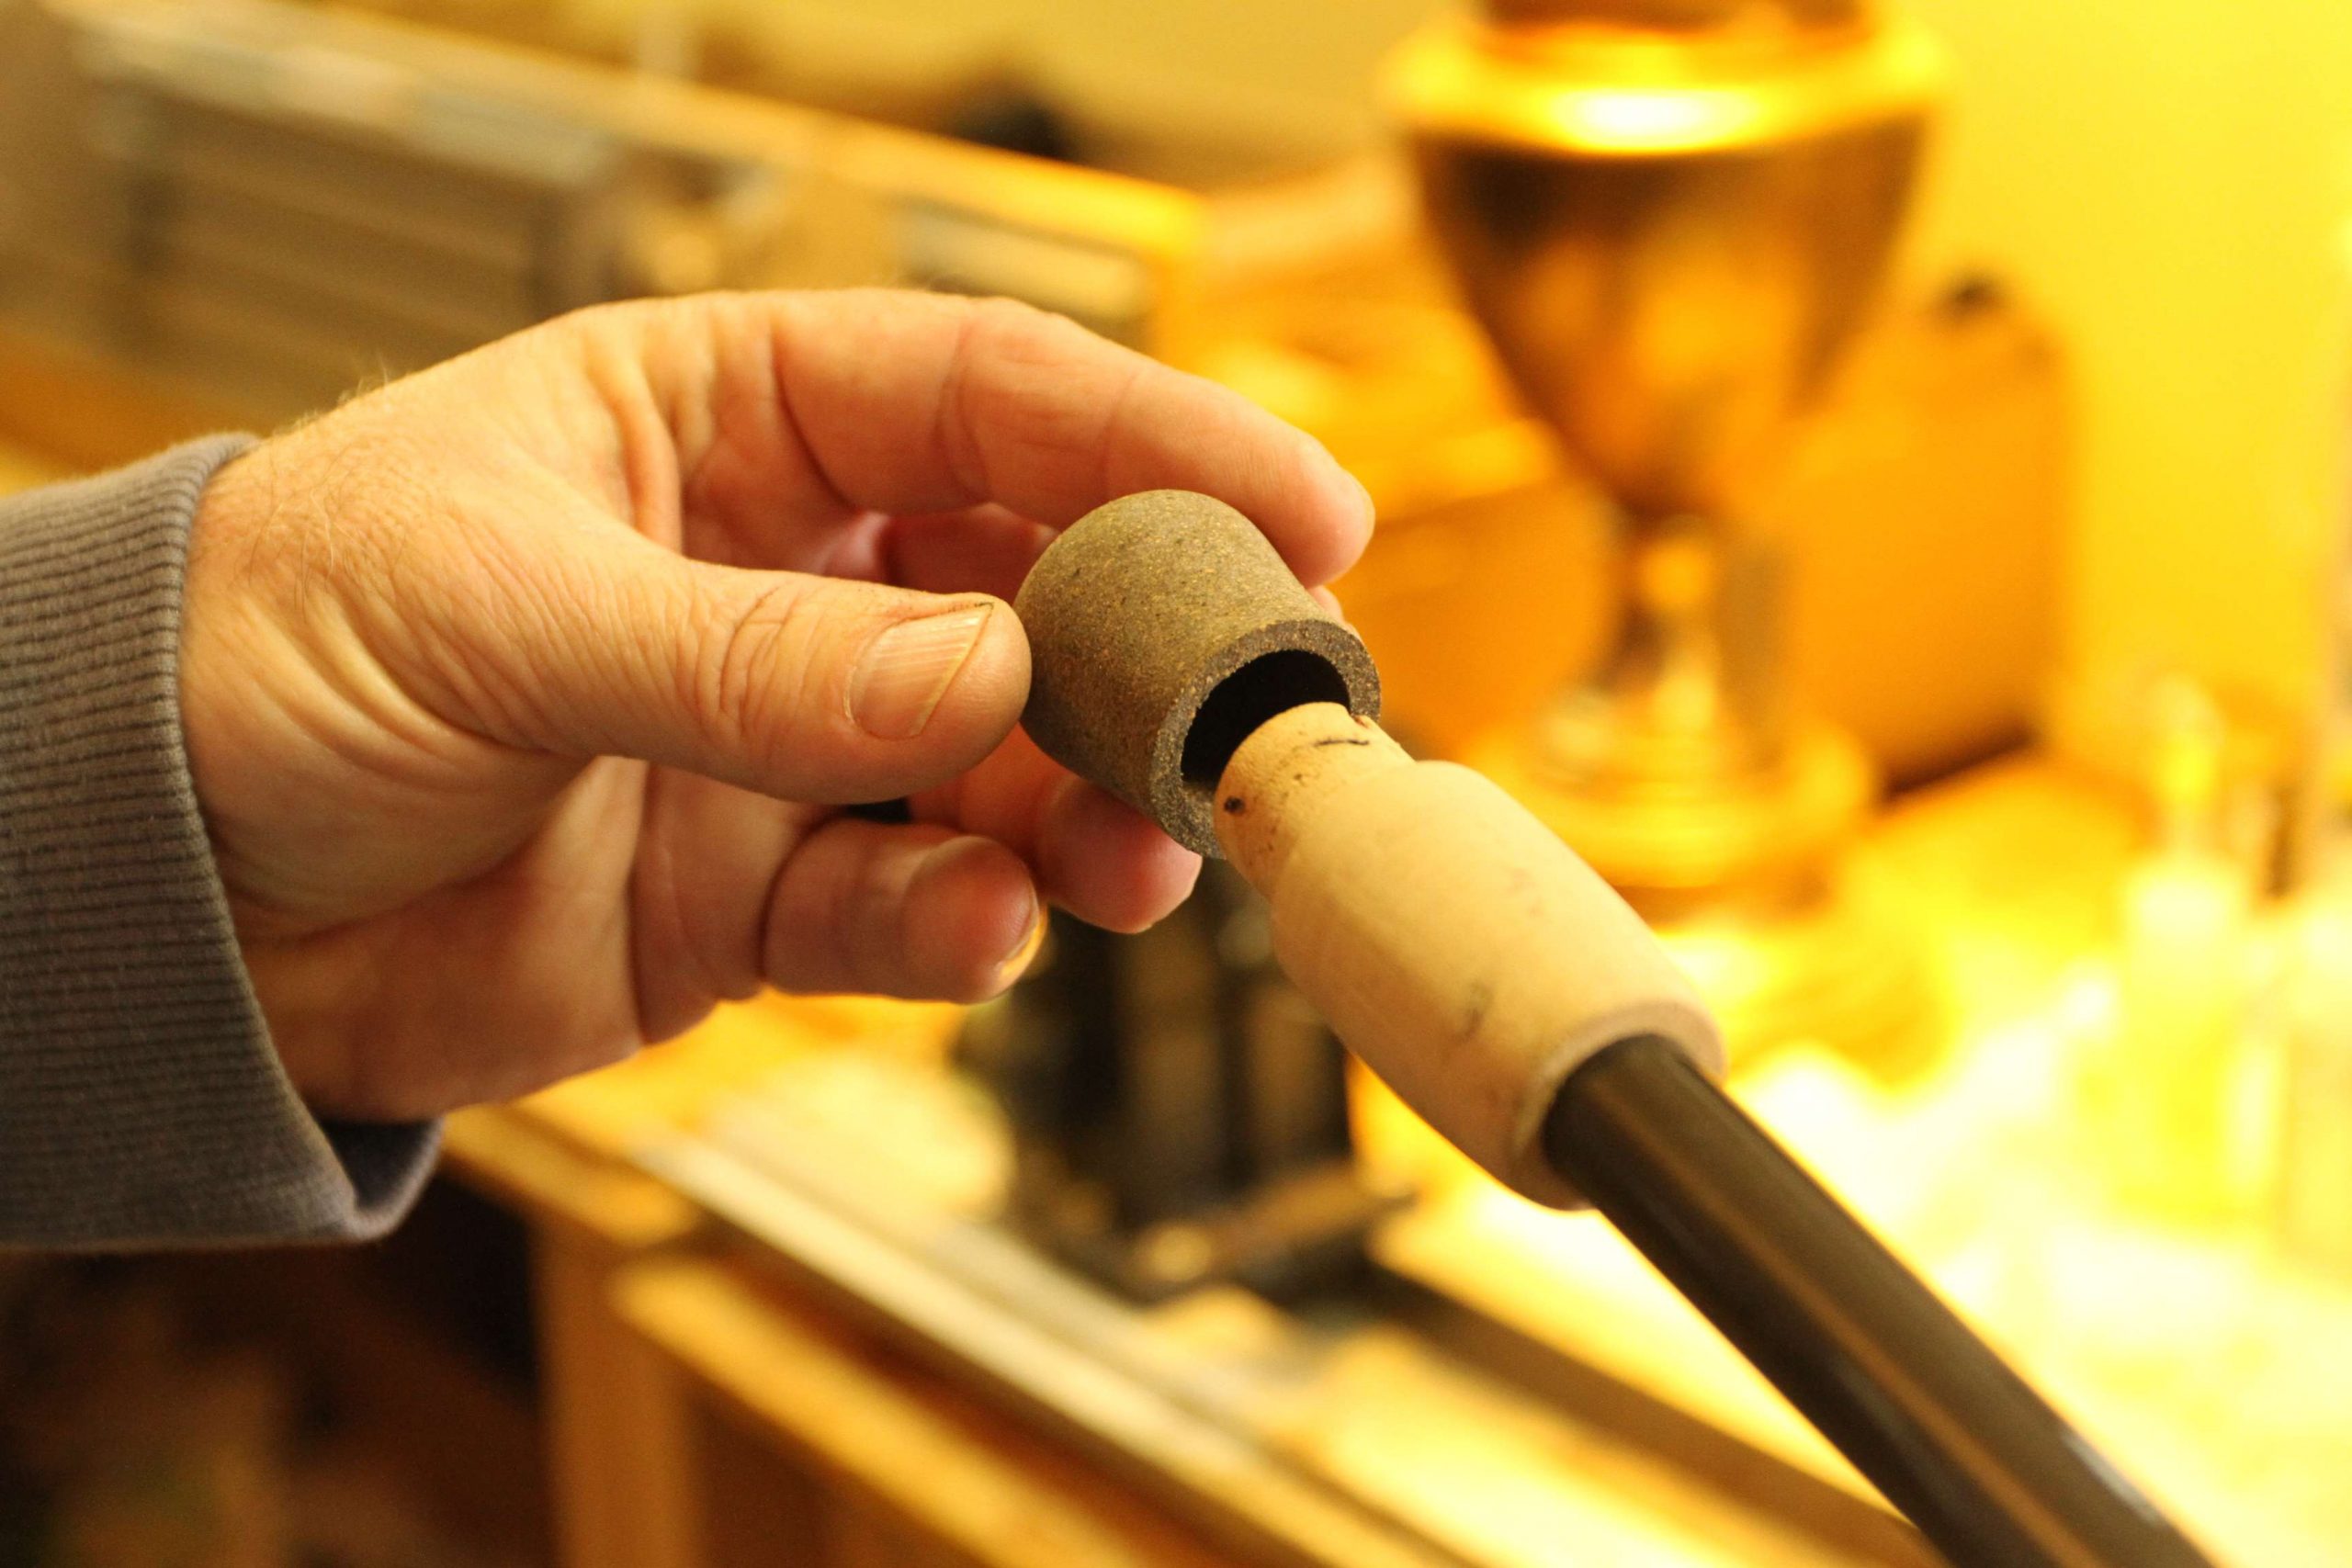
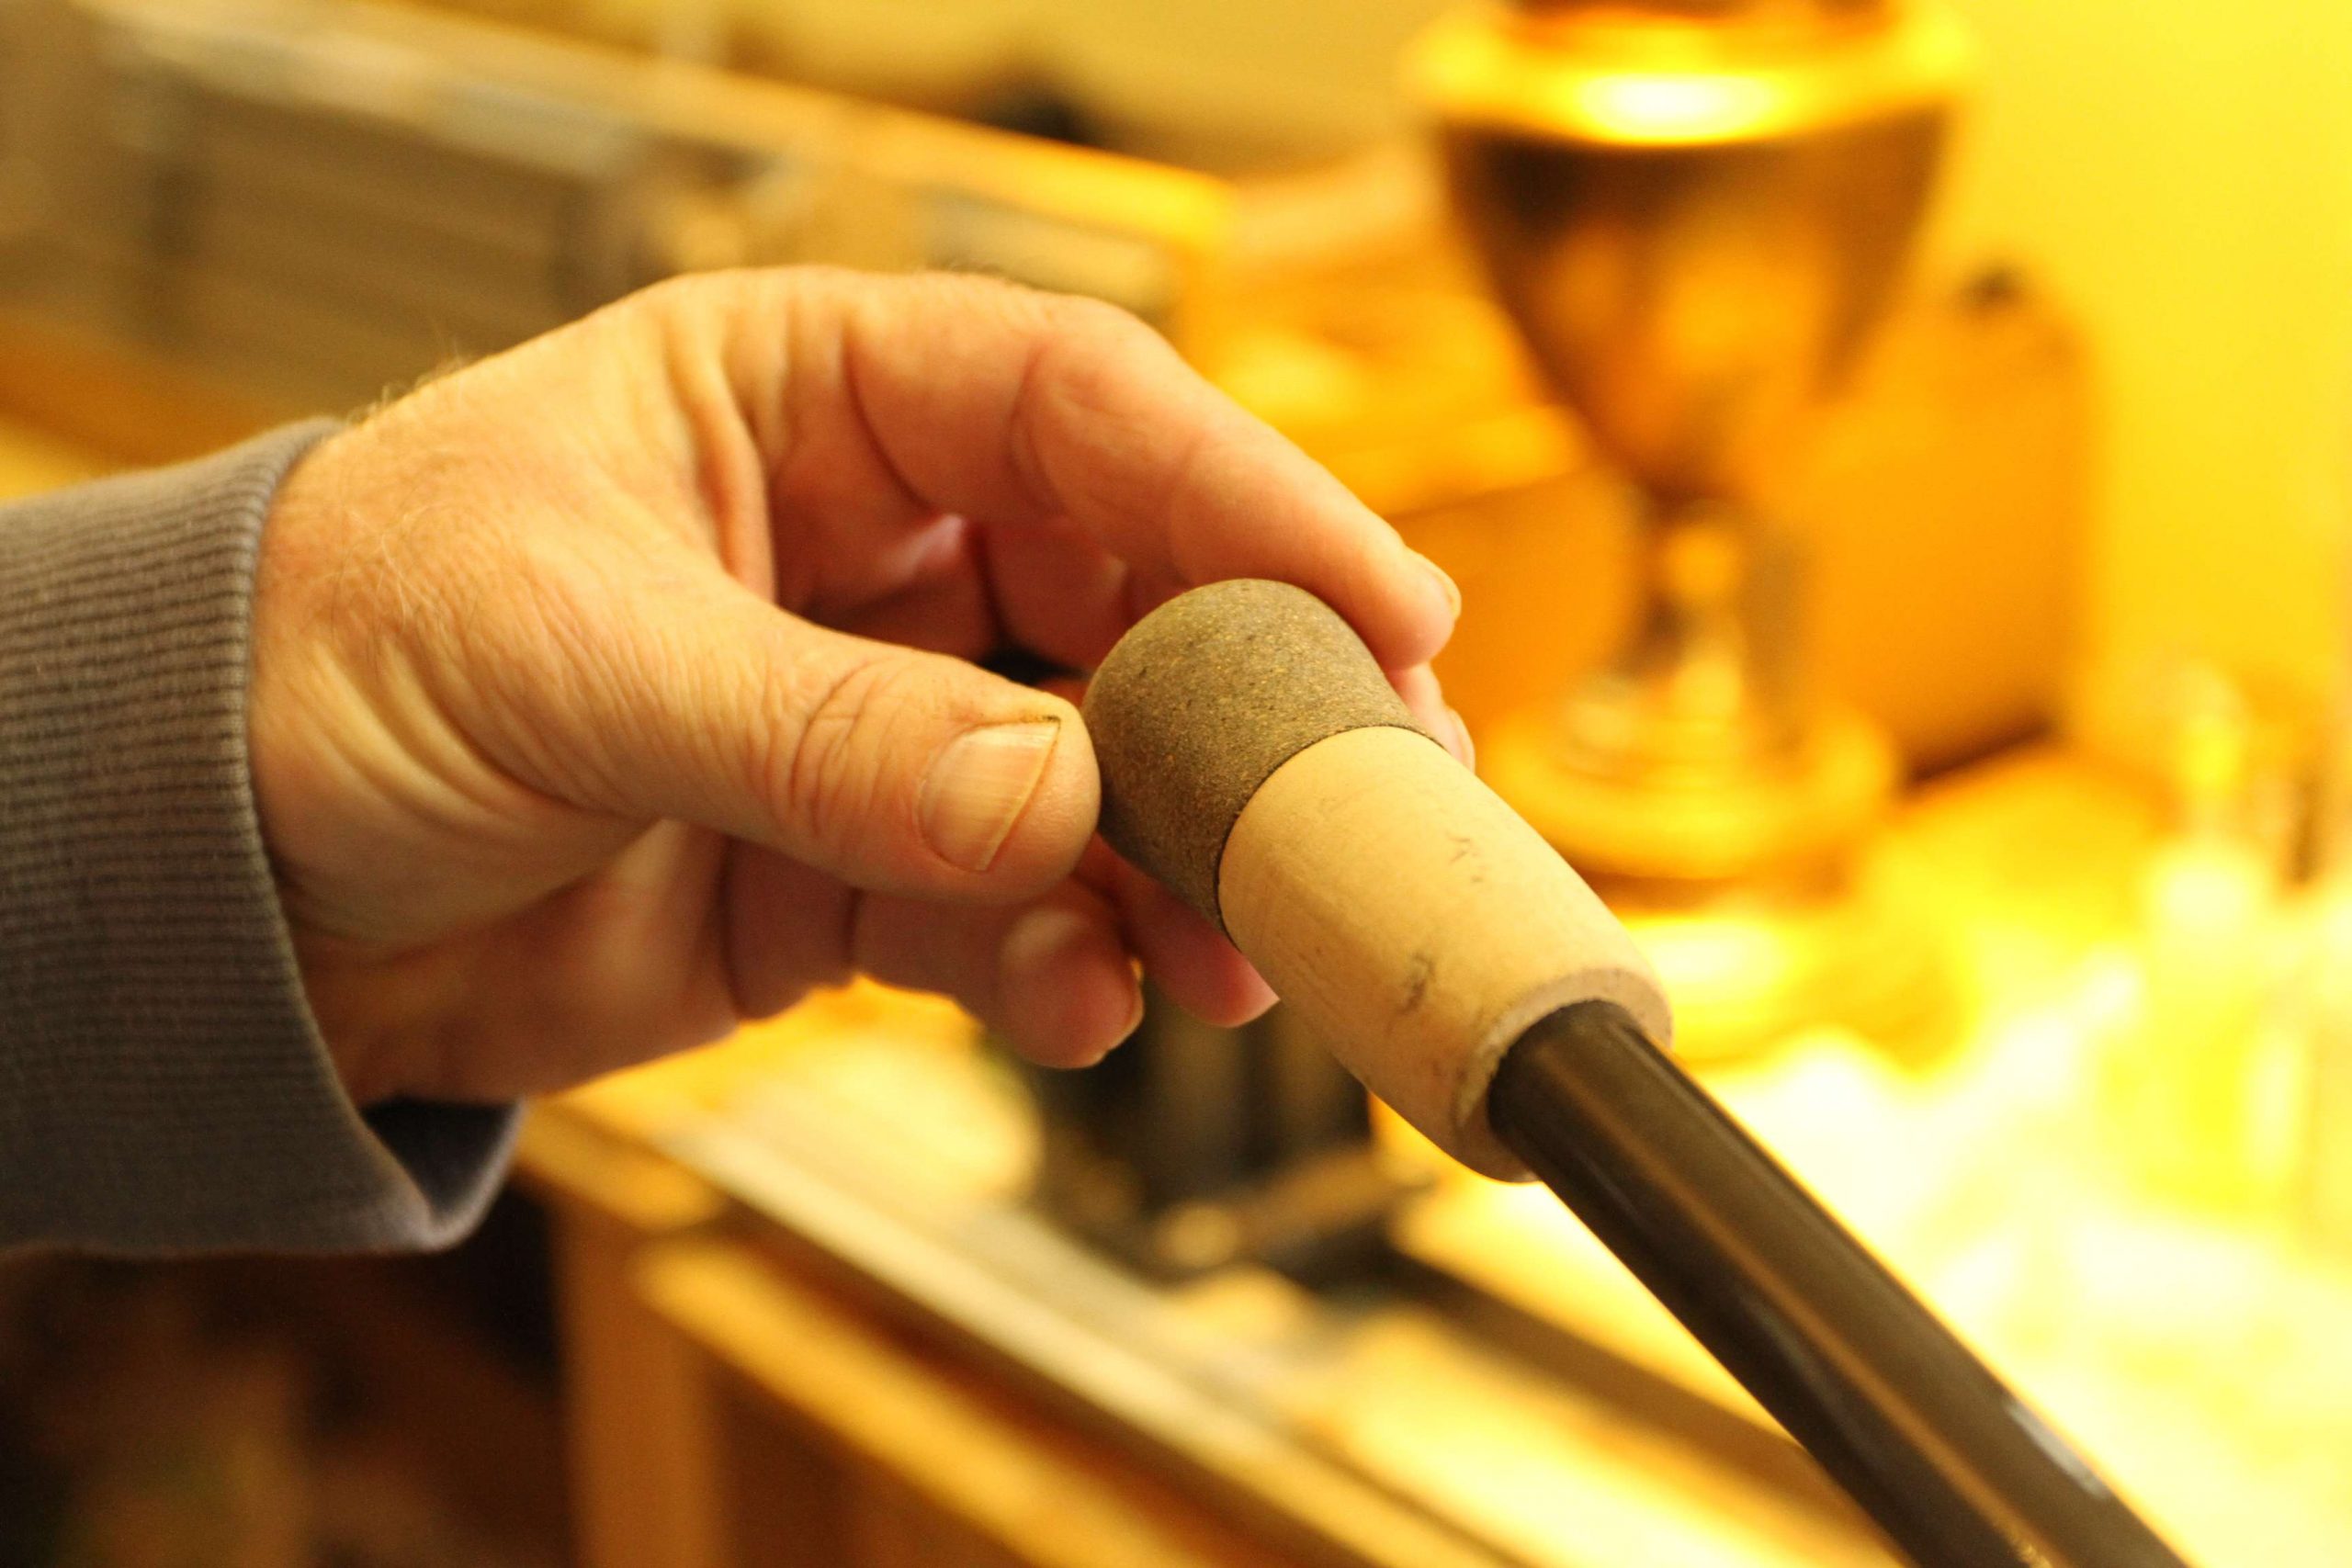

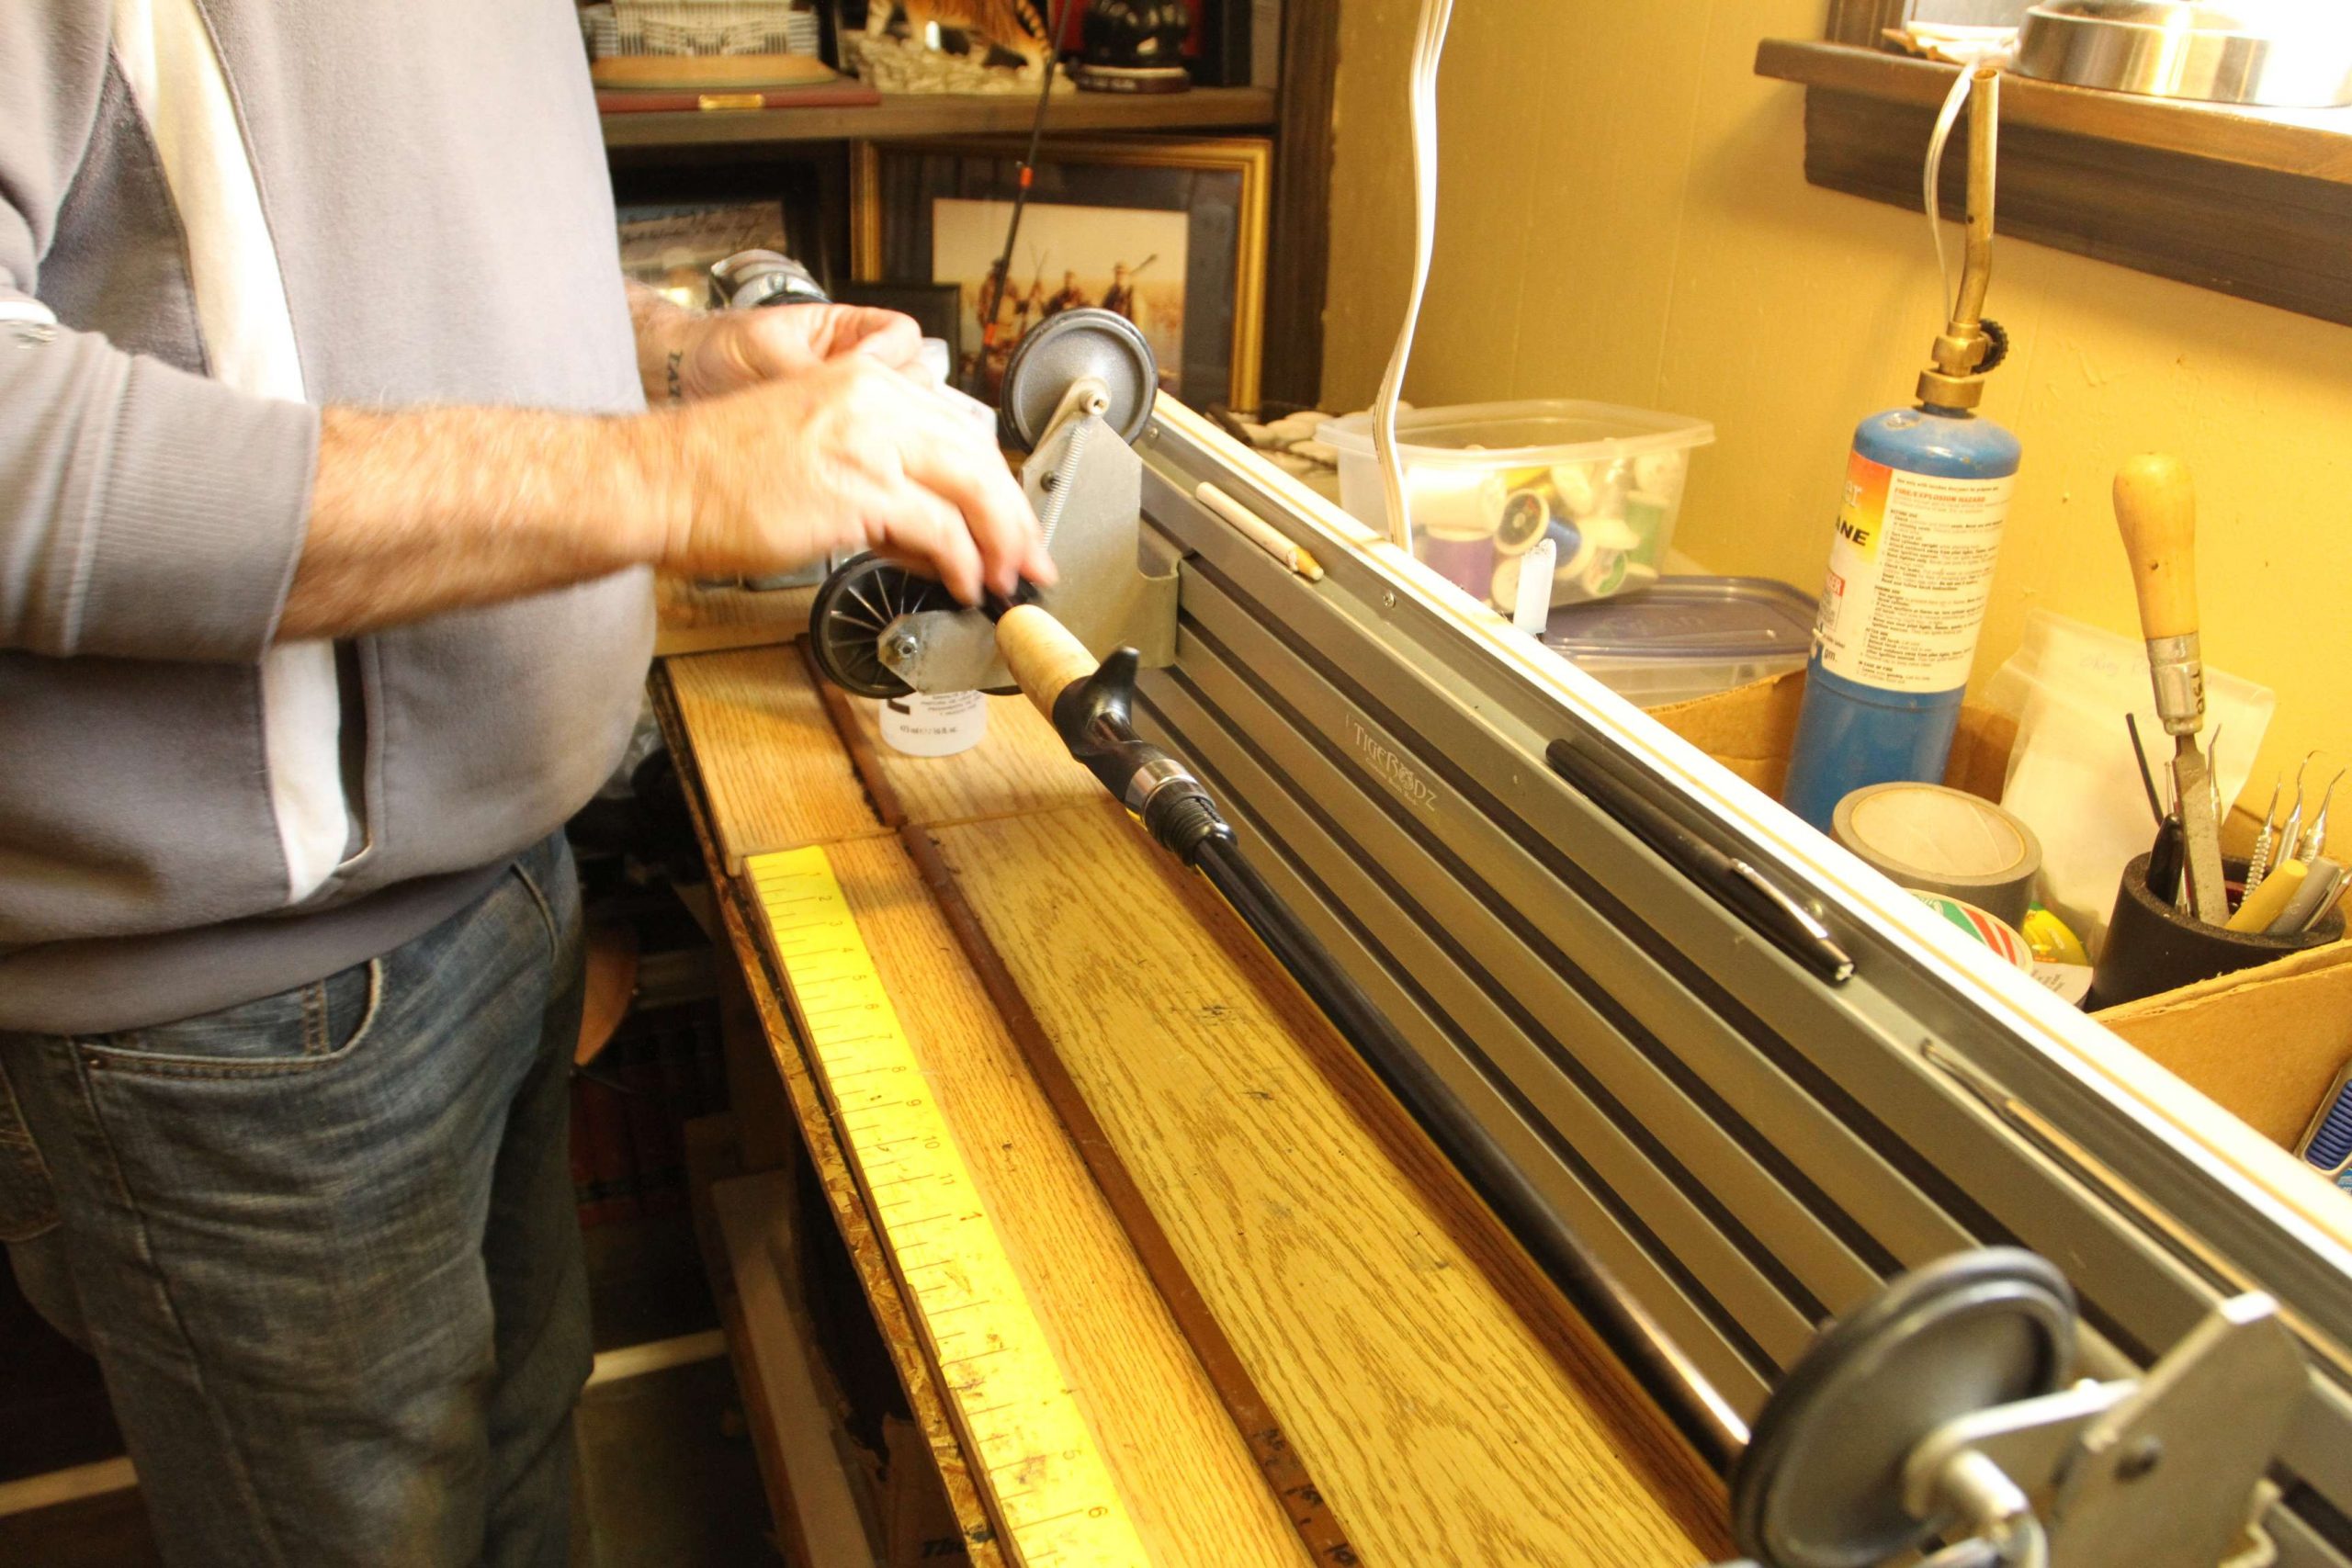


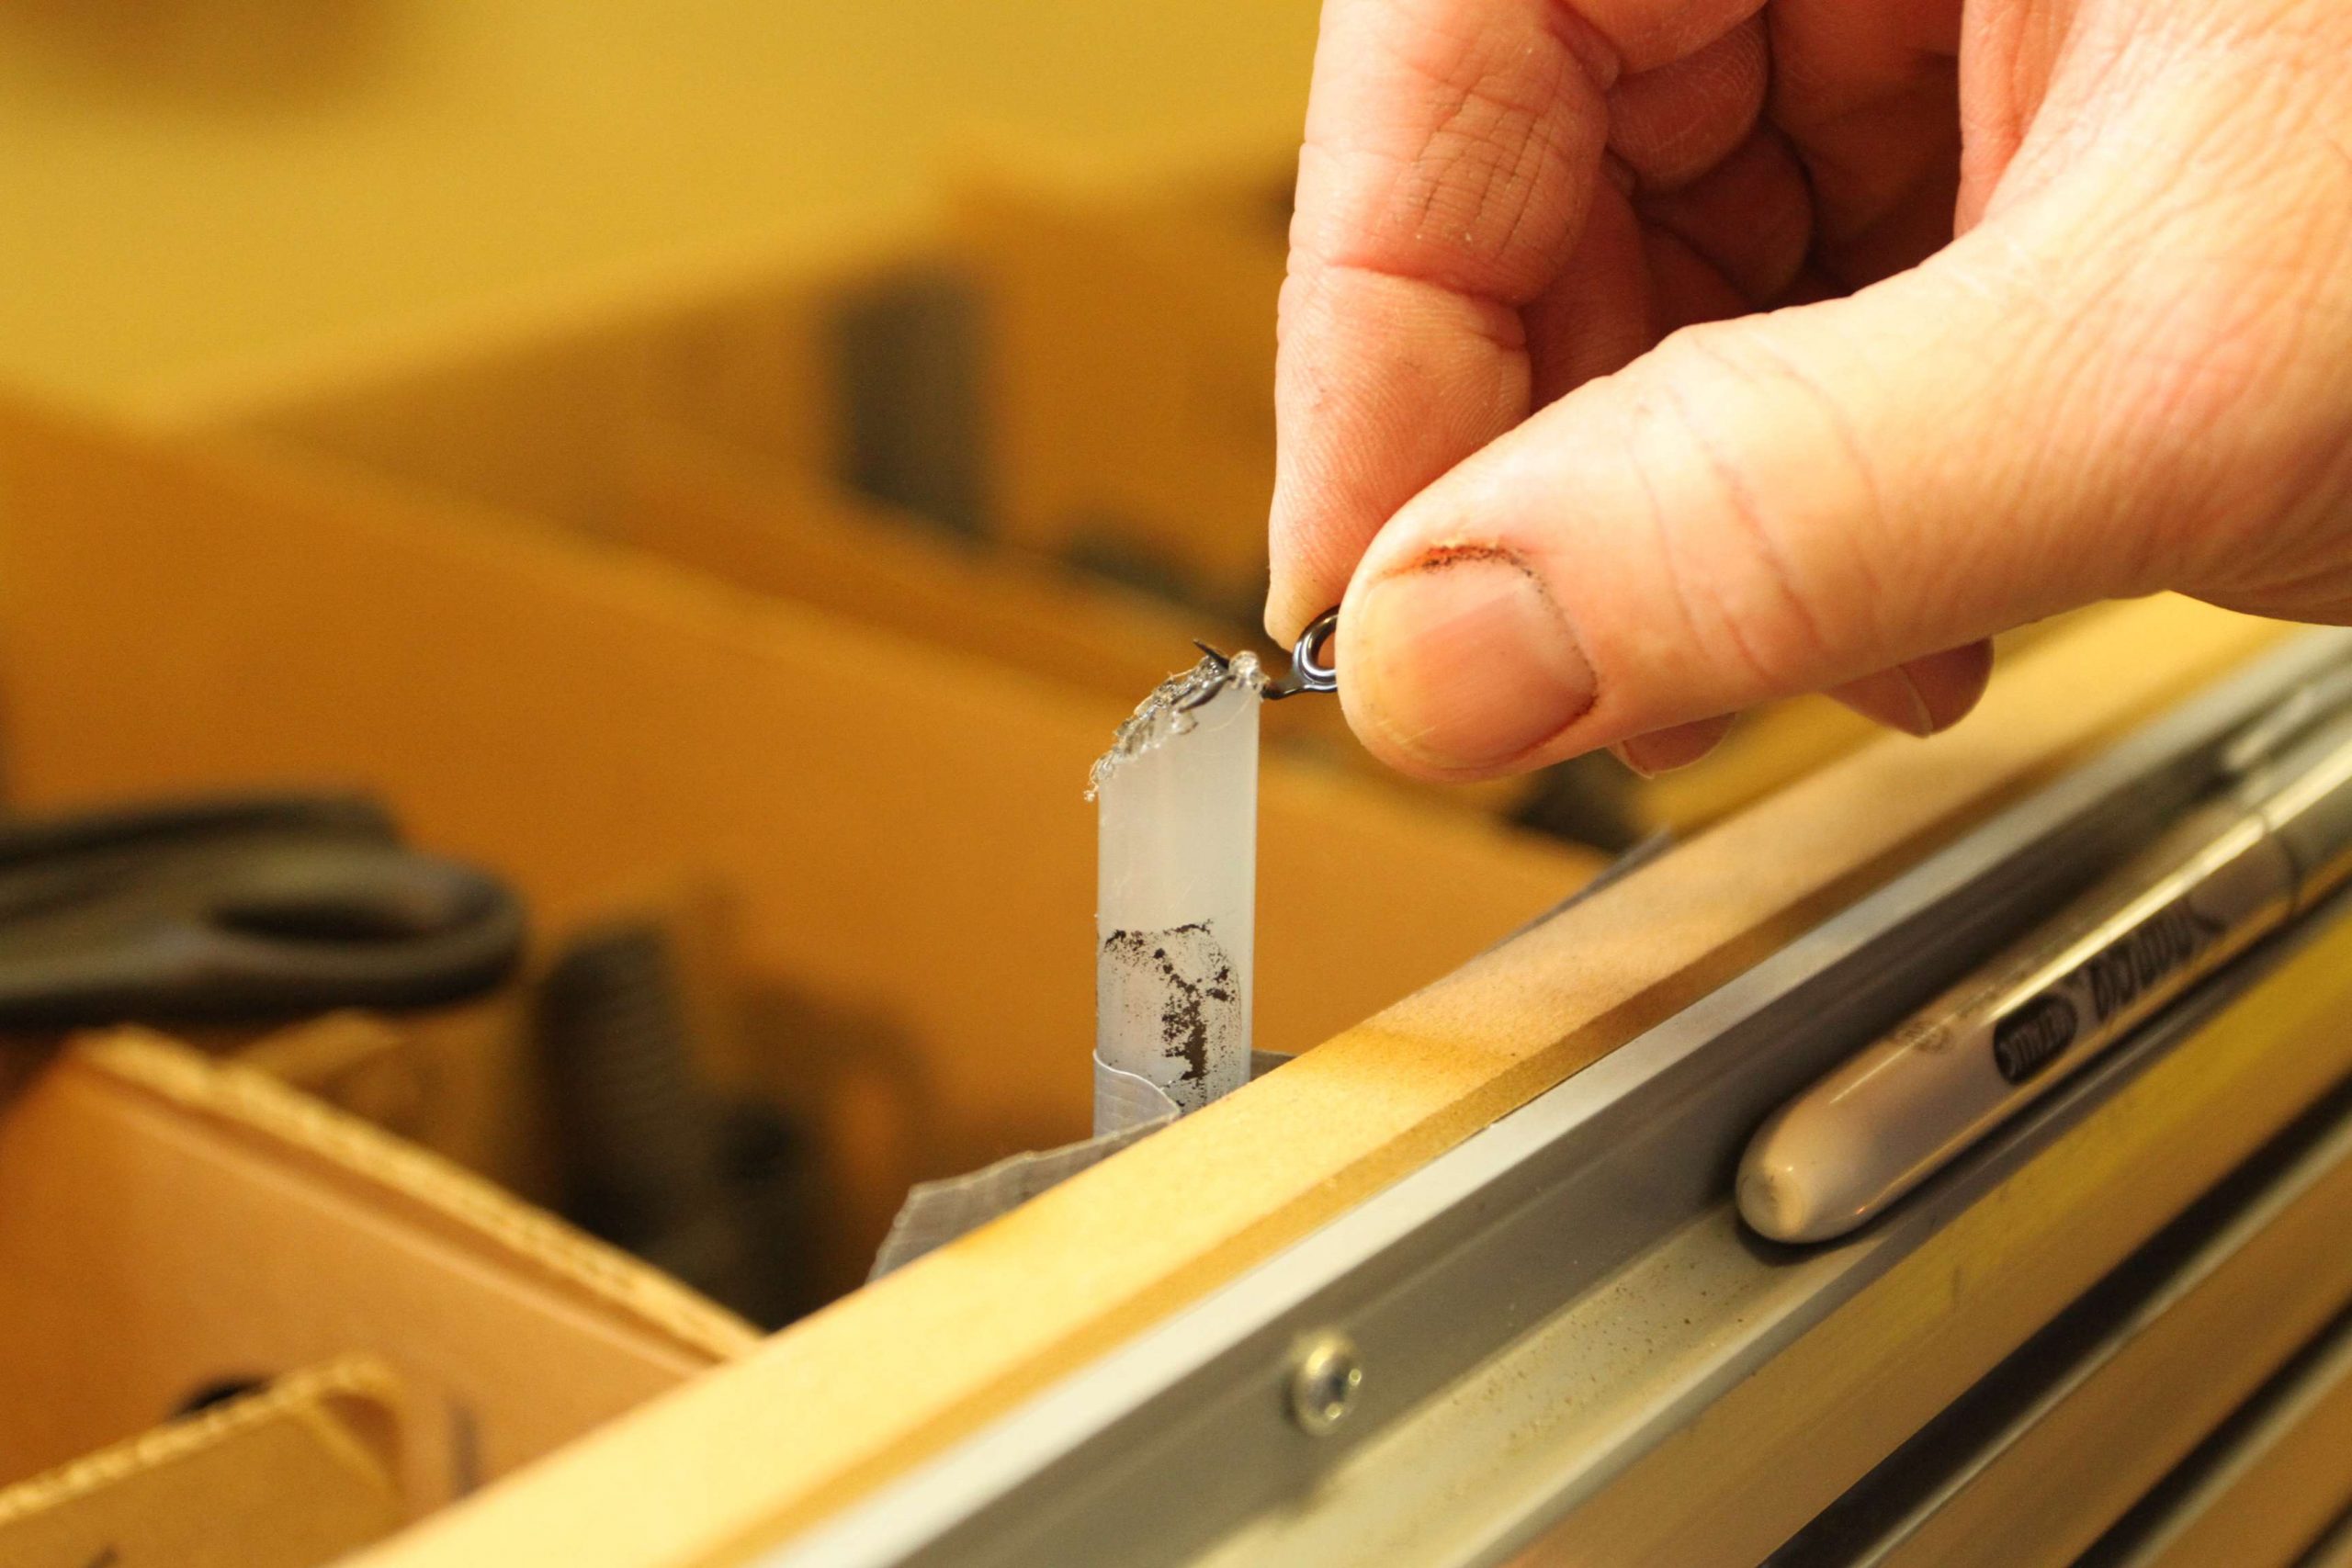
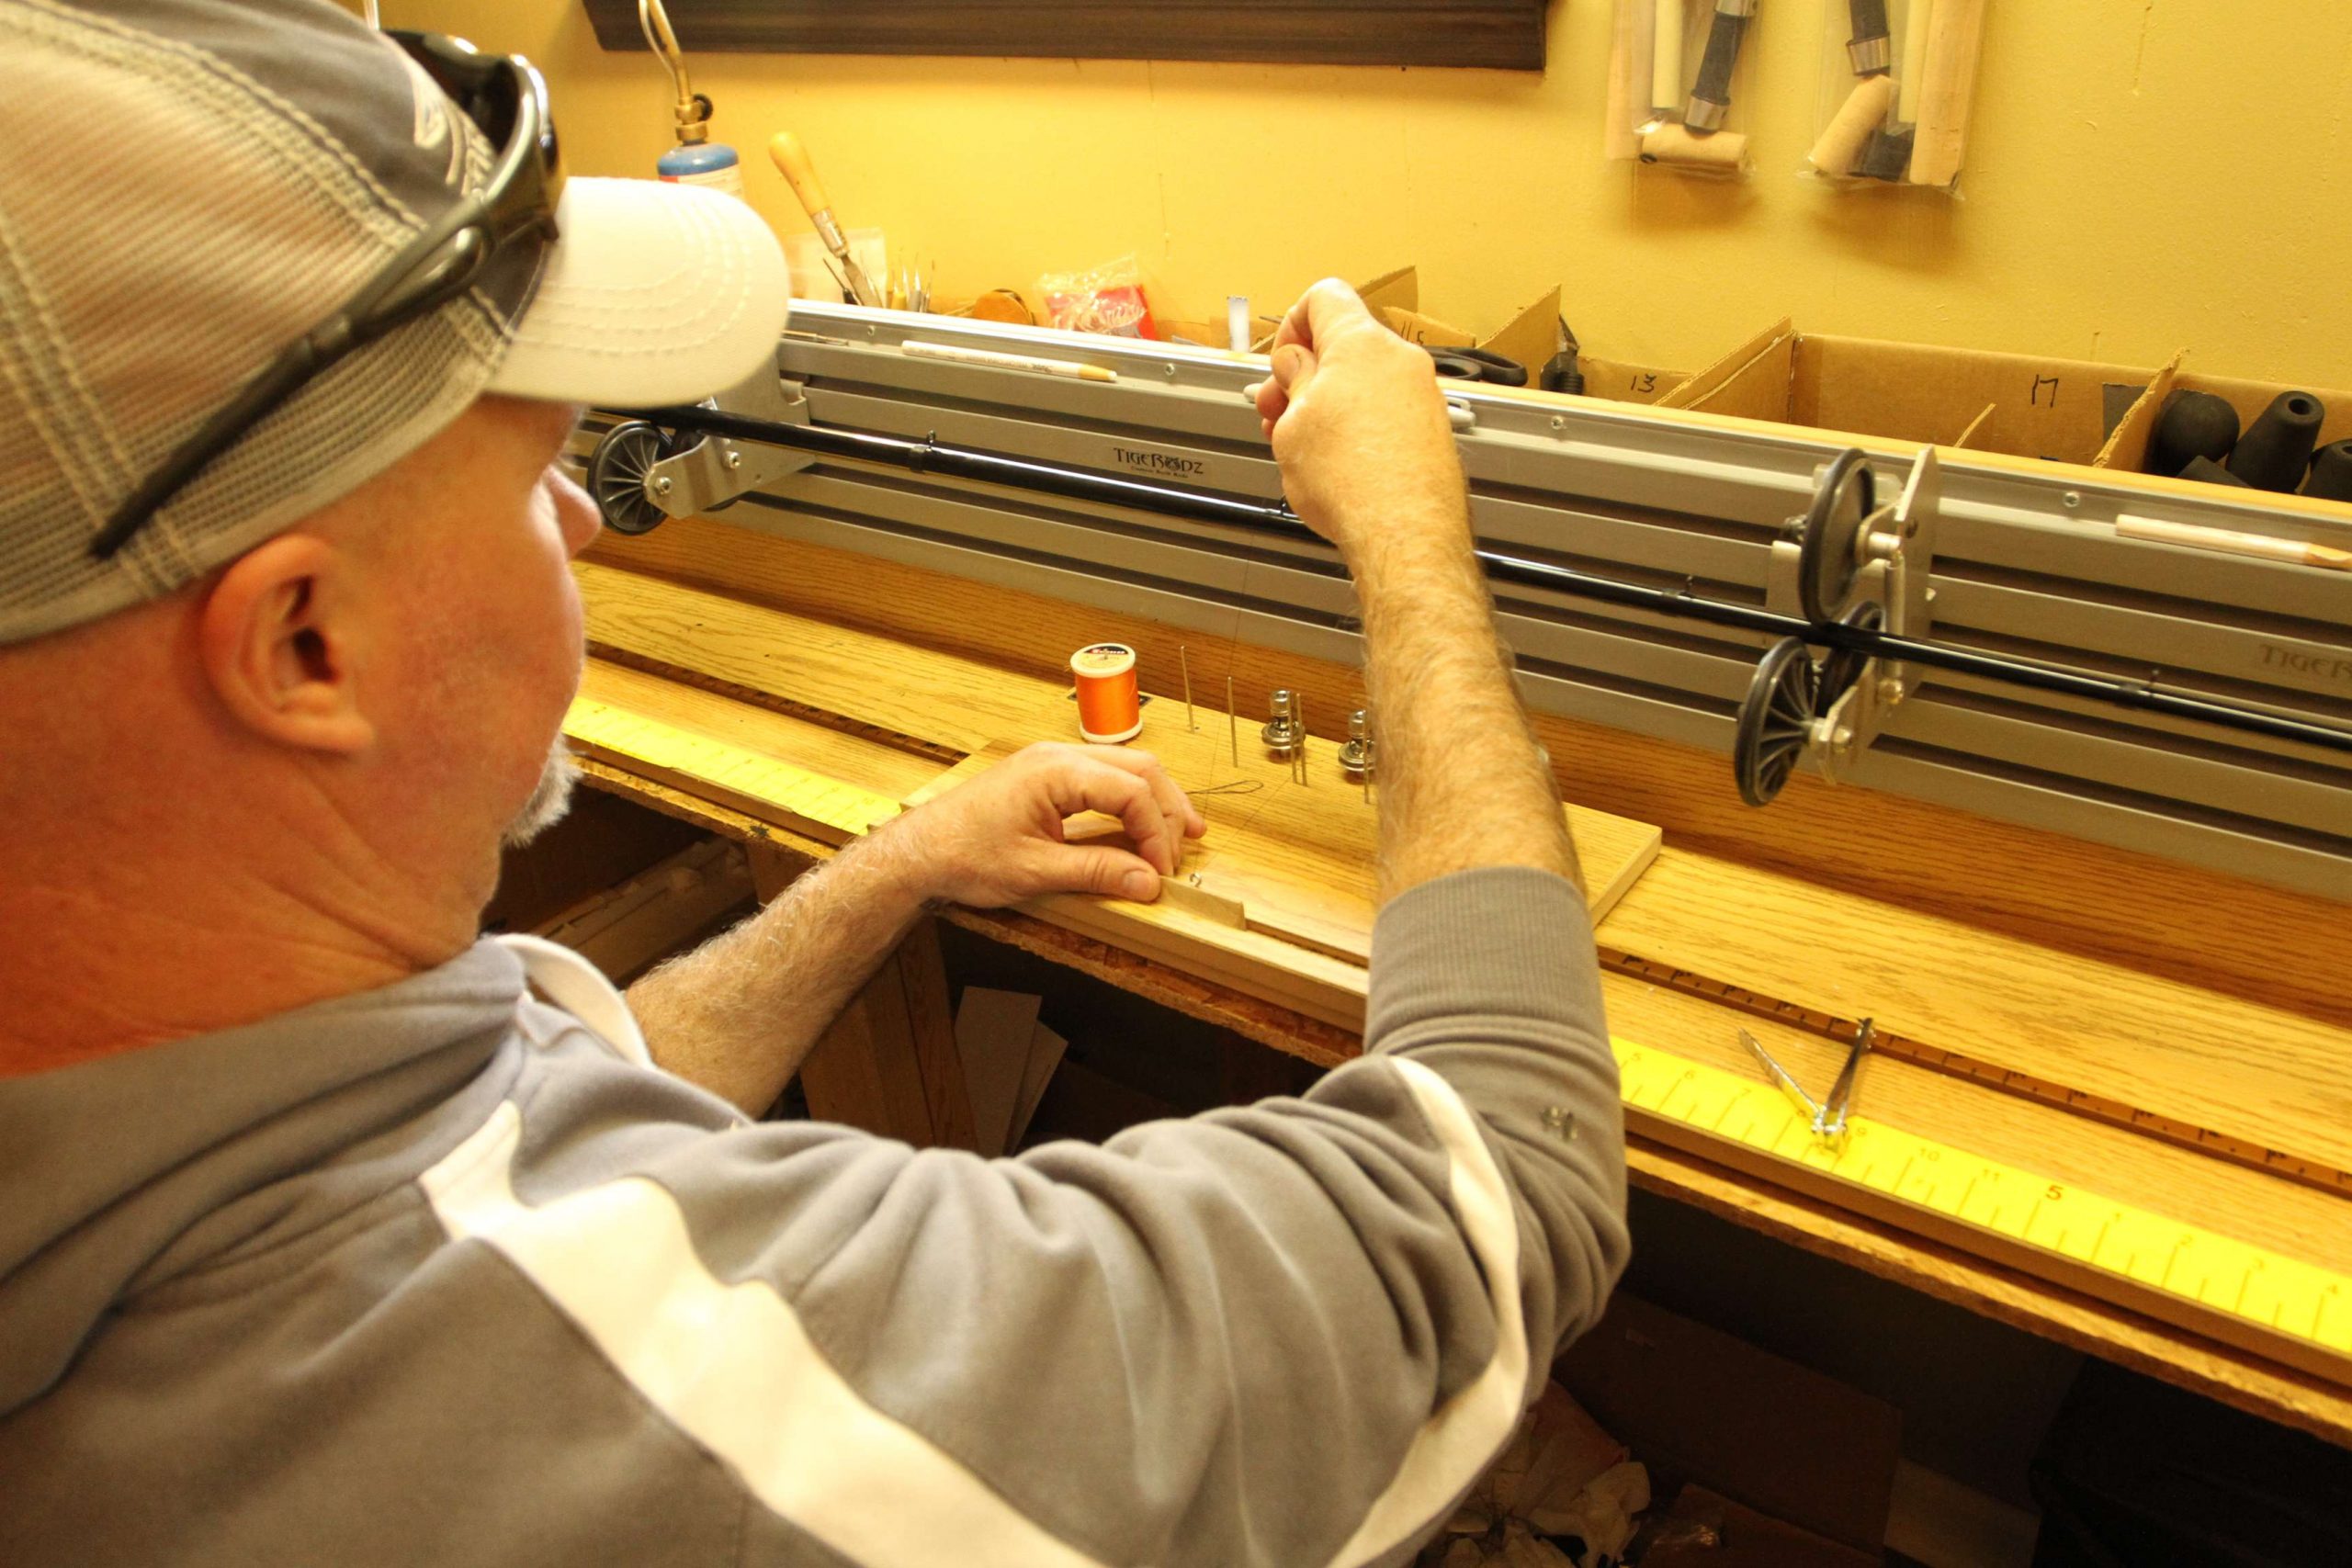
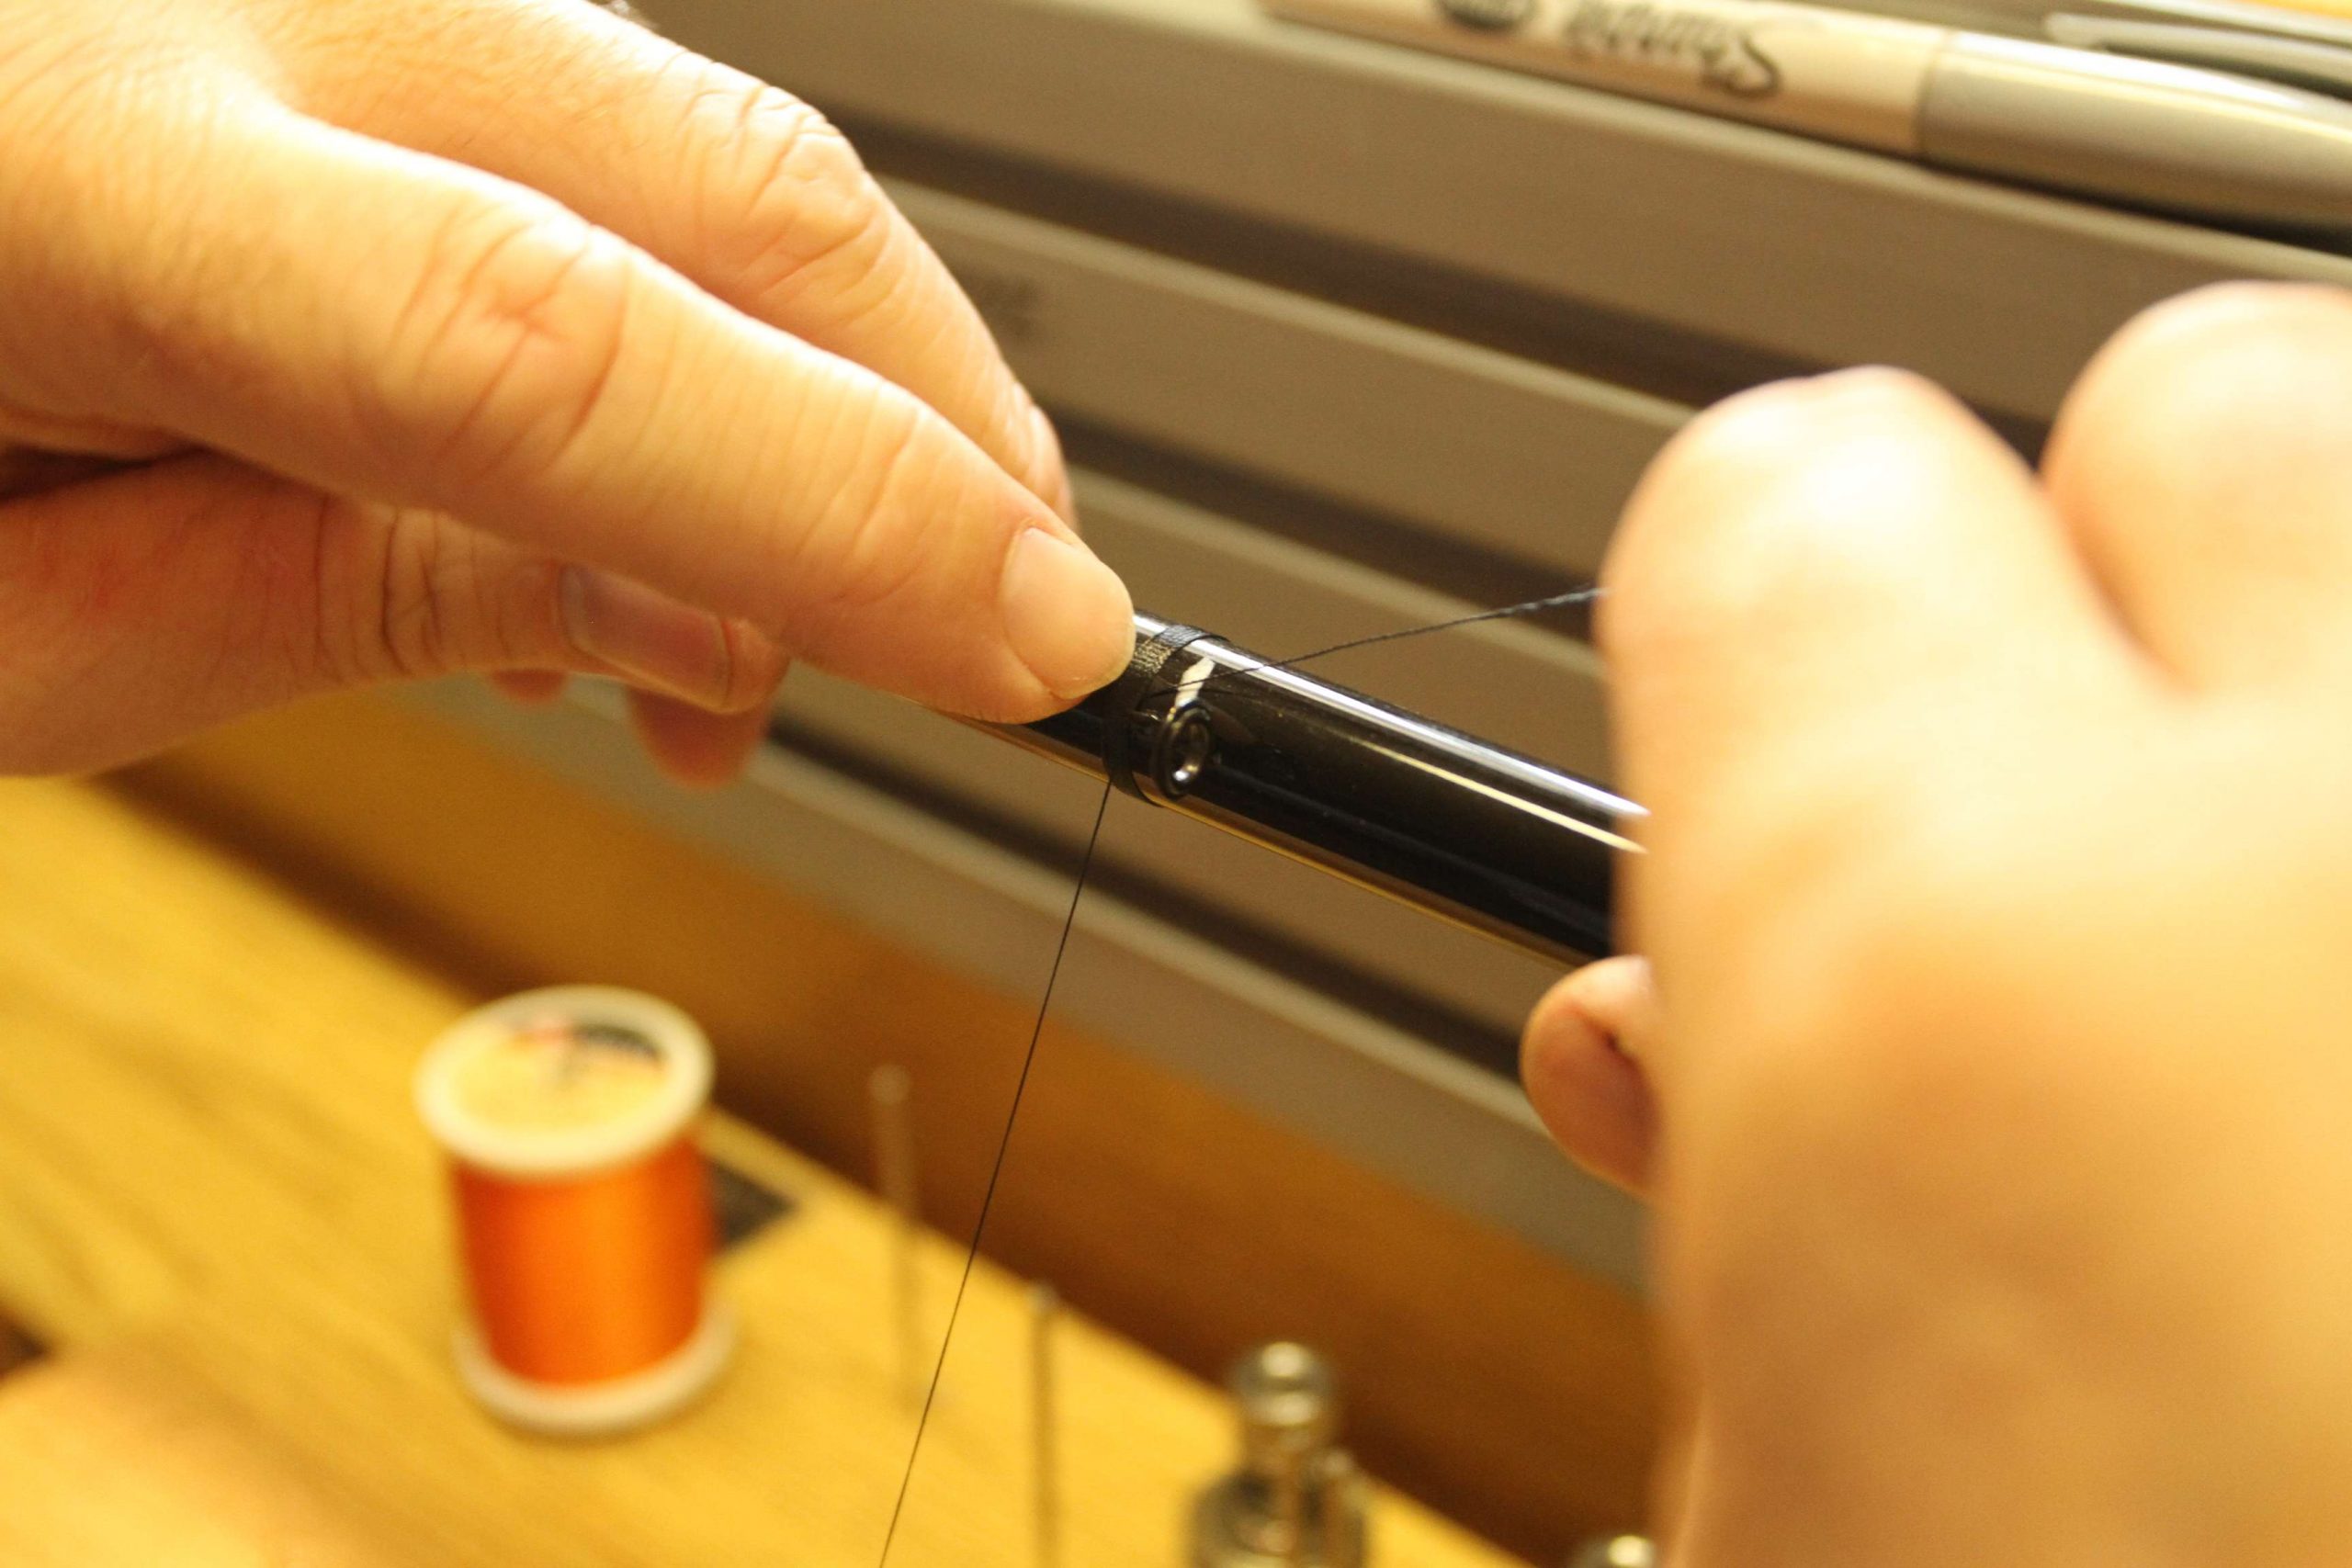

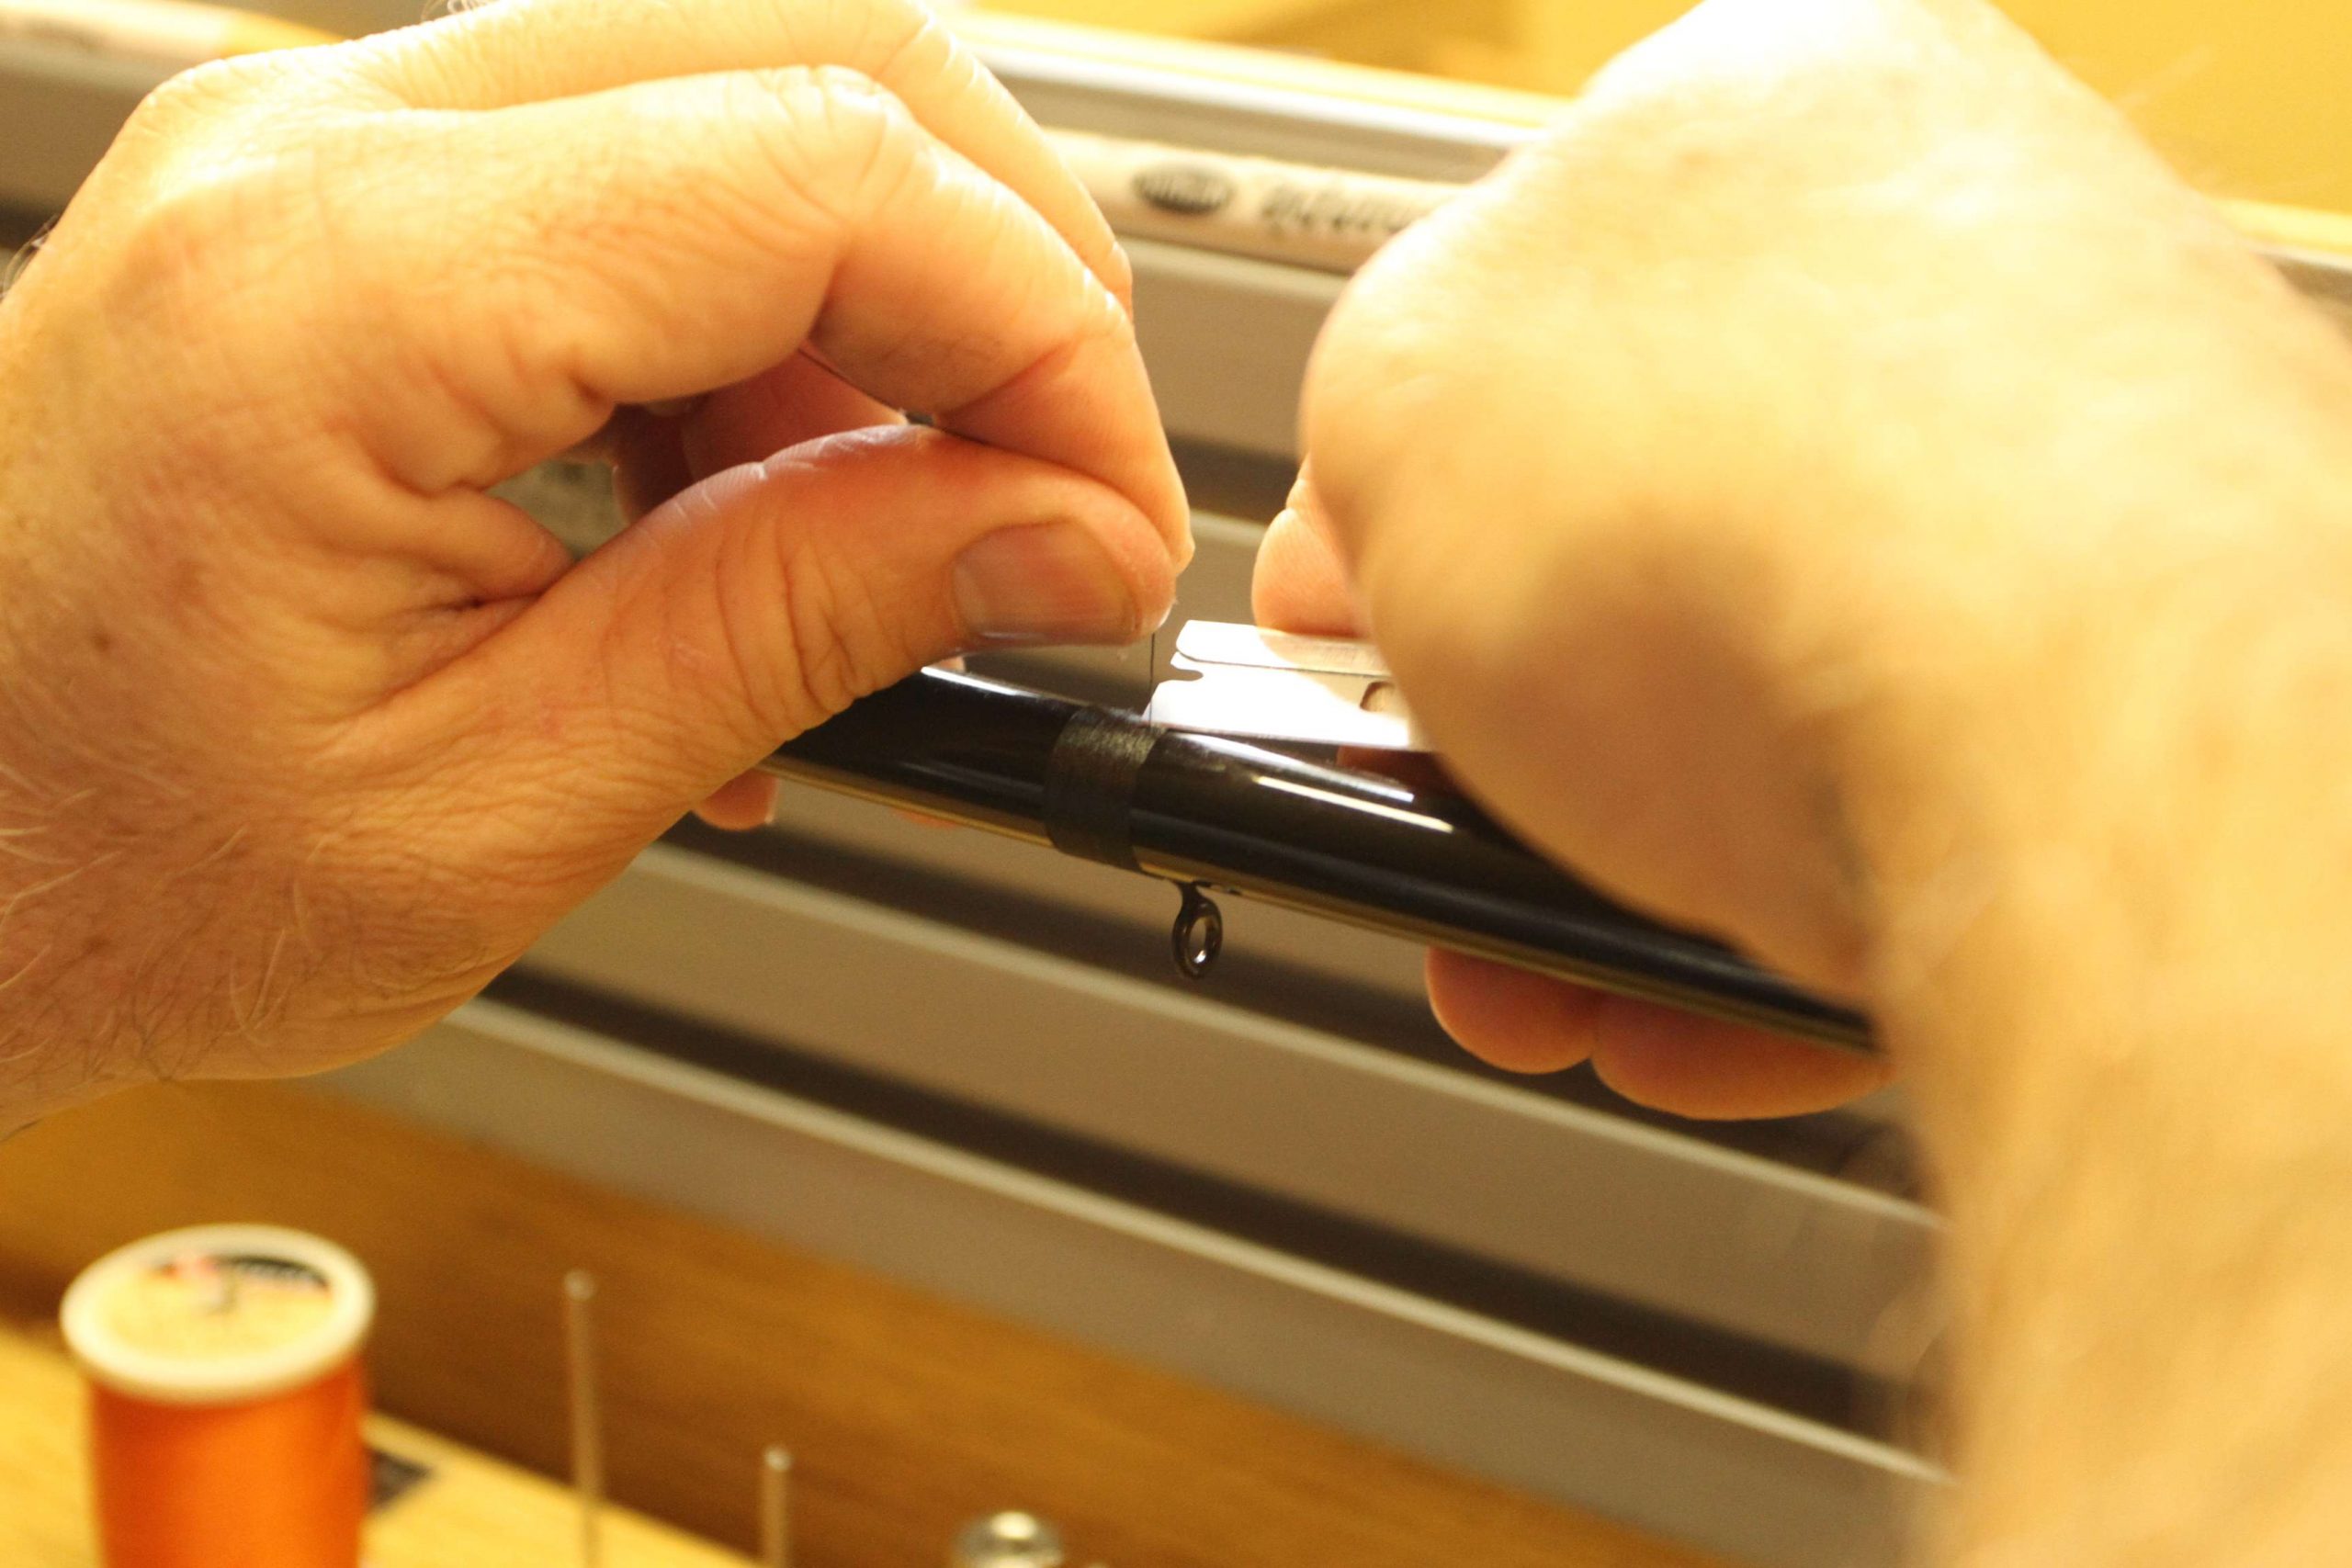
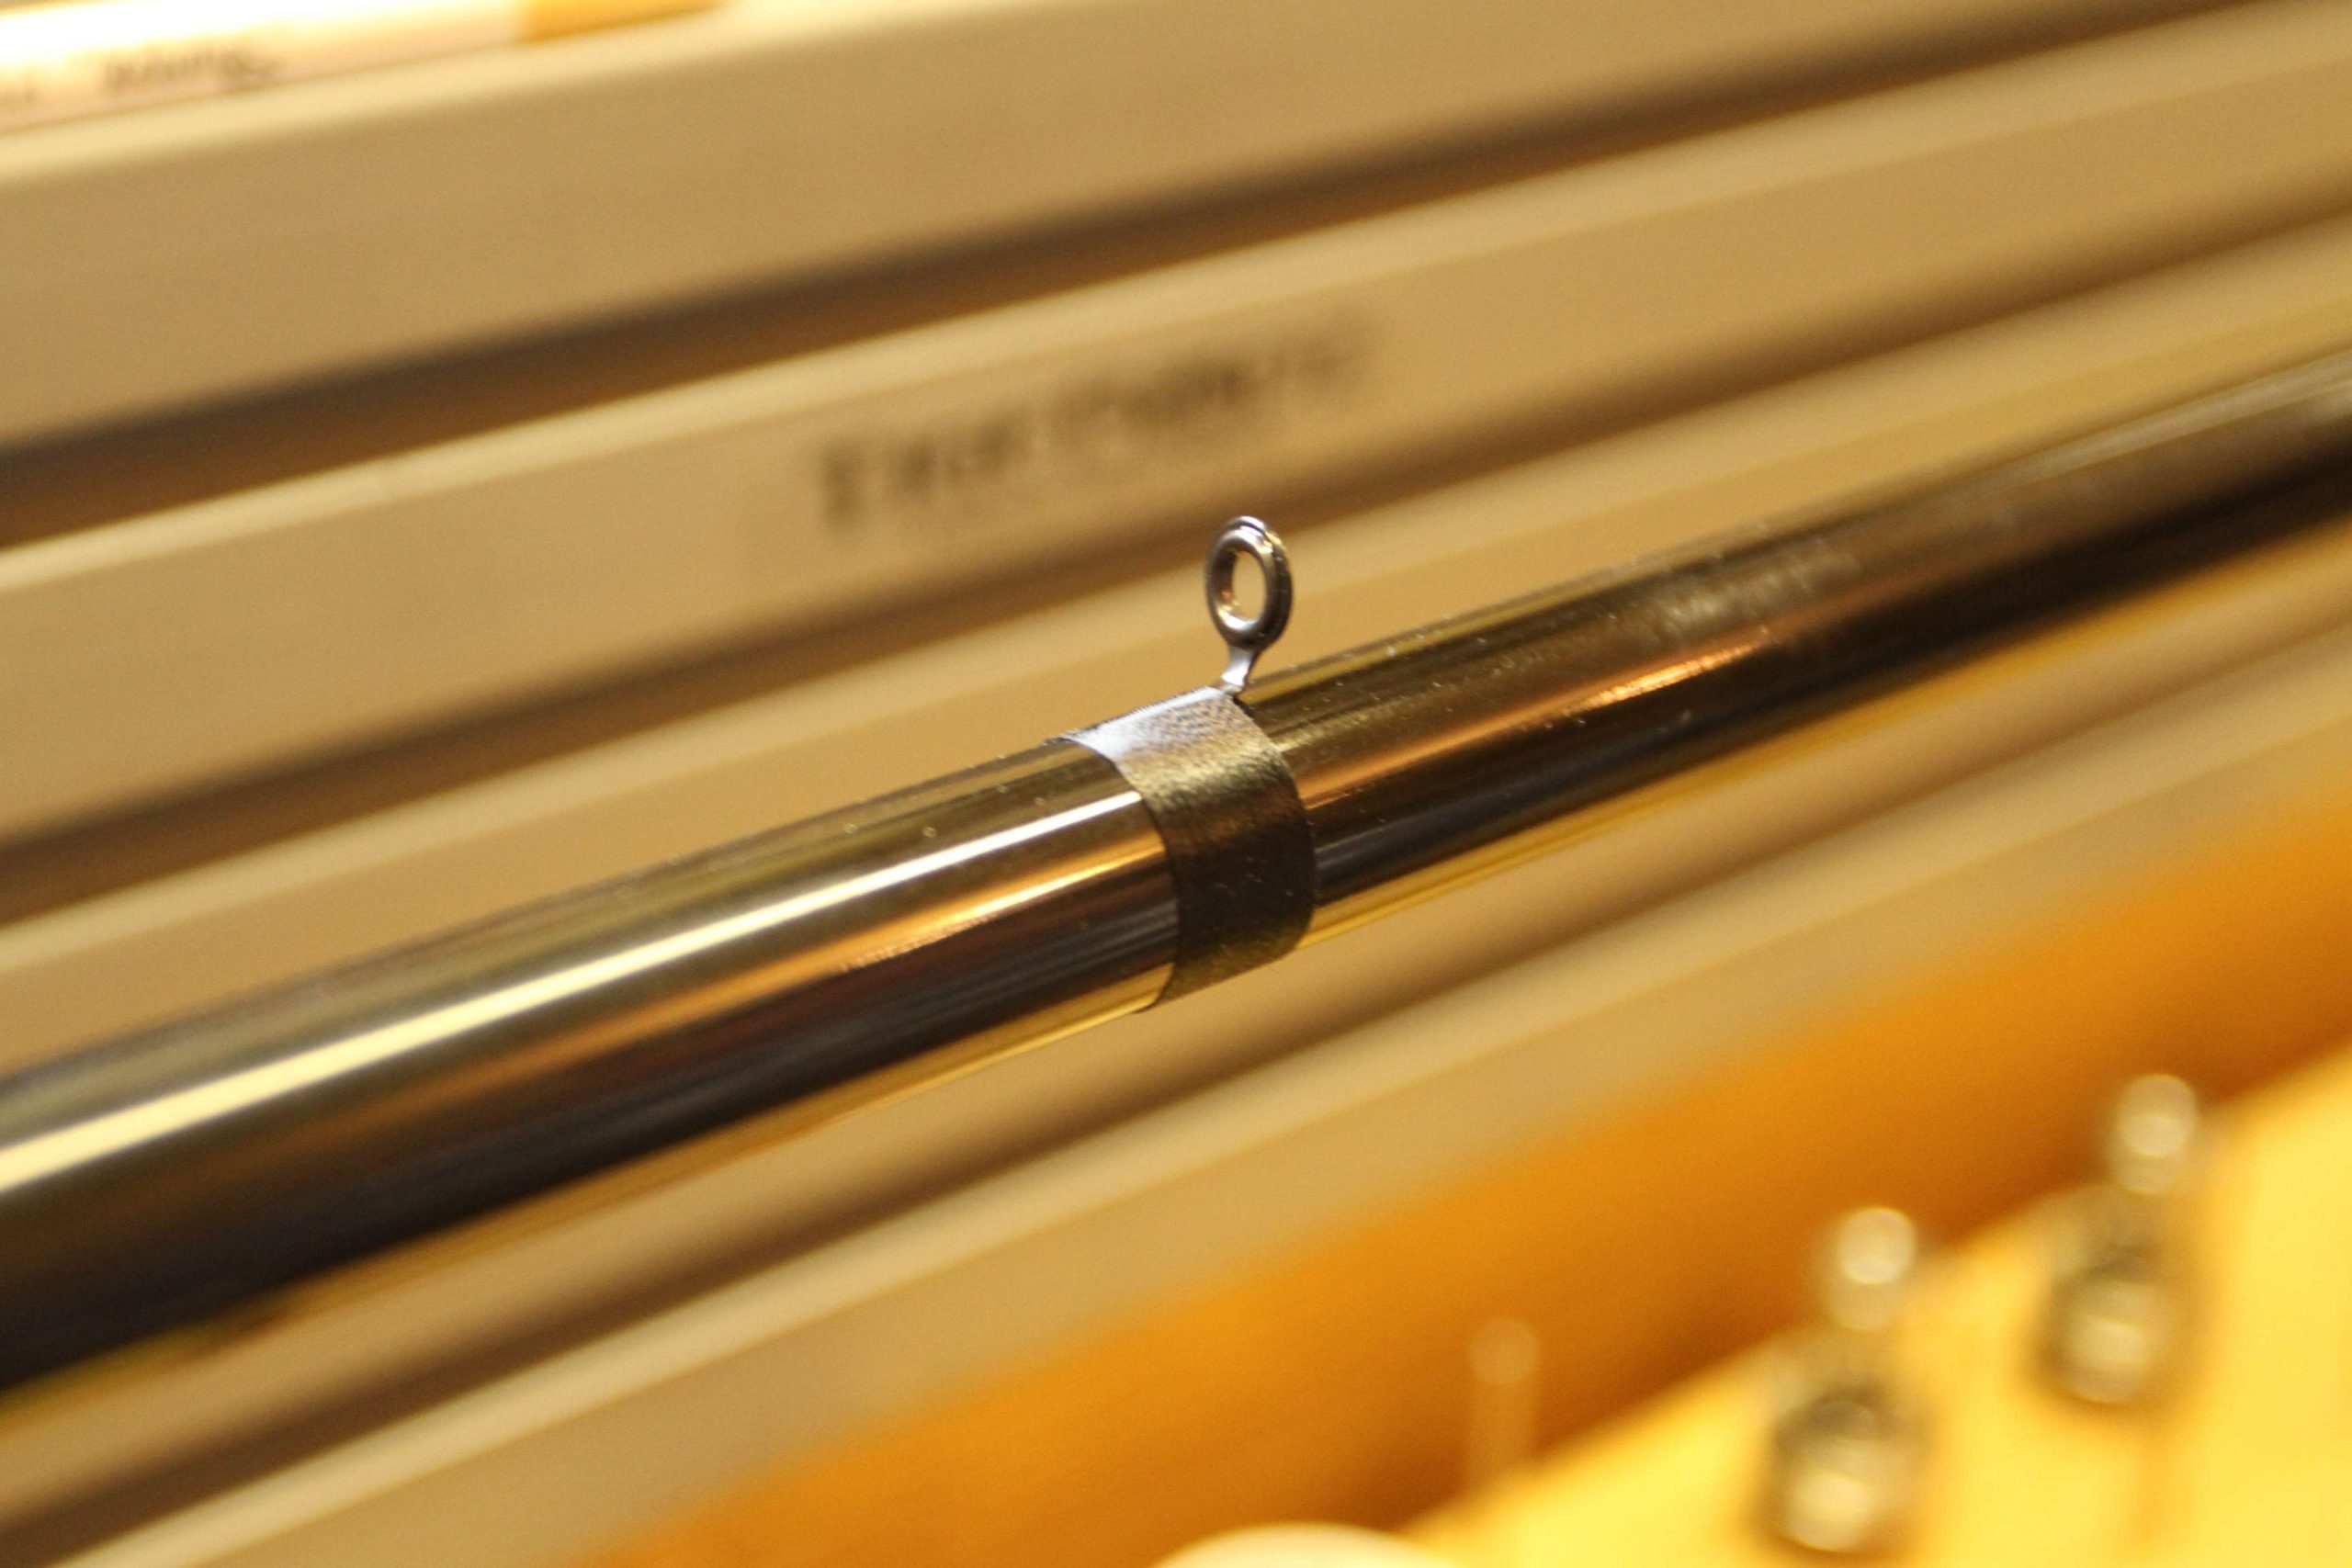
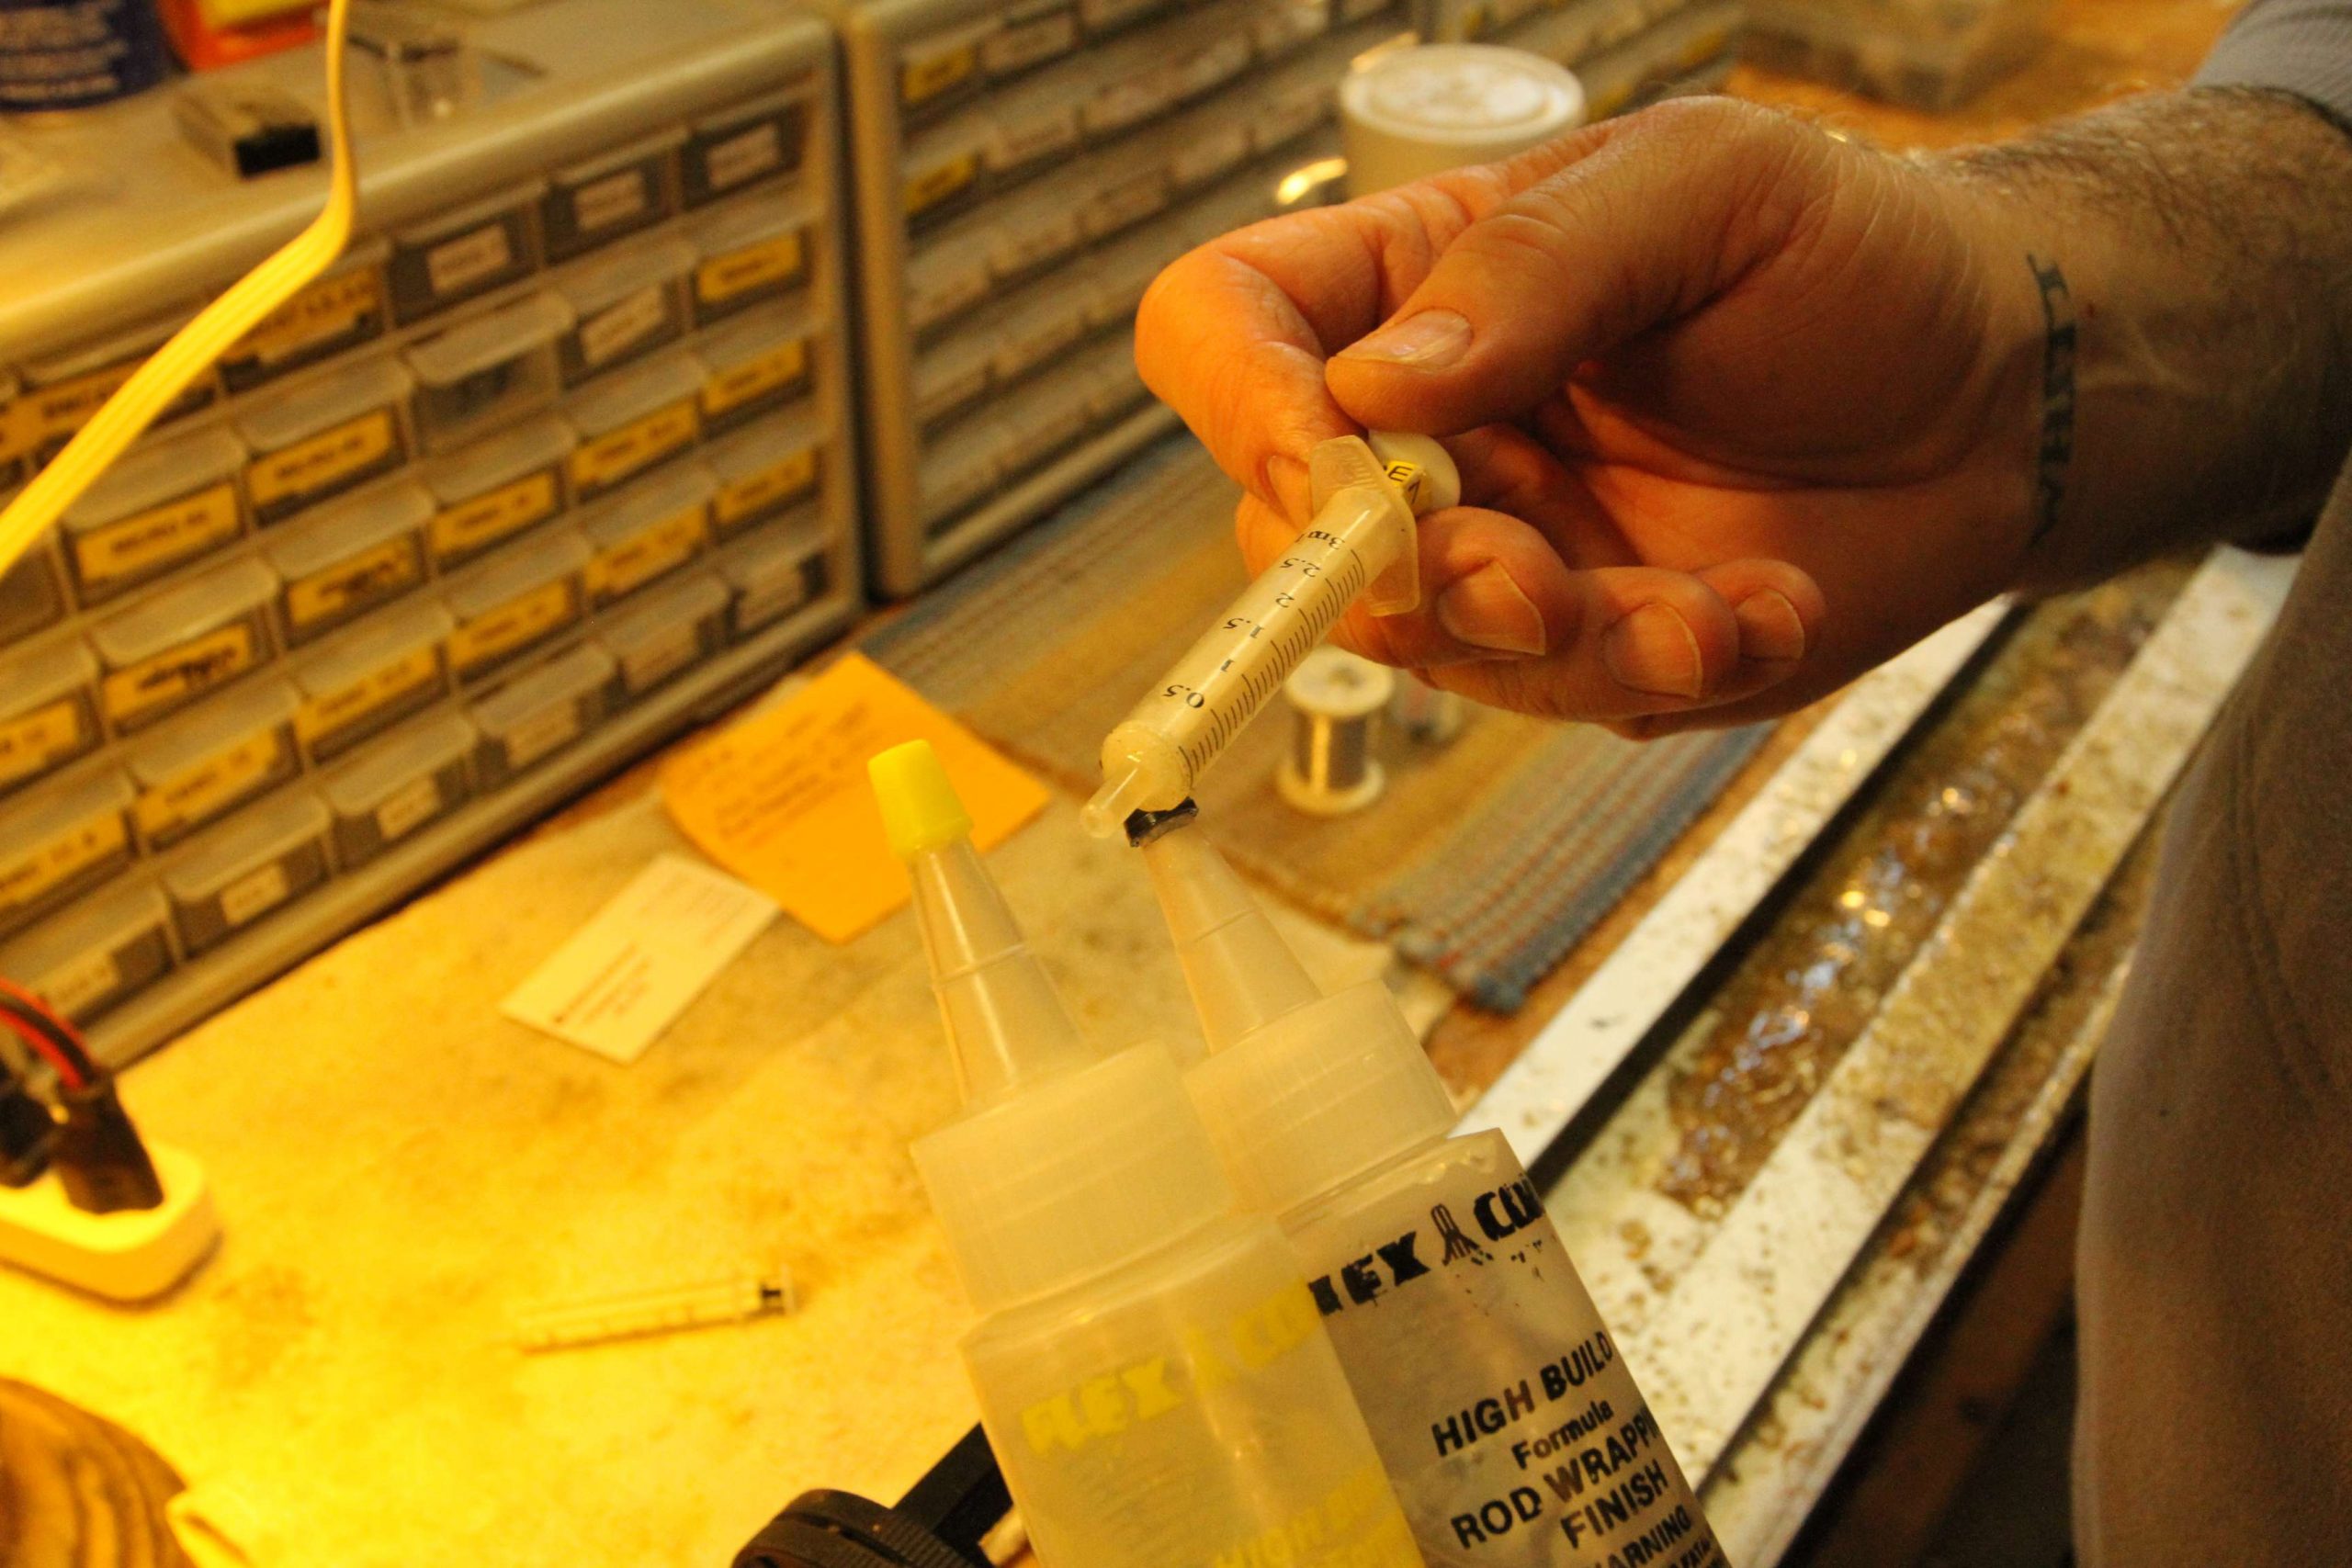
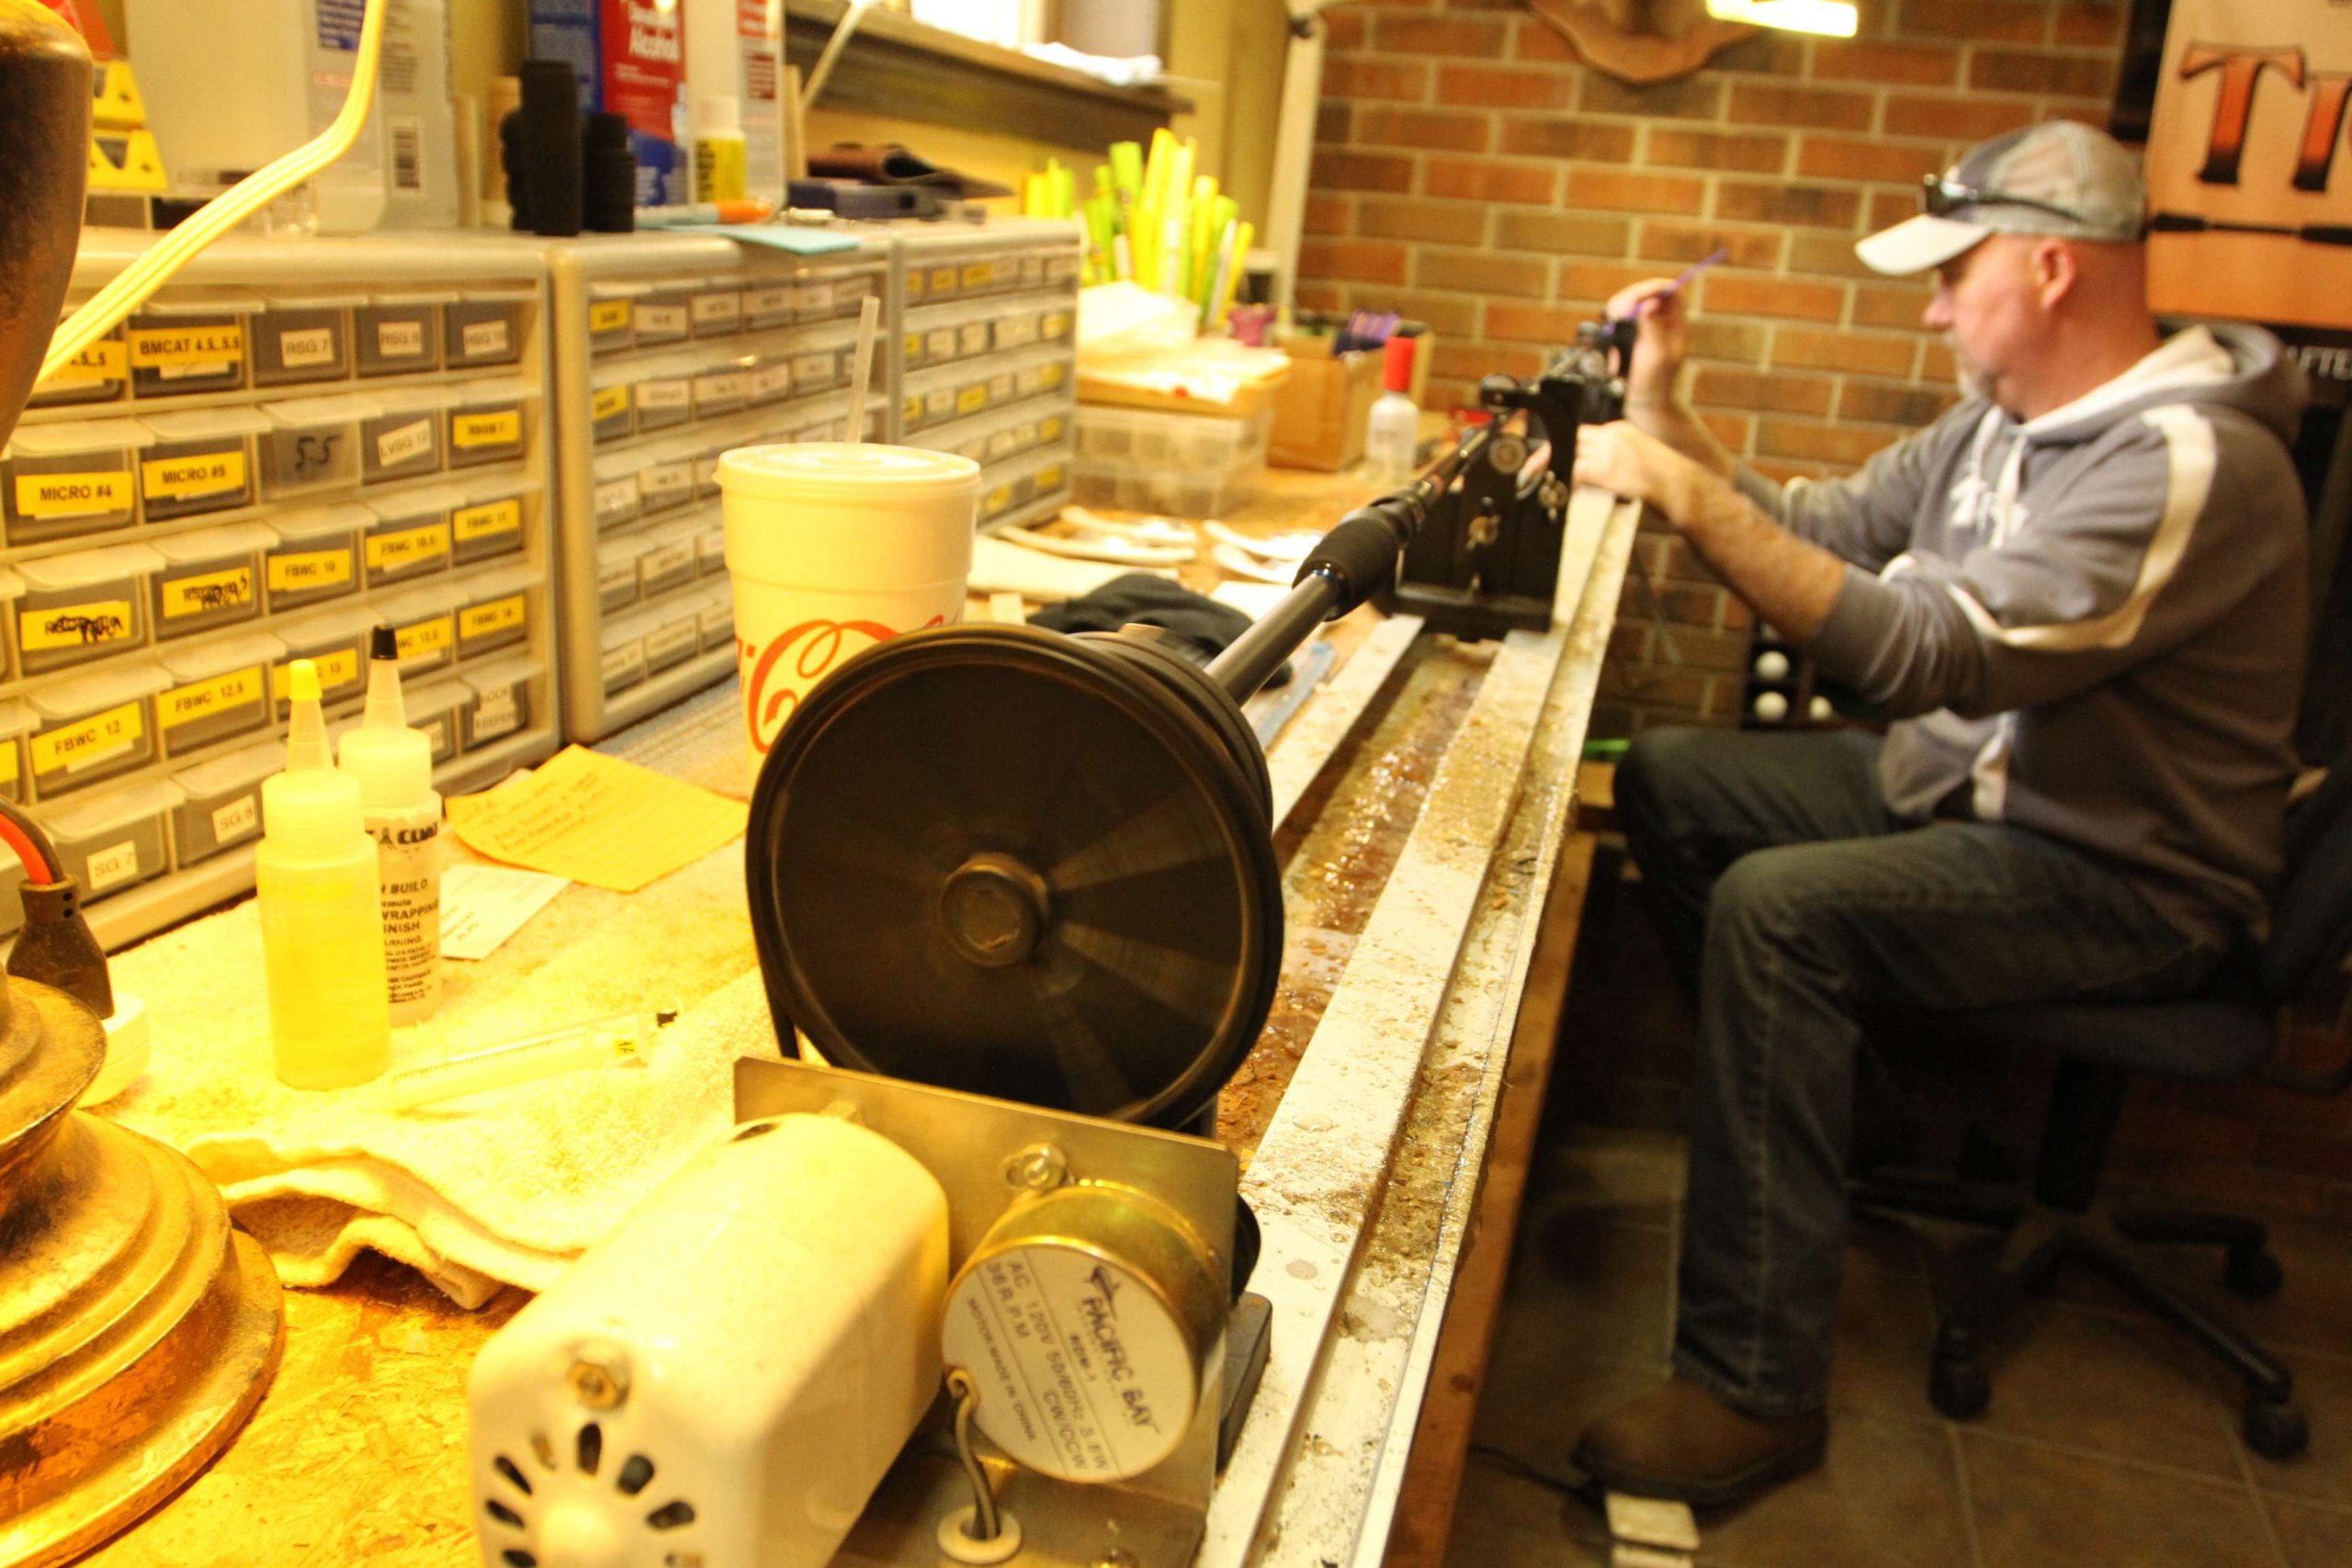
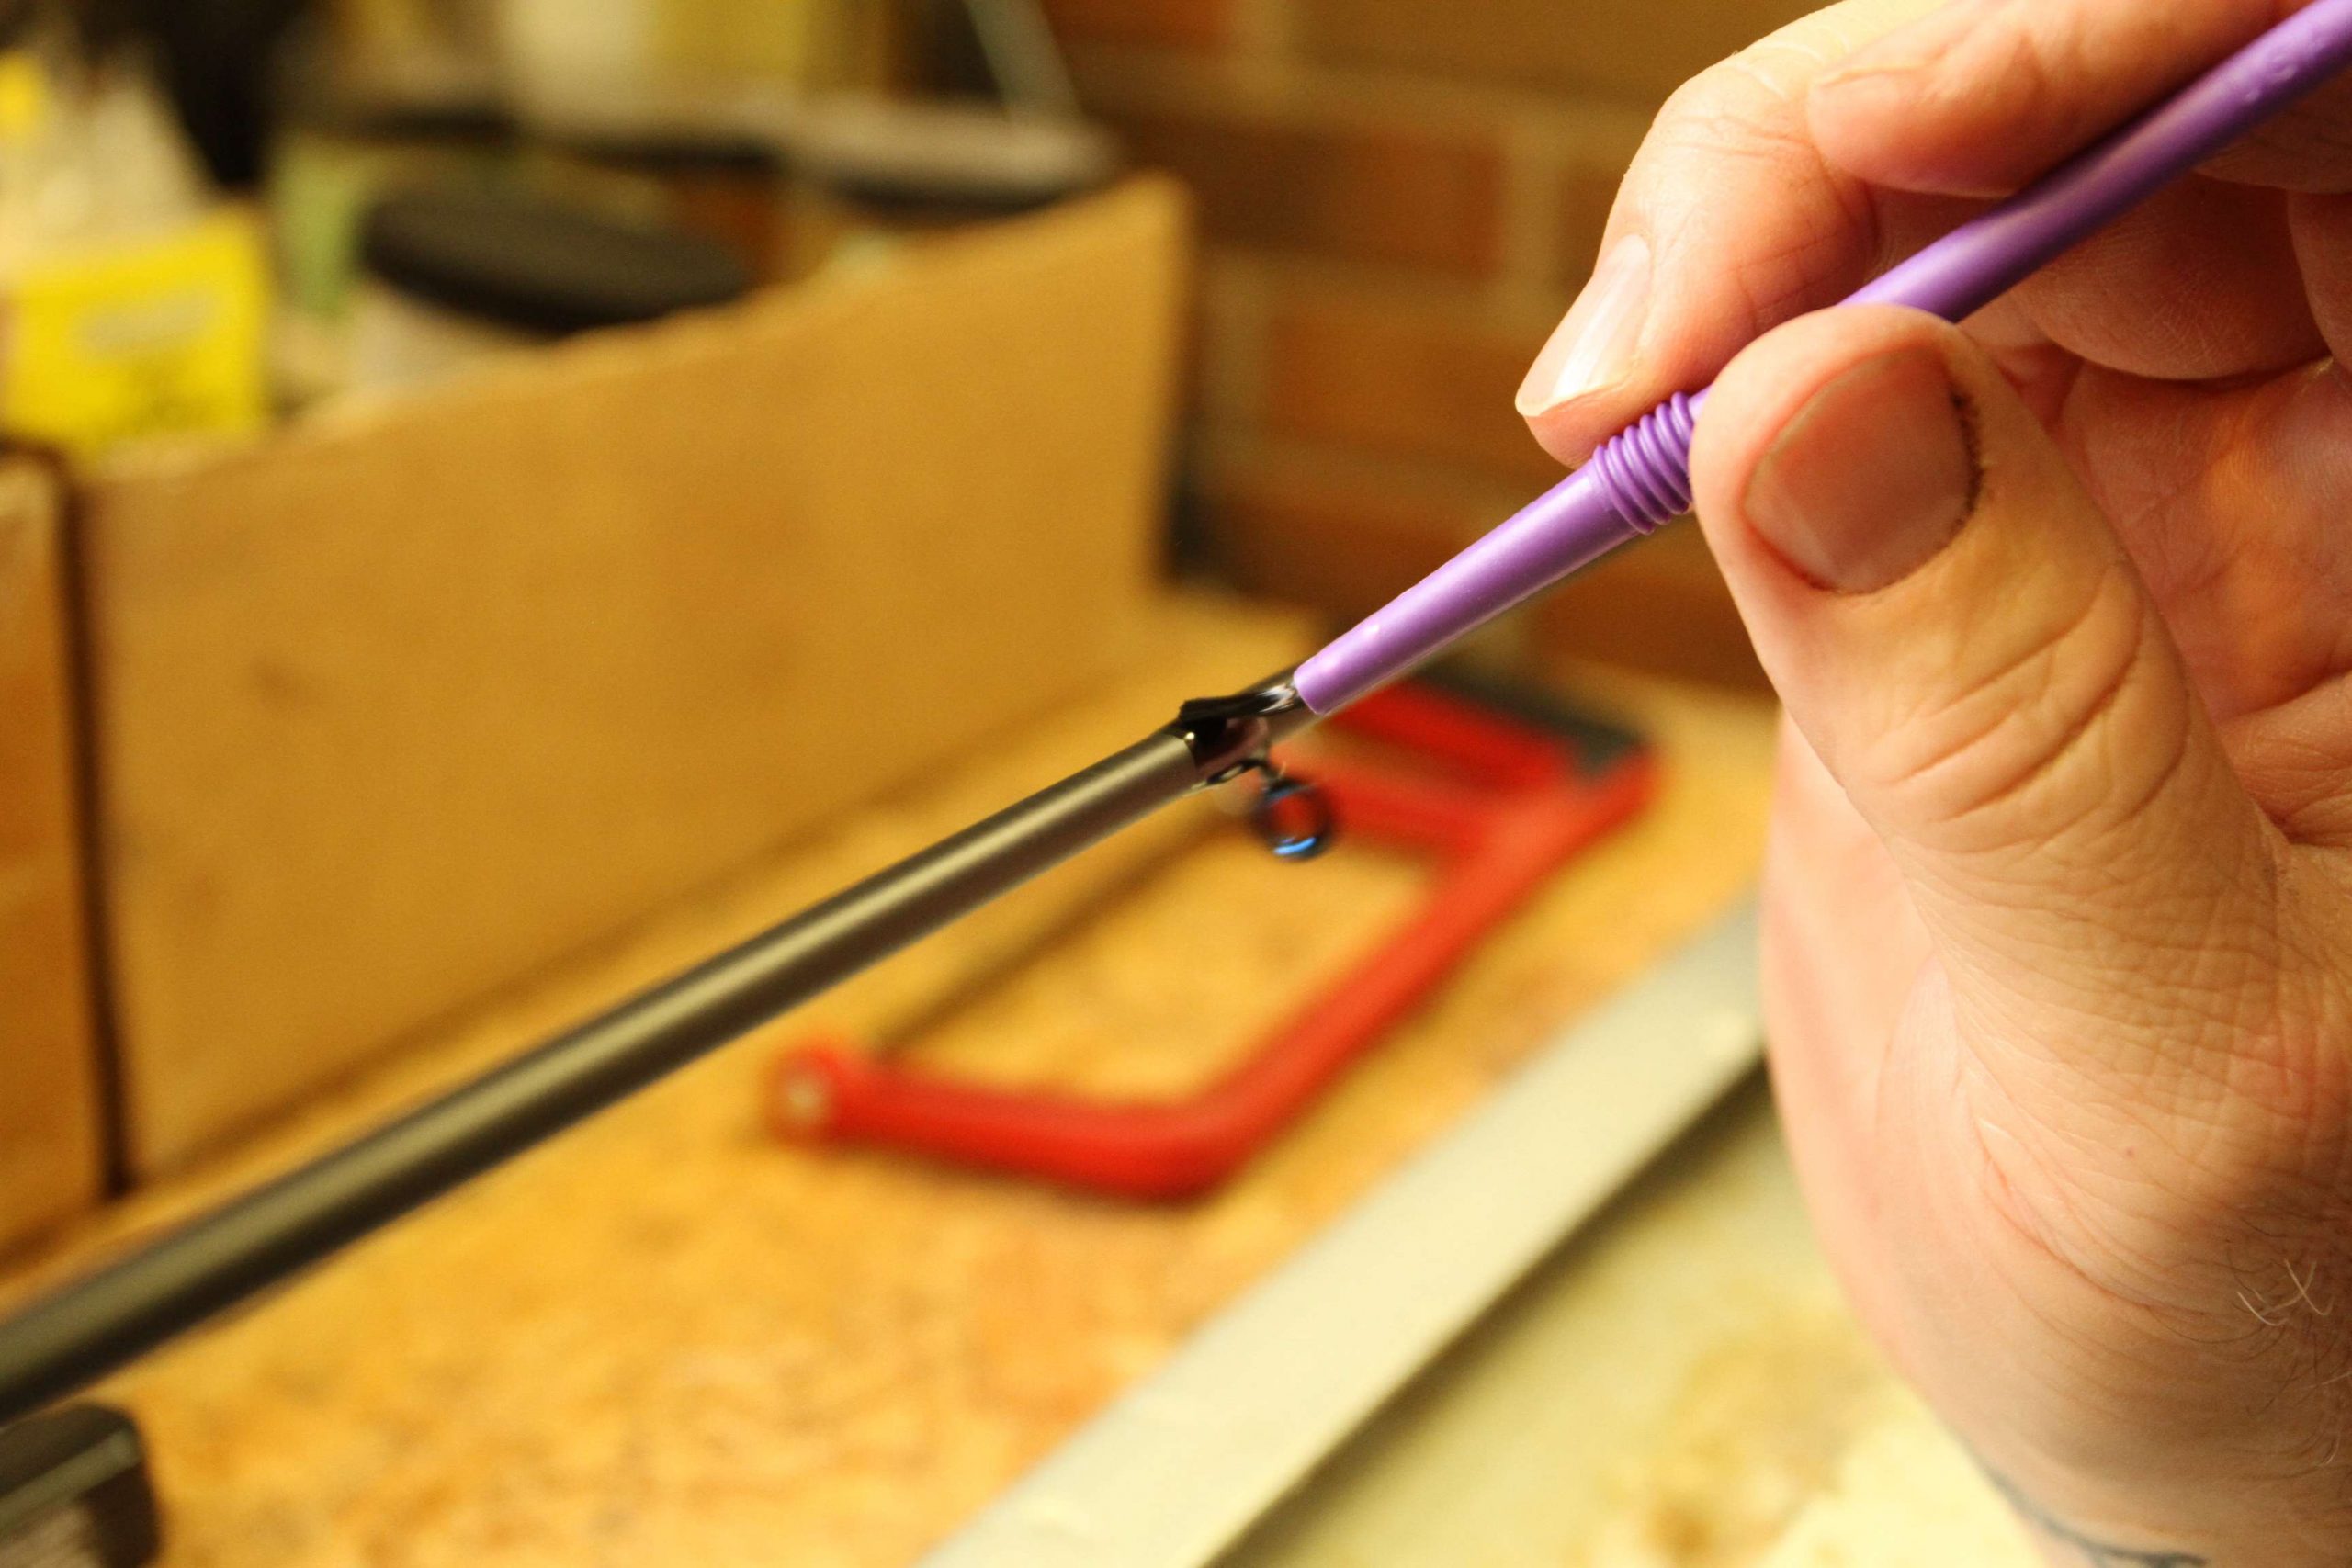
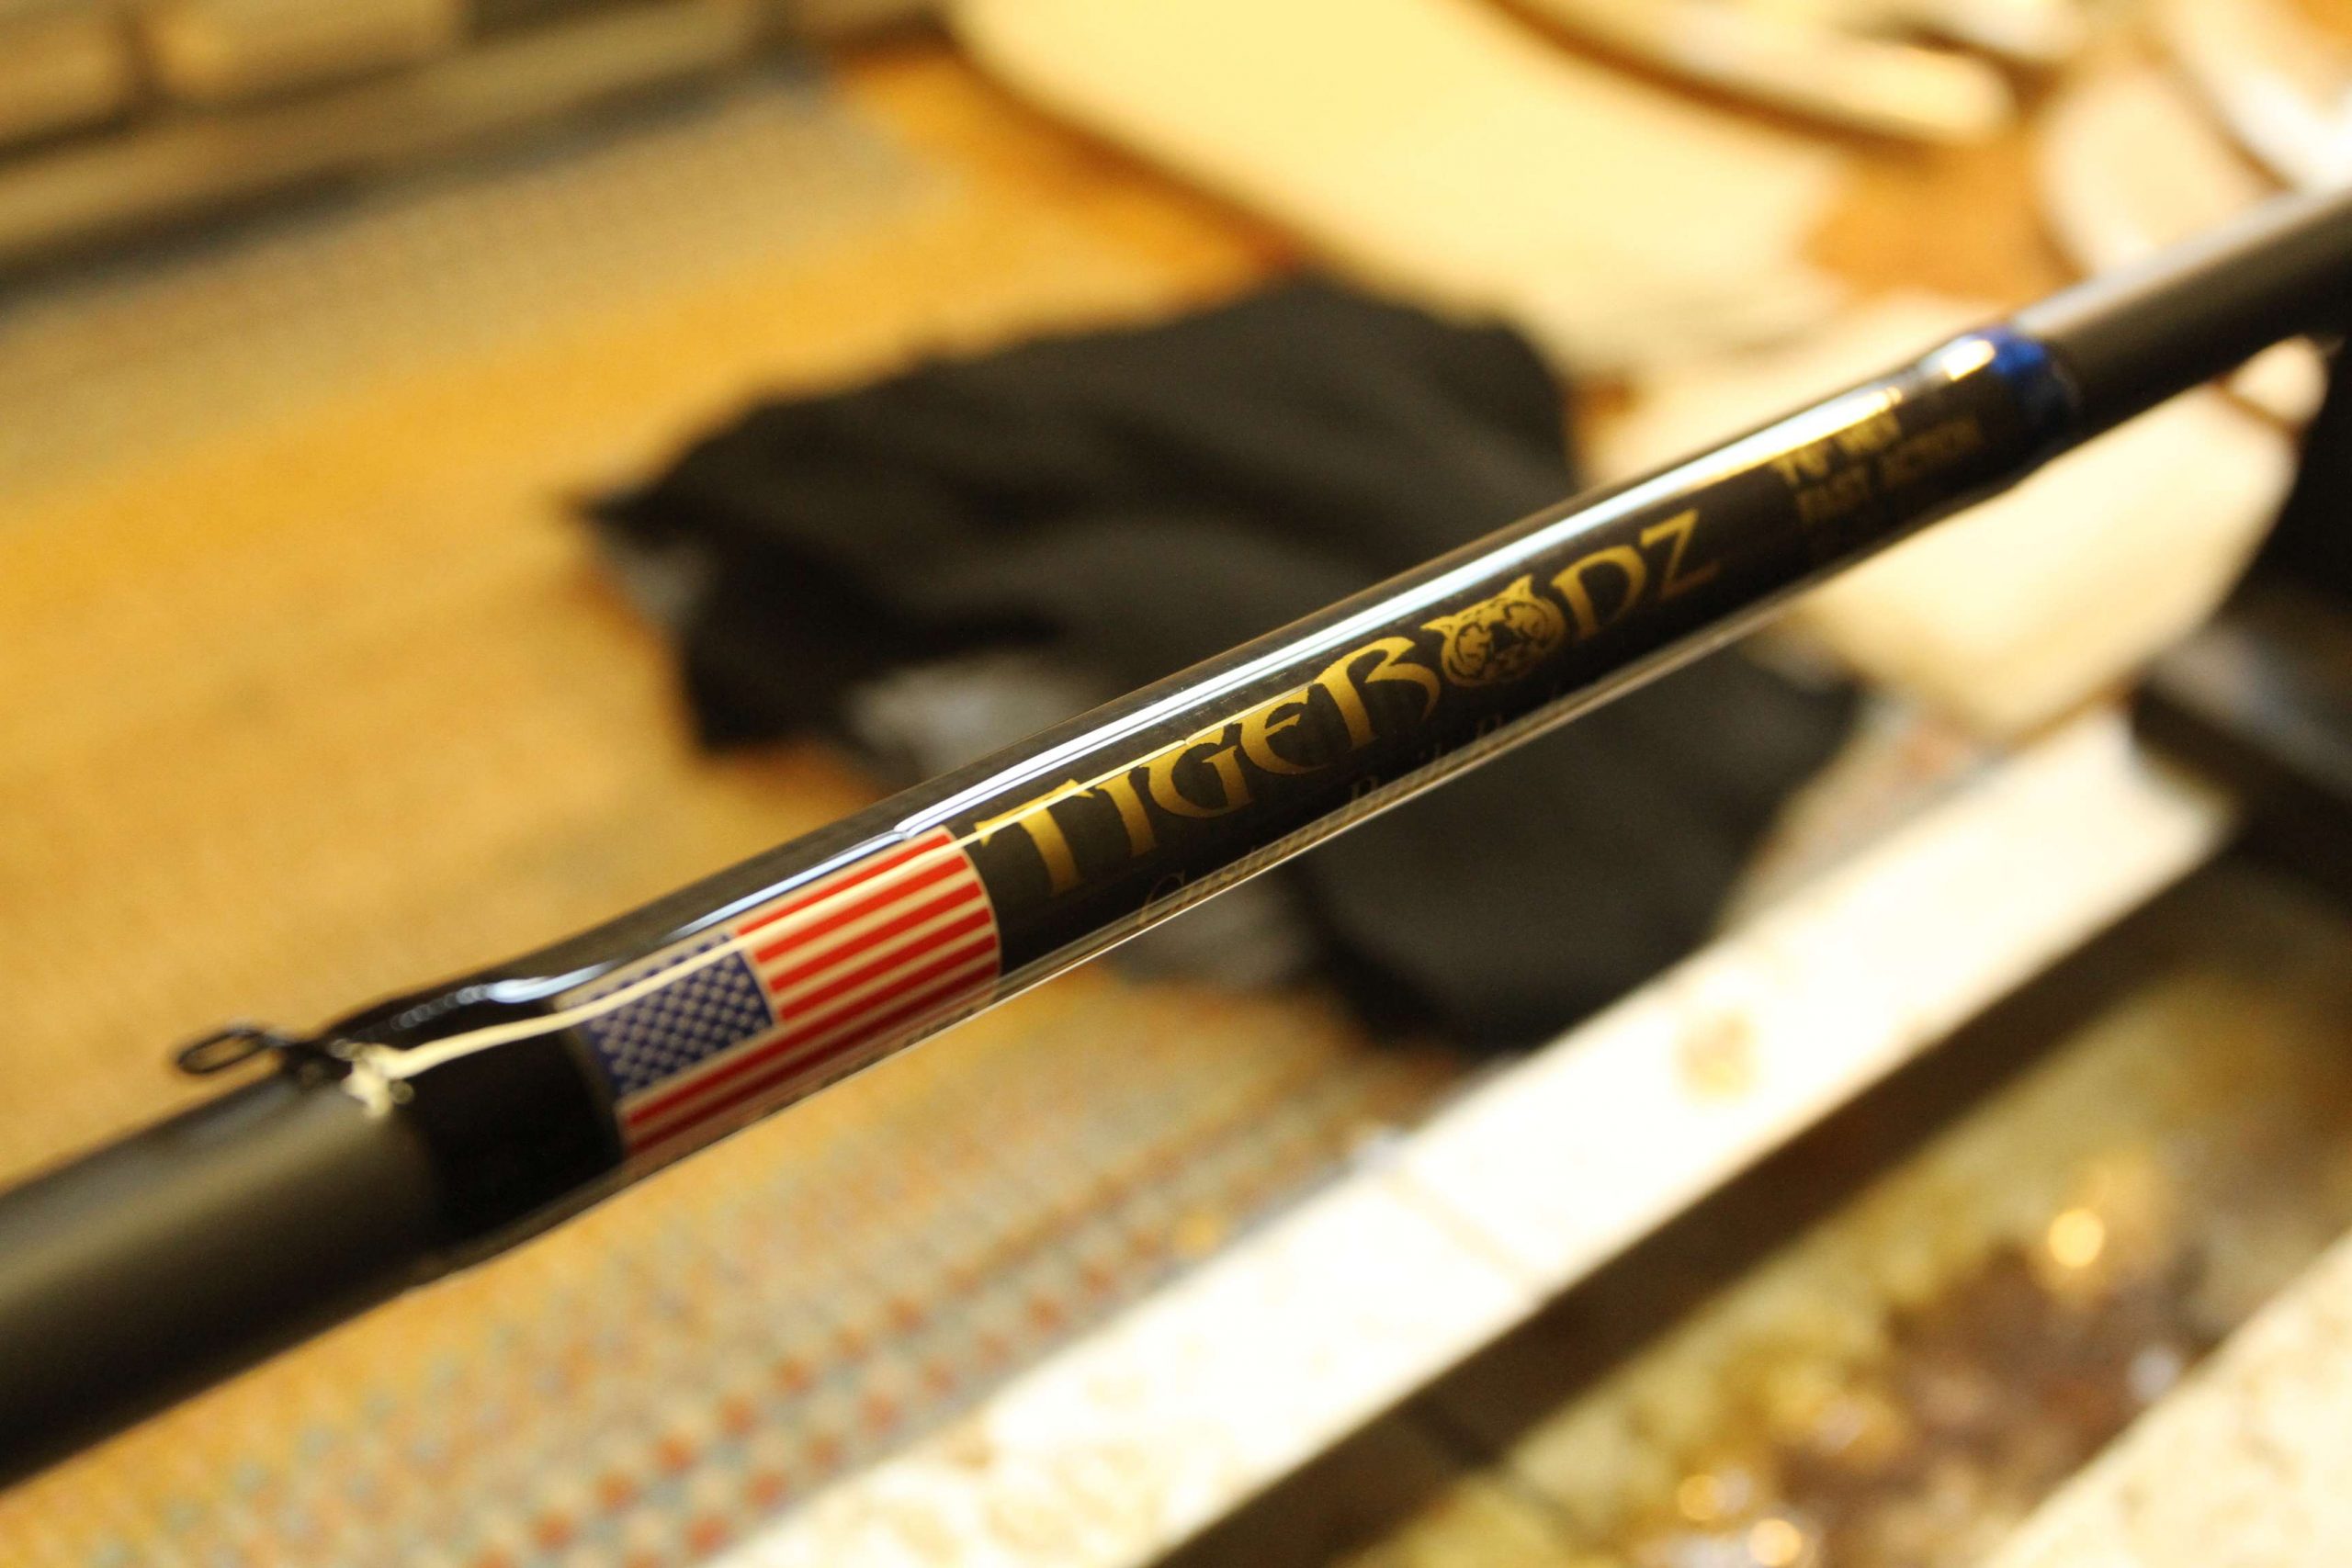
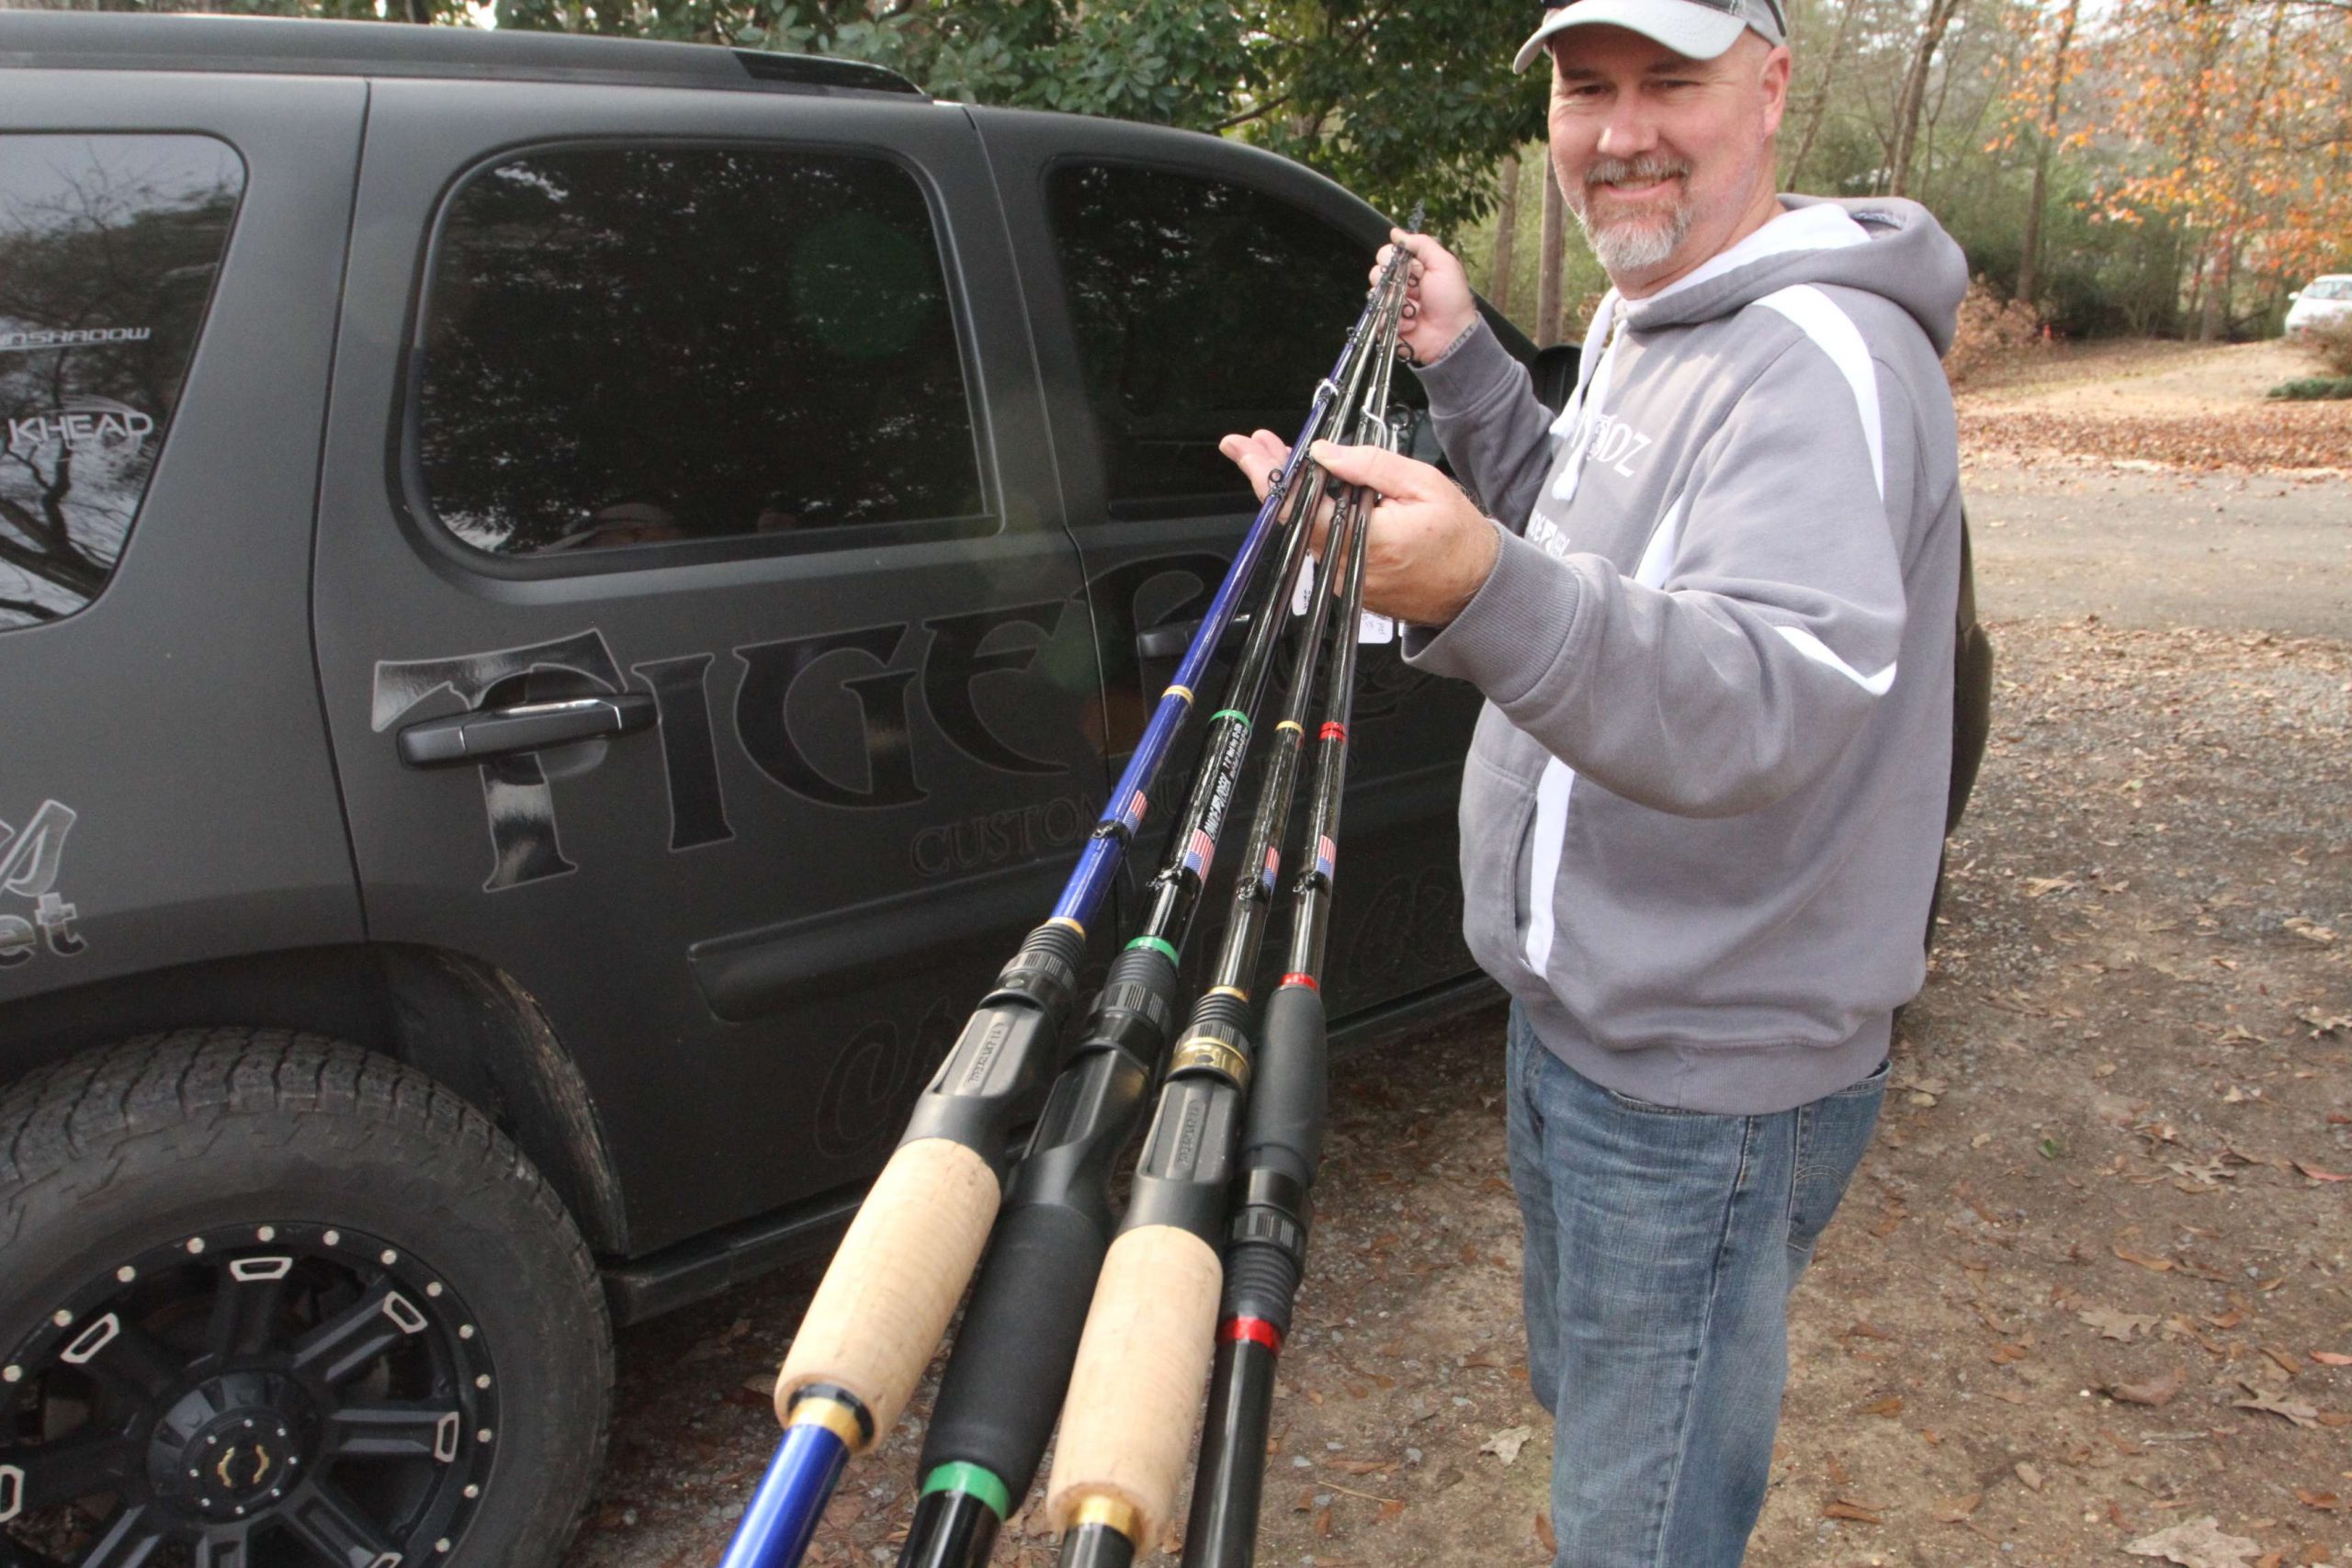
He mentioned that building your own rod is a very satisfying accomplishment. If you’re a DIY kinda angler, I suggest you look into building your own. Or, if you happen to be a rod junkie like me, you could even speak with him about developing something specific, or order one his many models.