JACKPLATE AND PROP REPLACEMENT
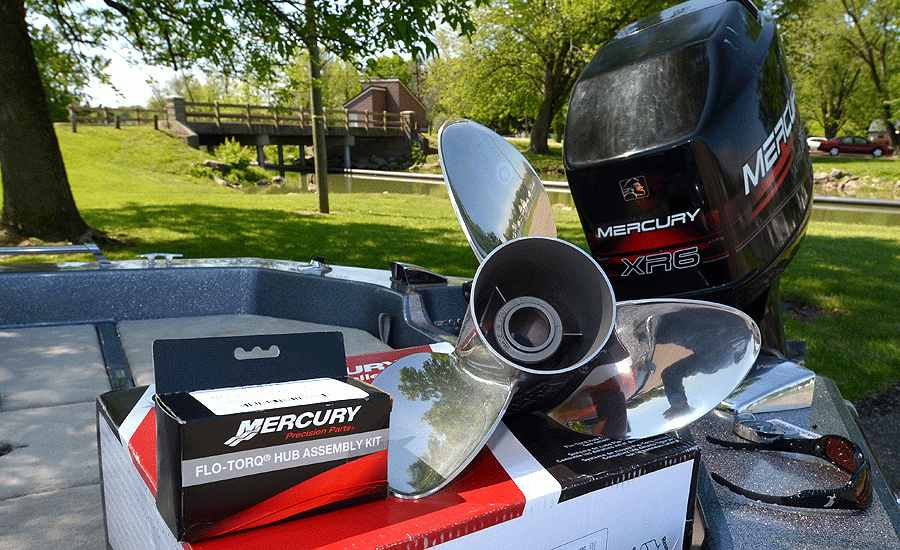
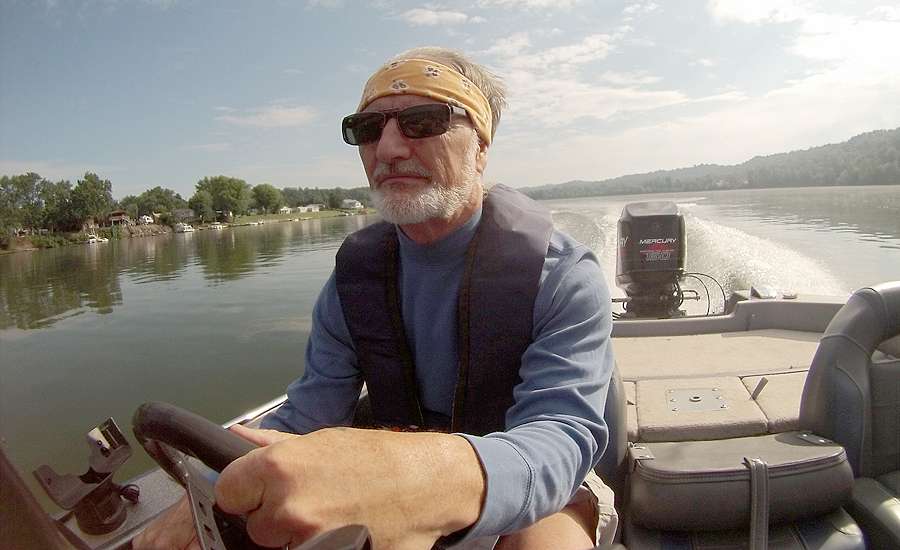
My used bass boat did not have a jackplate or a stainless steel prop when I bought it. Both are necessary to achieve peak performance and fuel efficiency. My boatâs top speed with the aluminum prop that came on the 1999 Mercury XR6 150 hp was about 45 mph. That just wouldnât do.
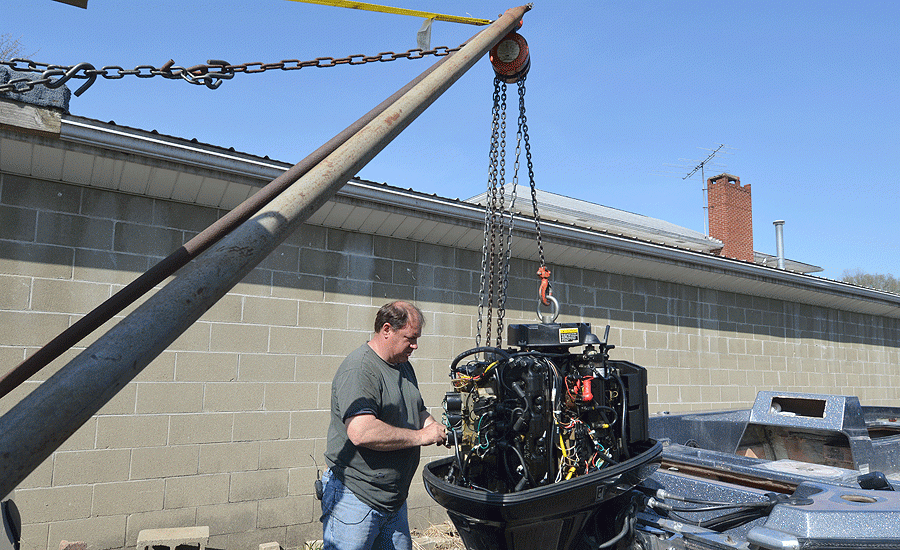
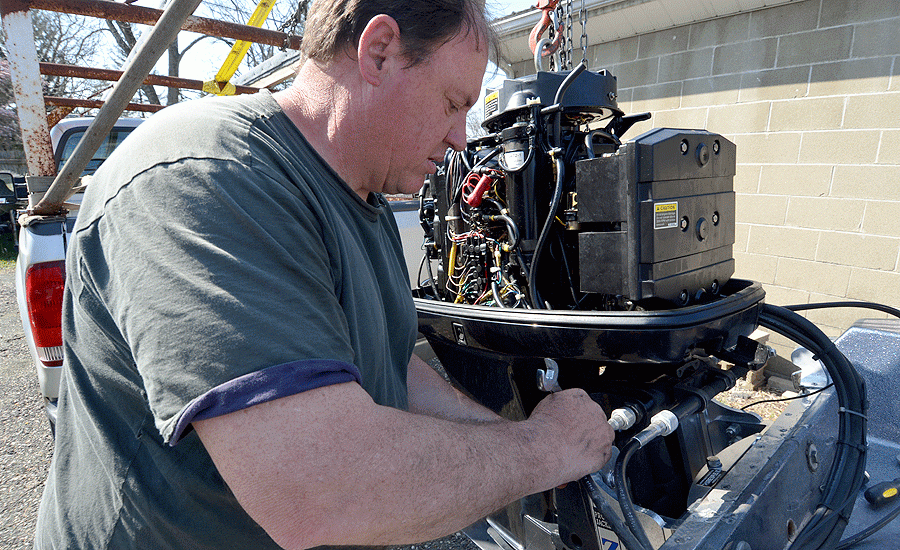
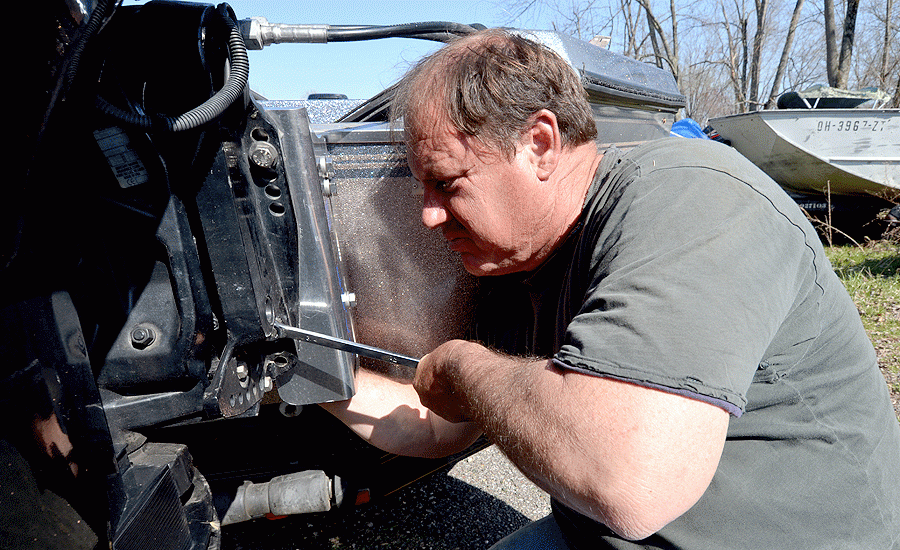
I didnât feel comfortable installing a jackplate myself. I donât have a winch or the tools needed to lift the outboard. Attempting to detach the outboard without a winch could have resulted in costly damage.
I wisely enlisted Blain Schwarzel, a superb bass boat mechanic at Schwarzel Marine in Hockingport, Ohio, to install the jackplate for me.
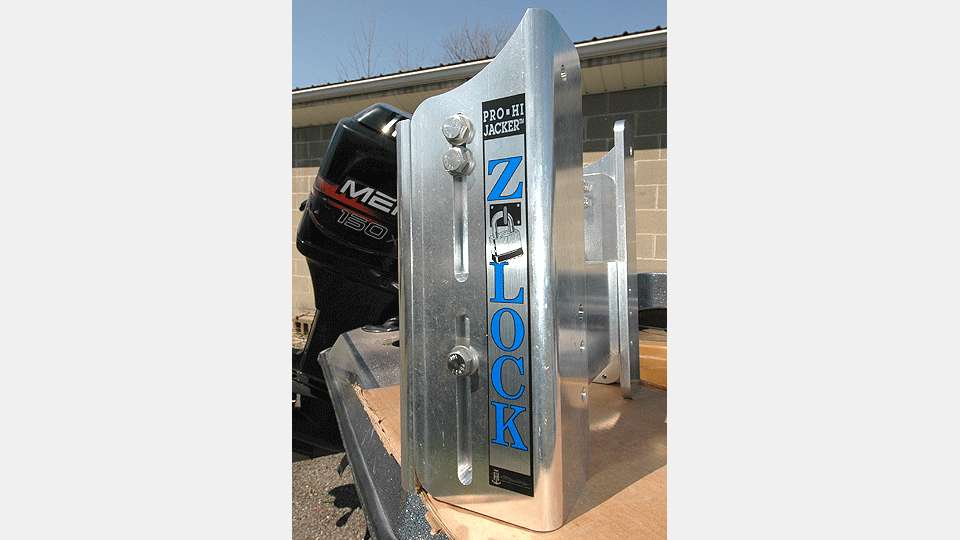
I elected to go with a manual TH Marine Z-LOCK jackplate rather than a more costly hydraulic jackplate. The sturdy Z-LOCK is made from 1/2-inch thick aircraft aluminum. It handles outboards up to 300 hp and is available in a 6-, 8- or 10-inch setback. I chose the 6-inch setback.
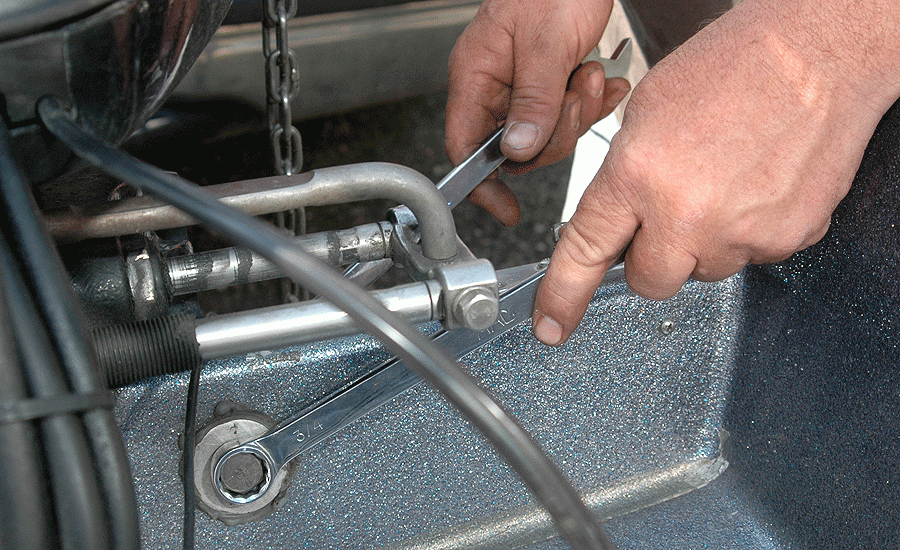
Fortunately for me, the boatâs steering cables were long enough to accept the jackplate. That eliminated the expense of buying longer steering cables.
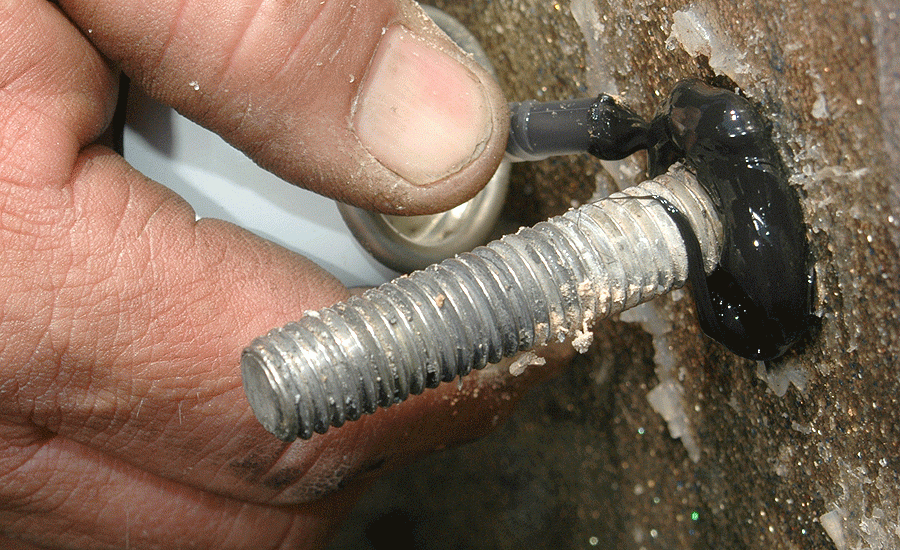
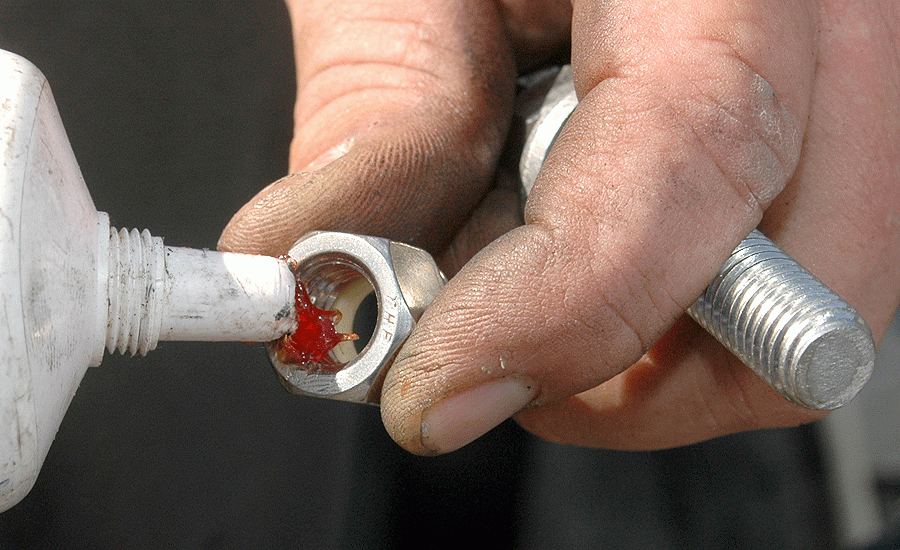
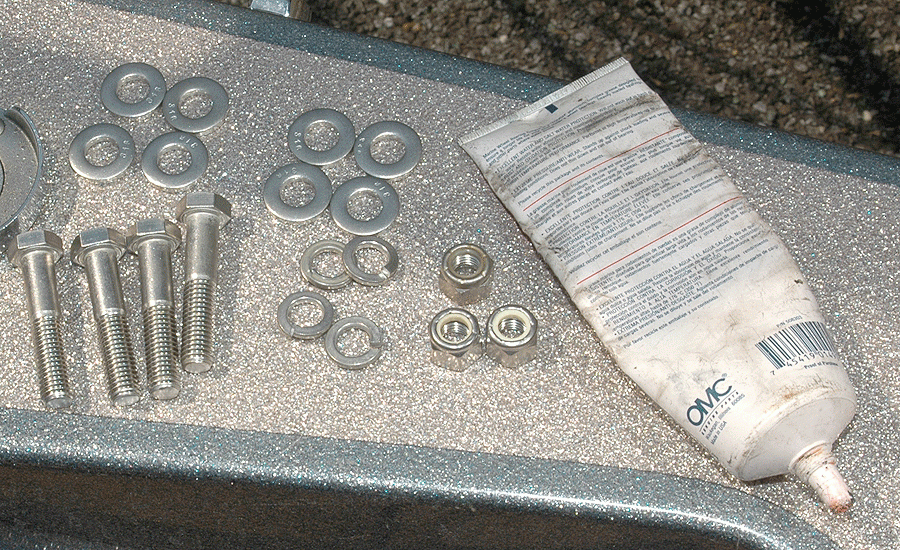
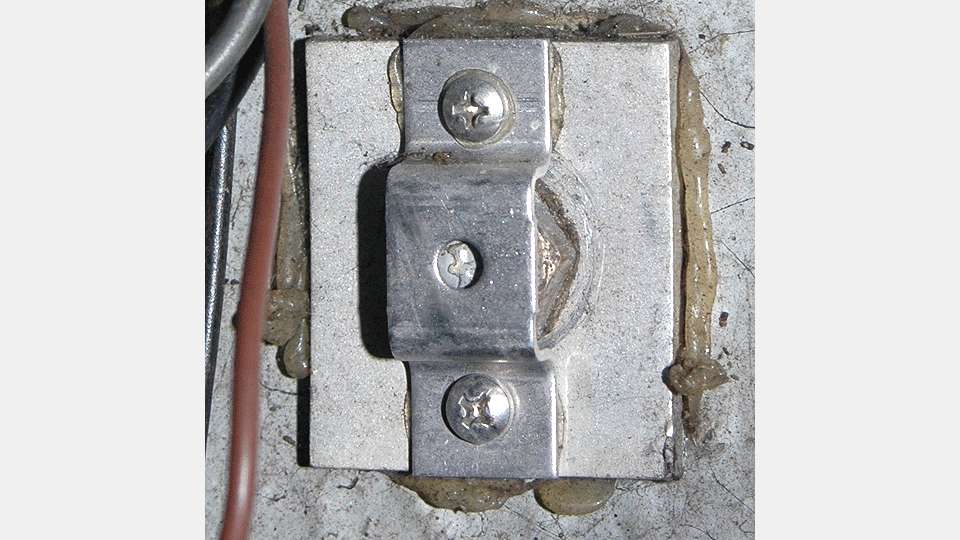
Without grease, threading a stainless steel nut onto a stainless steel bolt is likely to result in galling. This is a phenomenon whereby friction can weld the nut to the bolt and prevent the nut from being threaded into place. If this happens, you must cut off the bolt or drill the bolt out of the nut.

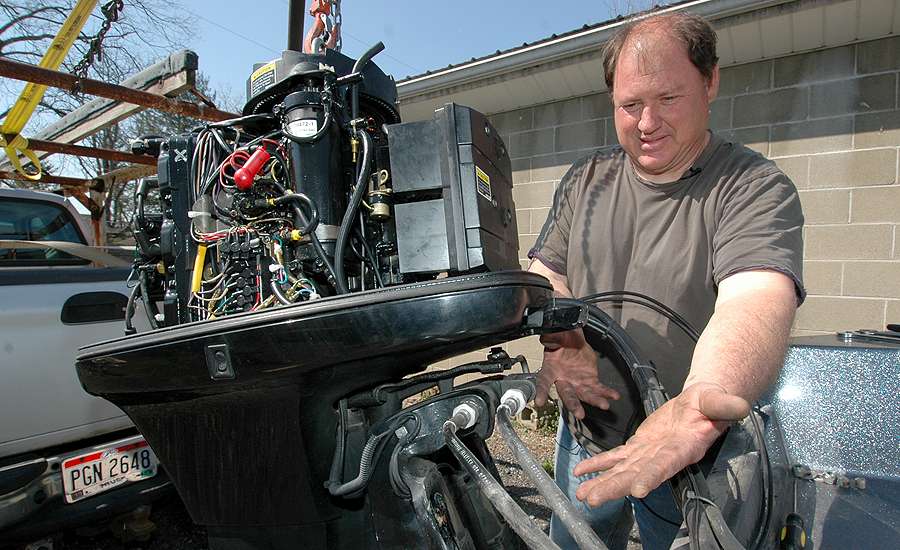
I did online research, talked to marinas, boat companies and Mercury techies to get opinions on the best prop for my boat and motor combination. When I started this task, I was thinking in terms of a four-blade prop. Four blades generally hold better at crawl speed when youâre navigating huge waves on big water, such as Lake Erie.
However, Mercuryâs three-bladed Tempest prop with a 23-inch pitch was recommended to me from several sources, including anglers who had a boat and motor similar to mine. The Tempest propâs blades have a large surface area, which allows it to perform well at top end and at crawl speed in treacherous water.
The Tempest prop has proved to be an excellent match. My hole shot and mid-range acceleration are tremendous. Also, Iâve bucked big waves with the boat at Champlain, Lake Erie and Lake St. Clair and the prop has yet to lose its grip.
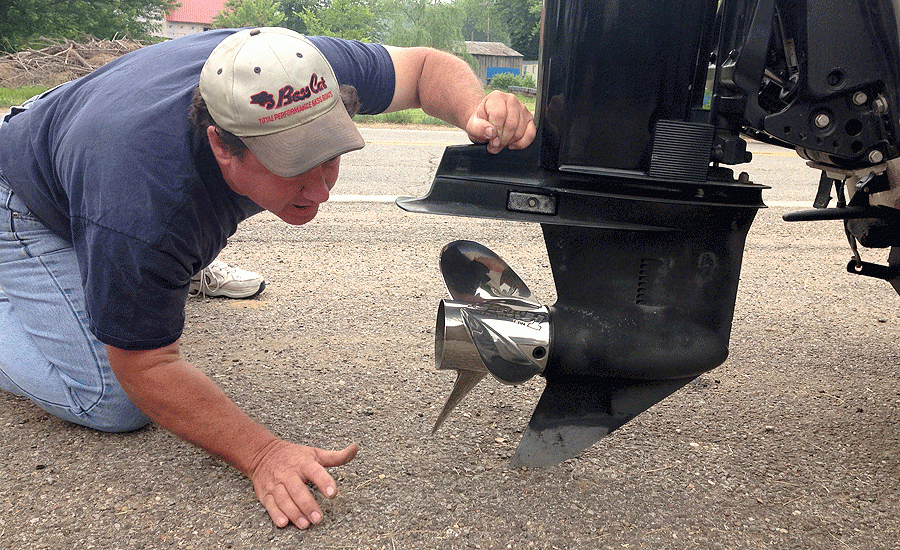
âThe rule of thumb is that for every inch the outboard is set back from the running pad, you raise the engine height ½ inch,â Schwarzel said.
Given how well the boat performs, Iâve found no need to make any adjustments to the engine height. Schwarzel knows his stuff.


