Water in the gasoline is an outboard’s worst enemy. That’s why every bass boat should have a fuel/water separator between the gas tank or tanks and the engine. The tiny fuel filter under an outboard’s cowling isn’t sufficient for the amount of water that collects in today’s ethanol-blended gasoline.
The worst-case scenario is called phase separation. This is when water in the gas separates and collects in the bottom of your gas tank. Since the gas line sucks fuel form the bottom of the tank, your outboard gets hit with a slug of pure water. The result could be a blown powerhead. The first segment of this gallery shows you how to install a fuel/water separator.
INSTALLING A FUEL/WATER SEPARATOR
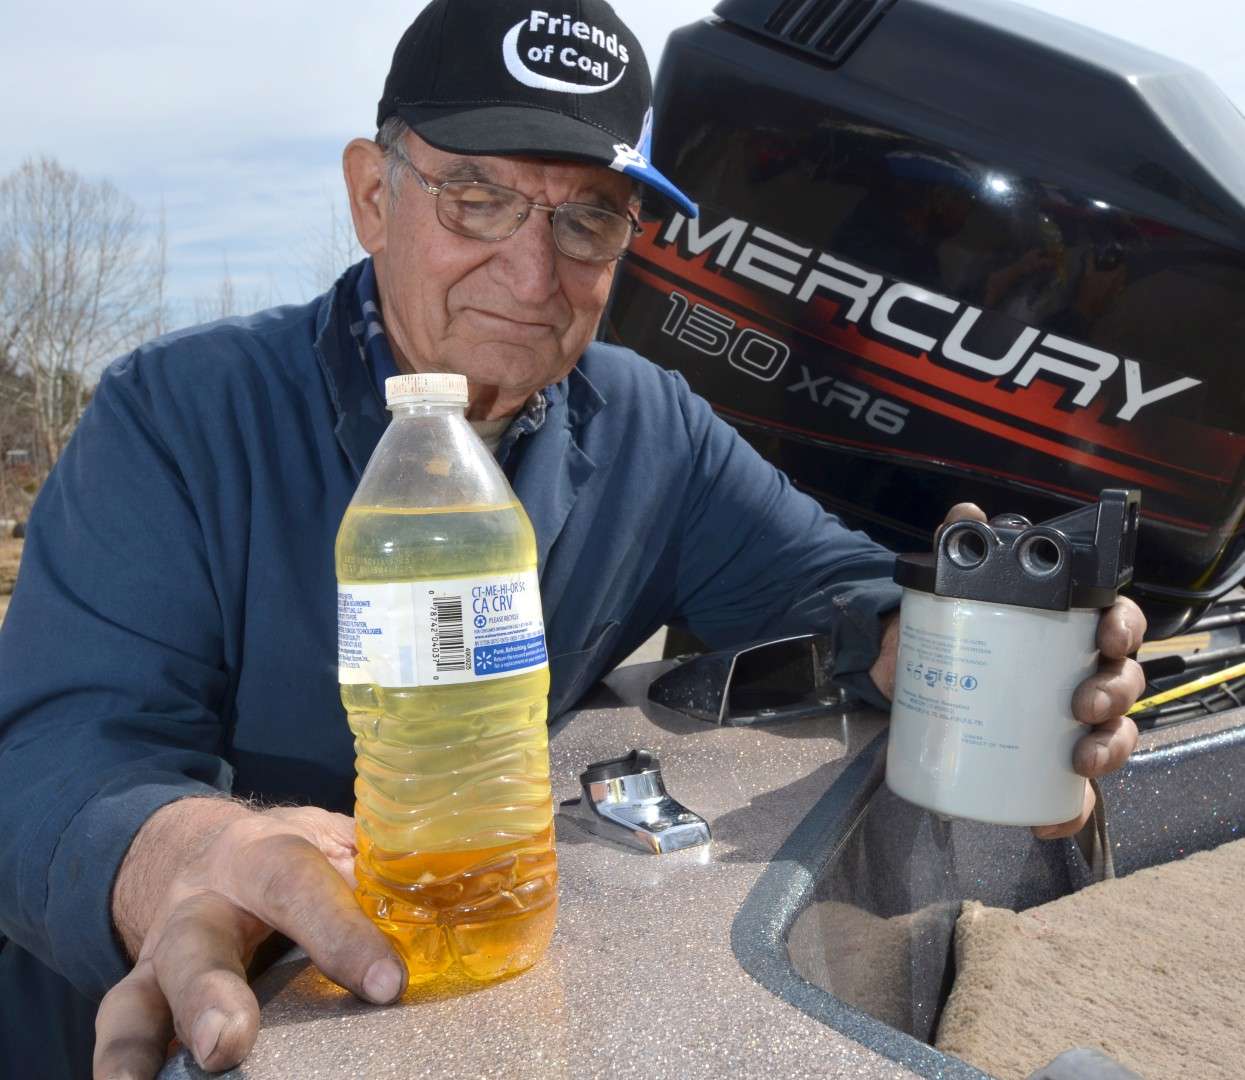
John Schwarzel of Schwarzel Marine in Hockingport, Ohio, shows fuel that was poured from a fuel/water separator after a season of use. Note how the water separated from the gasoline and collected on the bottom of the bottle.

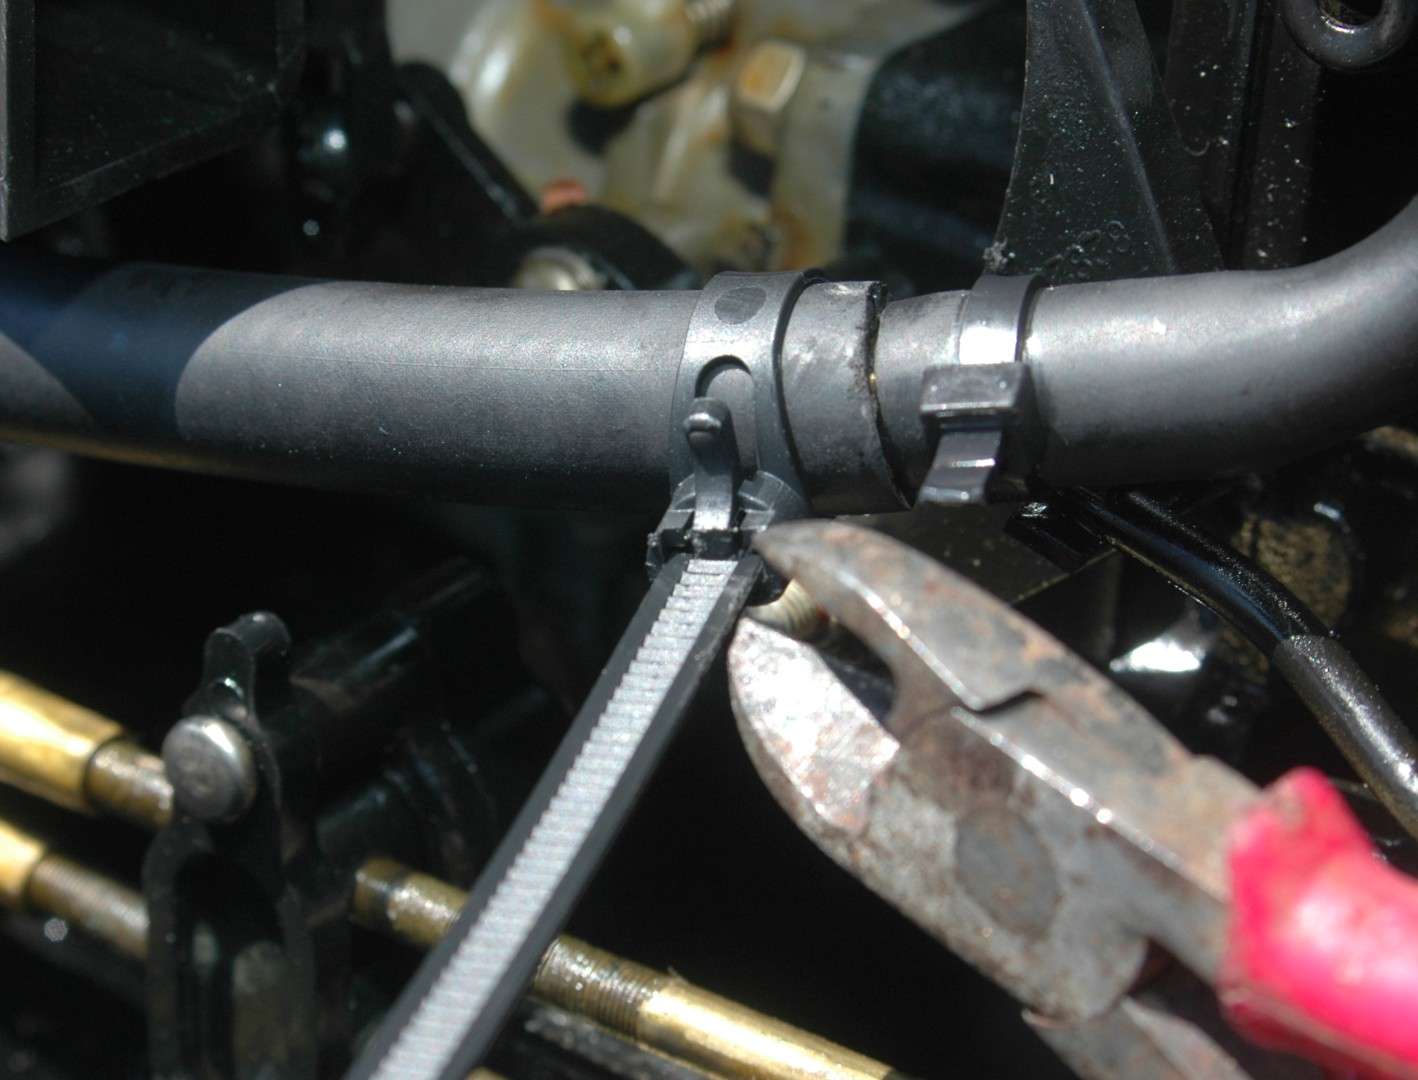
Schwarzel informed me that the primer bulb and fuel lines in my boat needed to be upgraded to avoid ethanol deterioration. If you have an old primer bulb and old fuel lines that are not up to ethanol standards, as I did, they should be replaced too.
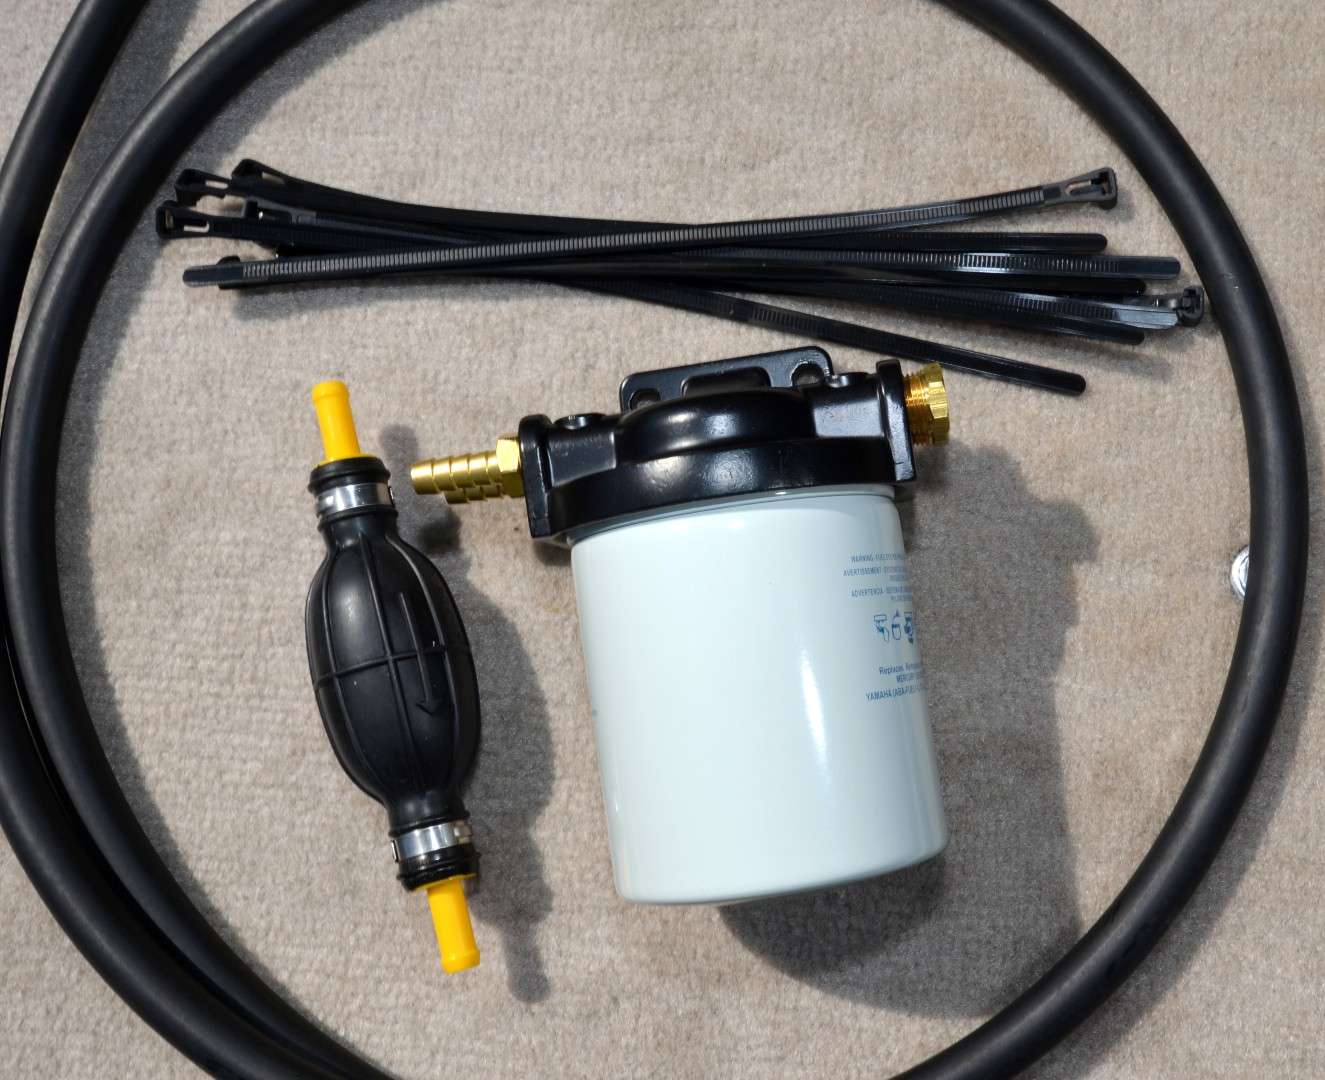
The fuel/water separator (center) looks much like an oil filter. Change the device at the start of every fishing season.

The fuel/water separator bracket lets you connect in/out fuel lines on opposite sides or on the same side. I did the latter.
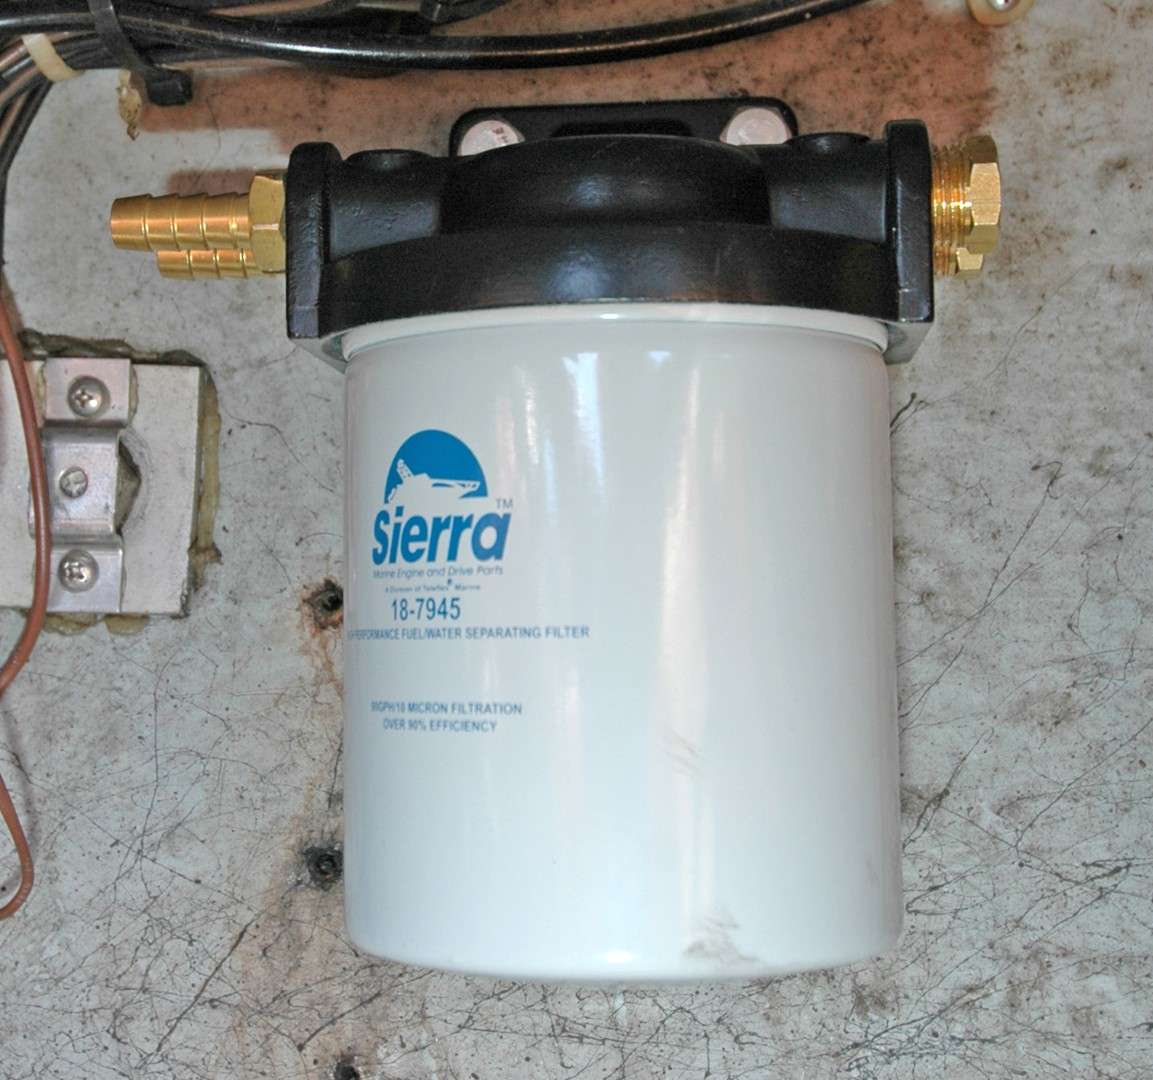
I first mounted the bracket high on the inside of my transom with heavy lag bolts. The filter screws into the bracket.
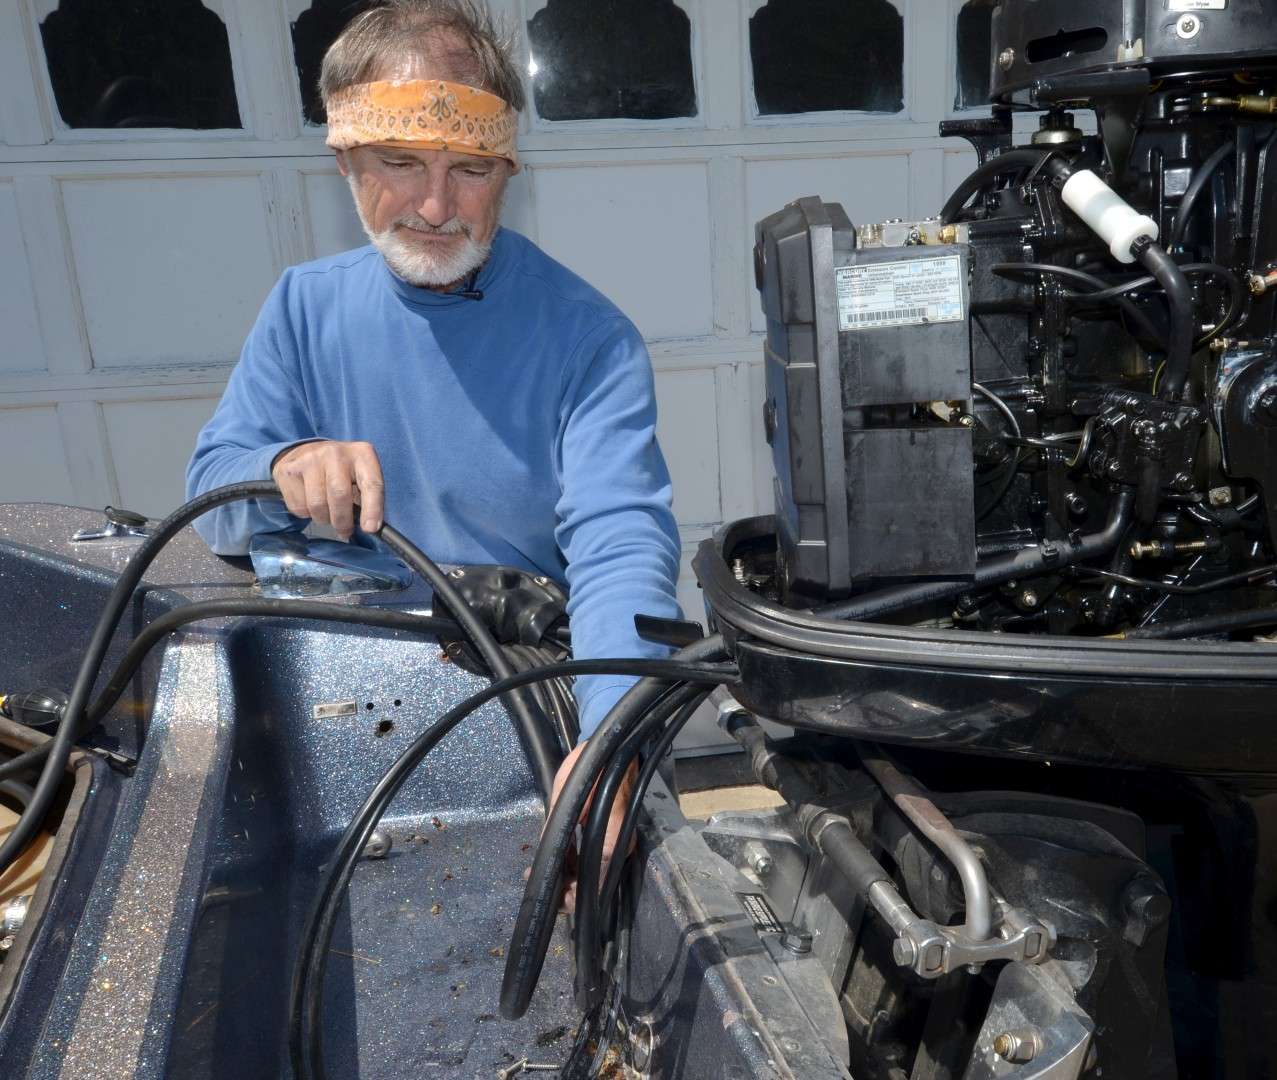
After removing the old fuel line, I started installing the new one where it connects to the outboard under the cowling.
Attach the line from the outboard to the out-flowing connection on the separator and the line from the tank to the in-flow connection.
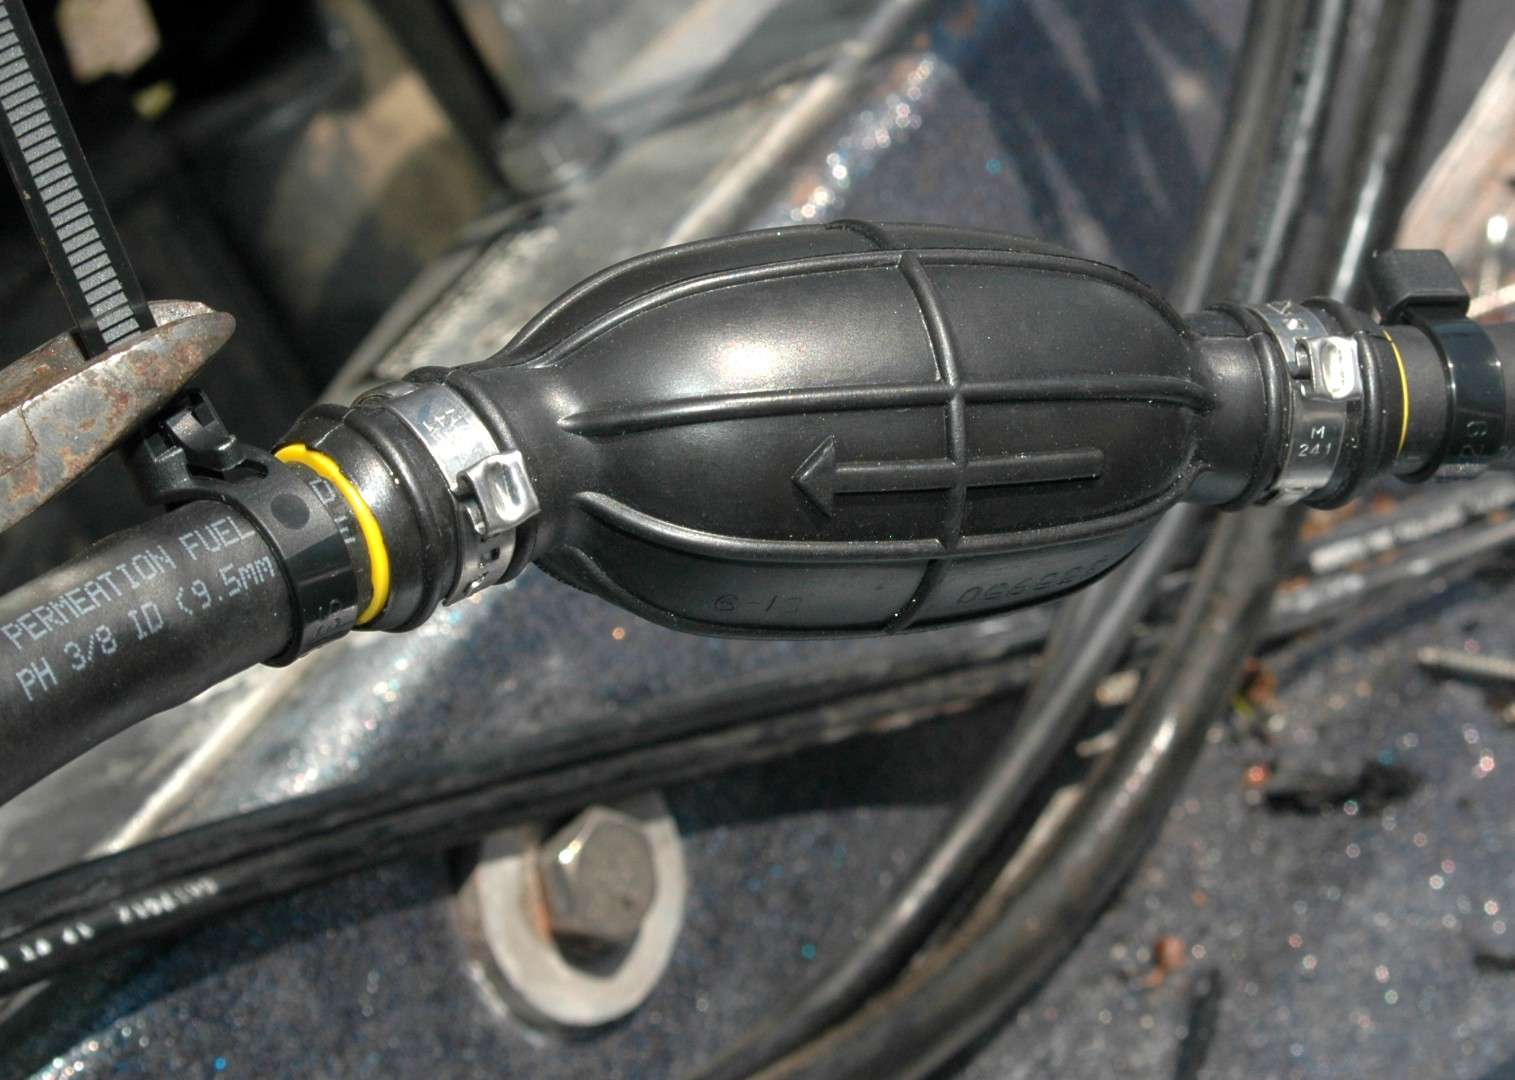
My old primer bulb was located under the back hatch. I placed it above the splash well so I could access it more easily.
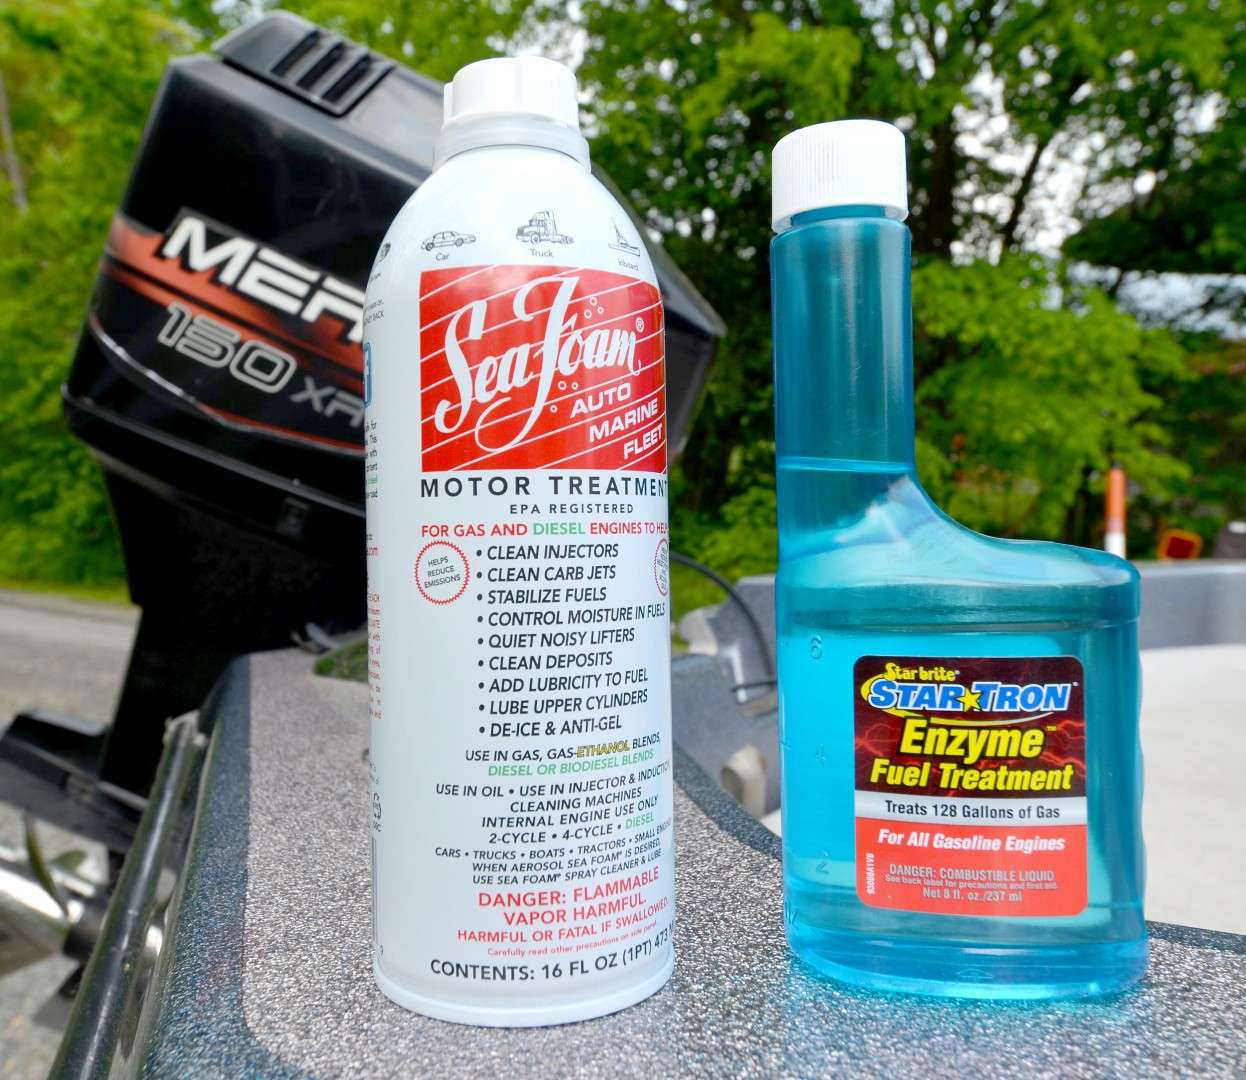
Even with a fuel/water separator, you should use fuel additives to stabilize the gasoline and clean the engine.
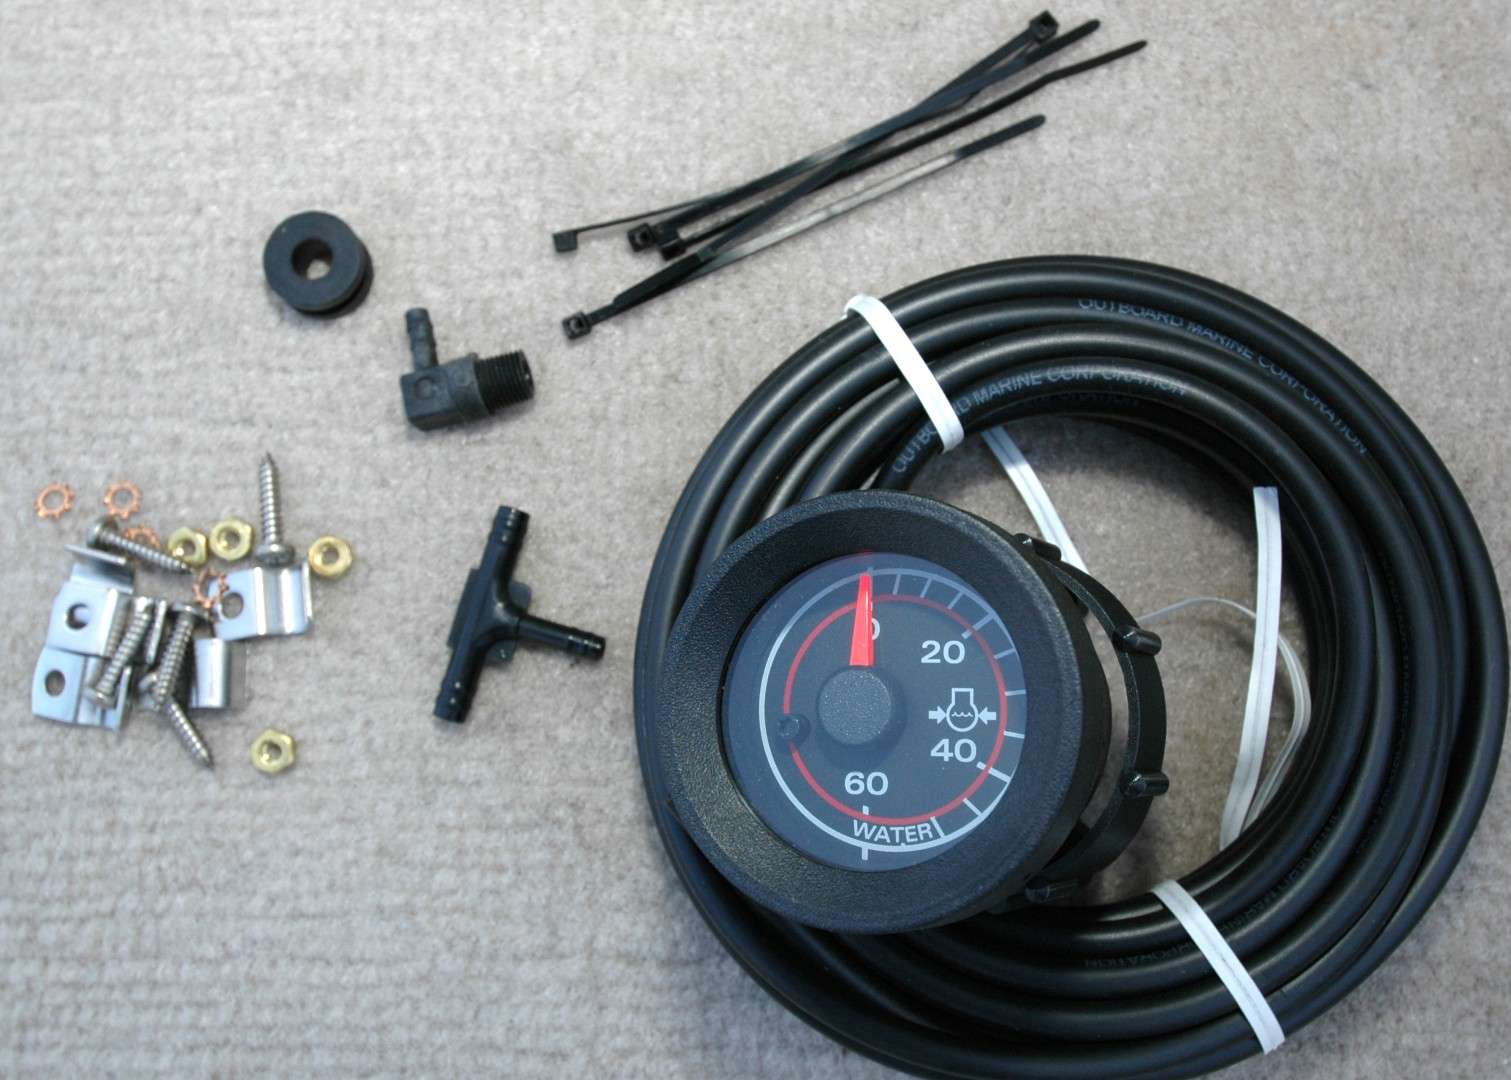
Next up, every bass boat should have a water pressure gauge. It tells you when the water pressure is low before any alarms go off. You can buy a water pressure gauge kit that includes everything needed for installation.
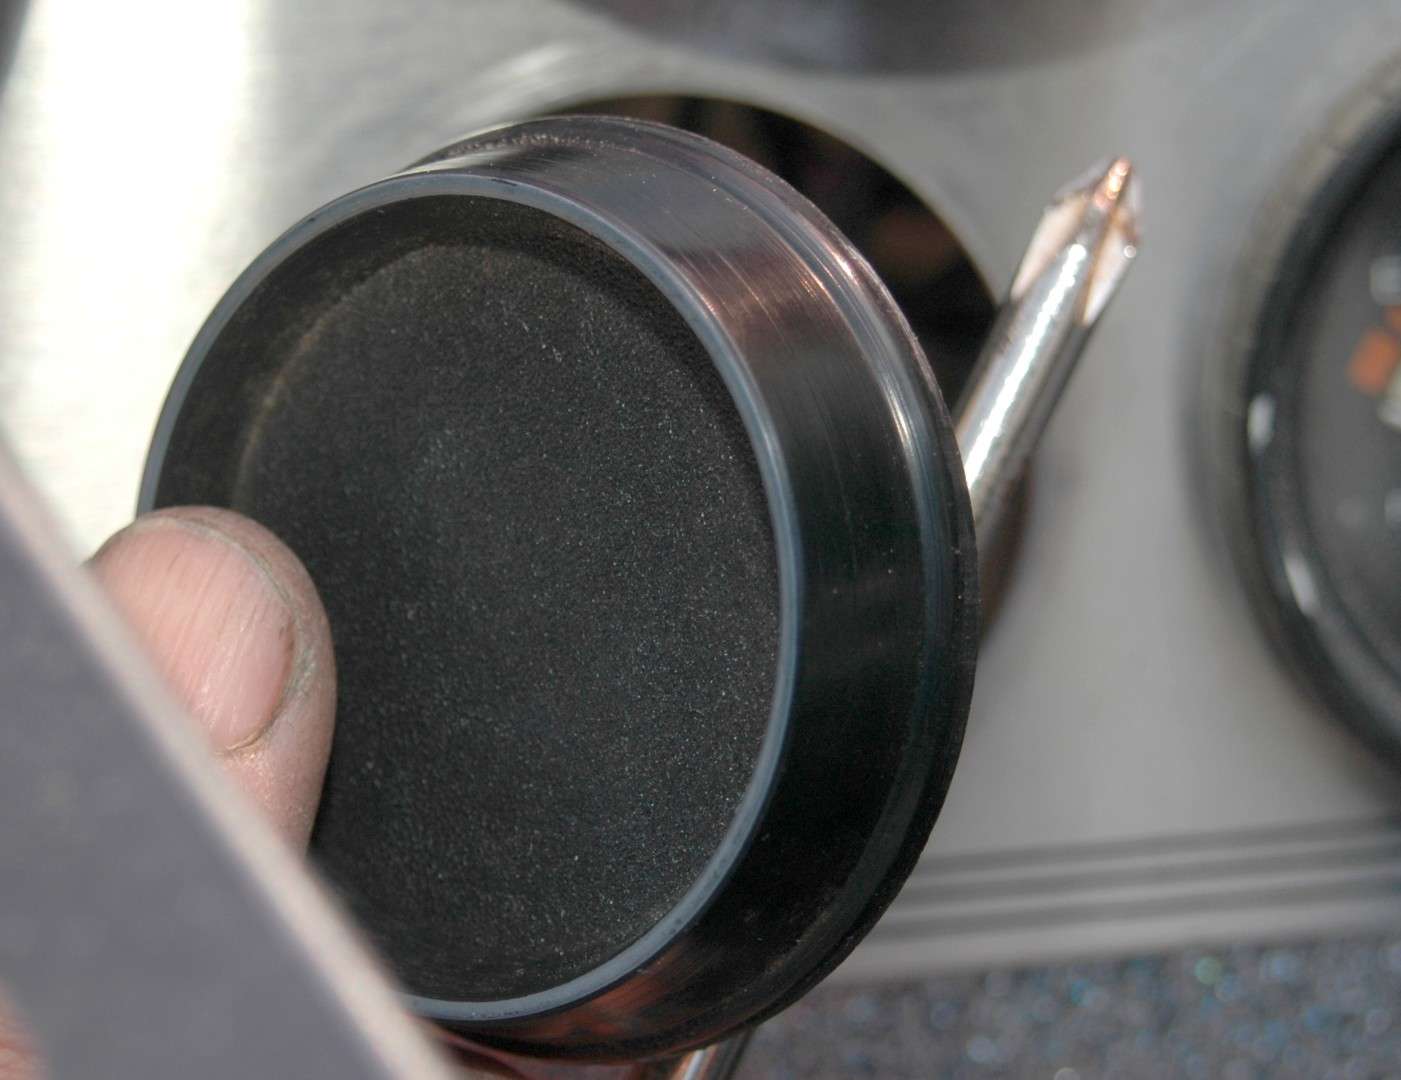
My old boat had an empty hole in the console for a water pressure gauge. One screw held the plug in place. Otherwise, I would have had to drill a hole for the gauge.
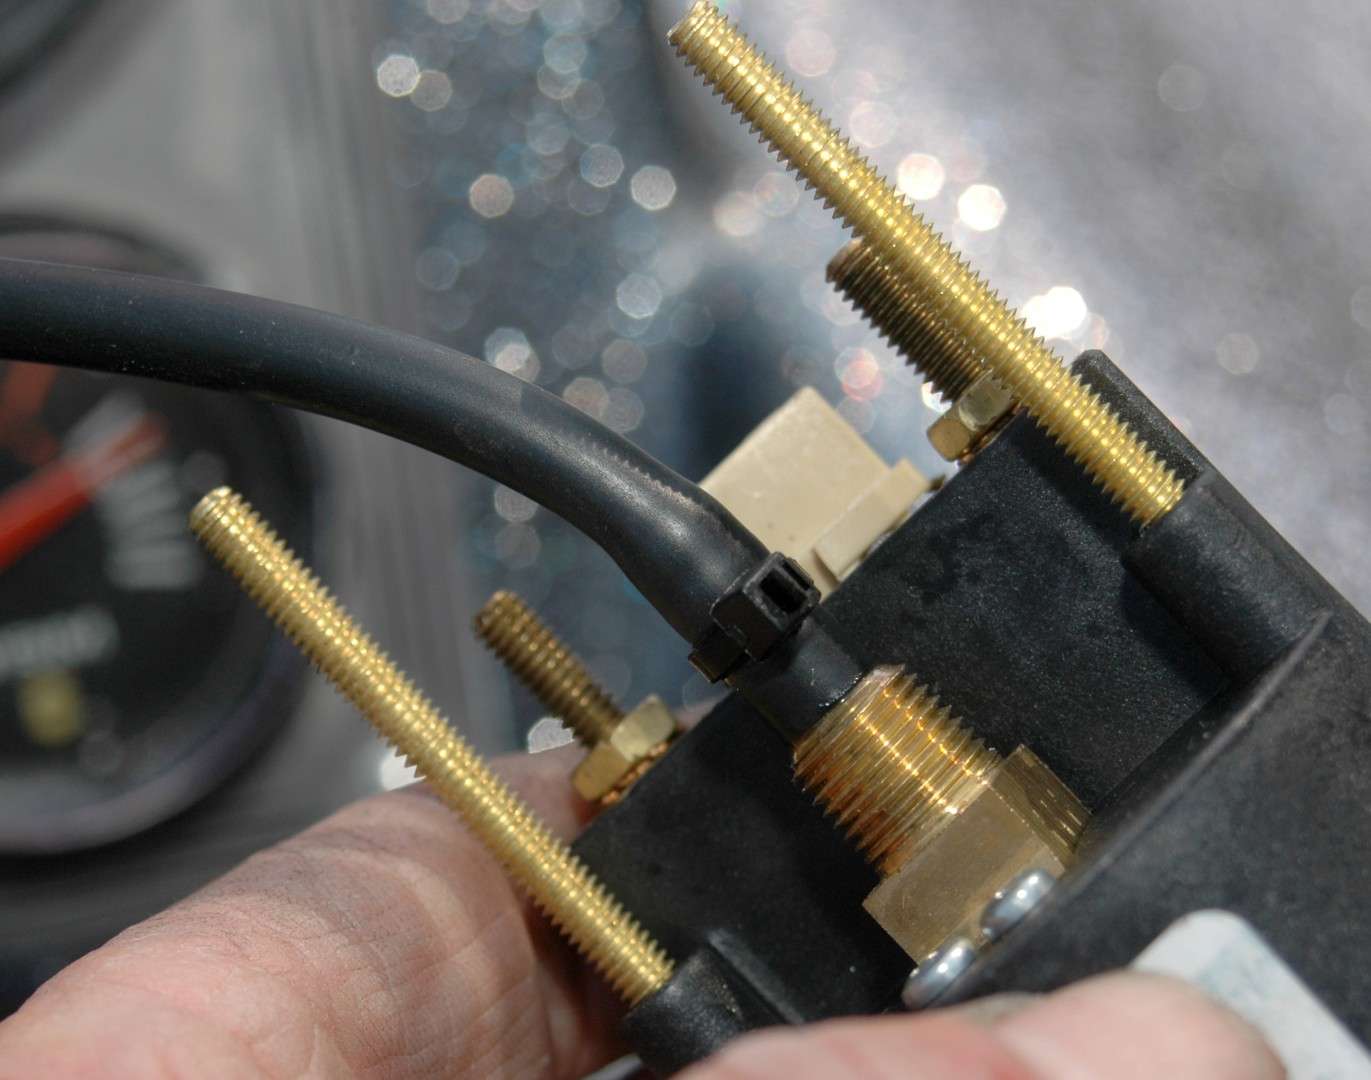
I secured the water hose to the back of the gauge before installing it. I had to heat and wet the hose so it would slide over the fitting.
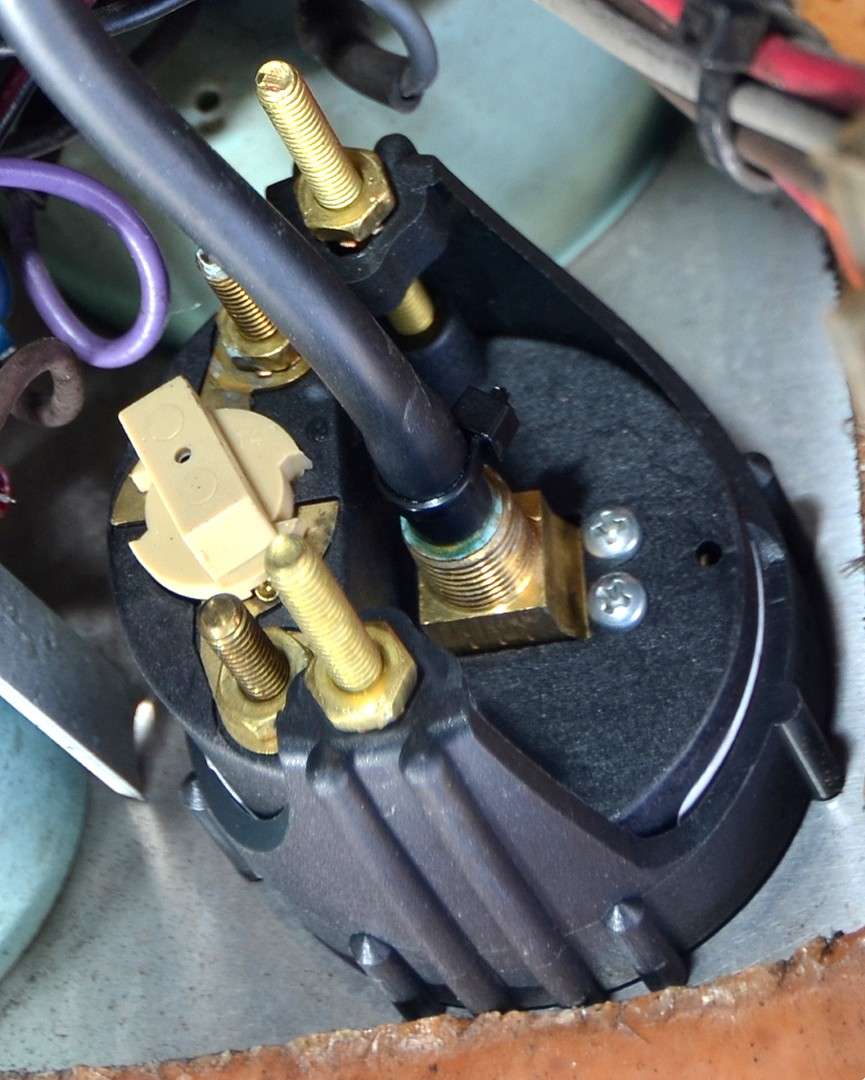
A plastic bracket on the inside of the console holds the gauge in place. I did not attach the electric contacts at this point, because the light is not needed to make the gauge show the water pressure.

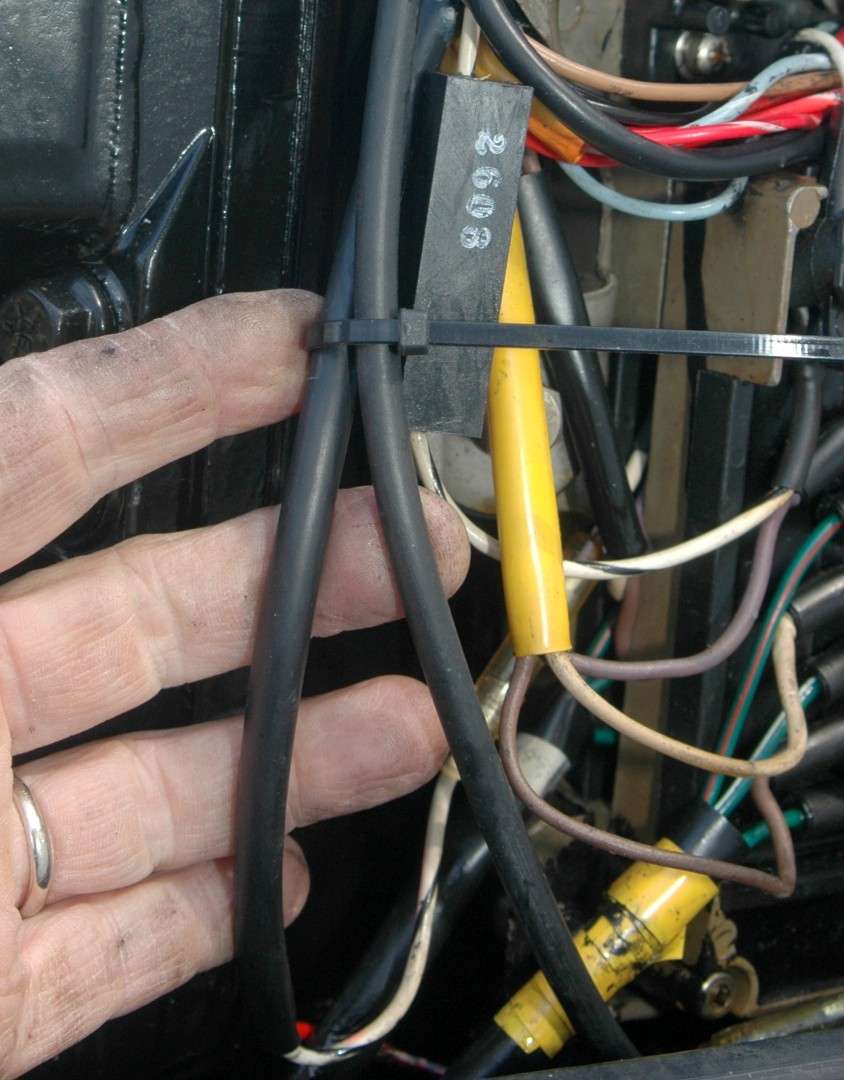
I connected the water hose to a length of stiff wire and threaded it under the gunnel and back to the engine.
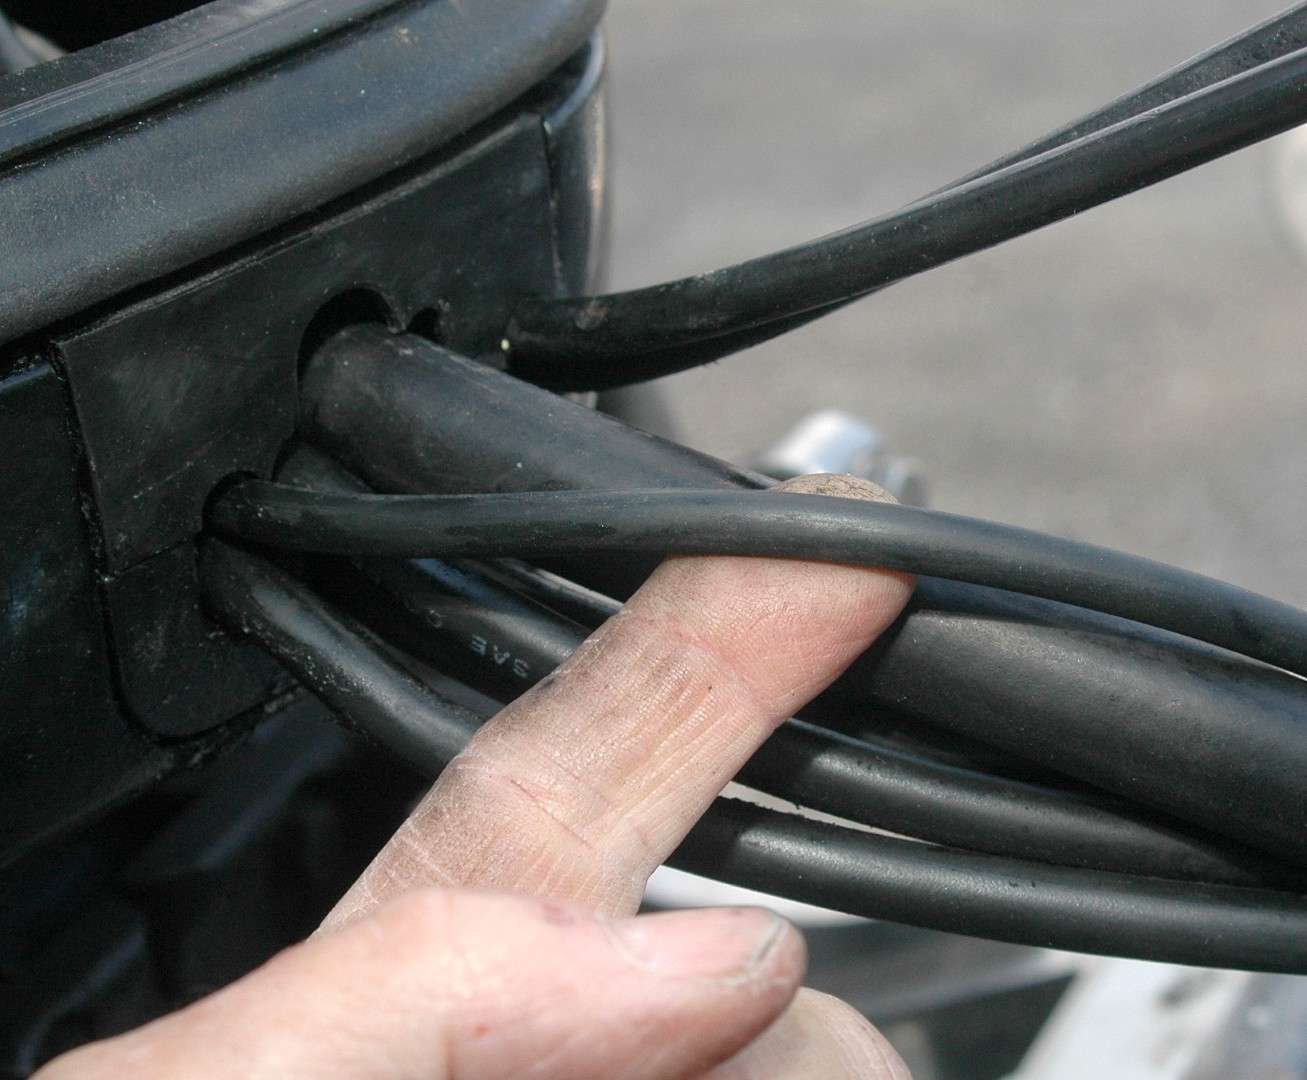
I inserted the water hose into the outboard where the fuel line enters. Leave enough slack to allow for steering.
I ran the water hose along the right (starboard) side of the engine to avoid moving parts of the shift and fuel linkage.
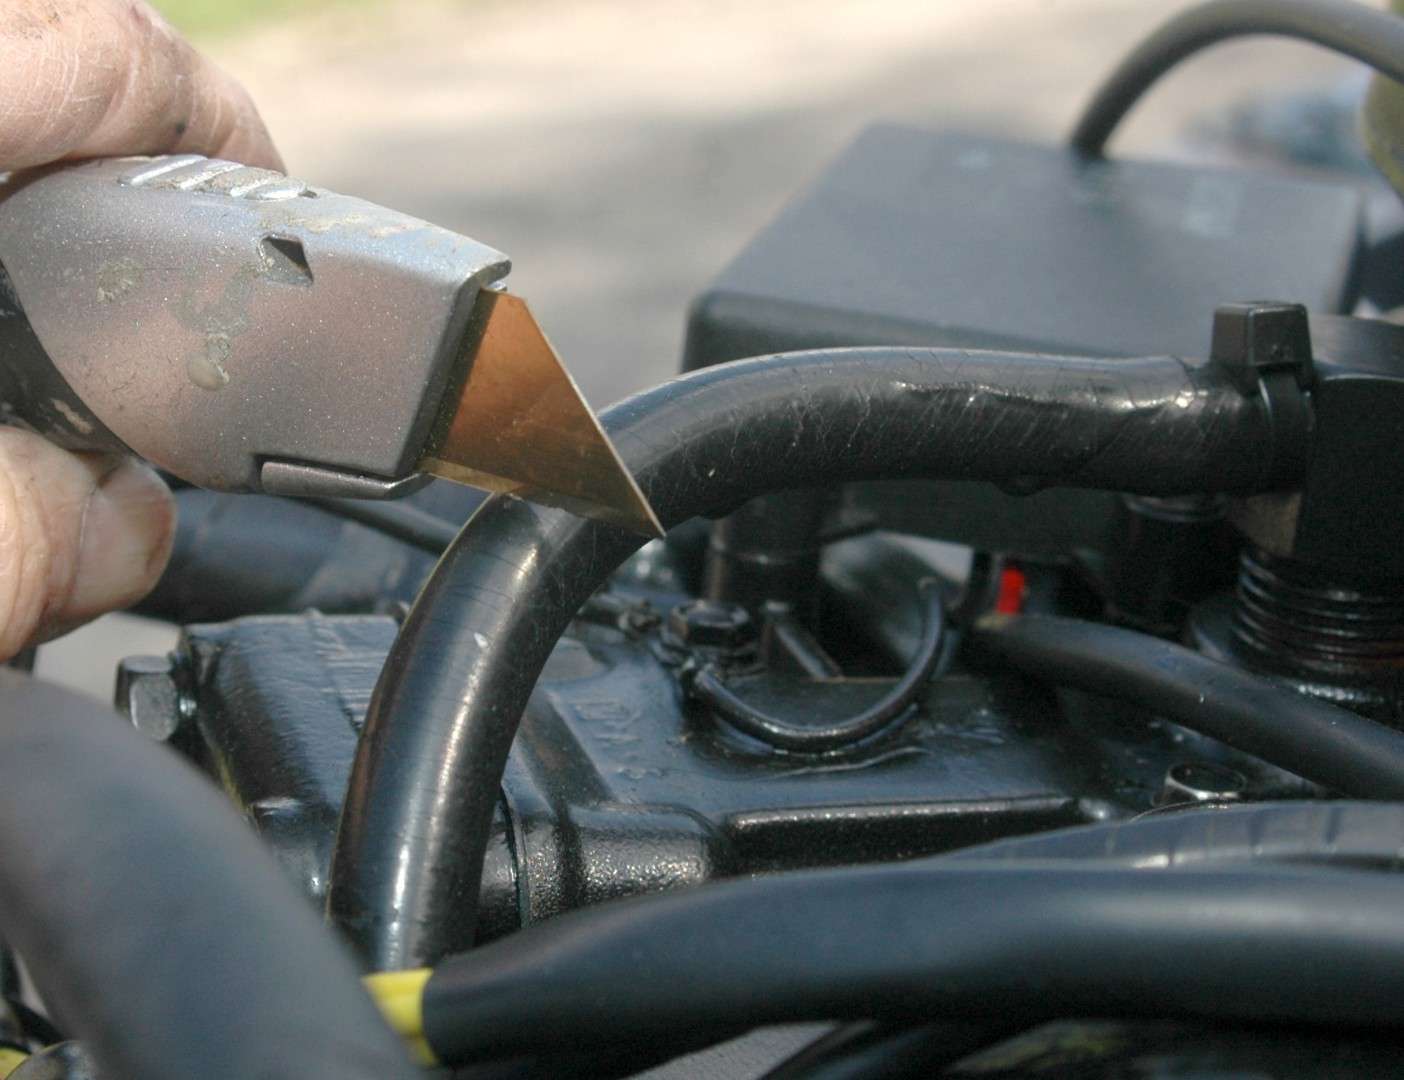
The best place to cut into the engine’s cooling system was this water line at the top fo the engine in the V between the cylinder heads.
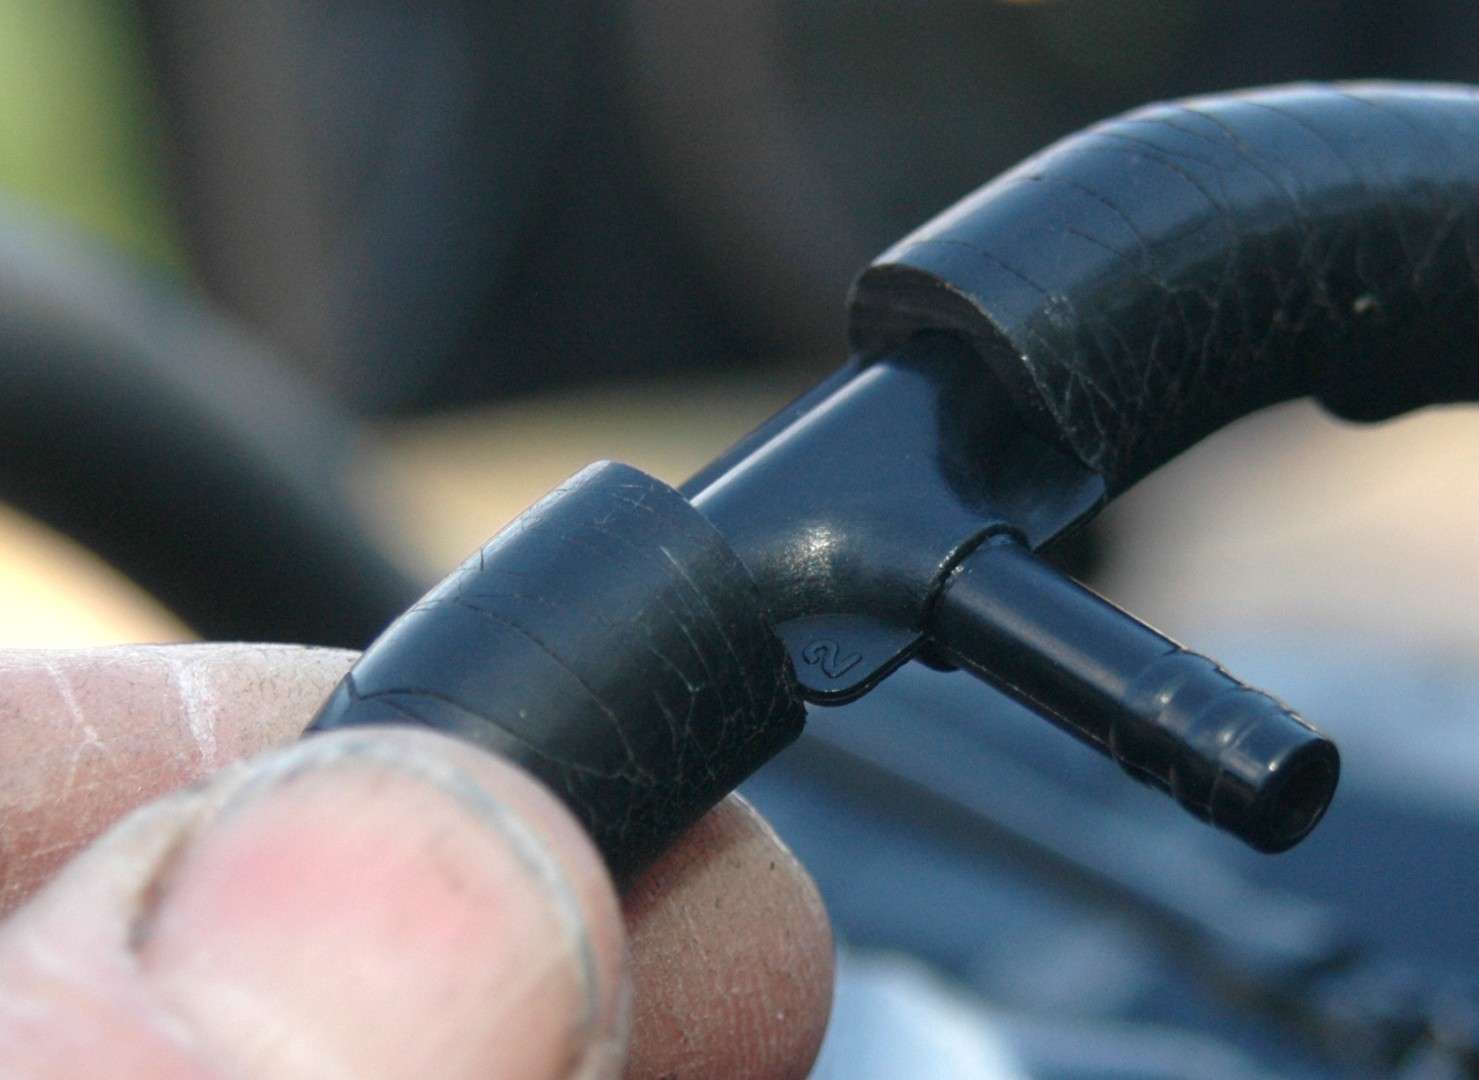
A T fitting reconnects the engine’s water line and provides a connection for the water pressure gauge’s hose.
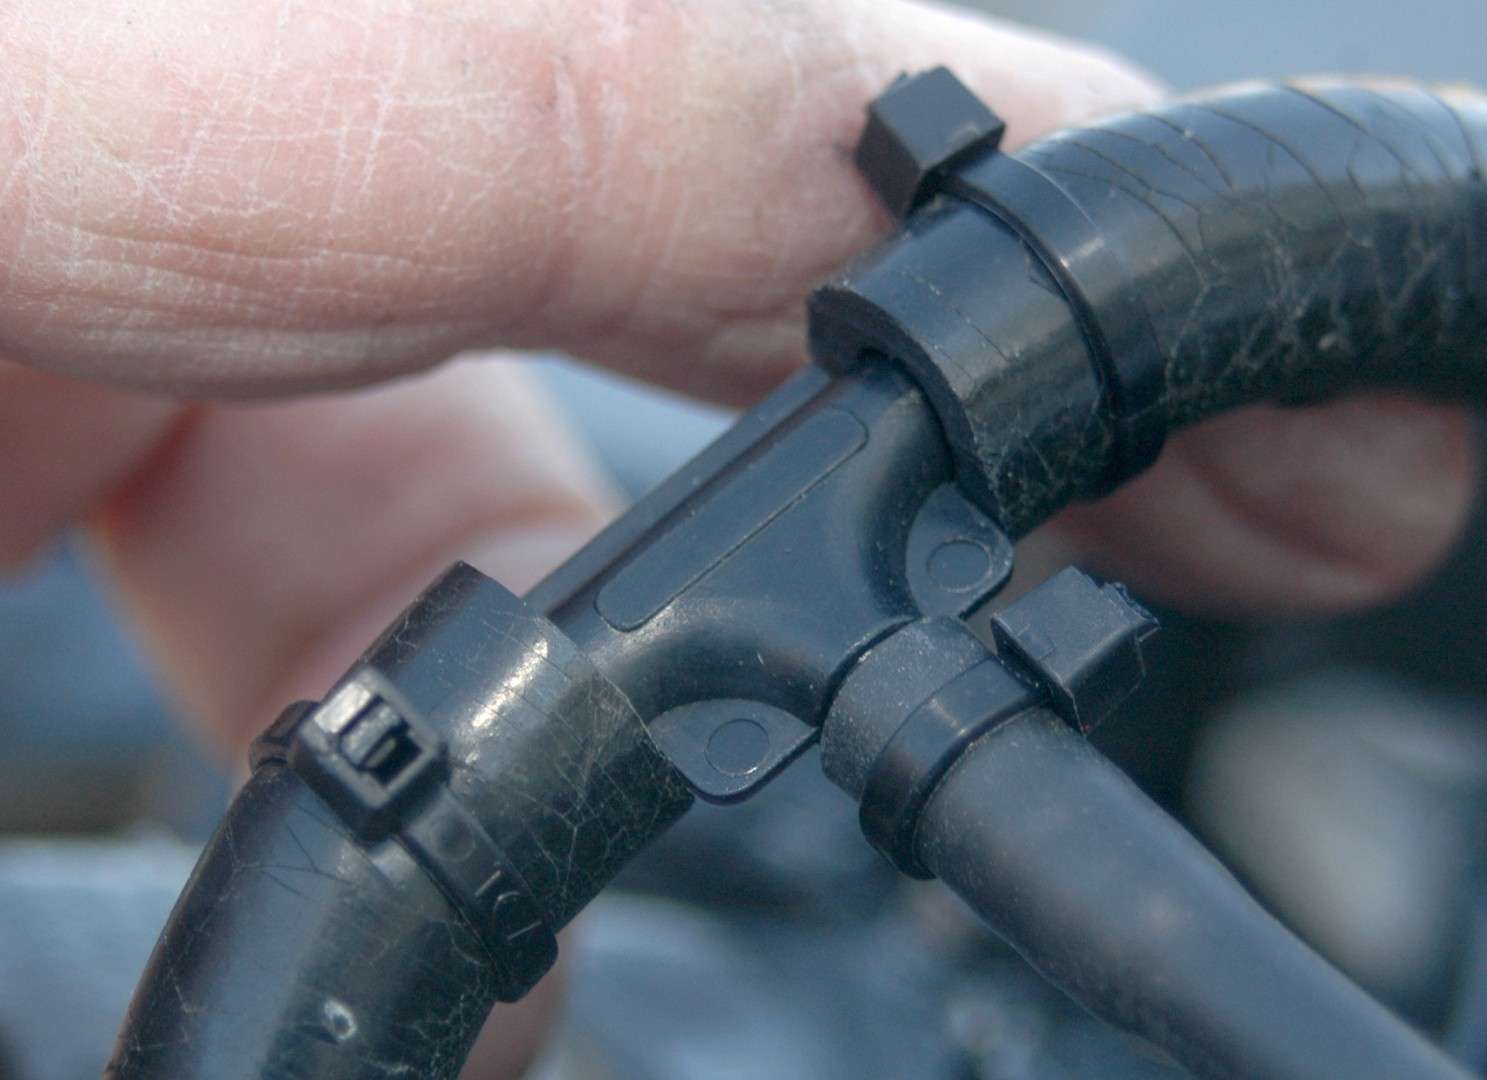
The water pressure hose, again, had to be heated and wetted to go over the fitting. All lines are fastened with plastic ties.
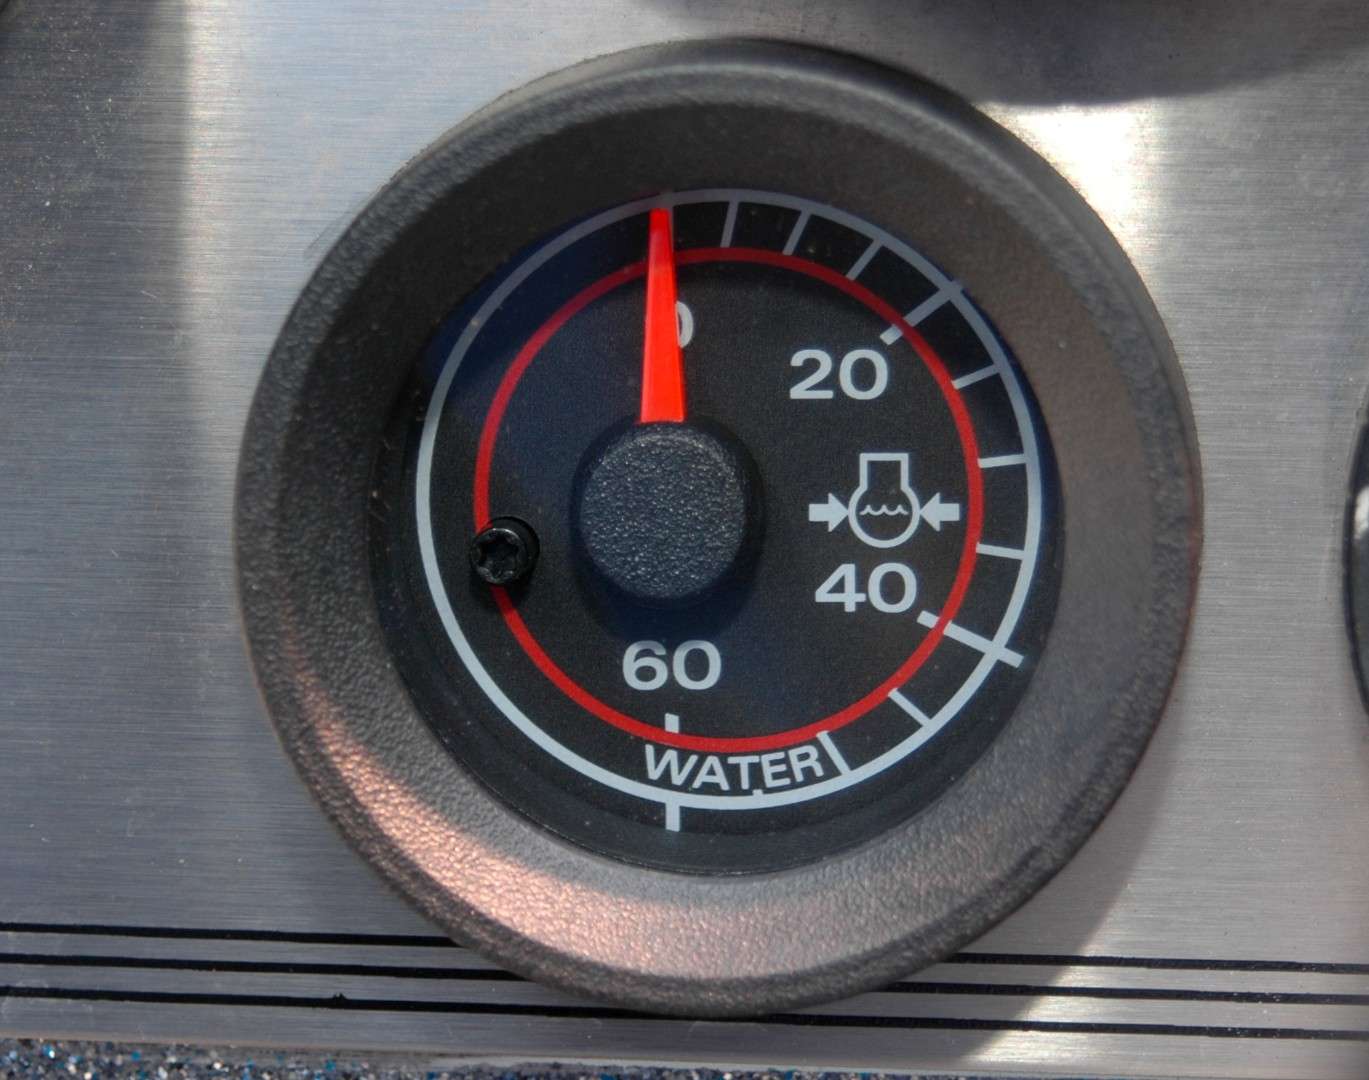
Here’s the water pressure gauge installed in my console and ready to do its job.