MUST-HAVE ADDITIONS
I added several accessories to my old bass boat that I feel are must-have items, especially for tournament fishing. Together they increase efficiency, ensure that my bass stay healthy, prevent mishaps and improve safety.
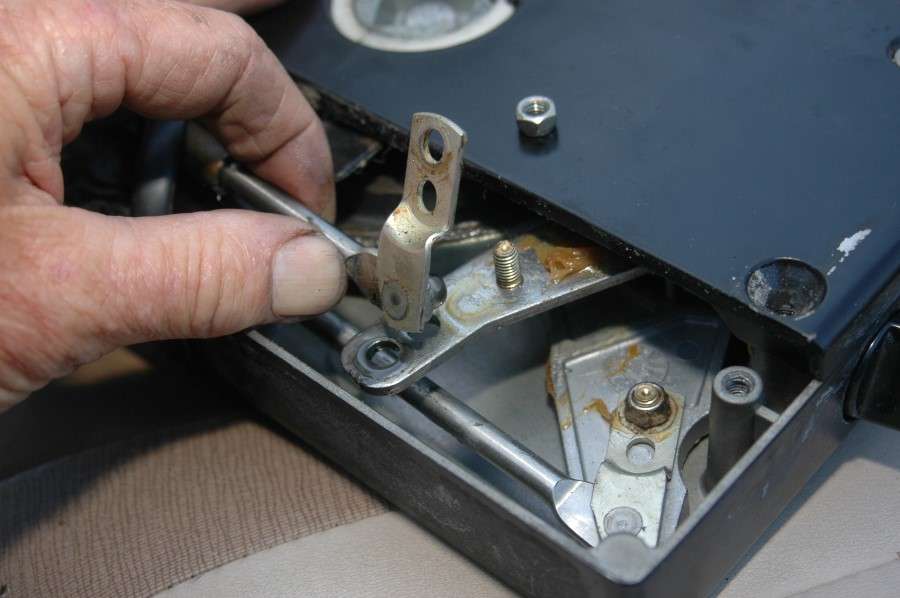
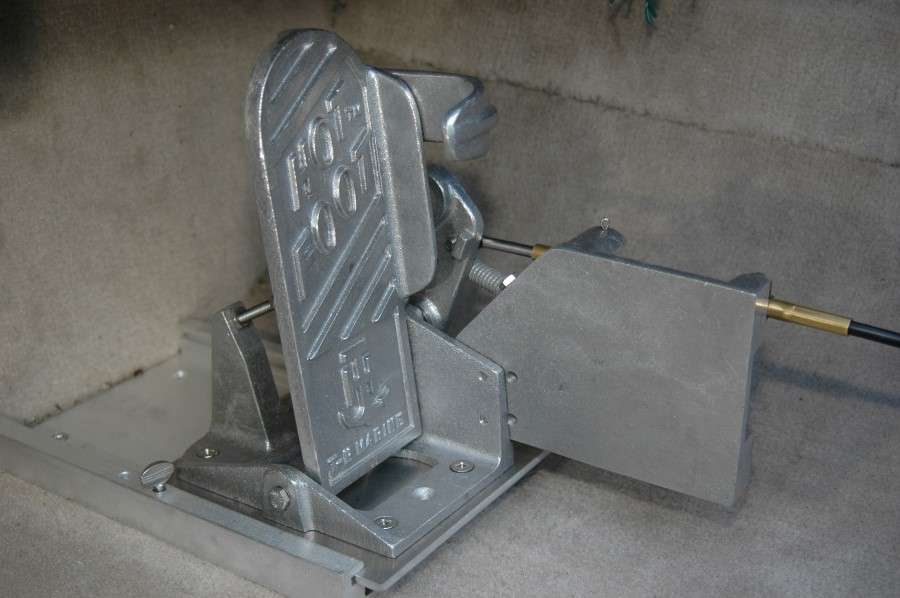
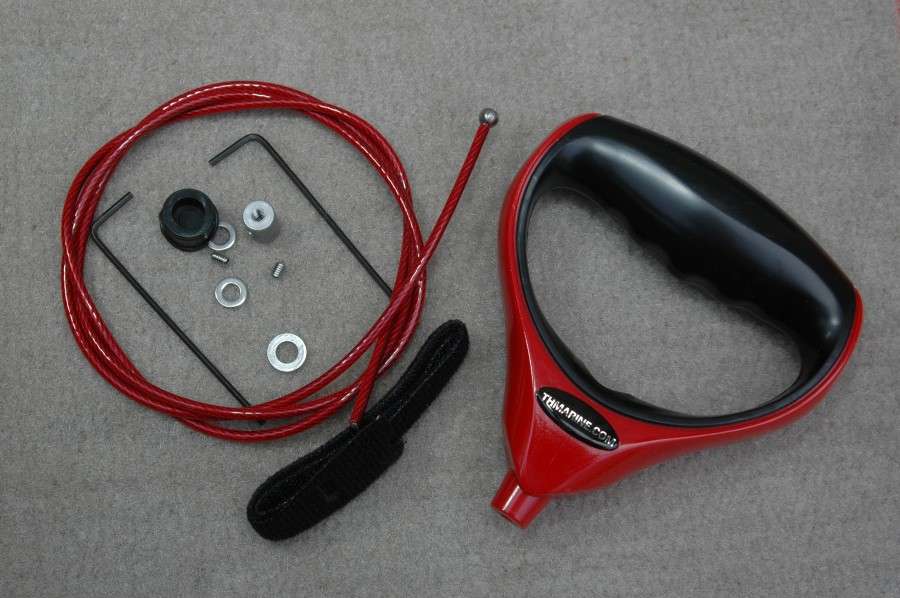
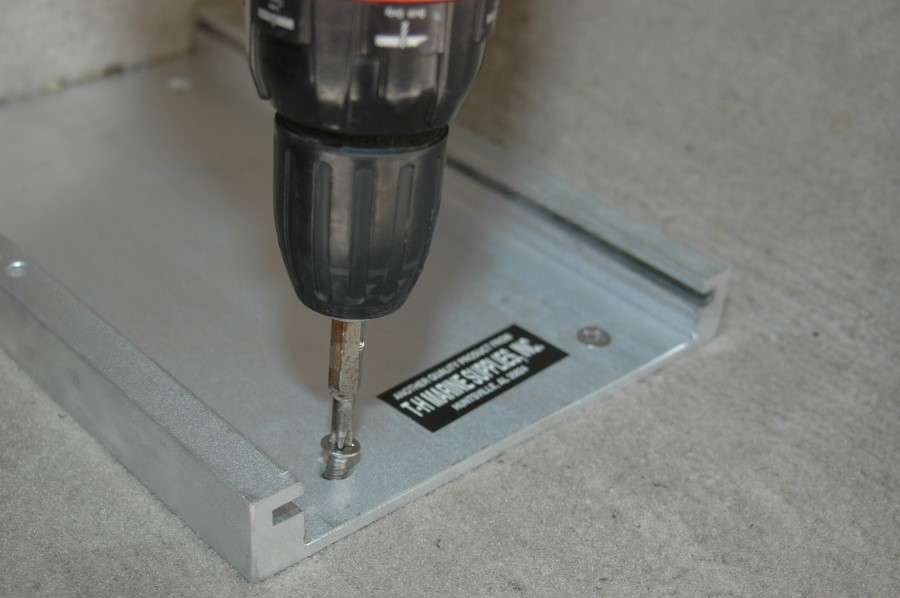
A Hot Foot foot throttle is helpful for safe boating because it allows you to keep both hands on the wheel at all times. I found a place under the driverâs console where I could install it without poking holes in my boatâs hull.