Last time we discussed the virtues of building your own fishing rod — the reward and satisfaction, the advantages of a personalized design and potential monetary savings. Hopefully you accepted the challenge and have since acquired all the necessary materials.
Don’t worry. I too, was intimidated at first. But after watching several demonstrations, I realized it wasn’t all that difficult. You just need patience and a little ambition, and before you know it you’ll be casting your very own personally customized fishing rod.
Along with this step-by-step procedure, I’ve provided some helpful links to online videos and tutorials, so that any potential snags can be avoided along the way.
Let’s get started.
Step 1: Handle assembly
To begin the build, you must first test-fit the handle components to the blank you’ve selected. This will include the reel seat, foregrip, rear grip and/or butt grip, butt cap, the arbors (that occupy the space between the reel seat and the blank) and the winding checks (the small decorative “washers” that cover and protect any exposed cork ends wherever they occur).
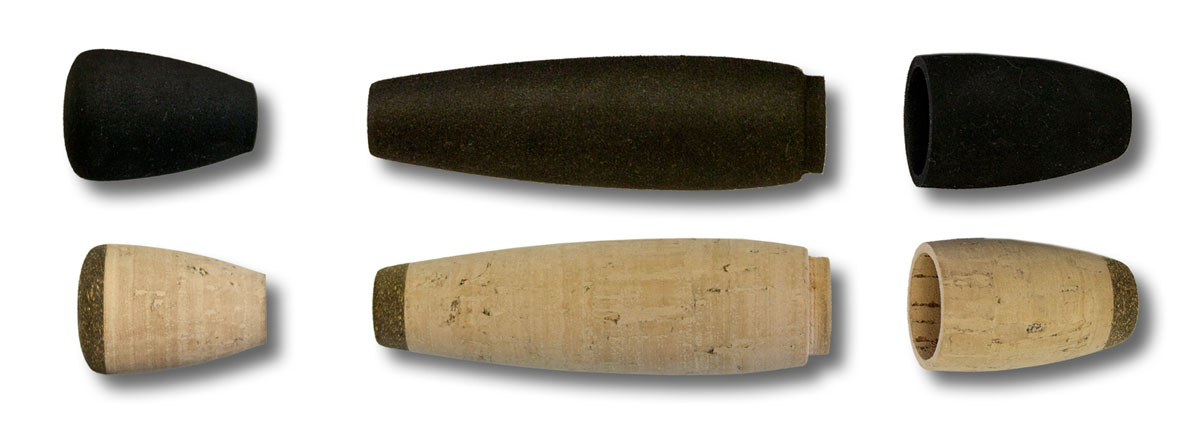
The interior sections of each cork piece will need to be reamed with a rattail file, as will the arbors inside the reel seat. Remove only a necessary amount of material so that each piece fits snugly to the blank in its appropriate position. With all pieces in place, it’s time to glue up the handle, reels seat and winding checks using rod epoxy. Mark the blank with a white grease pencil so you’ll know where to reposition each component. For visual help on this phase, follow this link.
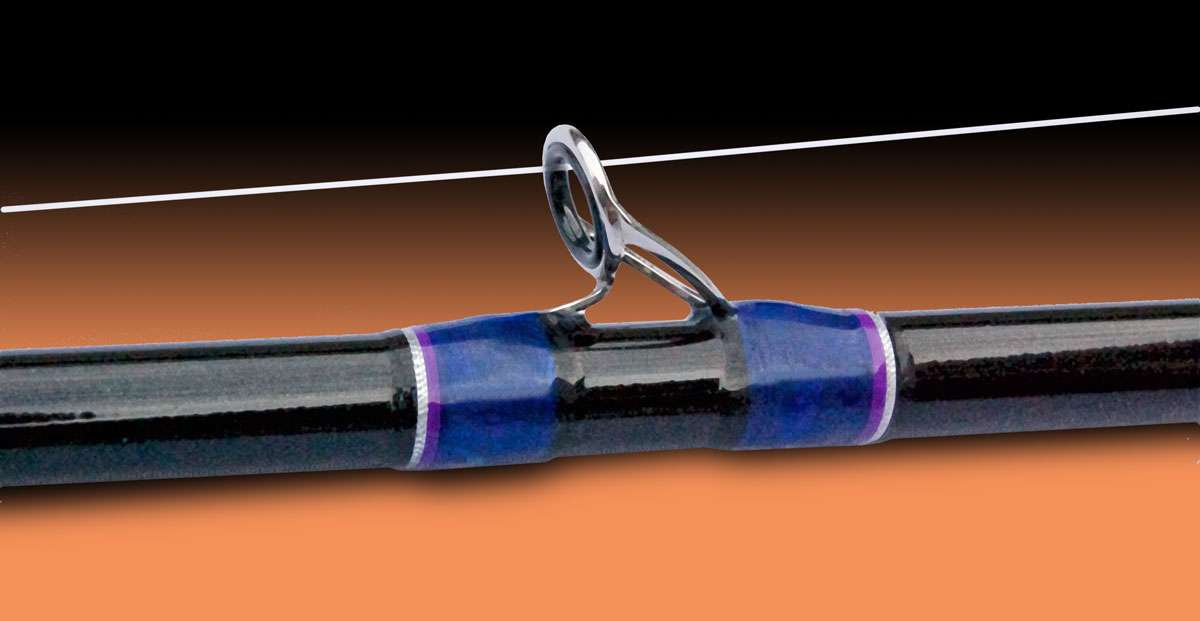
Step 2: Guide placement
With the reel seat and grips secured to the blank, it’s time to align the guide train (all of the guides) with the reel. This is the point where many new rod builders become confused. To assure correct spacing for maximum performance with your selected reel and blank, I suggest watching a couple of quick tutorials.
For spinning rods, review this “Reel Measurement Tutorial.” For casting rods, review the “Static Load Tutorial.” These tutorials are designed to help make your rod layout compliment your chosen reel, a customization that’s very difficult to achieve with off-the-shelf rods.
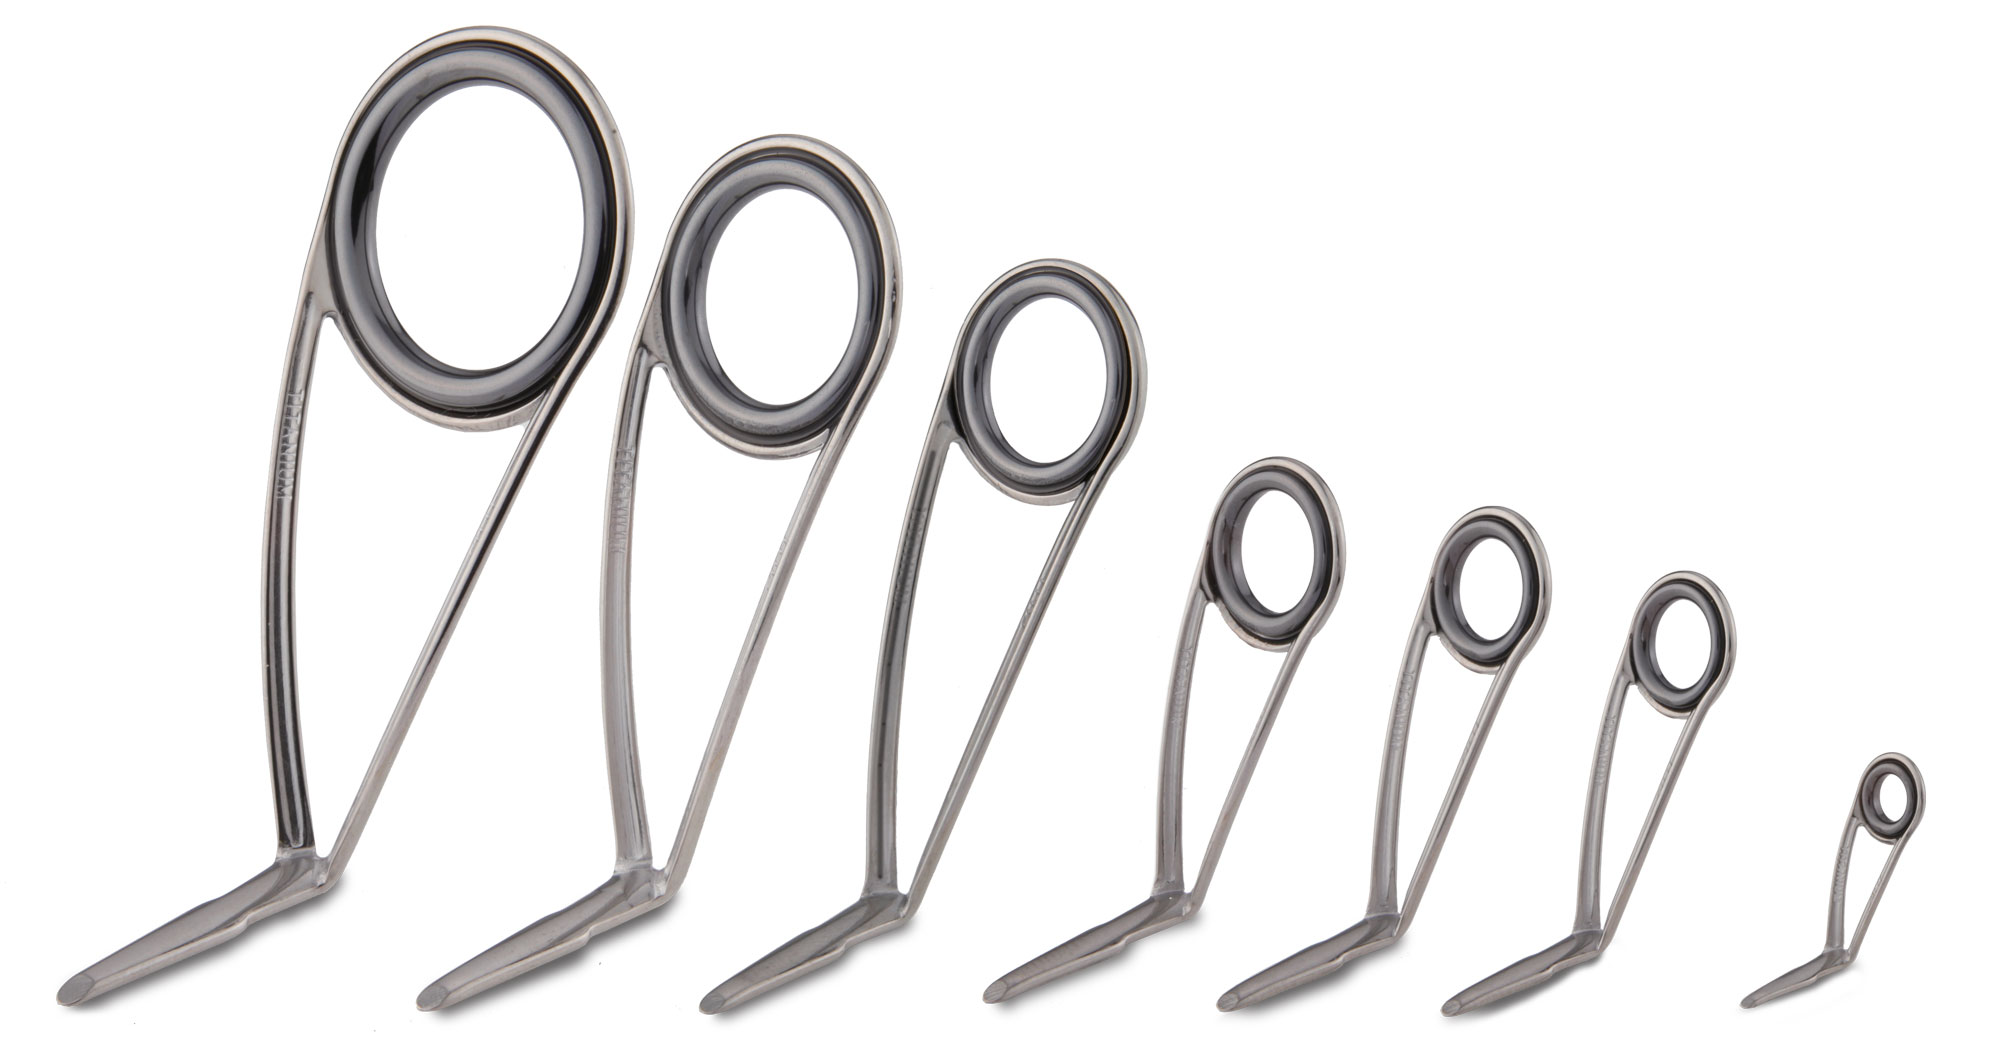
For spinning rods, you’re ready to apply the proprietary Guide Placement Software (GPS). Enter the required measurements of your reel into the proper boxes. Hopefully, you used this link in Part 1 when choosing your guides. The program provides the proper layout for any guide type in Fuji’s selection.
Step 3: Pre-testing for performance
With your GPS results for spinning, or a good understanding of static positioning for casting rods in hand, it’s time to “tape and test”. This is a critical aspect of your project, since it is the final phase of setting up your rod prior to wrapping.
Tape the guides (regular masking tape works well) in place according to the type rod you’re building and the style guide you selected. Mount the reel and use a practice plug to determine the overall performance of the rod. It should be quiet, smooth, and exhibit zero “line slap” against the blank. If necessary, move guides slightly to achieve optimum performance.
Step 4: Glue and clearcoat
Once final positioning is determined, refer to this video for the basics of getting the guides attached to the blank. The instructions are clear and simple. Once all guides are wrapped onto the rod in their predetermined positions, it’s time for a final clear coat of finish over the thread.
A brief video on how to apply rod finishing epoxy can be viewed here.
Step 5: Fish and be happy
Congratulations! You just completed your very own rod building project. Hopefully the overall look and feel of the rod is what you had in mind when we began this process. I’m sure you feel some sense of satisfaction as well. I know I did.
Now that we’re all good on the attaboys, it’s time to break that new rod in on some trophy fish. Till next time, bend it like it’s yours!